
Simple Crochet Pumpkin Free Pattern With Easy Steps
Dress up your autumn decor with Crochet Pumpkin Free Pattern and arrange this charming piece beside candles, leaves, or your halloween decor ,seasonal accents.
The original YouTube tutorial by Nitya Uphaar gives clear and easy instructions for a delightful crochet pumpkin. She thoughtfully shows each step, making the project accessible for many people who want a seasonal decoration.
This crochet pumpkin amigurumi is a small, round item, usually about 5 to 6 inches across. Its shape closely resembles a real pumpkin, with soft ridges around the body and a little stem on top. The simple design fits well in homes during the fall and can also be used as a gift or table centerpiece.
Quick Crochet Pumpkin Free Pattern For Fall Decorating
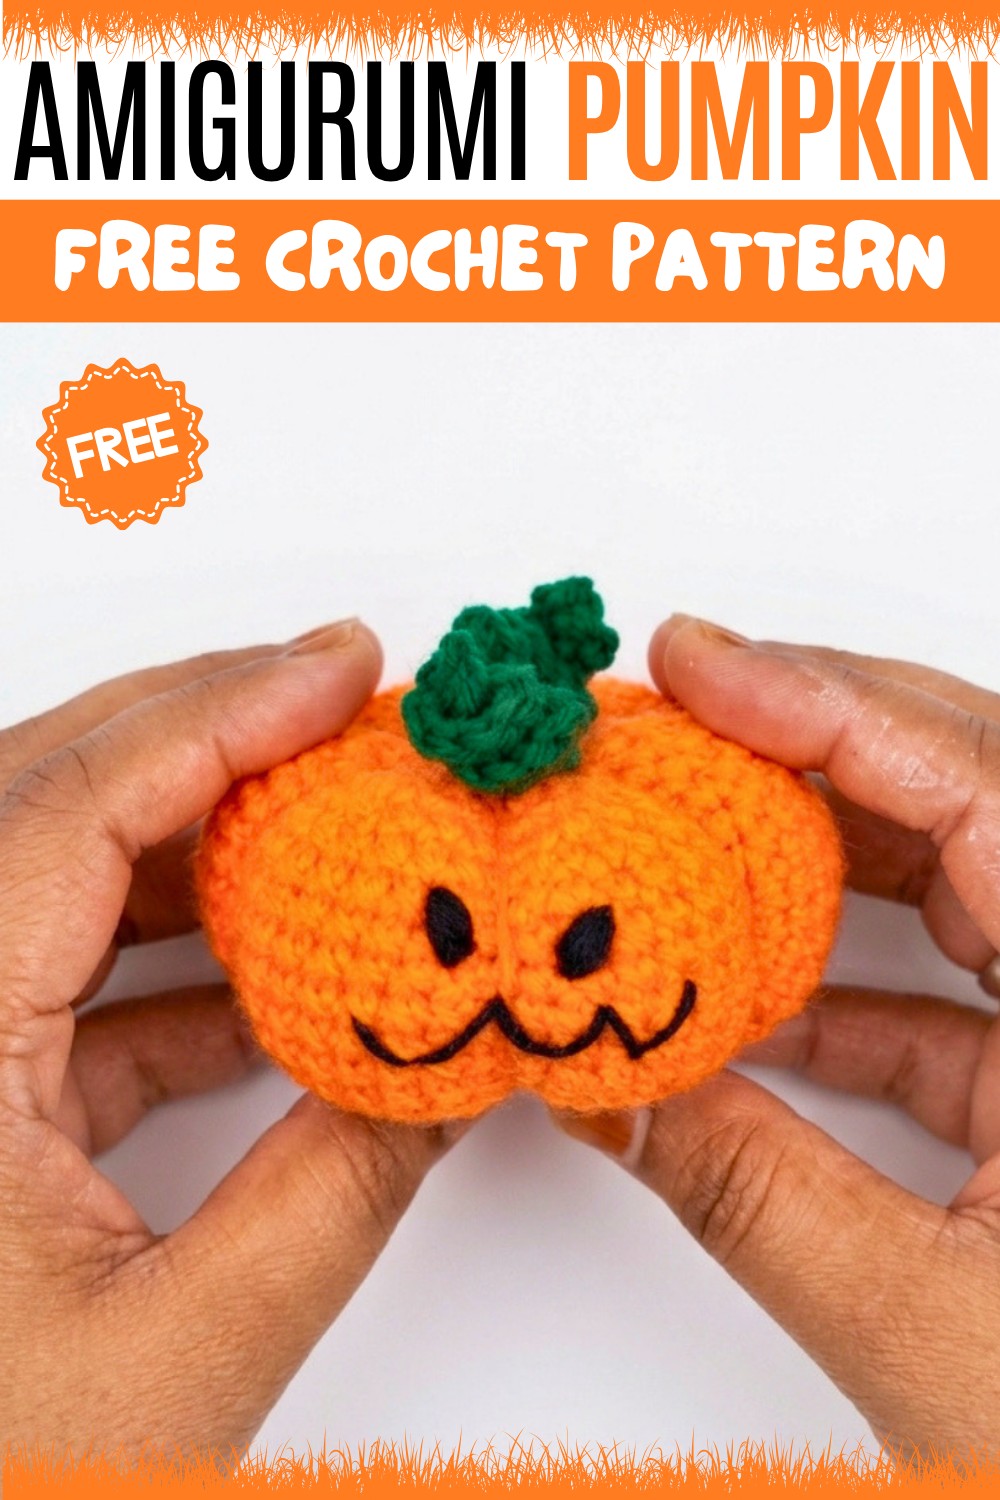
This project suits beginners or those with some crochet experience. It uses straightforward stitches like single crochet and slip stitch, along with basic increases and decreases to shape the pumpkin. After finishing the main body, you sew on the top stem, which gives the pumpkin its charming look. Some versions add a small leaf or vine, adding a bit more detail.
One reason this pumpkin stands out is how quickly it comes together and how nice it looks when done. The soft yarn and textured ridges give a cozy feel that fits well with autumn decorations.
Give this pattern a try through free pattern and add a simple, sweet touch to your seasonal decor!
Pumpkin Amigurumi Crochet Guide
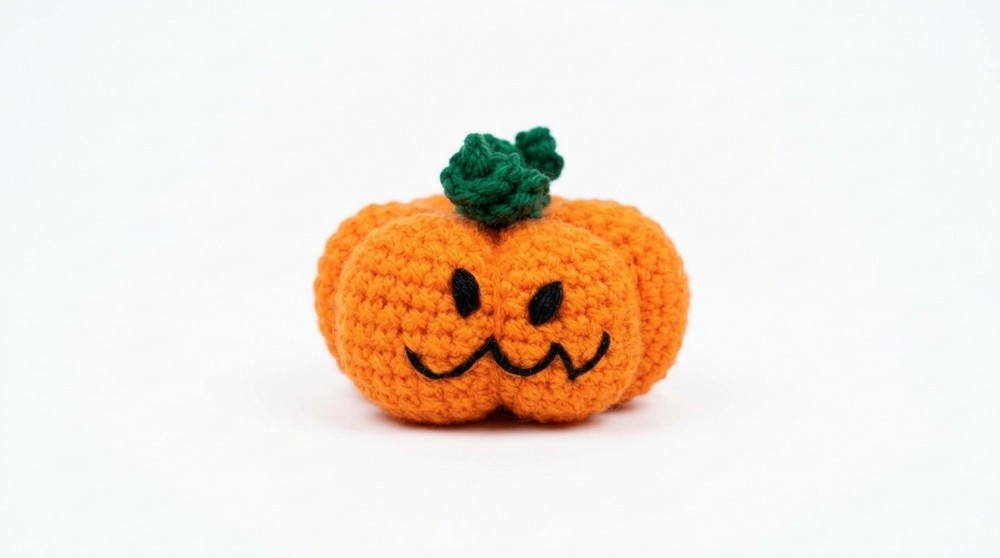
This pattern yields a classic pumpkin amigurumi complete with stem and curly leaves (tendrils), ideal for autumn décor or festive settings. The body is shaped for solid segmenting, the stem stands upright, and the leaves curl naturally, giving an authentic touch. Employing standard single crochet construction, progressive increases, and gradual decreases, the pumpkin base is sculpted using tension and segmenting stitches. Final assembly brings all parts together for a charming result.
Pattern Basic Points
- Structured rounds: The pumpkin is built in continuous spiral rounds, minimizing visible seams.
- Segmenting: Segment shaping achieved through strategic sculpting with the yarn tail after the base is closed.
- Stem and tendrils: Separate crocheted components quickly made and sewn to the pumpkin’s crown.
- Face option: Optional embroidery for facial details (jack-o-lantern or kawaii expressions).
- Versatile size: Pattern can be adapted for larger or smaller pumpkins by changing hook size and yarn weight.
Special Notes
- Continuous Spiral Construction: Use a stitch marker to indicate the start of each round, shifting it up each round to maintain accuracy.
- Increase/Decrease Placement: Evenly distribute increases and decreases for a well-rounded shape.
- Segment Sculpting: Pull tight but carefully when segmenting to avoid distorting the shape.
- Stuffing Timing: Stuff the pumpkin well before the opening becomes too small; use a bit at a time for even filling.
- Color selections: Classic orange for body, brown/green for stem, and green for leaves recommended; alternate colors for themed pumpkins.
- Face Embroidery: Use contrasting yarn for clear facial features; experiment with expressions.
Skill Level
Beginner:
The pattern relies on fundamental stitches and basic rounds. Confident beginners able to work in the round will find this accessible, with sculpting a gentle introduction to shaping techniques.
Materials
- Yarn: Worsted weight yarn in orange (body), brown or green (stem), and green (leaves/tendrils)
- Crochet hook: 3.5mm (or appropriate for yarn choice, for firm fabric)
- Fiber stuffing
- Yarn needle
- Stitch marker
- Scissors
- Embroidery floss or yarn (for face, optional)
Measurements
- Finished Size: Approximately 3–4 inches (7.5–10 cm) diameter; varies with yarn and stuffing.
- Gauge: Not critical. If measured: 6 sc x 6 rows = 1 inch (tight amigurumi tension recommended).
- Stitch Pattern: Main body constructed in single crochet spiral.
Stitch Abbreviations
- MR: magic ring
- ch: chain
- sc: single crochet
- inc: increase (2 sc in same stitch)
- dec: decrease (sc two stitches together)
- FLO: front loop only
- st(s): stitch(es)
- rep: repeat
Special Stitches
- Decrease in Front Loops (FLO): Insert hook through only the front loops of the next two stitches, yarn over, pull through both, yarn over and pull through the two remaining loops.
- Segment Sculpting: Use long yarn tail to whip-stitch from top to bottom of pumpkin, pulling taut to define segment indentations.
Pumpkin Pattern
Body
Round 1:
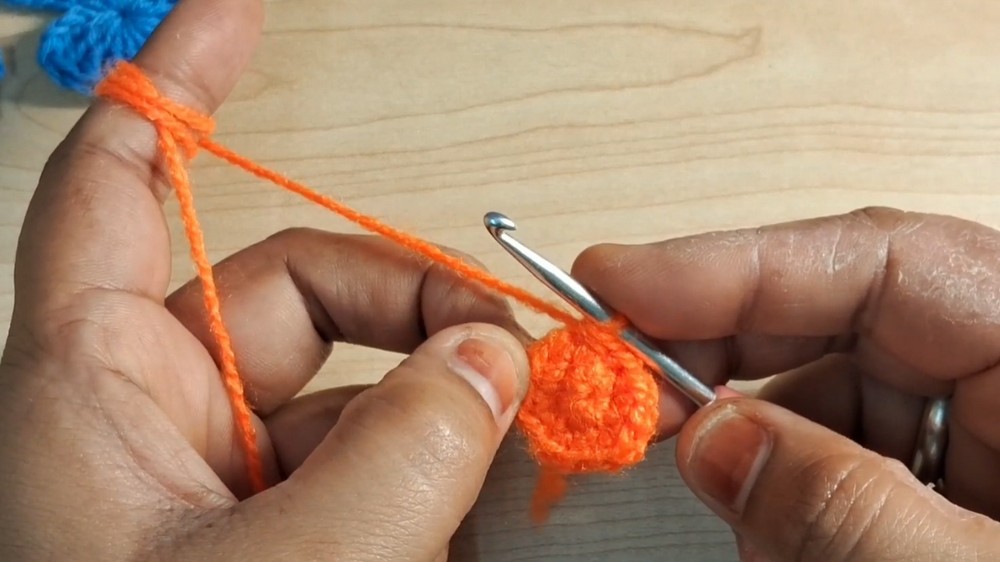
- Make a magic ring (MR), work 6 sc into ring. (6 sts)
Round 2:
- inc in every stitch. (12 sts)
Round 3:
- 1 sc, inc, rep 6 times. (18 sts)
Round 4:
- 2 sc, inc, rep 6 times. (24 sts)
Round 5:
- 3 sc, inc, rep 6 times. (30 sts)
Round 6:
- 4 sc, inc, rep 6 times. (36 sts)
Round 7:
- 5 sc, inc, rep 6 times. (42 sts)
Round 8:
- 6 sc, inc, rep 6 times. (48 sts)
Rounds 9–15:
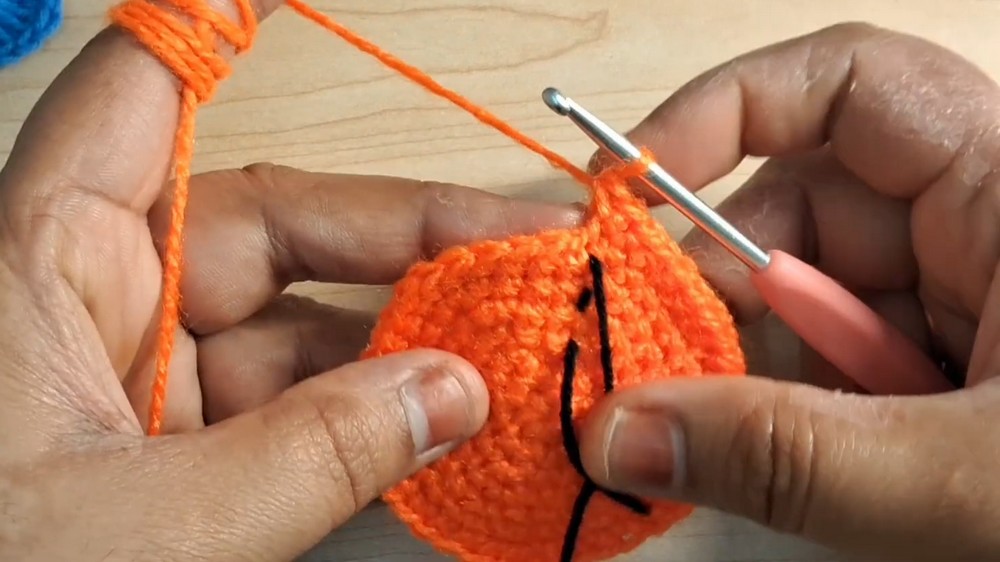
- sc in each stitch around. (48 sts for each round)
Decreases (Shaping Top)
Round 16:
- 6 sc, dec (FLO), rep 6 times. (42 sts)
Round 17:
- 5 sc, dec, rep 6 times. (36 sts)
Round 18:
- 4 sc, dec, rep 6 times. (30 sts)
Round 19:
- 3 sc, dec, rep 6 times. (24 sts)
Round 20:
- 2 sc, dec, rep 6 times. (18 sts)
Round 21:
- 1 sc, dec, rep 6 times. (12 sts)
Final Round (22):
- dec in every stitch around. (6 sts)
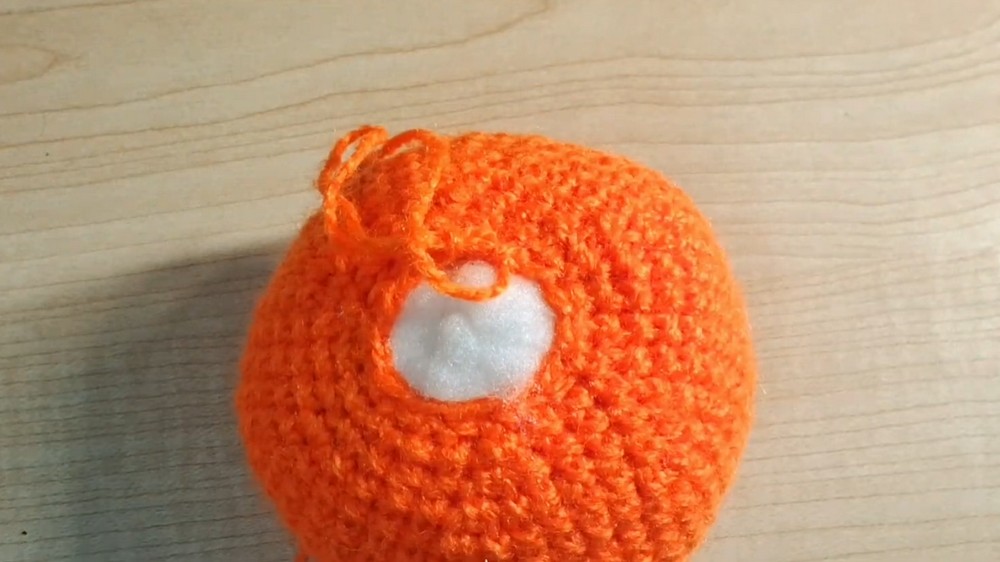
- Fasten off, leave a long tail for sculpting segments.
Shaping and Detailing
Segment Sculpting:
- With a yarn needle and your long tail, pierce from top center to bottom center of pumpkin six times, pulling tight for each pass to create deep segments. End by securing the tail and weaving in the fiber.
Stem
Round 1:
- MR, work 5 sc into ring. (5 sts)
Rounds 2–6:
- sc in each st around. (5 sts for each round)
- Fasten off with a long tail for sewing. Stuff lightly if desired for sturdiness.
Leaves (Tendrils)
Large Tendril:
- ch 10
- Work 3 sc in each ch across.
- Fasten off, leave tail for sewing.
Small Tendril:
- ch 8
- Work 3 sc in each ch across.
- Fasten off with tail.
Assembly & Finished Size
- Sculpt segments by pulling tail as described, making six grooves for visual appeal.
- Attach stem to the pumpkin center top using tail and yarn needle, sewing securely.
- Sew tendrils adjacent to stem, curling to desired shape.
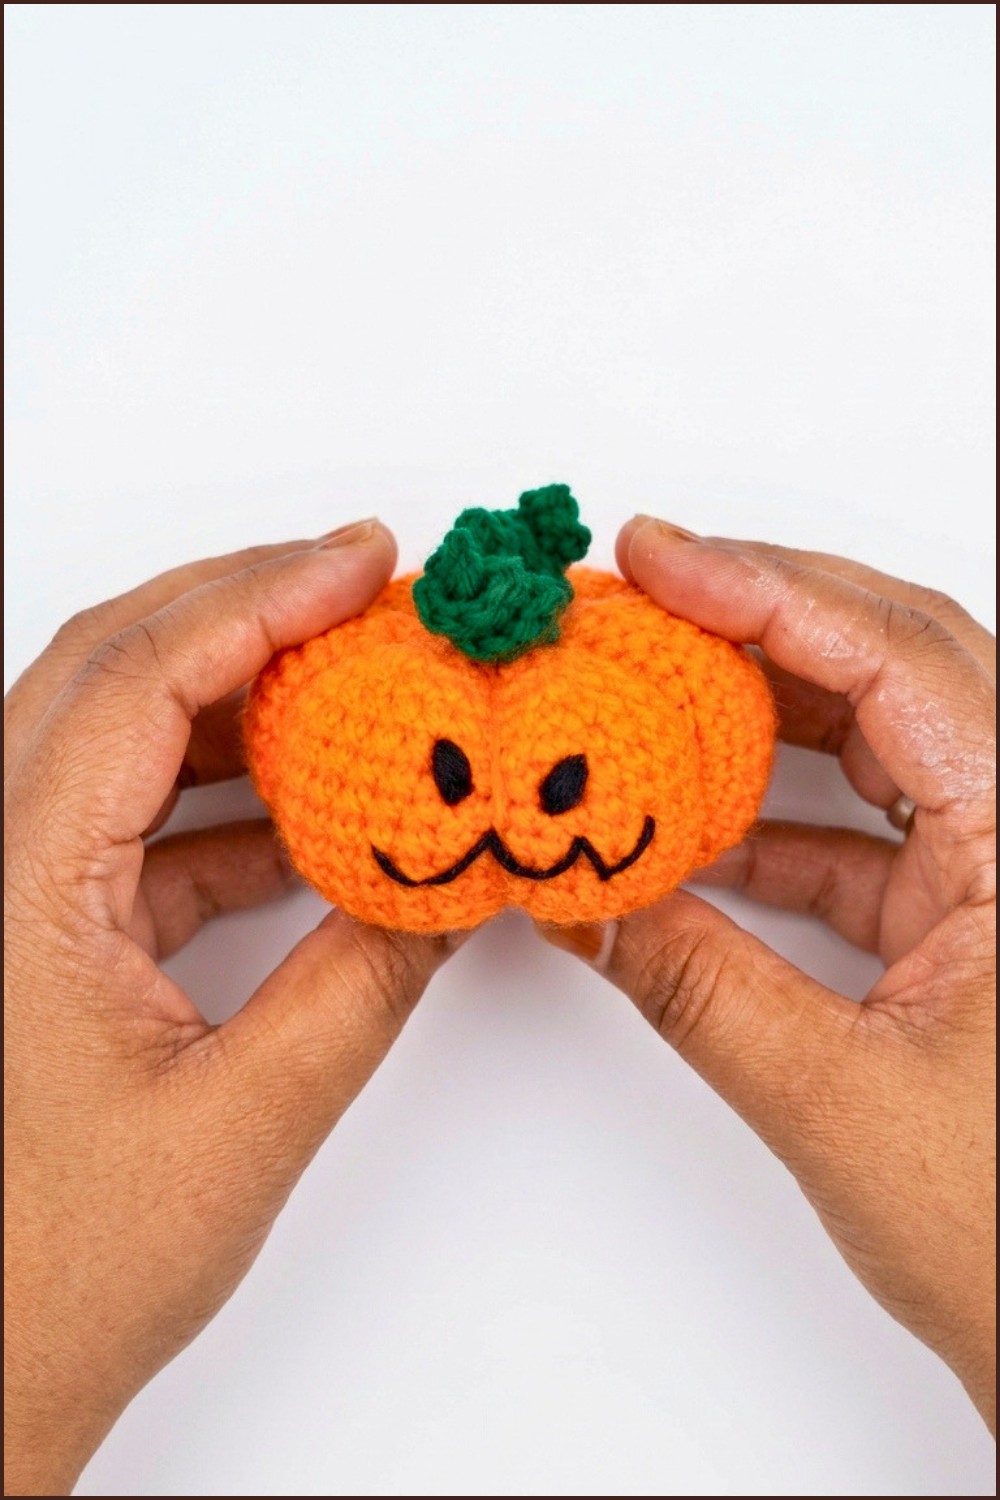
- Embroider face (optional): Use black yarn or floss to stitch eyes, mouth, or jack-o-lantern details to pumpkin’s front.
- Final weaving: Hide all loose threads inside the piece.
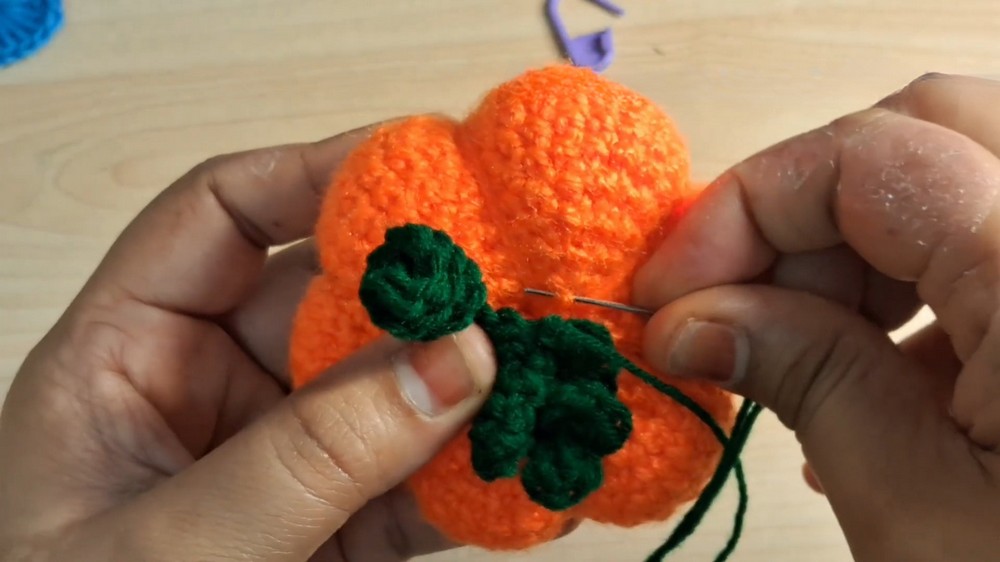
The pumpkin will stand approximately 3–4 inches in diameter and a bit less in height, perfect as a tabletop accent or seasonal gift.
Conclusion
This pumpkin amigurumi pattern leverages the basics of crocheting in the round, gradual increases and decreases, and sculpting technique for shaping. The result is a realistic, plump pumpkin complete with stem and curly leaves, ready for display. The skills developed—particularly segment sculpting and tendril shaping—enhance foundational amigurumi techniques. Use this pattern as a seasonal centerpiece, a whimsical toy, or a starting point for creative variations such as spooky faces or playful colorways.