
Free Crochet Santa Claus Photo Holder For Christmas Cheer
Bring festive cheer to your décor with this Crochet Santa Claus Photo Holder, perfect for displaying memories in a handmade holiday style.
The holiday season is all about surrounding yourself with warmth, joy, and meaningful traditions, and the Crochet Santa Claus Photo Holder brings all these elements to life in a truly unique way. Designed with sustainability at its heart, this charming creation is built on recycled PET bottle rings, seamlessly transforming everyday materials into captivating holiday treasures. Wrapped in vibrant yarn with meticulous crochet work, it captures the spirit of the season with its cheerful design. A delicate pearl on Santa’s hat adds the perfect finishing touch, giving it an elegant and festive appeal.
How To Crochet Santa Claus Photo Holder That Doubles as Decor
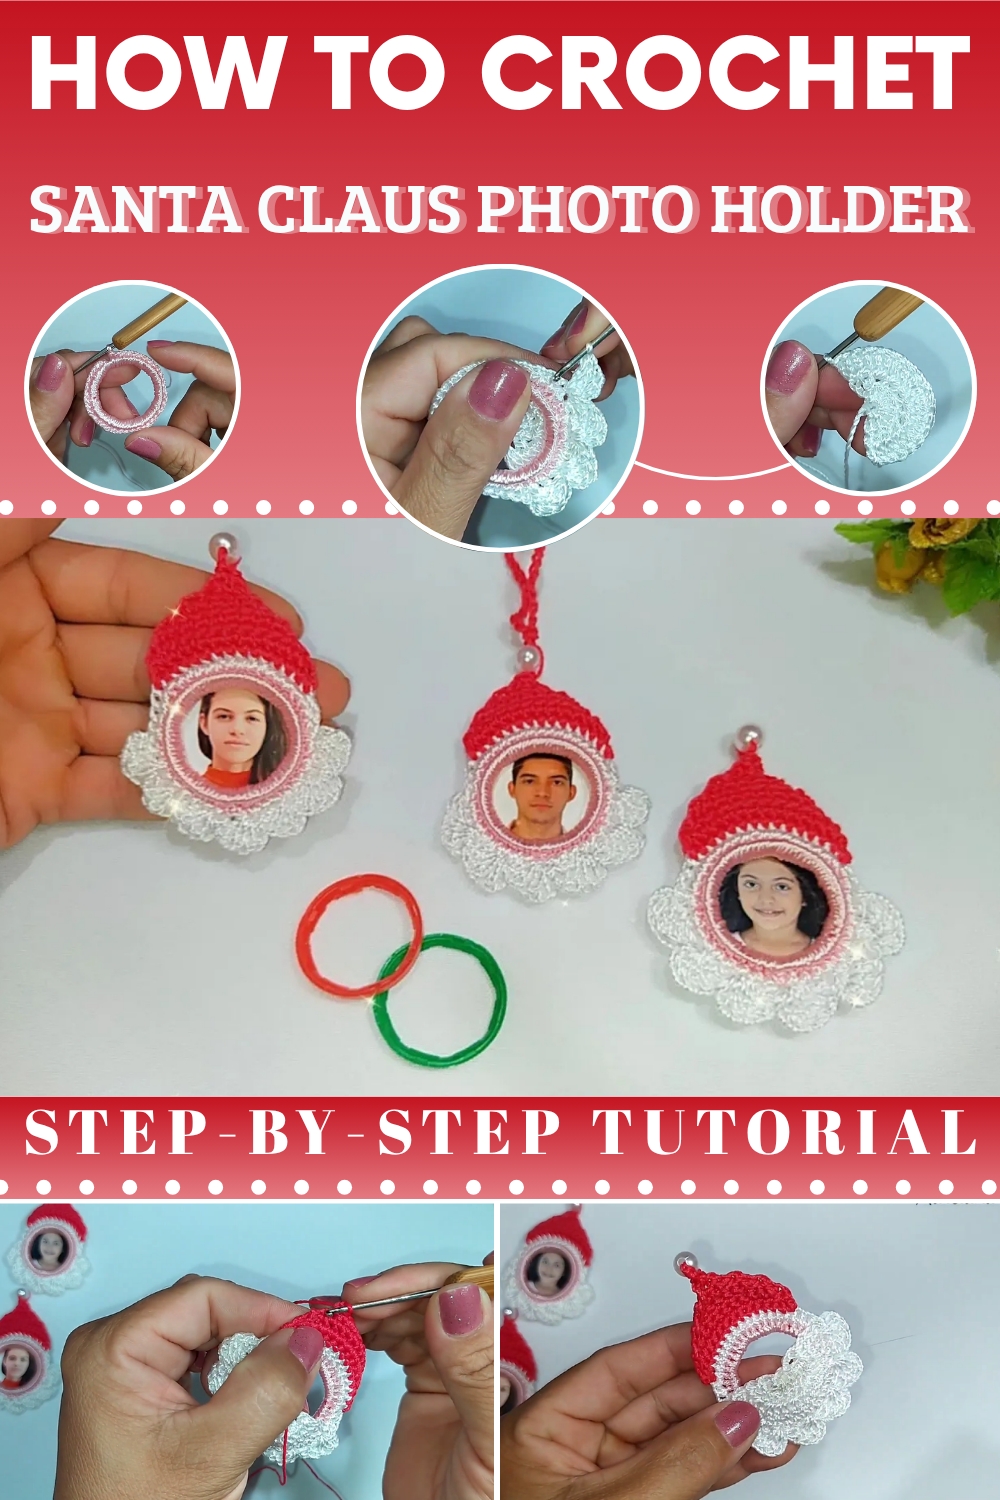
What makes this piece even more special is its versatility. The circular frame is designed to hold a photo, allowing you to showcase a cherished memory or the face of someone you hold dear. Whether it’s hung proudly on your Christmas tree as a heartwarming ornament or displayed on your fridge as an adorable magnet, it serves as both a decorative highlight and a conversation starter. It’s also a thoughtful and unique handmade gift, adding personal significance to any holiday celebration.
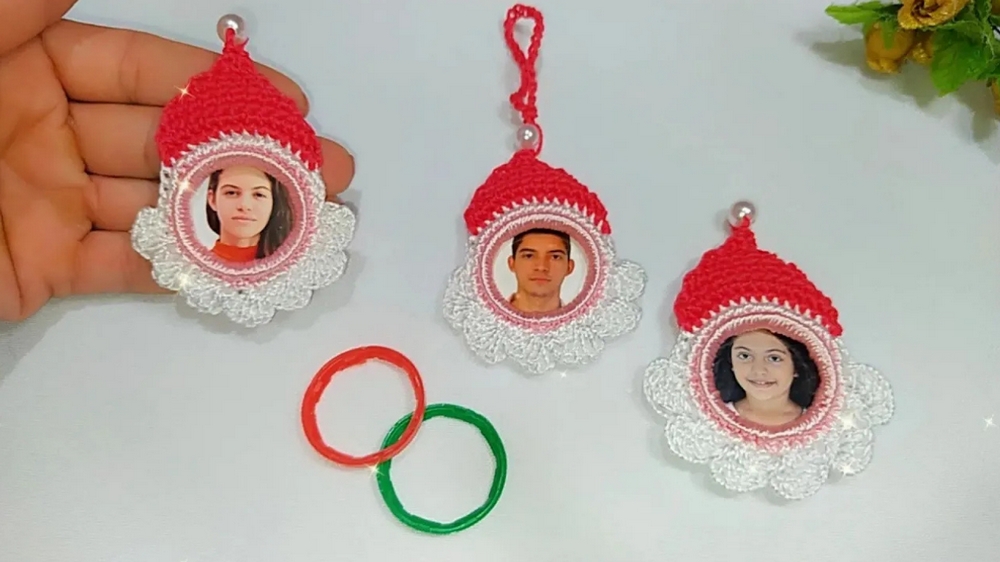
Beyond its aesthetic charm, the Crochet Santa Claus Photo Holder is an eco-friendly choice, making it ideal for those who appreciate sustainability. This simple yet enchanting project is perfect for both experienced enthusiasts and first-time crocheters, offering a creative outlet with lasting results. By blending functionality with festive beauty, this timeless piece is sure to spread warmth, joy, and the spirit of the season for years to come.
Free Recycled Ring Santa Claus Photo Holder / Magnet
Materials
- PET bottle ring (clean, burr-free)
- Yarn:
- Main (skin tone or pink, for face rim)
- White (for beard/face)
- Red (for hat)
- Crochet hook: 1.75 mm steel (or size to match your yarn)
- Scissors
- Yarn needle (for finishing and sewing)
- Polyfill (small amount, optional—for hat tip ball)
- Pearl bead (#8, for hat tip, optional)
- Ribbon (for hanging loop, optional)
- Fridge magnet (for back, optional)
- Hot glue (for bead or magnet, optional)
Key Abbreviations (US Terms)
| Abbreviation | Meaning |
|---|---|
| ch | Chain |
| sc | Single crochet |
| dc | Double crochet |
| sl st | Slip stitch |
| st(s) | Stitch(es) |
| MR | Magic ring |
| inc | Increase (2 sc in same st) |
Special Notes
- Use recommended stitch counts as a guide; adapt to your ring size if necessary.
- Work snugly around the PET ring for a neat cover.
- Easily customize colors and decorations for individuality.
Pattern
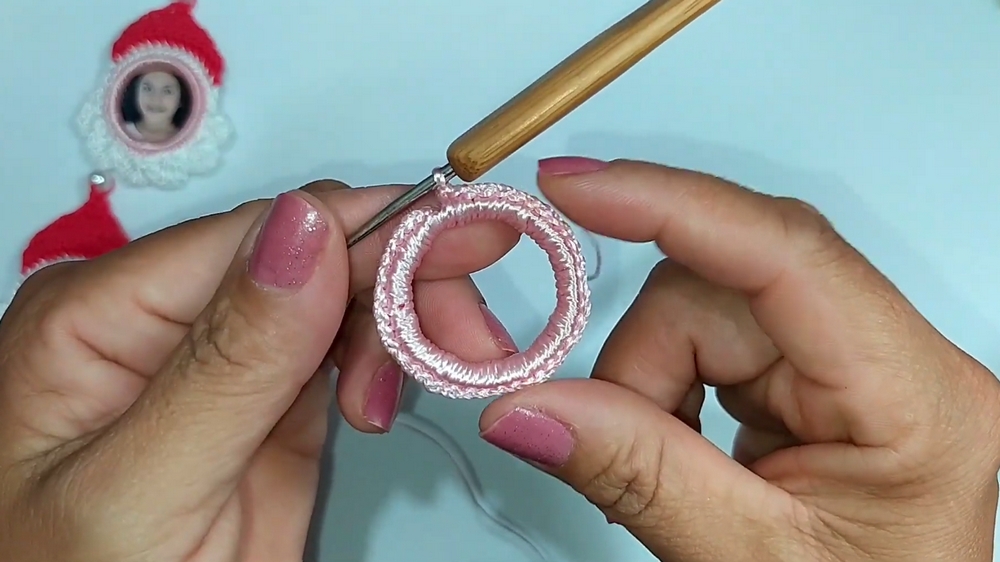
1. Covering the PET Ring (Face Rim)
- With main (pink/skin) yarn, attach yarn to PET ring with a slip knot.
- Work sc into ring until the entire ring is snugly covered.
- Join to first sc with a sl st.
- Fasten off and cut yarn.
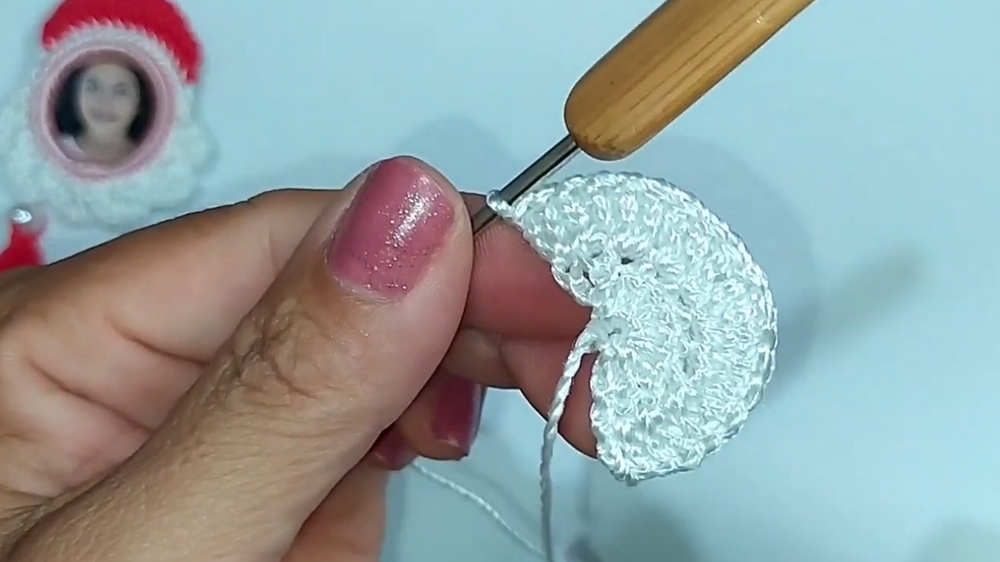
2. Face (White)
- Make a magic ring (MR) with white yarn.
- Ch 3 (counts as dc), 9 dc into ring (10 dc total including beginning ch-3).
- Close MR and join with sl st to first dc.
- Ch 3, turn.
- Row 2:
- Work 2 dc in each st across. (If preferred, you may alternate 2 dc per st; total 20 dc.)
- Fasten off and cut yarn.
3. Joining Face to Ring
- Place the face piece so the edge covers one side of the ring.
- Using matching yarn, join the face to the covered ring by working sc through both the edge of face and ring cover around the bottom half (or as desired for alignment).
- Continue sc around the face’s outer edge, joining as needed for a flat attachment.
- Join with sl st to finish; fasten off.
4. Santa's Beard & Photo Slot (White/Red)
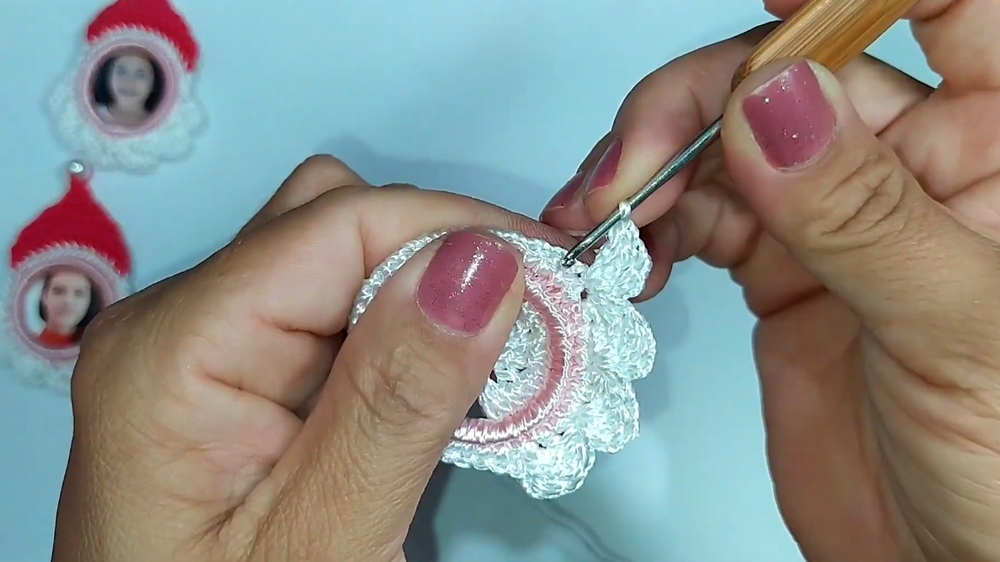
- Beard Frill:
- With white, ch 1, [3 dc in next st, skip 2 sts, sl st in next] repeat across lower half of the face.
- Repeat frill pattern for a fuller beard, or finish as desired.
5. Santa's Hat (Red)
- Find one side/top of the face/ring for hat placement.
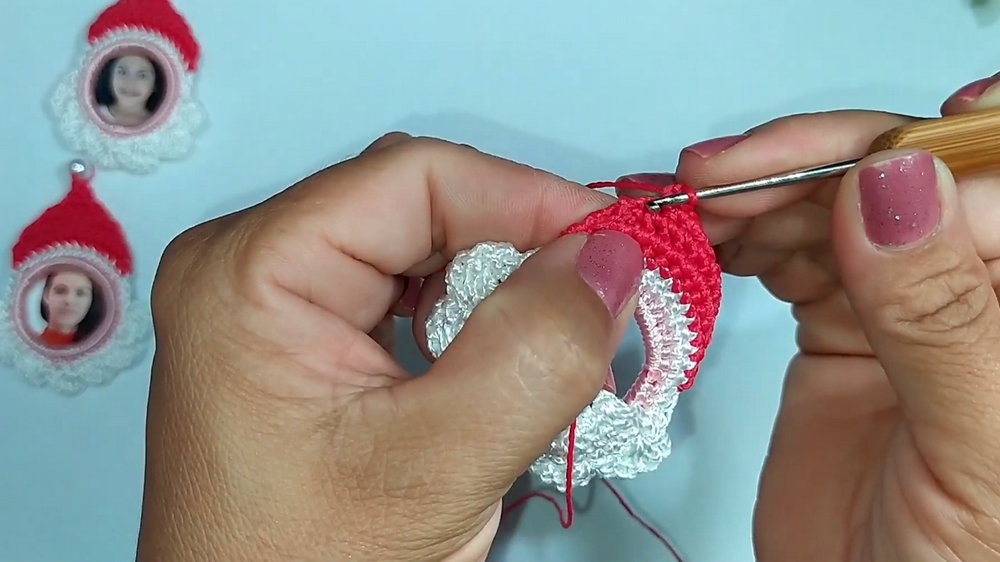
- Attach red yarn 2–3 sts from edge (row 1 for shaping the triangle):
- Row 1: [Sl st, ch 1, sc in same st, sc in each st across until 2 sts remain, 2 sc in last st].
- Chains, turns and decreasing:
Ch 1, turn work. Skip first st, sc in each across to last st.
(Decrease 1 st each row at both ends.)
- Repeat rows—each time, skip the first and last st—until just 2 sc remain at the tip.
- Fasten off, leaving a tail.
- Attach pearl (optional): Using the tail, sew a #8 pearl at the hat tip with sl st, fasten off.
6. Finishing and Hanging Options
- For use as tree ornament: Attach a ribbon at the hat tip loop, chain 20–30 for hanging.
- For photo slot: Use the ring opening as a slot for a small photo.
- For magnet: Hot glue a magnet to the back.
- Weave in all ends or seal if using polypropylene.
Conclusion
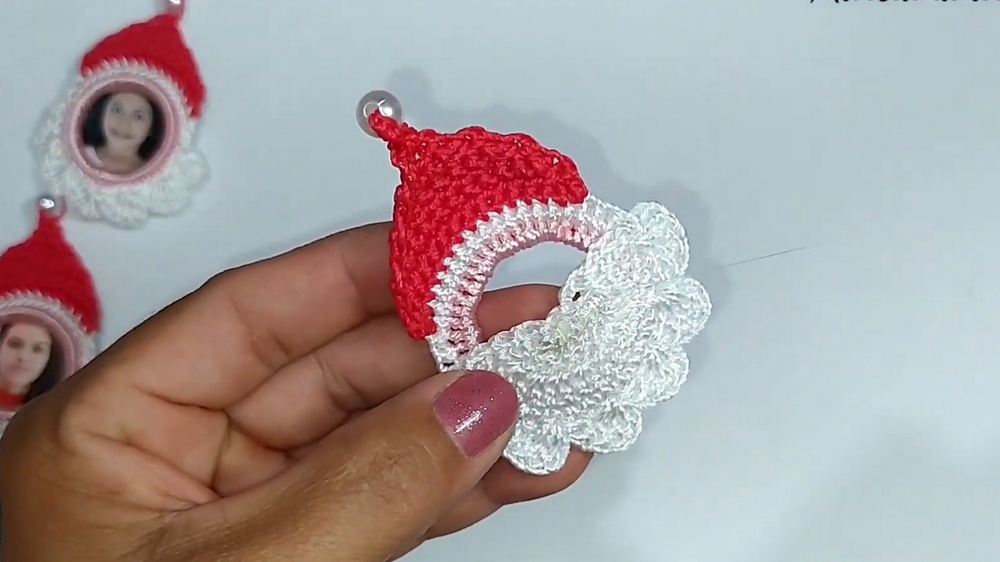
This Santa Claus photo holder is a merry, sustainable project that is fast, fun, and highly giftable. With PET bottle rings and a few crochet basics, you can create a whimsical Christmas keepsake.
Pattern Correction & Tips
Corrections:
- Adjust sc and dc amounts to perfectly fit your individual PET ring.
- Spacing of hat and beard elements may vary—arrange for best look.
Tips:
- Use small dots of glue to secure the beard or photo, if needed.
- For a 3D hat tip, stuff a tiny bit of fiberfill before attaching bead.
- Make a set in different skin tones for inclusivity.