
Easy Crochet Apple Keychain Free Pattern to Brighten Your Keys
Hang your keys with a charming Crochet Apple Keychain that is easy to make and adds a unique handmade touch perfect for gifts or personal use.
Have you ever wished for a cute little charm that could brighten up your day every time you grab your keys? The Crochet Apple Keychain is just right for you. This sweet and colorful apple is made by Shelen Crochet. It looks like a shiny red apple with a green leaf on top. It is soft and easy to hold. You can use it on your keys, backpack, or purse to make them look special and easy to find.
Mini Crochet Apple Keychain Free Pattern with a Amigurumi Design
This small apple keychain is not only cute but also feels warm because it is handmade. You can hang it on your school bag, use it as a zipper pull, or give it as a gift to someone who loves unique accessories. It matches well with many styles and is light to carry.
The best part about the Crochet Apple Keychain by Shelen Crochet is how nice it feels to have something made with love. This little apple can make your day better by adding color and joy. If you want to try making it yourself, the pattern is free and easy to follow.
You can make your own Crochet Apple Keychain and add a little happiness to your keys, bag, or gifts. Give it a try and enjoy a fun and colorful new accessory!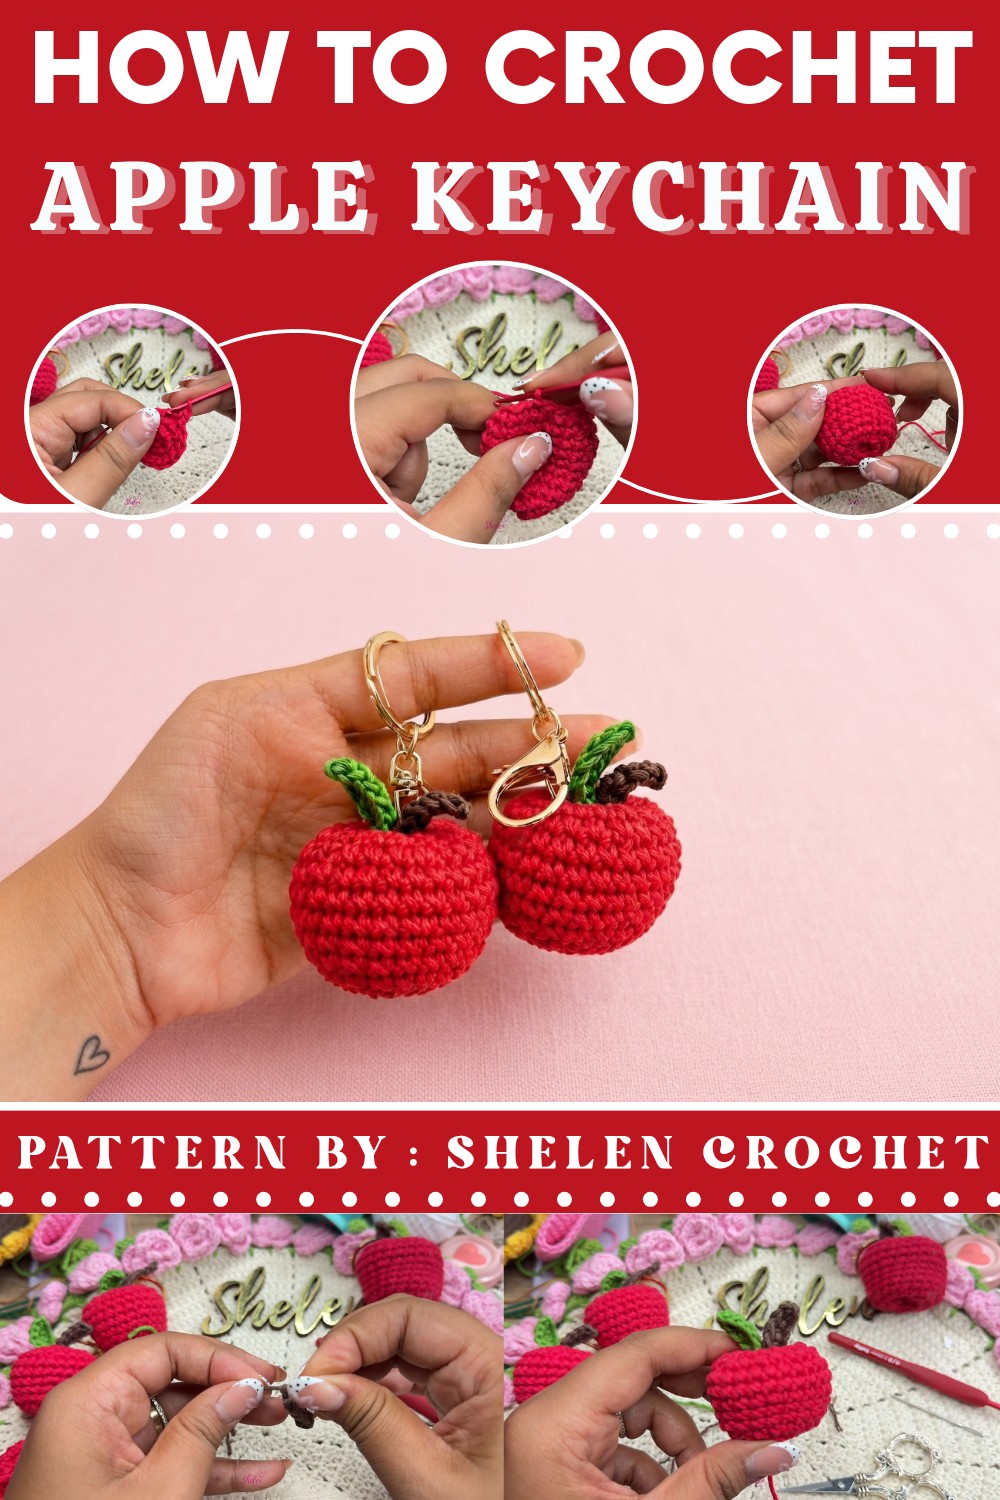
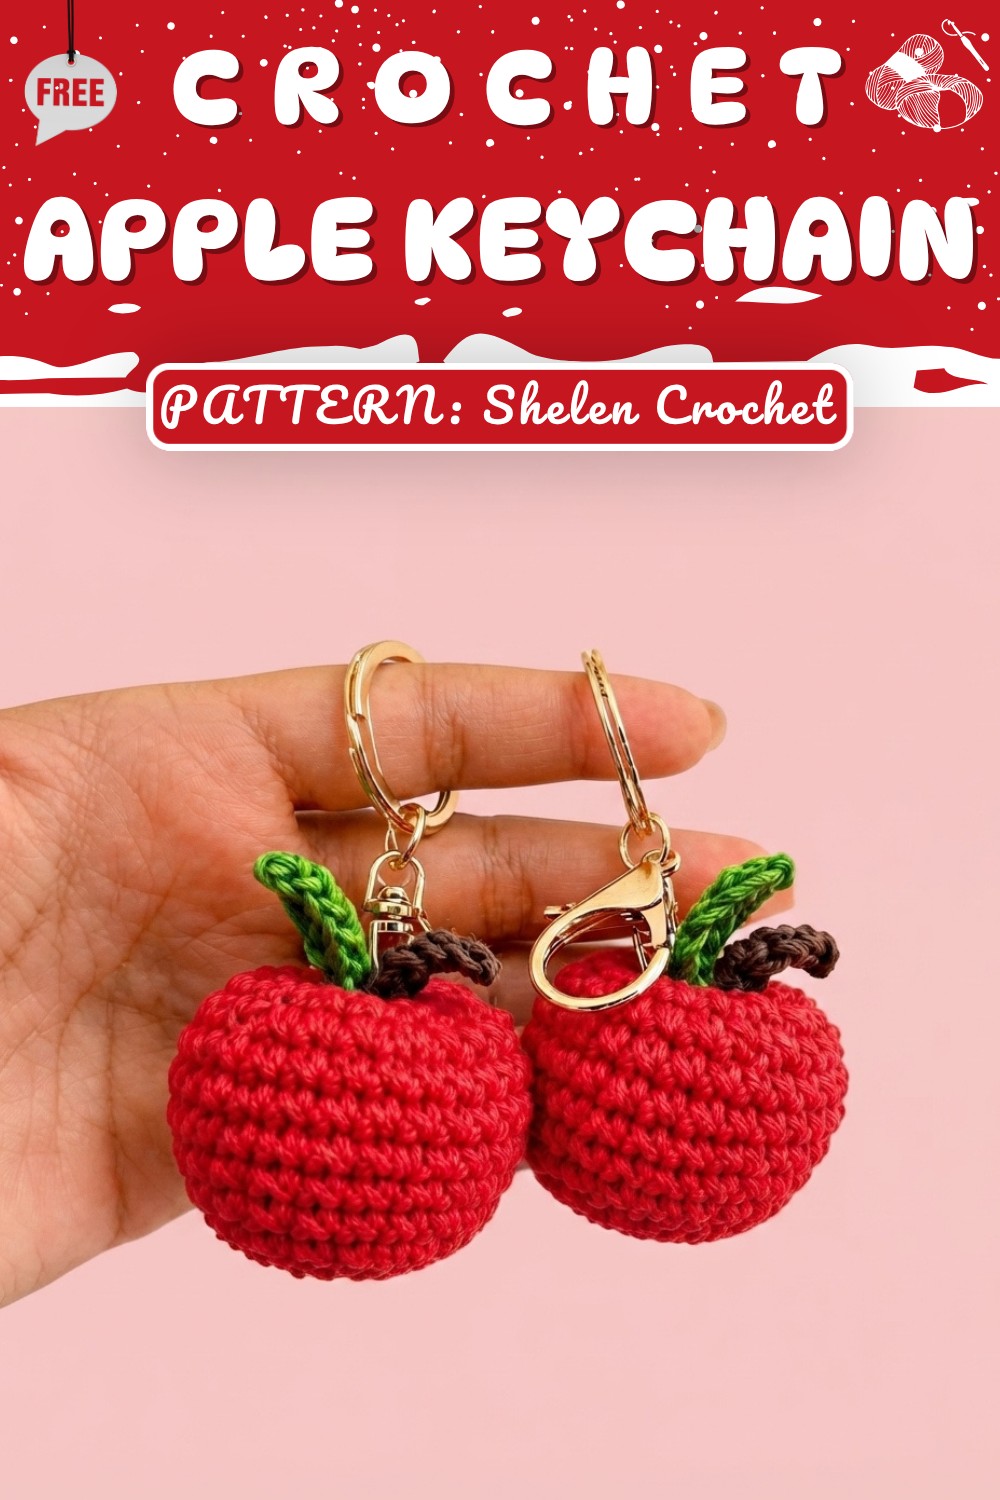
Little Apple Keychain | Crochet Pattern
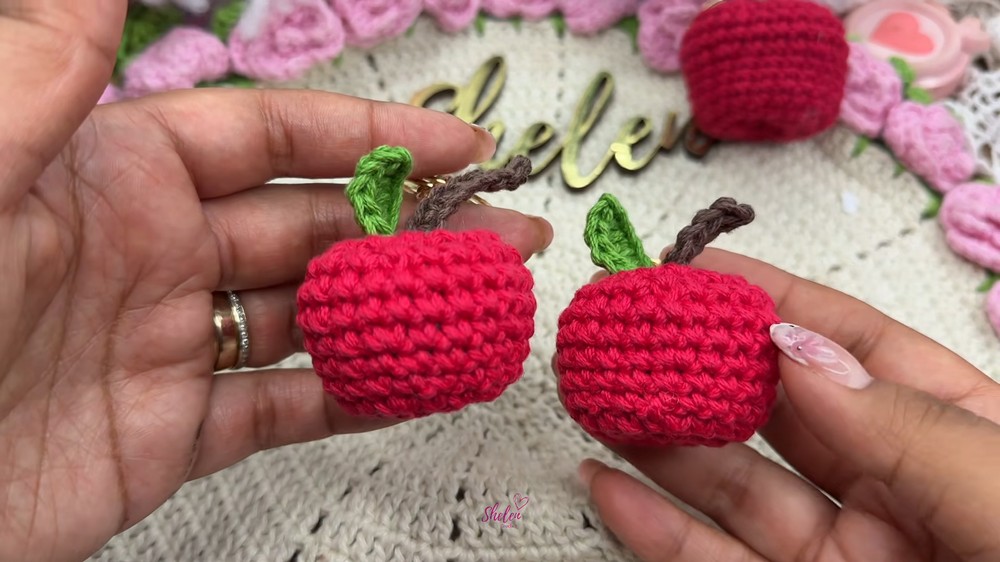
This delightful crochet project, where we’ll create charming little apple keychains—perfect as cute accessories or thoughtful handmade gifts. These easy-to-make keychains stand out with their vibrant colors, realistic leaf and stem details, and handy size. Great for beginners and experienced crafters alike, this adorable pattern is ideal for selling at markets or sharing with friends. Let’s dive into the steps and enjoy making these lovely little apples together
Quick Overview of Pattern
- Beginner-Friendly Apple Shape:
The apple is worked in a continuous spiral, shaping through simple increases and decreases. - Textured False X Stitch:
A subtle twist on the regular single crochet for a crisper, tighter apple surface. - Cute Leaf and Stem:
Separate pieces constructed and attached for a realistic finish. - Practical Keyring Assembly:
The design finishes with a securely sewn or glued keyring, blending durability with style.
Notes
- The apple is worked in continuous rounds (spiral); use a stitch marker to keep track of rounds if desired.
- The false X stitch is optional but recommended for best texture.
- All attachments (leaf, stem, keyring) can be sewn on for durability or glued for speed.
- Do not overstuff the apple—a lightly stuffed shape maintains its form and avoids stretching stitches.
- Seam allowance is not required for crochet items; make sure the closure is neat for best appearance.
Skill Level
Beginner to Confident Beginner:
Requires knowledge of basic crochet stitches (magic ring, single crochet, increases, decreases), sewing pieces, and basic finishing.
Materials
- Yarn: Cotton Sonilaza (or similar cotton yarn)
- Red (main apple body)
- Green (leaf)
- Brown (stem)
- Other Supplies:
- Pillow stuffing
- 2.5 mm crochet hook
- Keyring hardware/finding
- Embroidery needle (for sewing and weaving in ends)
- Scissors
Measurements / Sizing
- Finished apple measures approx. 4 cm in height x 4 cm in diameter (not including the keyring).
- Leaf/stem proportioned for realism.
Gauge (and Stitch Pattern if applicable)
- Gauge is not critical; however, tight, even stitches are preferred to prevent stuffing from showing.
- The pattern uses a "false X" single crochet for a decorative surface.
Stitch Abbreviations
| Abbreviation | Description |
|---|---|
| MR | Magic ring (magic circle) |
| ch | Chain |
| sc | Single crochet |
| inc | Increase (2 sc in same stitch) |
| dec | Decrease (invisible preferred) |
| sl st | Slip stitch |
| hdc | Half double crochet |
| dc | Double crochet |
Special Stitches
- False X Stitch:
Instead of standard sc, insert the hook under the ‘X’ formed by the previous stitch, pull up a loop, yarn over, and finish as a regular sc. This creates a tighter, textured surface. - Invisible Decrease:
Insert hook into front loop only of next two stitches, yarn over, pull through two loops, yarn over, pull through both.
Step-by-Step Pattern!
Apple Body (in Red)
- Start:
With red yarn, make a magic ring.
Ch 1 (does not count as a stitch; only for height).
Work 5 single crochets (sc) into the ring using the false X stitch (if desired).
Pull tight to close the ring. Join with a slip stitch to the first sc. (5 sc) - Round 2:
Ch 1. Work 5 increases around (2 sc in each st). Join with a sl st. (10 sc) - Round 3:
Ch 1. (sc in next st, inc in next st); repeat around. Join with a sl st. (15 sc) - Round 4:
Ch 1. (sc in next 2 sts, inc in next st); repeat around. Join with a sl st. (20 sc) - Round 5–6:
Ch 1. Sc in each st around. Join with a sl st. (20 sc per round) - Round 7:
Ch 1. (sc in next 3 sts, inc in next st); repeat around. Join with a sl st. (25 sc) - Round 8–9:
Ch 1. Sc in each st around. Join with a sl st. (25 sc per round) - Round 10:
Ch 1. (sc in next 3 sts, dec over next 2 sts); repeat around. Join with a sl st. (20 sc)
(For decreases use the invisible decrease method for a neat finish.) - Round 11:
Ch 1. (sc in next 2 sts, dec over next 2 sts); repeat around. Join with a sl st. (15 sc) - Round 12:
Ch 1. (sc in next st, dec over next 2 sts); repeat around. Do not close yet; pause here to stuff the apple lightly with fiberfill. Continue: (sc in next st, dec) to end, join with a sl st. (10 sc) - Round 13:
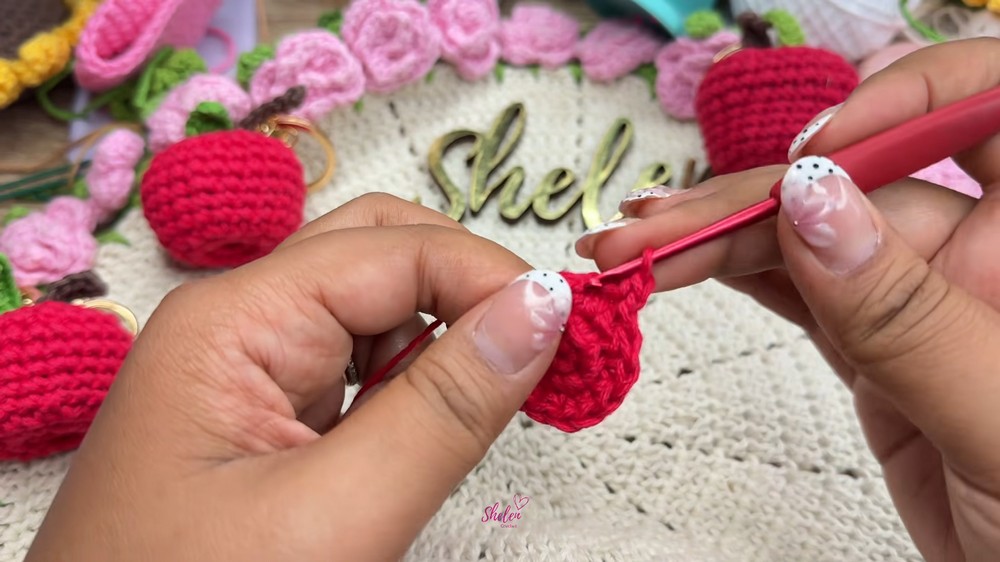
Ch 1. Work 5 decreases (dec over each pair of sts). Join with a sl st, ch 1, leave a long tail for closing and sewing. Cut yarn.

Shaping the Apple
- With the yarn tail and embroidery needle, weave needle through the front loops of the last round to gather the opening. Pull tight to close the apple.
- For a realistic “apple rump,” pass the needle from bottom to top, then back down, pulling gently to create a subtle indentation at the base and top, passing across in a cross shape to anchor and shape the apple’s segments. Repeat passes as desired for more definition.
- Leave the yarn tail attached for securing the keyring later.

Leaf (in Green)
- With green yarn, make a slip knot.
- Ch 6.
- In the 2nd ch from the hook: sc,
Next ch: hdc,
Next ch: dc,
Next ch: hdc,
Last ch: sc. - Ch 1, cut yarn leaving a tail for sewing.
Stem (in Brown)
- With brown yarn, make a slip knot.
- Ch 6.
- Starting in 2nd ch from hook, sc in each st across (5 sc).
- Ch 1, cut a long yarn tail for sewing.

Assembly & Finished Size
- Attaching Stem and Leaf:
- Knot the ends of stem and leaf for security if desired.
- Thread tails to the top center of the apple, stitch through to anchor firmly, or use glue as an alternative. Tidy and weave in extra ends.
- Position the leaf to one side of stem for an authentic look.
- Attaching the Keyring:
- Thread the long tail from the apple through the keyring hardware using the embroidery needle.
- Sew/secure keyring securely through the apple’s top center, making several passes. Hide/shoot the final tail through the apple to secure and clip excess.
- Finishing Touches:
- Adjust the segments by gently tugging shaping threads.
- Hide any remaining ends securely inside the apple.
- Your apple keychain is complete!
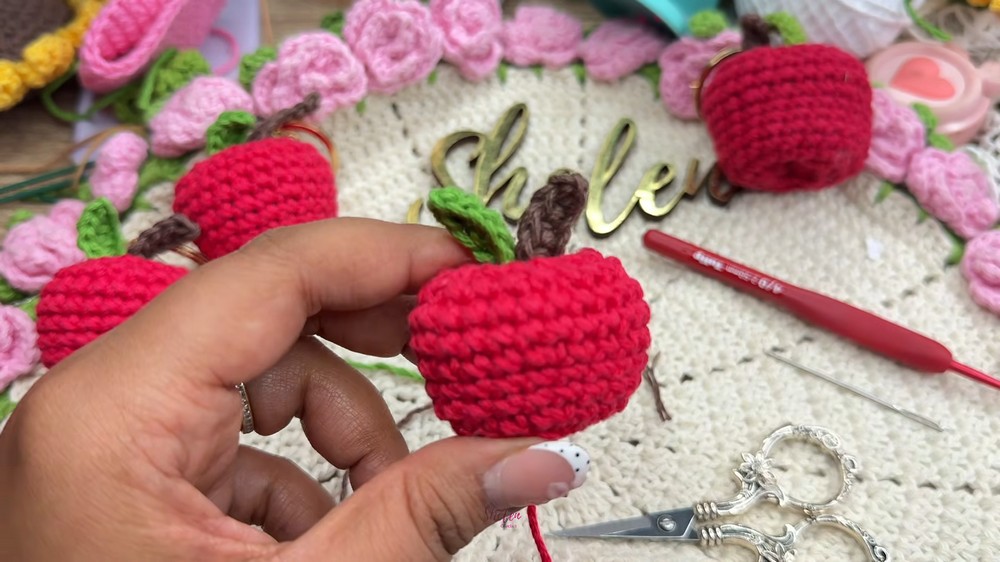
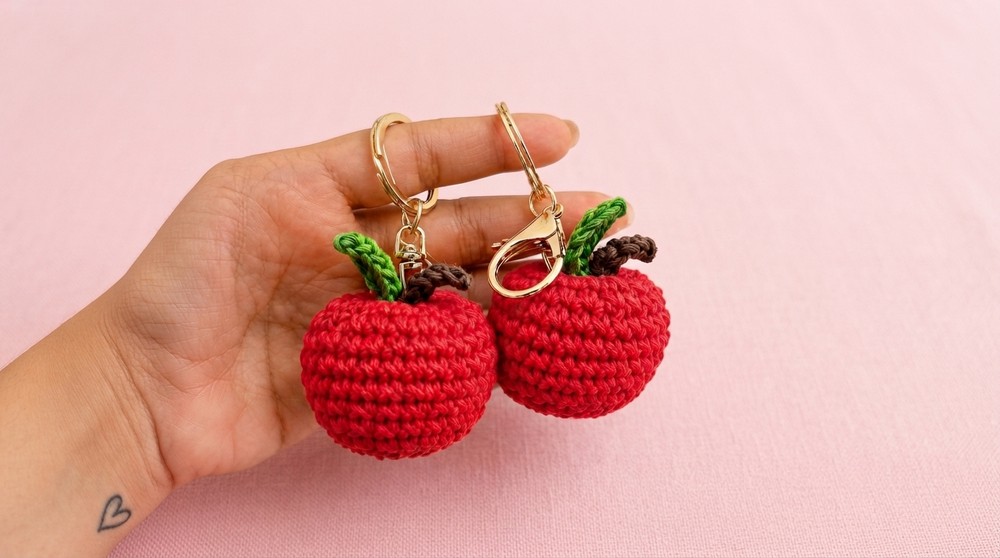
Finished Size:
- The completed apple is approximately 4 cm high by 4 cm wide, not including the keyring.
Conclusion and Ending Words
Congratulations! Your adorable little apple keychain is now ready to use, gift, or sell. With its vibrant colors, elegant shape, and sturdy construction, this simple pattern delivers delightful results every time. Thank you for joining in this creative project. We hope you enjoyed crafting along with us. Don’t forget to subscribe for more fun and practical crochet patterns. Happy crocheting and see you in the next tutorial!