
Crochet Amigurumi Halloween Doll Free Pattern for Holiday Decor
Easily make an adorable decoration with this Free Crochet Amigurumi Halloween Doll Pattern, perfect for adding charm to your holiday celebrations.
Crocheting little handmade toys is one of the most fun and rewarding hobbies you can have, especially when they celebrate special occasions. I recently enjoyed making a cute Halloween-themed project that’s both spooky and adorable. If you want to try something different this season, the Free crochet AMIGURUMI HALLOWEEN DOLL pattern is a perfect way to create a charming doll that fits right into the Halloween spirit.
Unique Free Crochet Amigurumi Halloween Doll Pattern
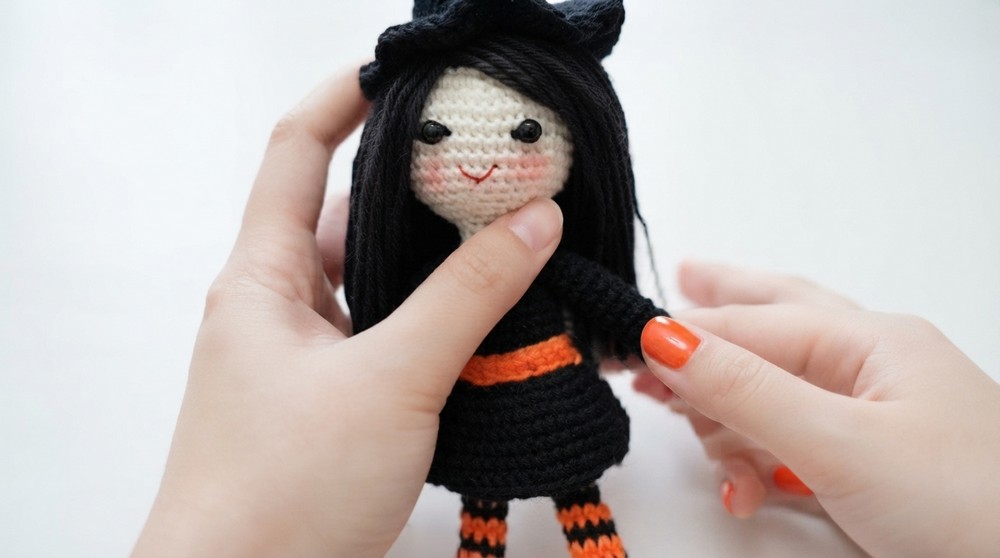
This amigurumi Halloween doll is full of personality and charm. It usually features classic Halloween details like a tiny witch hat, pumpkin clothes, or ghostly colors that make it stand out. The doll’s shape is soft and cuddly, with smooth, tight stitches that give it a neat and sturdy texture. Its style blends playful and a little spooky, making it perfect for decorating your home, adding to a collection, or even as a unique toy for kids. The handmade details, such as embroidered faces and stitched accessories, add to its special homemade feeling.
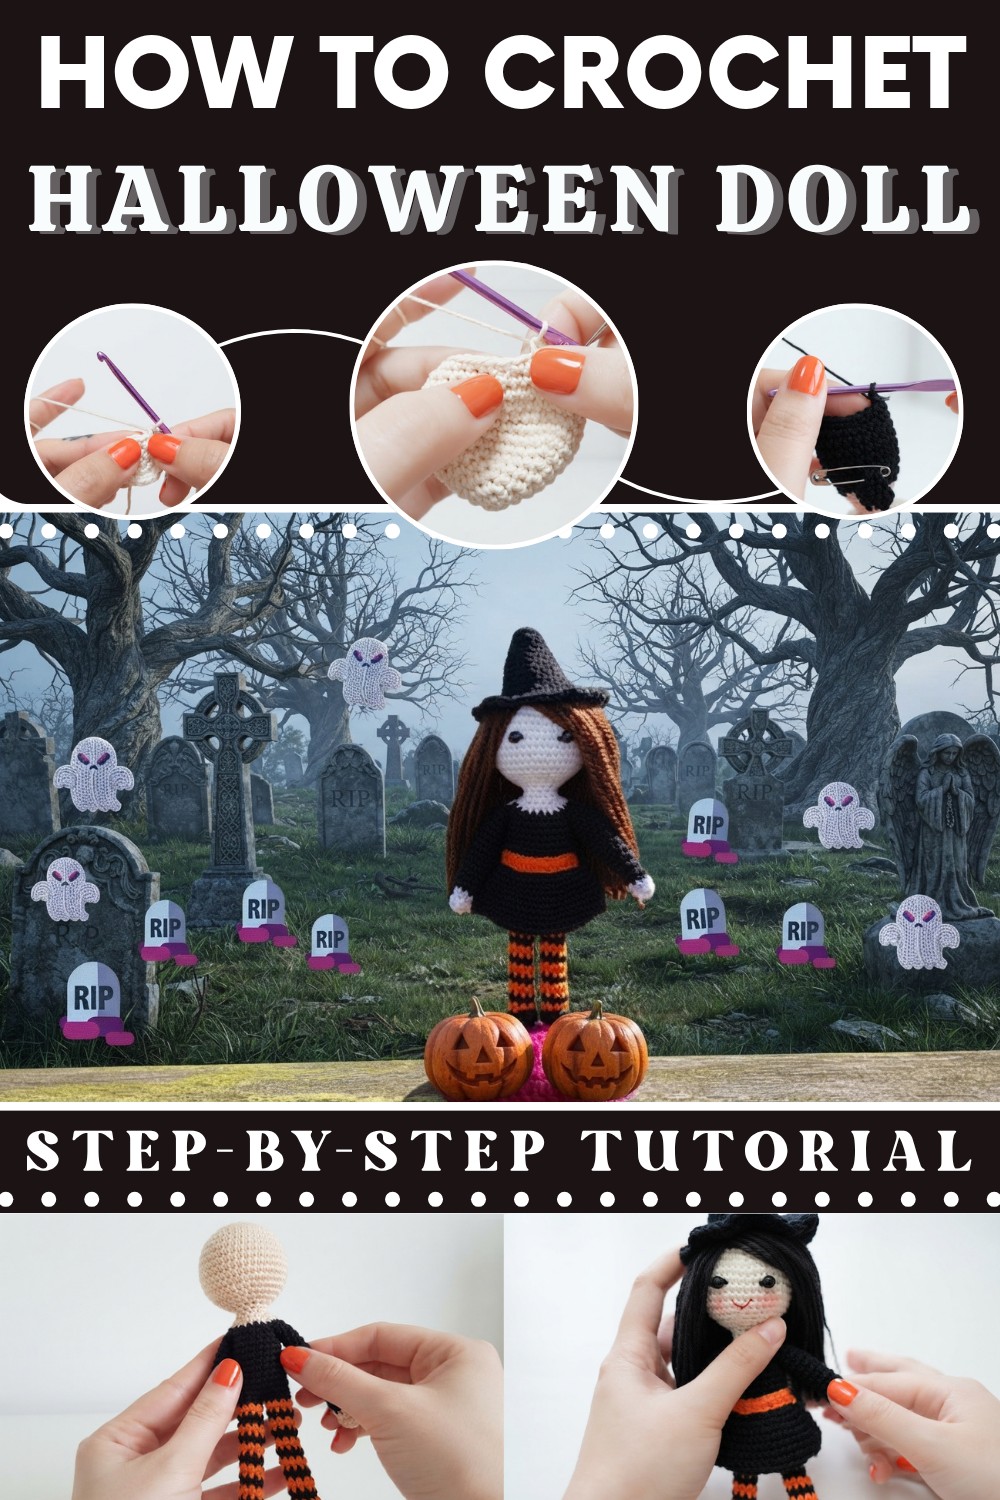
This project is ideal for beginner to intermediate crocheters, as it mostly uses single crochet stitches worked in continuous rounds to build the doll’s body and clothing. The pattern guides you through each step clearly, including sewing and decorating tips to help you add personality. It’s a great way to practice basic amigurumi skills while making something truly festive.
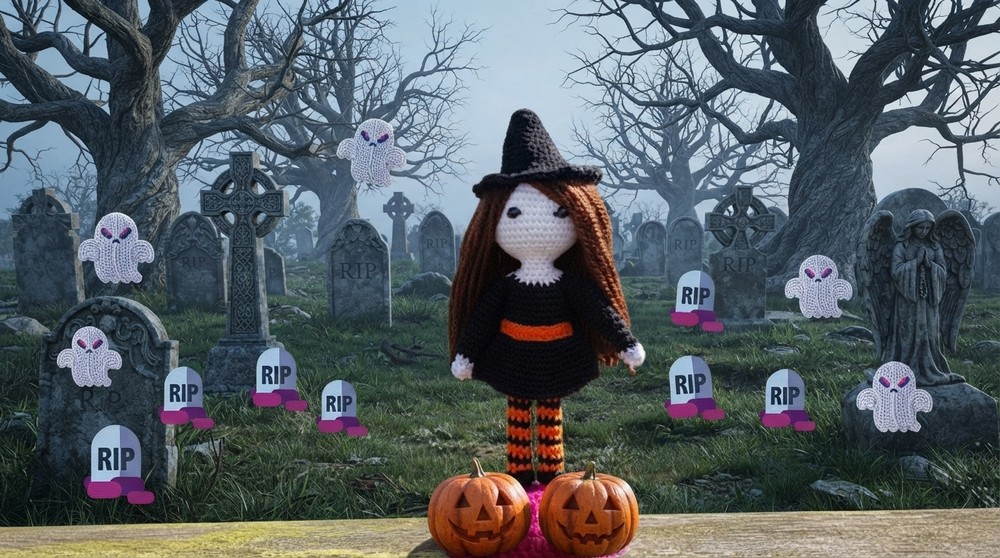
Besides being a fun seasonal craft, this Halloween doll makes a wonderful gift or collectible. It can brighten up your holiday décor, be a keepsake for years to come, or a playful companion for little ones. If you love cozy, creative projects that celebrate the season, this amigurumi Halloween doll is definitely worth trying. Give it a go—you’ll enjoy every stitch of this delightful craft.
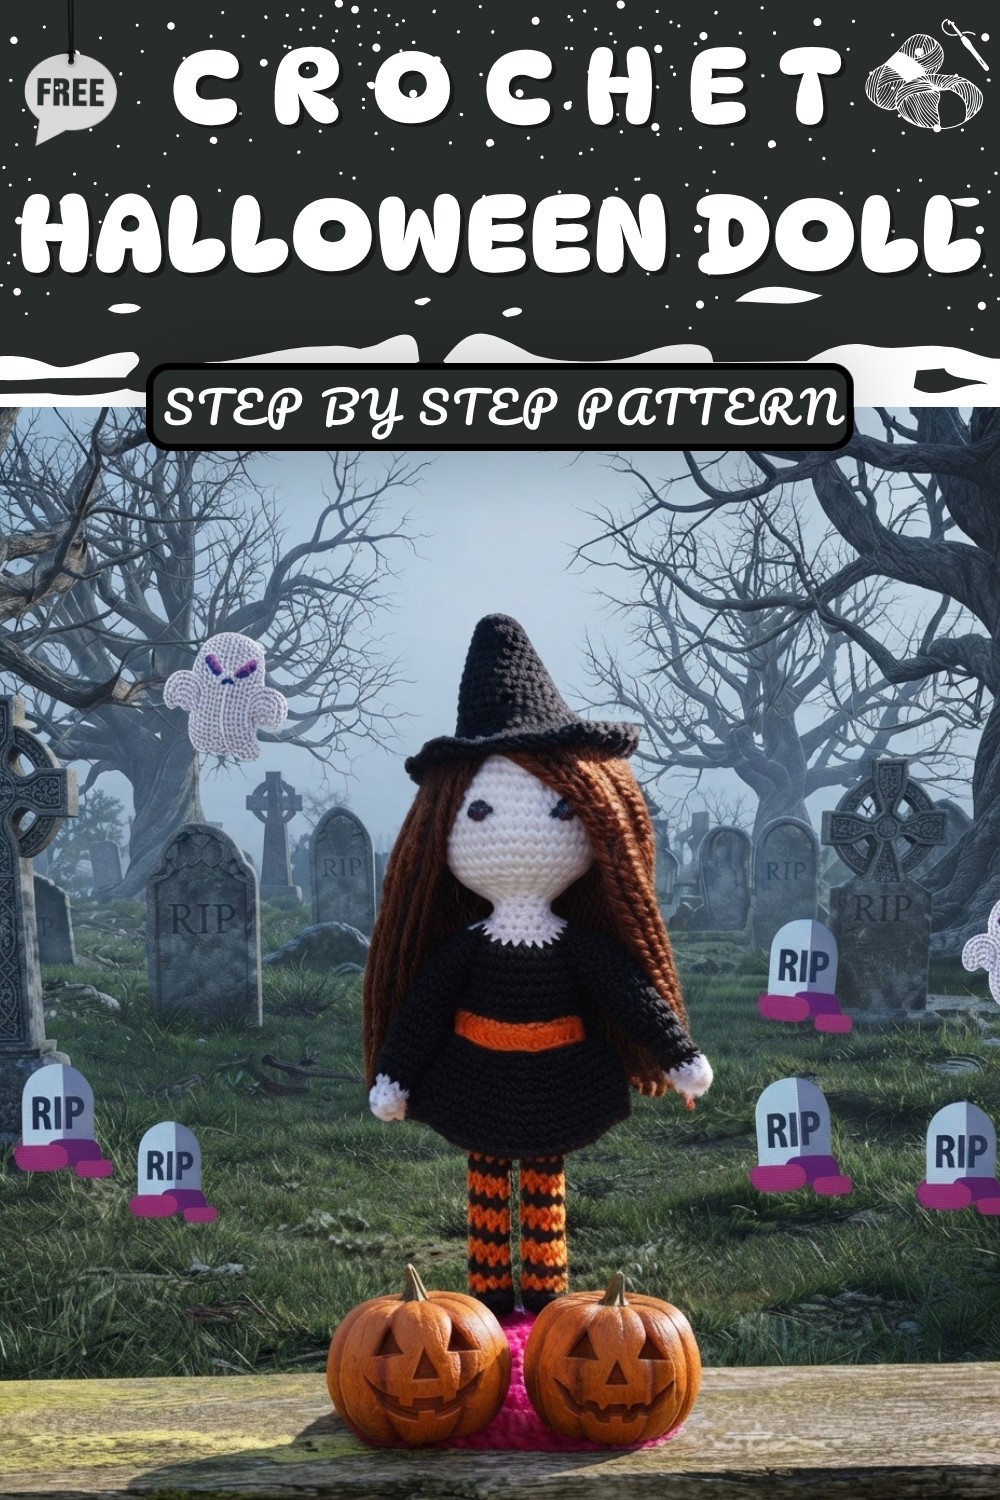
Halloween Doll Crochet Pattern
Quick Overview Of Pattern
- Begin with the head and body worked in continuous rounds
- Shape head, neck, and torso with increases/decreases
- Add legs and arms using alternate colors and pipe cleaners for poseable limbs
- Create skirt, belt, and add features (hair, face, hat, blush) for a Halloween look
Notes
- This doll is crocheted in the round; a stitch marker is key for keeping track.
- Pipe cleaners are used for flexibility in arms and legs but are optional.
- Switch yarn colors to customize your doll’s look.
- Add blush, amigurumi hair, and a Halloween hat for a complete effect.
Skill Level
Advanced Beginner / Intermediate
Basic amigurumi skills required: single crochet, increasing, decreasing, color changes, working in loops, and some assembly.
Materials
- 3 mm crochet hook
- Stitch marker
- Yarn needle
- Yellow, black, brown, orange, and skin tone yarns (cotton or acrylic)
- Pipe cleaner (optional, for arms and legs)
- Toy stuffing
- Scissors
- Optional: wire for arms/legs, scrap yarn for stuffing
Measurements / Sizing
- Finished height: approx. 6–7 inches (including hat)
- Leg and arm width: 0.5–1 inch
- Skirt length customizable by rounds
Gauge
Gauge is not critical; aim for tight stitches to prevent stuffing from showing.
1st round (head): approx. 1 inch across after increasing.
Stitch Abbreviations
| Abbreviation | Stitch |
|---|---|
| ch | chain |
| sc | single crochet |
| inc | increase (2 sc in 1) |
| dec | decrease (invisible) |
| sl st | slip stitch |
| dc | double crochet |
| BL | back loop only |
| FL | front loop only |
Special Stitches
- Magic Ring: Make a loop, insert hook, pull up a loop, ch 1 to secure.
- Invisible Decrease: Insert hook into front loops of 2 stitches, yarn over, pull through both, yarn over, pull through last 2.
- Color Change: Fasten off previous color, join new color with a slip stitch.
- Work in Back/Front Loop: Insert hook only in the back/front loop as directed.
The Crochet Pattern
Head & Neck (Skin Tone Yarn)
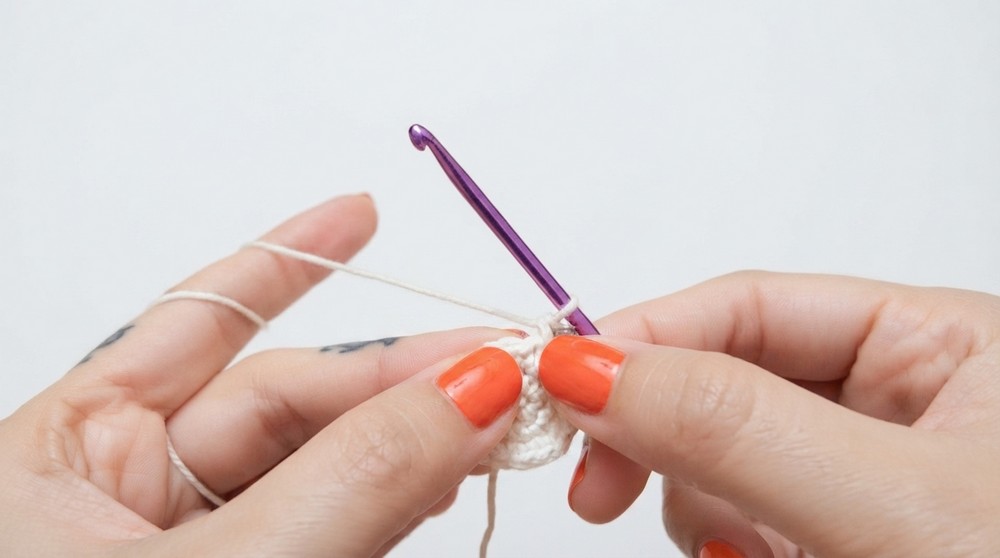
- Magic Ring, ch 1 (not counted). 6 sc in ring.
Tighten and close ring. - Round 2: 2 sc in each stitch. (12 sts)
- Round 3: [1 sc, inc] around. (18 sts)
- Round 4: [2 sc, inc] around. (24 sts)
- Round 5: [3 sc, inc] around. (30 sts)
- Round 6: [4 sc, inc] around. (36 sts)
- Round 7: [5 sc, inc] around. (42 sts)
- Rounds 8–12: sc around. (42 sts for 5 rounds)
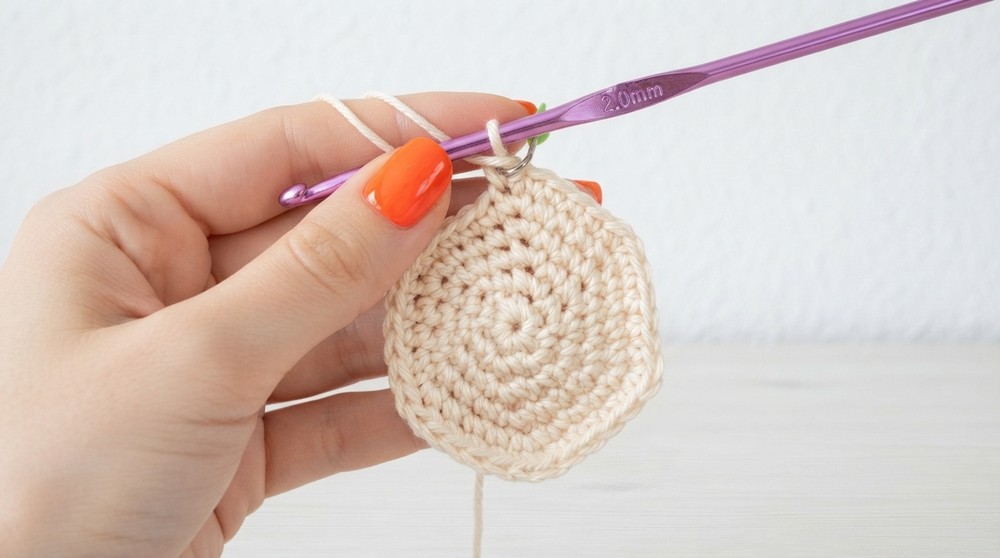

Neck Shaping (Decreasing)
- Round 13: [5 sc, invisible dec] around. (36 sts)
- Round 14: [4 sc, dec] around. (30 sts)
- Round 15: [3 sc, dec] around. (24 sts)
- Round 16: Add toy stuffing. [2 sc, dec] around. (18 sts)
- Round 17: Add more stuffing. [1 sc, dec] around. (12 sts)
Torso & Hip
- Rounds 18–20: sc around for 3 rounds. (12 sts)
- Round 21: [1 sc, inc] around. (18 sts)
- Round 22: [2 sc, inc] around. (24 sts)
Color Change & Waist (Black Yarn)
- Switch to black yarn.
- Round 23: [3 sc, inc] around. (30 sts)
- Round 24: [4 sc, inc] around. (36 sts)
Add toy stuffing in torso before proceeding.
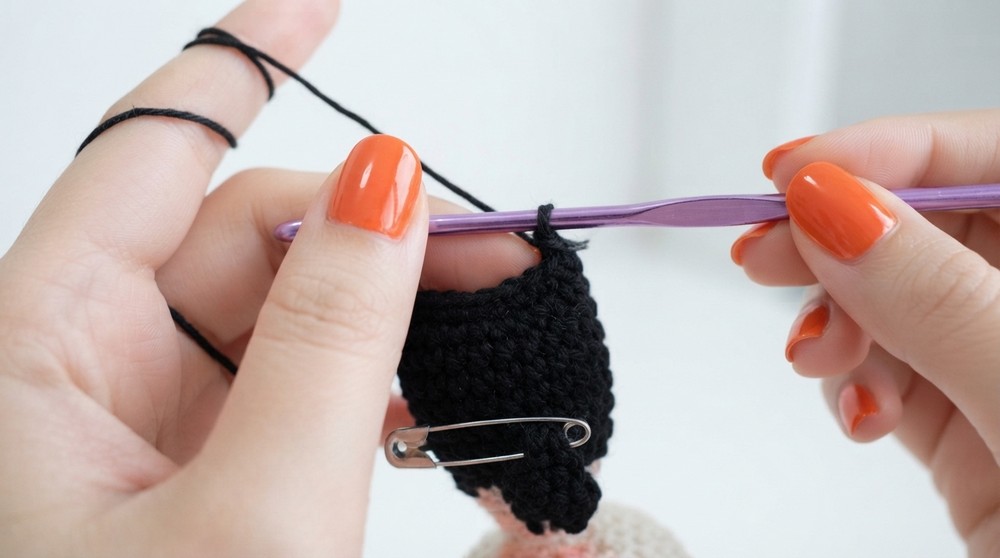
Arm Partition
- Count 8 stitches from the side for each arm opening, mark with stitch marker for correct symmetry.
Body
- Rounds 25–31: sc around for 7 rounds. (36 sts)
- Round 32: Work sc in Back Loop Only around.
(Creates a line to attach skirt at the waist.)
Hip/Legs Partition
- Add stuffing before creating leg separation.
- From 20 stitches, count 10 stitches for each leg partition, place stitch markers.
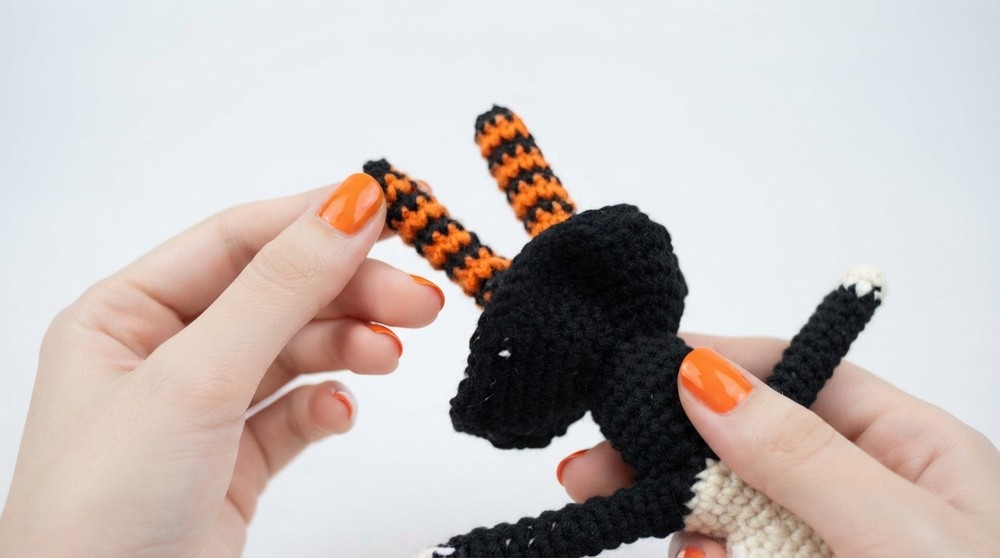
Legs (Black & Orange Yarn, pipe cleaner optional)
For each leg:
- Work sc around leg opening in both loops, (10 sts).
- Alternate colors every round for 15 rounds (black and orange).
Place pipe cleaner inside for poseable legs. - Use needle to close the hole at the bottom of each leg.
Arms (Black & Skin Tone Yarn)
For each arm:
- Insert hook on side (wrong side) in marked position.
- Work sc around for 10 rounds using black yarn.
- Switch to skin tone yarn, work 2 rounds sc.
- Insert pipe cleaner; close with needle at hand and shoulder.

Skirt (Black Yarn, worked in FL at waist)
- Insert hook in front loop left from waist line.
- Ch 3, dc twice in each front loop around (increase skirt fullness).
- Join with sl st, ch 2, dc in each space around.
Repeat for more fullness or length.
Belt (Orange Yarn)
- Chain 22.
- Sc in second ch from hook and across.
- Fasten off and sew around doll’s waist.
Features & Assembly
- Attach hair as desired (optional On your Choice).
- Sew eyes and lips.
- Add blush (optional).
- Sew Halloween hat to head (optional On your Choice).
- Weave in all ends, close holes at leg and arm joins.
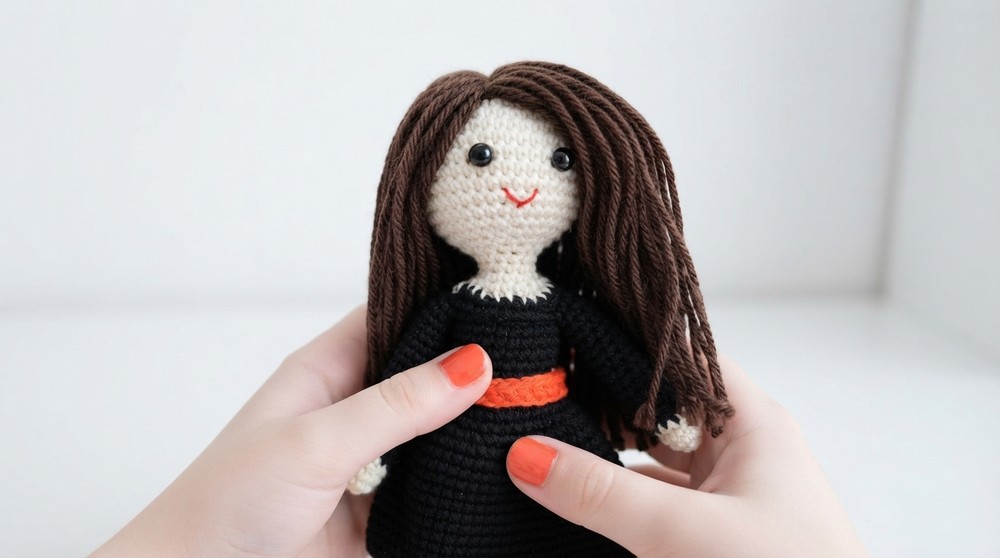

Assembly & Finished Size
- Attach arms and legs securely.
- Sew skirt and belt in place.
- Finished doll stands 6–7 inches tall, dressed in a Halloween theme.
Conclusion
The Halloween doll is now complete! You can further accessorize with blush and a spooky hat. For details like hair and hat, see the related videos in the description. I hope this tutorial is helpful—please give it a thumbs up and be part of my growing community by subscribing to the channel and clicking the bell button for notifications.