Versatile Crochet Garland Pattern That Spark Joy & Warmth
Celebrate any space with this easy Crochet Garland Pattern that adds charming, handmade accents perfect for festive décor and everyday warmth.
A simple twist of yarn can turn any space into a celebration, bringing warmth and a sense of cheer without overwhelming the surroundings. Crochet Garland Hanging softly across a mantel or draped along a window frame, these delicate accents carry the spirit of festivity in their subtle charm. Their presence is understated but meaningful, quietly transforming everyday corners into inviting nooks filled with handmade character.
Handmade Crochet Garland Pattern That Add Subtle Festive Flair
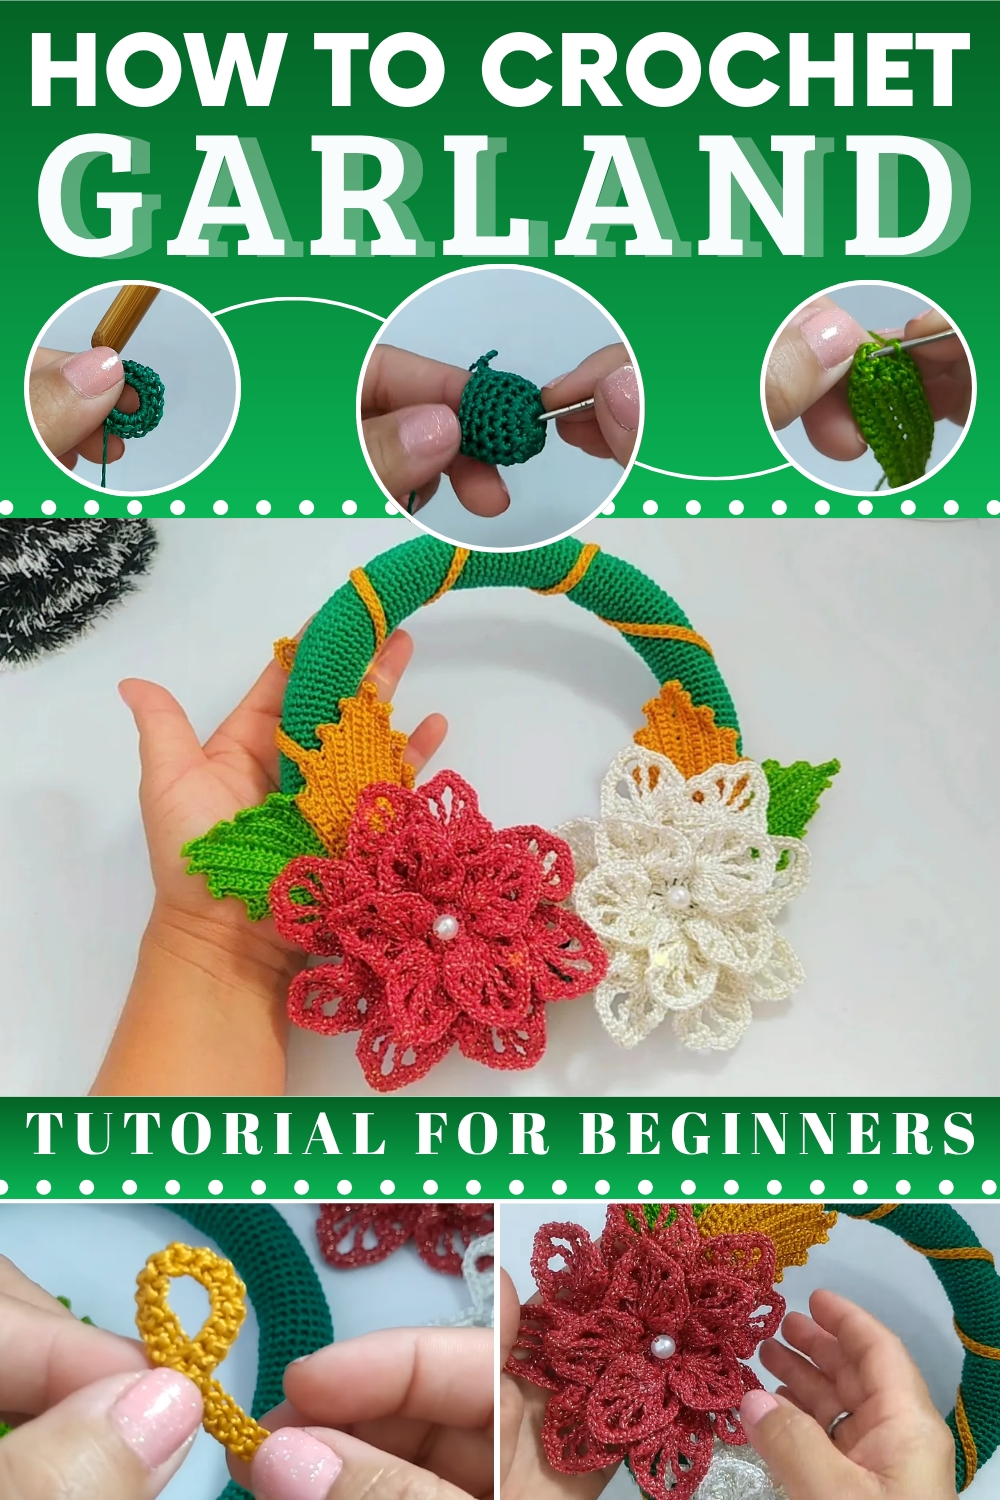
This garland is lightweight and flexible, typically measuring several feet long depending on the number of motifs included. It suits a variety of uses: brightening holiday décor, accentuating party spaces, or adding a personal touch to everyday home styling. Its benefits include ease of customization through choice of motif shapes, colors, and spacing, making it suitable for beginners and advanced crocheters alike.
Easy Crochet Garland Pattern
Materials Needed
Yarn
- Main Yarn Type: Thick silk thread - Tex 288 (100% polypropylene).
- Alternative Yarn: Any yarn of your choice suitable for decorations, such as cotton or acrylic.
Tools
- Crochet Hook: Size suitable for your chosen yarn (recommended: 3.5 mm–4.0 mm for Tex 288).
- Filler/Batting: To fill the wreath base.
- Tapestry Needle: To weave in ends and sew the wreath parts together.
- Scissors: For cutting yarn.
- Fabric Glue: Optional, for securing decorations.
Special Techniques
- Magic Ring: Creates a loop to begin the flower and wreath base without leaving a large hole.
- Single Crochet (SC): A simple and tight stitch used throughout the pattern.
- Slip Stitch (SL ST): Used to close rounds or join stitches seamlessly.
- Chain Stitch (CH): Forms a foundation chain or decorative cords.
- Increases: Working multiple SCs in the same stitch to create curves or shape.
Skill Level
Beginner to Intermediate.
The project incorporates basic crochet stitches and simple assembly techniques. Ideal for those who are comfortable with single crochet and creating simple shapes.
Pattern Instructions
Step 1: Create the Base for the Wreath
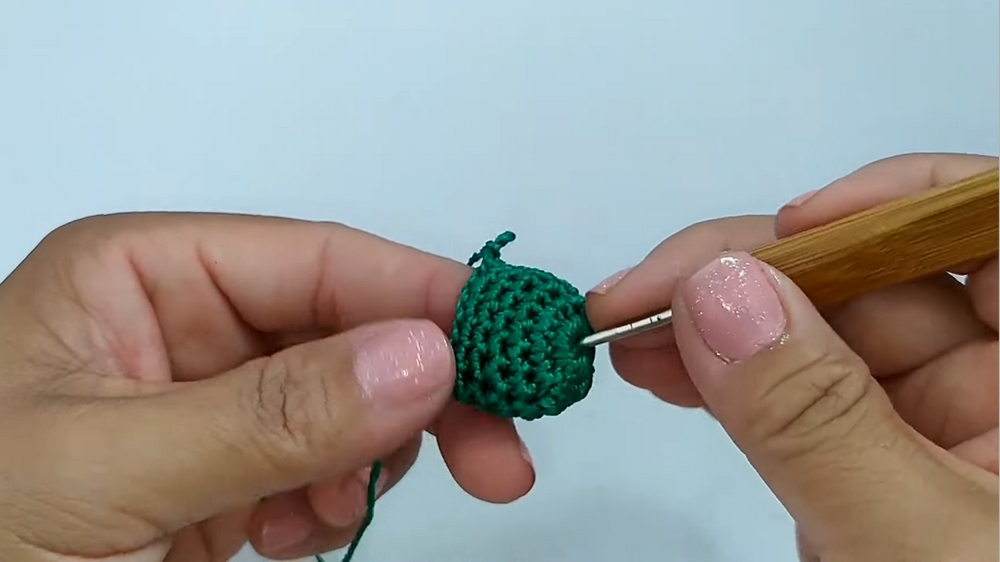
- Create a Magic Ring:
- Wrap the yarn around your fingers to form a loop. Insert the hook, pull up a loop, and chain 1 to secure the ring.
- Round 1:
- Work 15 SC inside the magic ring.
- Pull the tail to close the loop. Insert the hook into the first SC and secure with a SL ST.
- Rounds 2–5:
- Ch 1, work 1 SC into each stitch around.
- Place a stitch marker at the beginning of the round and work continuously in the round without joining.
- Continue for a total of 4 rounds.
- Shaping the Circular Tube
- After the 5th round, begin increasing: Work 2 SC into 1 stitch every 5 stitches.
- Repeat this increase pattern to create width for the circular base.
- Form the Wreath Shape:
- Continue working in continuous rounds of SC until the desired length is reached (60 cm was used in the video).
- Periodically stuff batting or filler into the tube to give the base its shape.
- Close and Join:
- Fold the two ends of the base together and sew or crochet them together to create a seamless wreath. Use a long yarn tail to do this securely.
Step 2: Create the Leaves
- Foundation Chain:
- Ch 17 (this includes the turning chain).
- Work into the Foundation Chain:
- Skip the first chain. Work SC into each chain across until the last chain.
- Round the Leaf Point:
- In the last chain, work 1 SC, CH-3, and 1 SC to create the point of the leaf.
- Work Along the Opposite Side:
- Rotate your work and work SC into the back loops of the foundation chain until you reach the starting point.
- Repeat Rows:
- Work additional rows to create the textured peaks of the leaf.
- For each new row: CH 3 to turn, work SC into the loops of the previous row, and make a point by working SC, CH-3, SC at the outermost edge.
- Complete the Leaf:
- Continue this process until the leaf has 5 peaks. Fasten off, and weave in the ends.
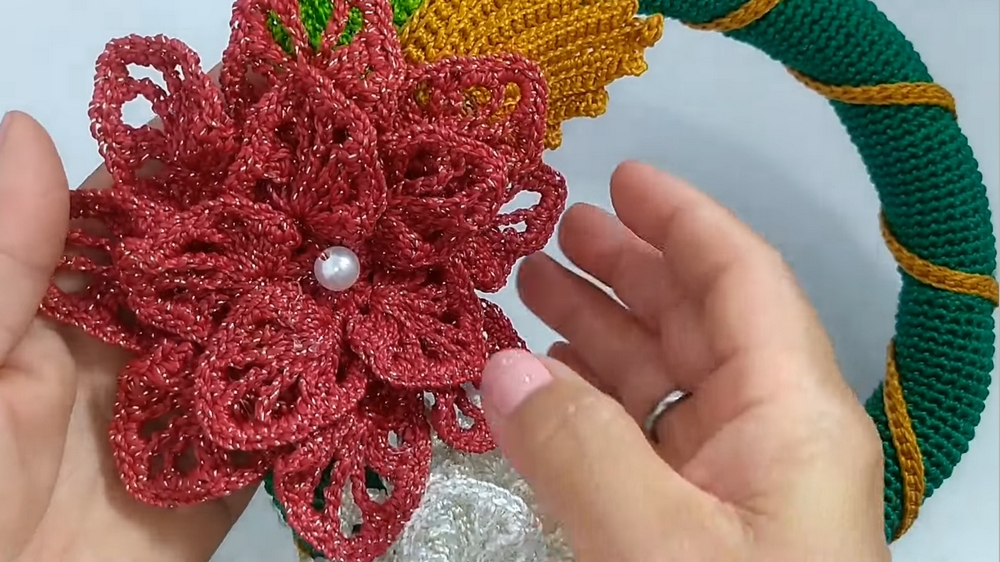
Step 3: Create the Flowers
- Follow Flower Tutorial:
- Use your favorite 3D crochet flower pattern, or follow the one linked in the video.
- Recommendations for flowers: A combination of layered petals and a tightly structured middle.
- Number of Flowers:
- Make as many flowers as you like. In the video example, 2 flowers were used.
Step 4: Chain Cord for Hanging
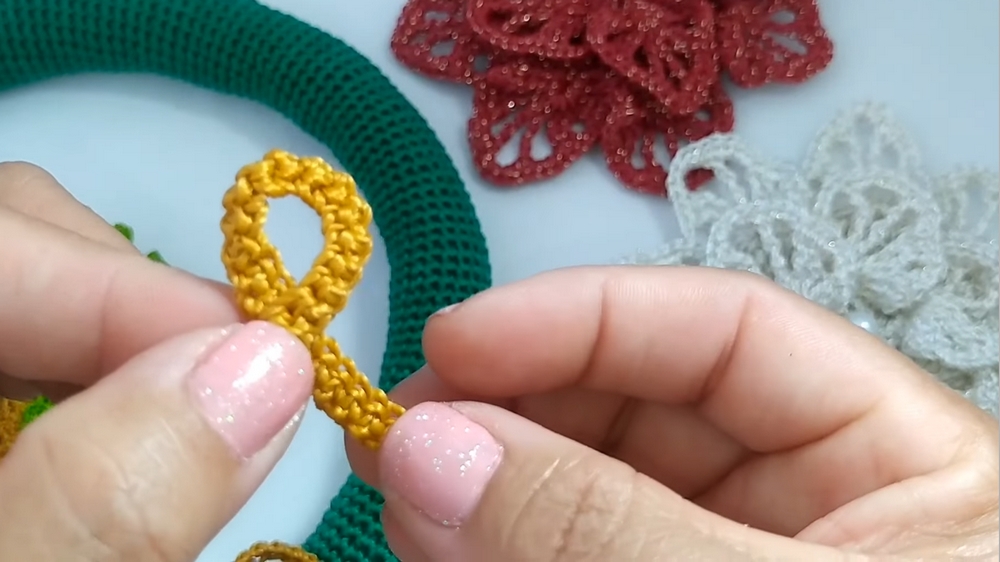
- Chain Creation:
- Create a long chain cord, approximately 60–70 cm, or as long as needed for hanging.
- Reinforce with SC:
- Work 1 SC into each chain along the length of the chain for durability.
- Attach to Wreath:
- Form a loop with the chain and attach it securely to the top back portion of the wreath.
Step 5: Assembly and Decoration
- Attach Leaves and Flowers:
- Use yarn or fabric glue to secure the flowers and leaves to the wreath base as desired. For a balanced design, place flowers slightly off-center and leaves radiating outward.
- Positioning:
- Arrange the decorations symmetrically or as per personal preference.
Finishing the Wreath
- Trim Excess Yarn:
- Cut any excess yarn and weave in all loose ends using a tapestry needle.
- Secure Attachments:
- Use fabric glue for extra security, especially for hanging pieces.
- Final Adjustments:
- Shape your wreath and decorations to ensure everything looks even and balanced.
Final Words
Congratulations on completing your stunning crochet wreath! This handcrafted piece brings a beautiful, seasonal charm to any room or door. You can customize it further using different flowers, additional embellishments, or bright and festive colors.
Tips for Success
- Yarn Choice: Using stiffer yarn (such as polypropylene or other synthetic fibers) helps the wreath hold its shape better.
- Tight Stitches: Work tightly to maintain the wreath’s structure and texture.
- Personalize: Add ribbons, beads, or other decorations to enhance the festive look.
- Adapt Size: For a larger wreath, increase the length of the base tube or use thicker yarn.
- Storage: To maintain the shape during storage, place the wreath in a box or hang it securely to avoid crushing the decorations.