
Soft Crochet Cobweb the Cat Pattern Perfect for Display
This adorable black cat with big bright eyes, a playful witch hat, and a charming broom is the perfect decoration for Halloween or any magical occasion. It’s ideal for sitting on shelves, desks, or as part of spooky displays. Its cheerful Crochet Cobweb the Cat Pattern adds character and fun, whether as a gift for friends or a handmade surprise for kids. You can place it on your bedside table, use it as a delightful centerpiece, or even hang it in your car for a twist of festive charm.

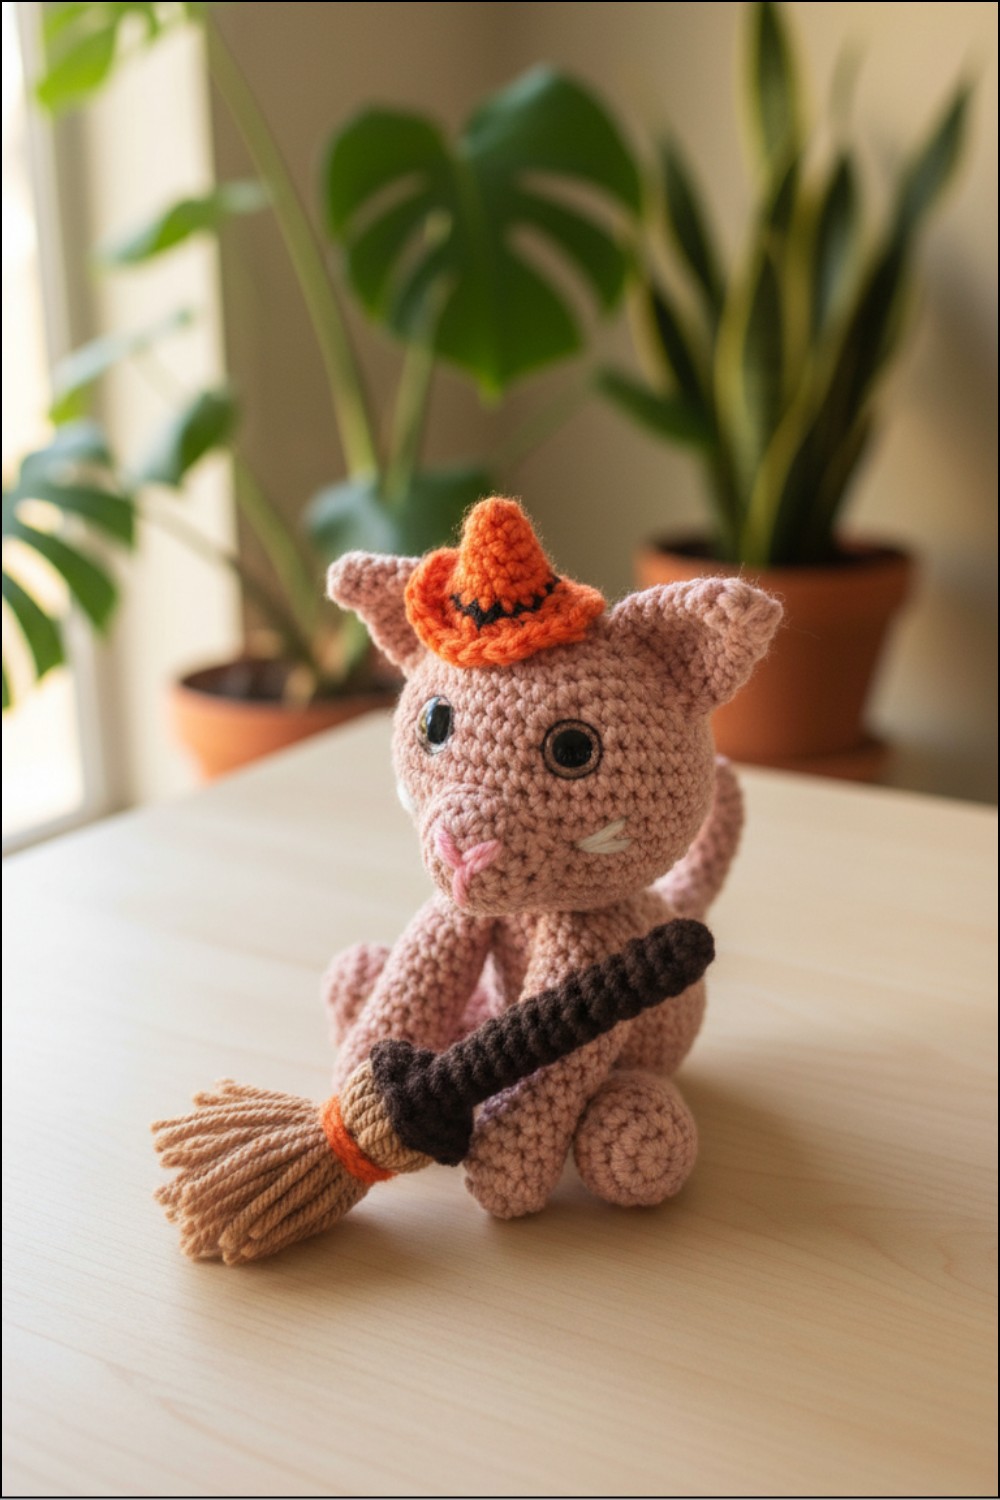
With its detailed features—like perfectly shaped ears, a tiny nose, and embroidered whiskers—it’s not only easy to love but also fun to make. Crocheted entirely by hand, it brings a special touch to your home while showcasing your creativity. Anyone who sees it will instantly smile at its magical, cozy presence!
Spark a fun project with this Crochet Cobweb the Cat Pattern that shows clear steps to achieve an adorable and whimsical creation.
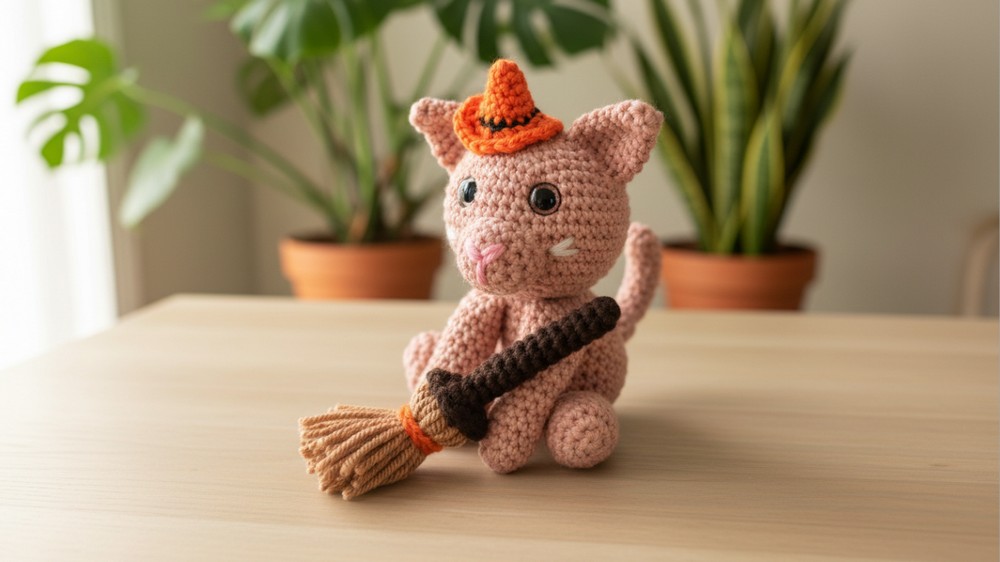
Delightful Crochet Cobweb the Cat Pattern Everyone Will Love
Materials List
Yarn Requirements
-
Type: Medium (4) Worsted Weight Yarn
-
Color A (Blush Pink): 88 yards
-
Color B (Orange): 5 yards
-
Color C (Dark Brown): 8 yards
-
Color D (Light Brown): 5 yards
-
Embroidery Yarn: Small amounts of Pink and White
Tools & Hardware
-
Hook Size: 4.0mm (G) crochet hook
-
Eyes: 12mm safety eyes
-
Stuffing: Poly-fil or preferred fiberfill
-
Notions: Tapestry needle, stitch markers, and sharp scissors
Key Abbreviations
-
MR: Magic Ring
-
st(s): stitch(es)
-
ch: chain
-
sl st: slip stitch
-
SC: single crochet
-
SC2tog: single crochet 2 stitches together (Invisible decrease recommended)
-
FLO: Front Loops Only
Special Notes
-
Gauge: Not critical for this project, but stitches should be tight enough to ensure stuffing does not show through.
-
Continuous Rounds: Work in a spiral unless otherwise stated. Use a stitch marker to keep track of the first stitch of each round.
-
Joining Pieces: Many limbs are crocheted directly into the body to minimize sewing.
Detailed Pattern Instructions
1. Legs (Make 2)
-
R1: 6 SC in MR. (6)
-
R2: 2 SC in each st around. (12)
-
R3: * 2 SC in next st, 1 SC in next st. Repeat from * around. (18)
-
R4: 1 SC in next 4 sts, SC2tog, SC2tog, 1 SC in next 10 sts. (16)
-
R5: 1 SC in next 3 sts, SC2tog, SC2tog, 1 SC in next 9 sts. (14)
-
R6-11: 1 SC in each st around. (14)
-
R12: SC2tog, 1 SC in next 6 sts, SC2tog, 1 SC in next 4 sts. (12)
-
Fill firmly with stuffing.
-
R13: 1 SC in next 2 sts. (Shifts round to align with foot).
-
Finishing: Fold flat. SC through both sides (5 sts). Fasten off.

2. Arms (Make 2)
-
R1: 6 SC in MR. (6)
-
R2: 2 SC in each st around. (12)
-
R3-16: 1 SC in each st around. (12)
-
Fill with stuffing.
-
R17: Fold flat. SC through both sides (5 sts). Fasten off.

3. Tail
-
R1: 6 SC in MR. (6)
-
R2-11: 1 SC in each st around. (6)
-
R12: * 2 SC in next st, 1 SC in next 2 sts. Repeat from * around. (8)
-
R13-14: 1 SC in each st around. (8)
-
R15: Fold flat. SC through both sides (3 sts). Fasten off.
4. Body
-
R1: 6 SC in MR. (6)
-
R2: 2 SC in each st around. (12)
-
R3: * 2 SC in next st, 1 SC in next st. Repeat from * around. (18)
-
R4: * 2 SC in next st, 1 SC in next 2 sts. Repeat from * around. (24)
-
R5: * 2 SC in next st, 1 SC in next 3 sts. Repeat from * around. (30)
-
R6 (Attach Legs): 1 SC in first st. 1 SC through both leg and body for 5 sts. 1 SC in next st. 1 SC through second leg and body for 5 sts. 1 SC in remaining 18 sts. (30)
-
R7 (Attach Tail): 1 SC in next 20 sts. 1 SC through tail and body for 3 sts. 1 SC in next 7 sts. (30)
-
R8-11: 1 SC in each st around. (30)
-
R12: * SC2tog, 1 SC in next 3 sts. Repeat from * around. (24)
-
R13-15: 1 SC in each st around. (24)
-
R16 (Arm Start): * SC2tog, 1 SC in next 2 sts. Repeat 5 times. SC2tog, 1 SC in next st. 1 SC through first arm and body. (18)
-
R17 (Arm Finish): Continue through first arm and body for 4 sts. 1 SC in next 4 sts. 1 SC through second arm and body for 5 sts. 1 SC in next 5 sts. (18)
-
Stuff the body.
-
R18: * SC2tog, 1 SC in next st. Repeat around. (12) Do not fasten off.

5. Head
-
R19: 2 SC in each st around. (24)
-
R20: * 2 SC in next st, 1 SC in next 3 sts. Repeat from * around. (30)
-
R21: * 2 SC in next st, 1 SC in next 4 sts. Repeat from * around. (36)
-
R22: 1 SC in each st around. (36)
-
R23: * 2 SC in next st, 1 SC in next 5 sts. Repeat from * around. (42)
-
R24-29: 1 SC in each st around. (42)
-
R30: * SC2tog, 1 SC in next 5 sts. Repeat from * around. (36)
-
R31: * SC2tog, 1 SC in next 4 sts. Repeat from * around. (30)
-
Place safety eyes between R28-29, 5 sts apart.
-
R32: * SC2tog, 1 SC in next 3 sts. Repeat from * around. (24)
-
R33: * SC2tog, 1 SC in next 2 sts. Repeat from * around. (18)
-
Stuff head firmly.
-
R34: * SC2tog, 1 SC in next st. Repeat around. (12)
-
R35: SC2tog around. (6) Fasten off and weave in ends.

6. Accessories (Snout, Ears, Hat, Broom)
-
Snout: Work MR to 18 sts. Sew between R21-26.
-
Ears: Crochet cones up to 15 sts. Fold and SC closed. Sew between R29-34.
-
Witch Hat: Work in Orange and Black. Note R7 is FLO to create the brim.
-
Broom: Use Color C for the handle and Color D for the bristles. Secure with an Orange ch 10 tie.

Customization Ideas
-
Color Themes: Swap the orange for purple or lime green for a "toxic" witch look.
-
Texture: Use chenille or velvet yarn for a softer, plushier cat.
-
Weighted Base: Add plastic pellets to the bottom of the body before stuffing to help the cat sit more securely.
Pattern Correction & Tips
-
Correction Note: In R16-17, ensure your arm placement is symmetrical. Depending on your tension, you may need to shift the arm attachment by 1 or 2 stitches to ensure they sit perfectly on the sides of the body.
-
Tip: When embroidering the nose and whiskers, use a long needle to hide your yarn tails inside the head stuffing. This prevents knots from showing on the surface.
Conclusion
This witch cat is a charming project that utilizes clever construction to minimize sewing by joining the limbs during the body rounds. By following the bolded stitch counts and placement guides, you will create a professional-looking amigurumi perfect for seasonal decor or gifts.
