
Free Crochet Teapot Fridge Magnet For Your Kitchen Decor
Give your kitchen a charming touch with this delightful teapot fridge magnet pattern that’s perfect for any magnetic surface or gift idea.
A charming touch of creativity can turn ordinary household items into delightful pieces of art. The "Free Crochet Teapot Fridge Magnet Pattern" stands as a wonderful example of such ingenuity, offering a perfect balance of utility and decor. This project transforms the timeless elegance of a teapot into a miniature decorative piece, bringing warmth and personality to your home. Whether it’s displayed on your fridge, a magnetic board, or gifted to a loved one, this handmade treasure captures the spirit of cozy hospitality in a charming and compact design.
Lovely Free Crochet Teapot Fridge Magnet For Every Tea Lover’s
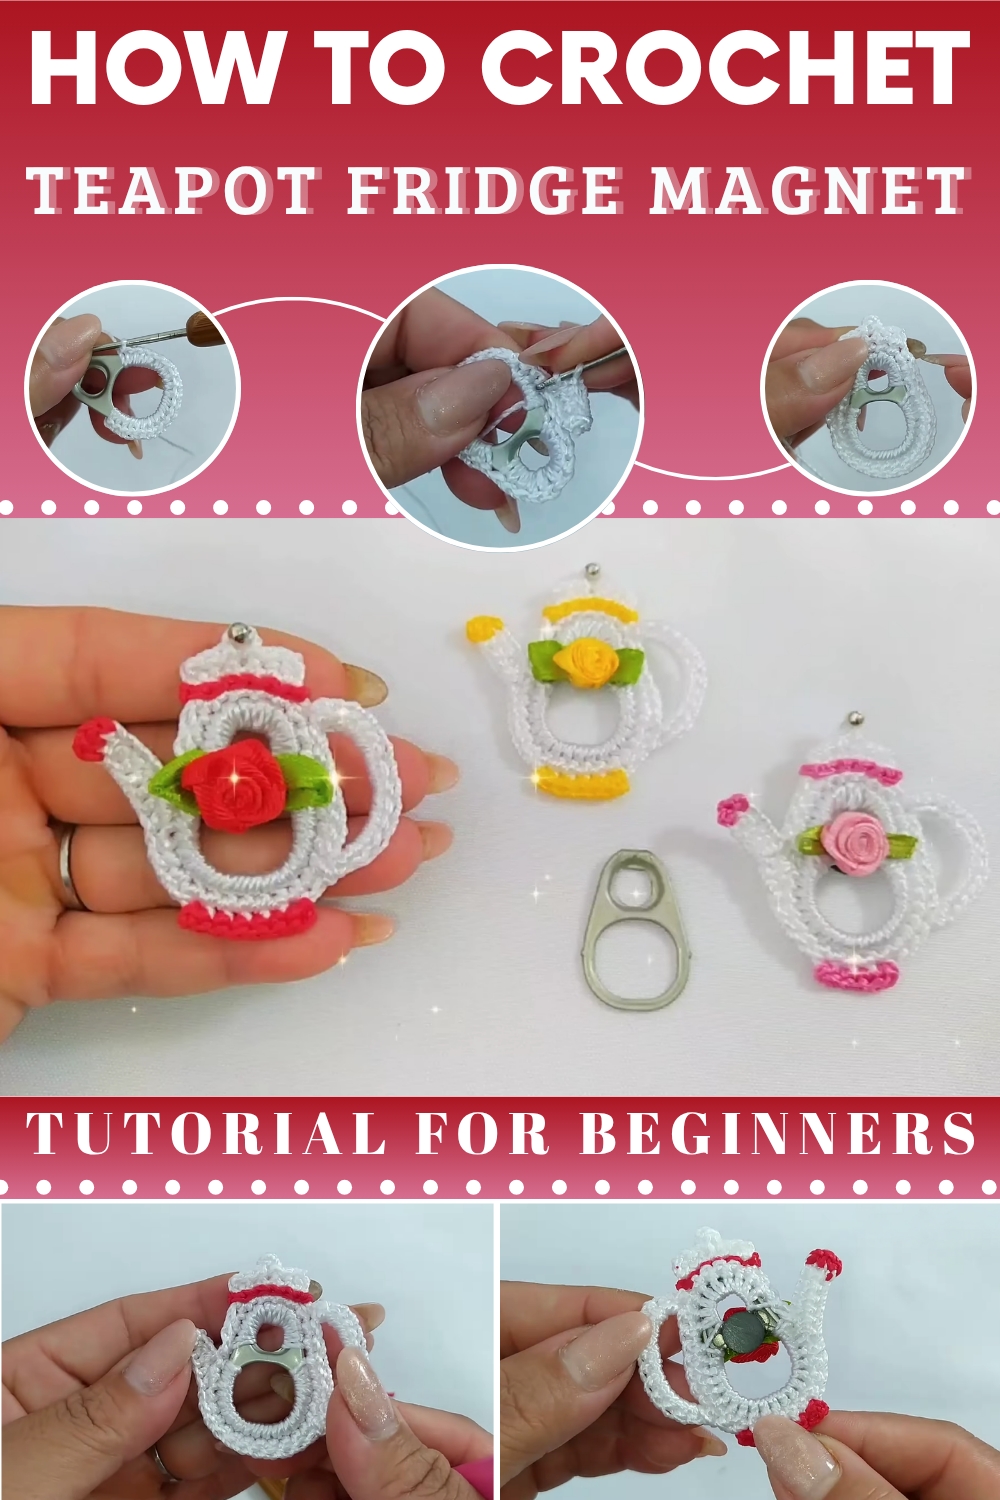
A palette of soft and soothing hues is suggested, though contrasting colors can also be playfully incorporated to give it a quirky flair. Not only is this pattern beginner-friendly, but it also offers opportunities for advanced crocheters to experiment with intricate embellishments, tailoring the design to personal tastes. This project’s versatility extends to its uses, you could brighten a kitchen, gift a set for someone who loves tea, or make it a thoughtful piece for a friend’s office space.
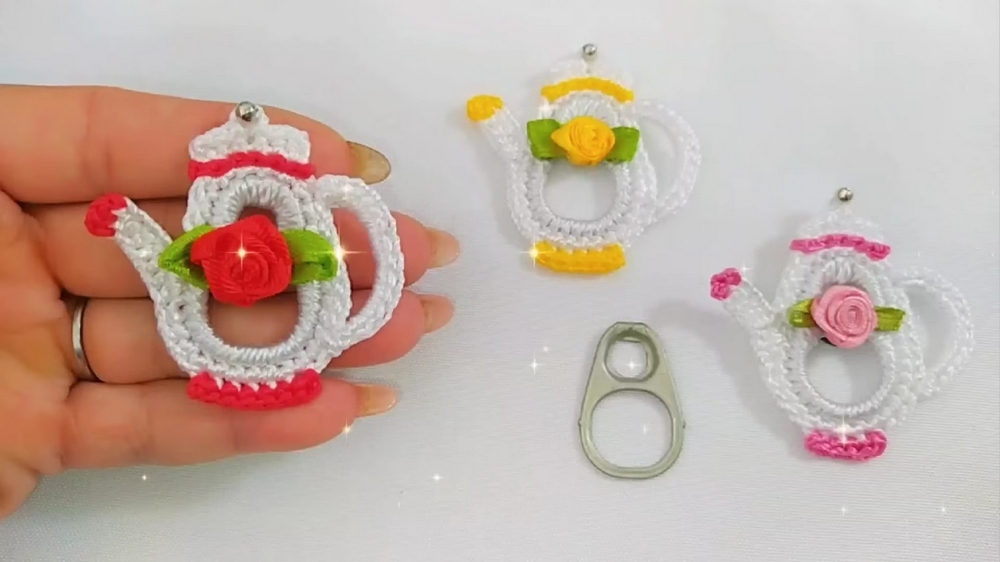
For the best results, consider adding a light coat of stiffener to keep the finished magnet firm and well-shaped. This little creation doesn’t just enrich your surroundings; it also brings a sense of achievement with its detailed yet accessible process. From its delightful appearance to its practical utility, each stitch weaves both creativity and joy into this charming teapot magnet, a small but meaningful reminder of life’s simple pleasures.
Crochet Teapot Refrigerator Magnet Pattern
Materials
- Yarn: Thick silk thread, Tex 288, 100% polypropylene (or similar cotton/acrylic yarn)
- Color A (for teapot body): your choice
- Color B (for details, lid, handle, spout): your choice
- Color C (for decorations): optional
- Hook: 1.75 mm steel crochet hook
- Can tab: Sardine can tab (larger) or soda can tab (smaller—requires a slightly different method)
- Scissors
- Hot glue (optional for attaching magnet or decorations)
- Magnet (for refrigerator application)
- Pearl or rococo flower embellishment (optional)
- Yarn needle
Key Abbreviations (US Terms)
| Abbreviation | Definition |
|---|---|
| ch | Chain |
| sc | Single crochet |
| hdc | Half double crochet |
| sl st | Slip stitch |
| st(s) | Stitch(es) |
Special Notes
- Project is worked directly onto the metal can tab.
- Can be decorated as desired; pearl/rococo flower or small embellishments work well for the lid.
- For best results, always take care when working around the metal base—avoid sharp edges and place stitches as evenly as possible.
- Polypropylene yarn ends can be sealed with heat; cotton/acrylic should be woven in.
Pattern
1. Teapot Body
Step 1: Foundation
- Attach Color A at one corner of the larger side of the sardine can tab with a slip knot.
- Work 20 sc evenly around this larger part of the tab (first edge).
Step 2: Side
- Turn tab and continue: Work 10 sc along the side edge (shorter part).
- Join with a sl st into the first sc of the round.
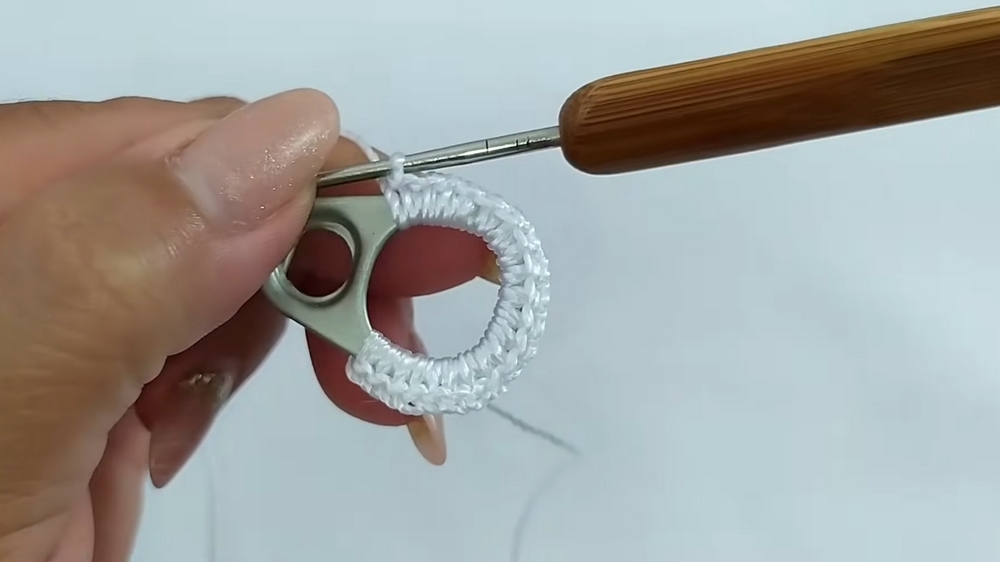
Step 3: Handle
- Ch 6, skip one base st, and attach with a hdc into next st.
- Work hdc in each ch back across, attaching at each end with hdc.
- At base, in the same space, work 2 hdc—this forms a rounded corner for the handle.
- Continue sc across each st along side until returning to the start.
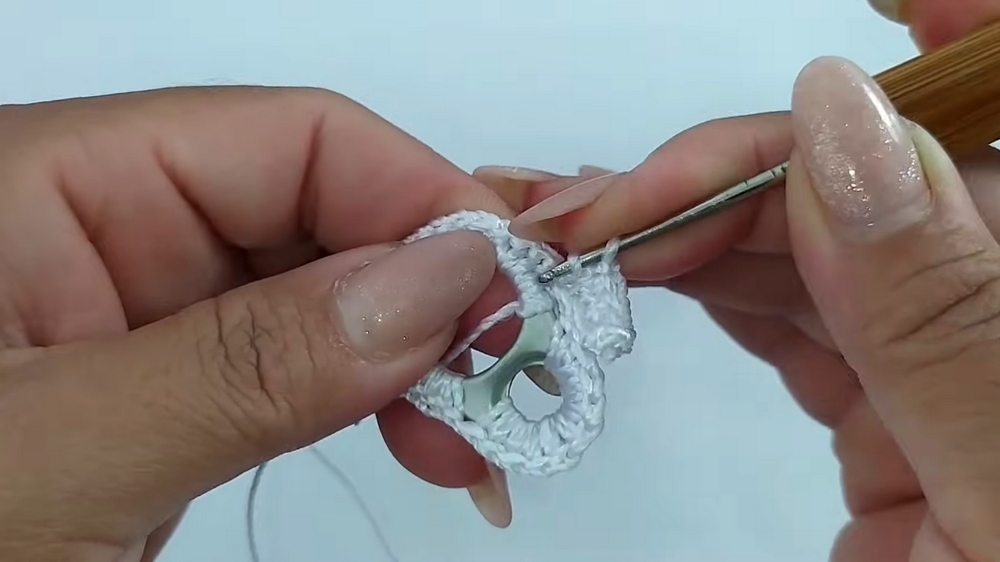
2. Lid
- Attach Color B at top edge (center of teapot).
- Work across 6 sc:
- At first and last st: 2 sc in each (increase).
- In the 3 middle sts: 1 sc in each.
- Turn, sl st across lid edge.
- At middle, ch 3, sl st in same to form lid peak (where embellishment can be added).
- Fasten off, weave in or seal ends.
3. Spout
- Attach Color B at opposite side (short edge or corner) of the tab.
- Ch 10.
- Count across the edge with 20 sc, attach with sl st into 4th sc.
- Continue sl st into next st as needed for neat attachment.
- Fill the chain with sc, working back toward the tab, for a full, rounded teapot spout.
- Fasten off, weave in ends.
4. Base
- Attach Color C at bottom center of tab.
- Work across 6 sc (bottom edge):
- 2 sc in first st, 1 sc in next 4 sts, 2 sc in last st (increases at each end).
- Fasten off, cut thread, weave/seal ends.
5. Decorative Details
- Add Color B (or contrasting yarn) with sl st around teapot body, handle, spout, or lid as desired.
- Add pearl or rococo flower to lid peak with glue/hot glue for accent.
- Attach magnet to reverse side using hot glue.
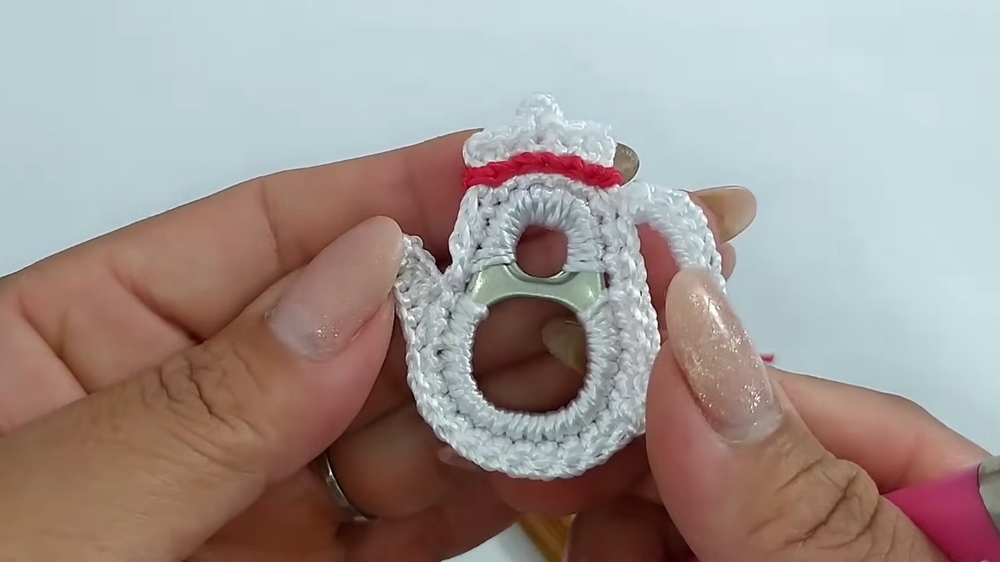
Finishing
- Weave in or seal all ends.
- Attach magnet to the reverse side with hot glue or strong adhesive.
- Attach embellishments (pearl/rococo flower) to lid peak.
- Shape and block if needed.
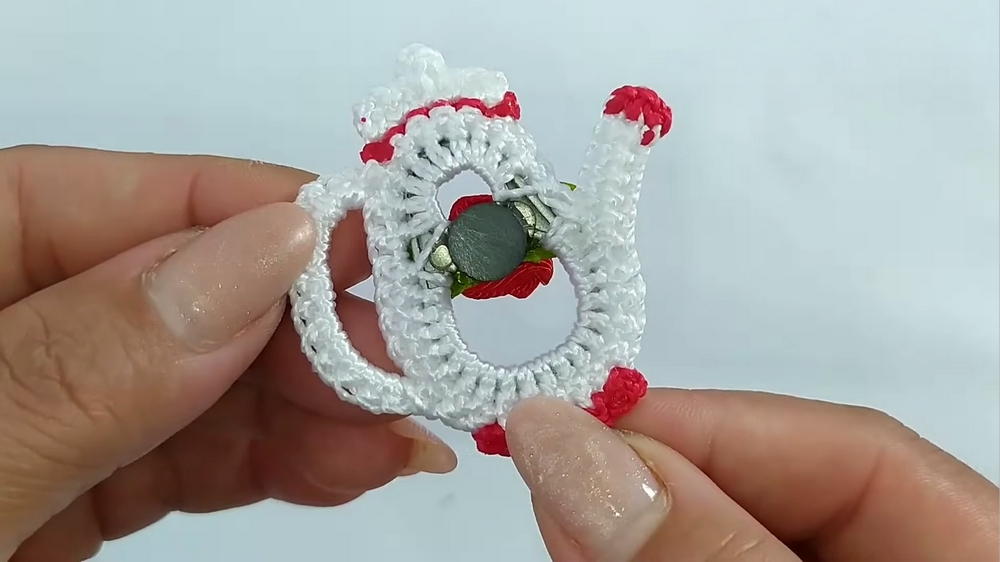
Conclusion
This quick teapot magnet is efficient, cost-effective, and delightful for gifting or selling (suggested price: R$3). With minimal materials and a fast production time, it's a perfect craft for all skill levels and can be customized to suit any palette or occasion.
Pattern Corrections & Tips
Corrections:
- Ensure stitch count matches tab size: adjust sc count as needed for your can tab.
- Position handle, spout, lid, and base symmetrically for a realistic and pleasing teapot shape.
Tips:
- If using a soda can tab (smaller), reduce stitch numbers accordingly.
- Smooth any rough metal edges before starting for safety.
- Use heat to seal polypropylene ends; cotton should be woven in.
- Experiment with flower, bead, or embroidery accents for the lid.