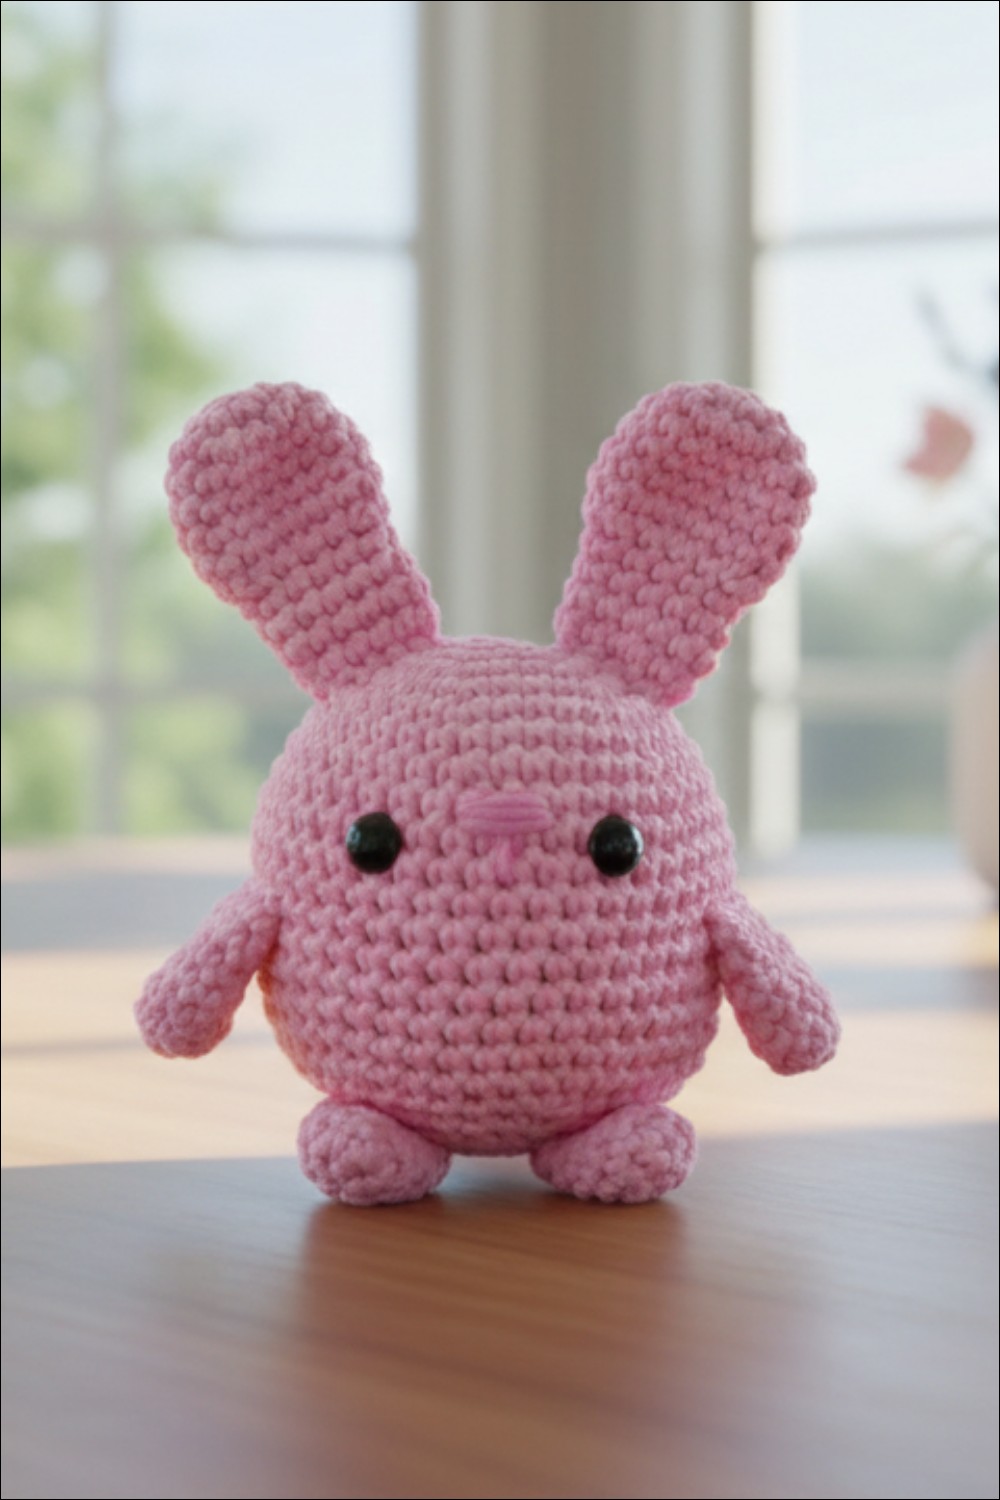
Soft Crochet Chubby Bunny Pattern for a Cozy Shelf Display
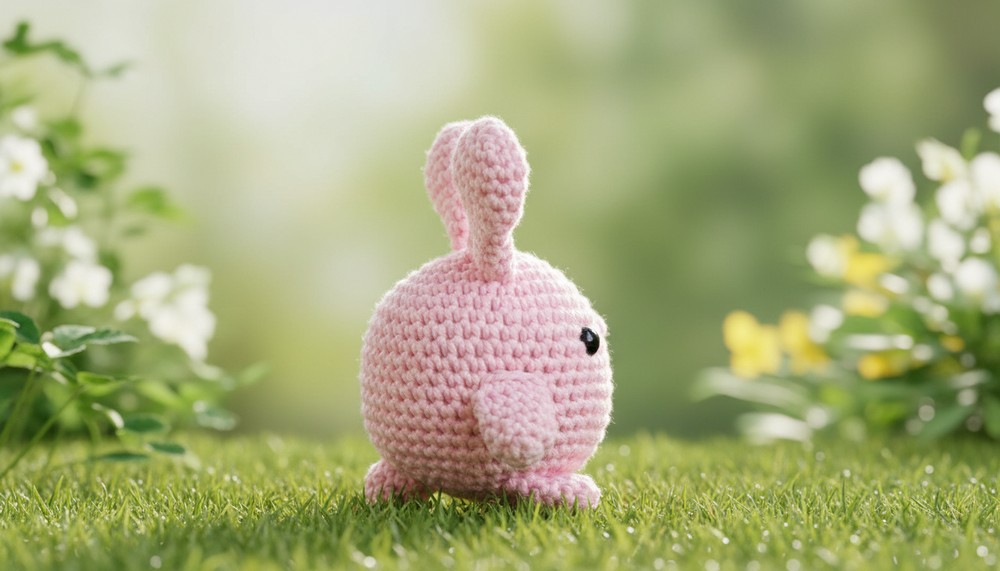
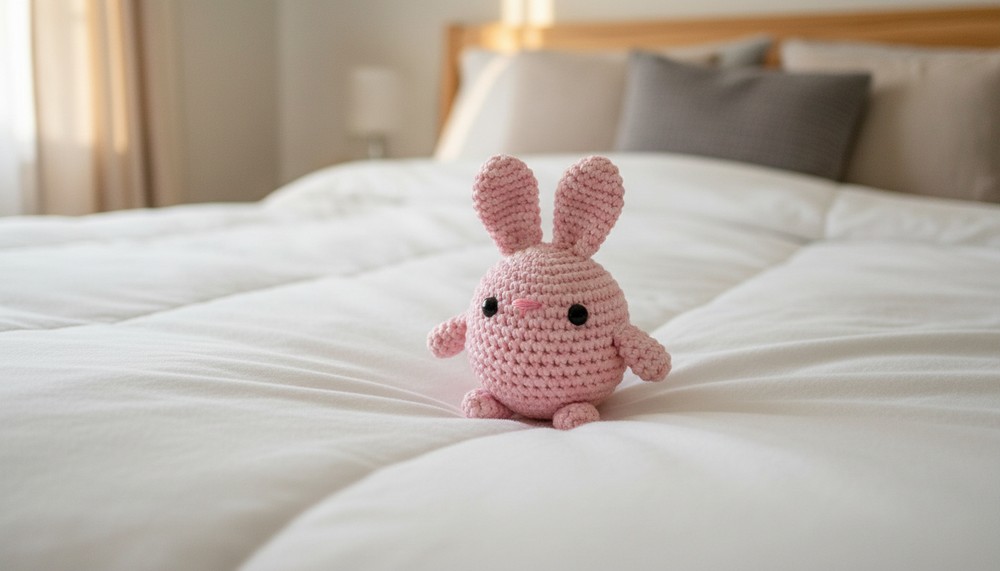
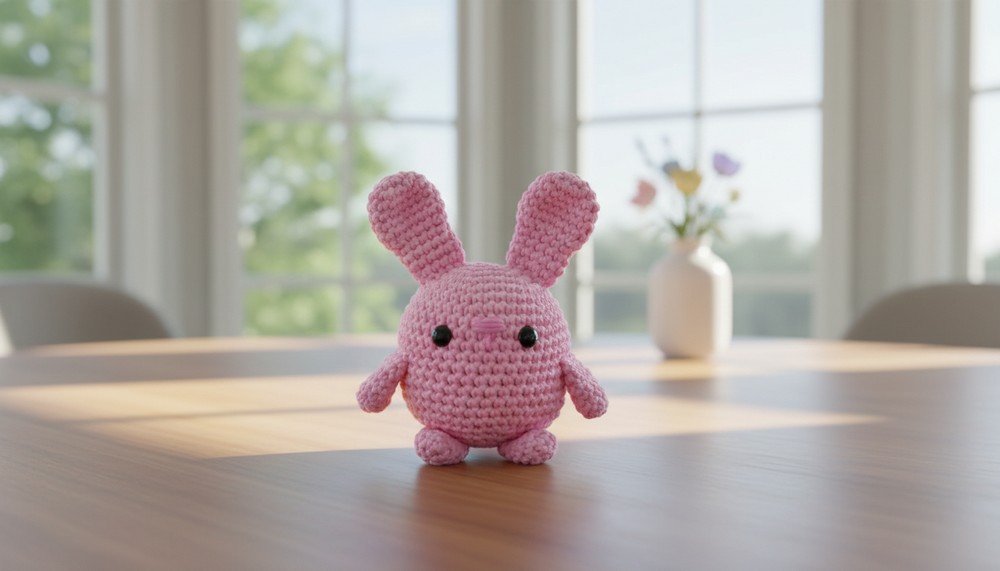
A chubby bunny made with crochet is a cute and soft item that makes everyone smile. It has a round body, floppy ears, and a cozy look that feels warm and loving. The Crochet Chubby Bunny pattern allows it to be made in any color, making it even more fun and adorable. You can use it as a toy for kids, a cute decoration for shelves, or a sweet friend to keep on your bed or couch.
Its lovely features make it special and perfect for brightening up any space in your home. This bunny is also a great gift for family, friends, or anyone who loves cute and simple items. It is perfect for birthdays, holidays, or just to show love. Its soft shape and happy look make it loved by children and adults alike.
Fall in love with this Crochet Chubby Bunny Pattern that's perfect for a adorable friend brings smiles and cozy charm to every happy moment.
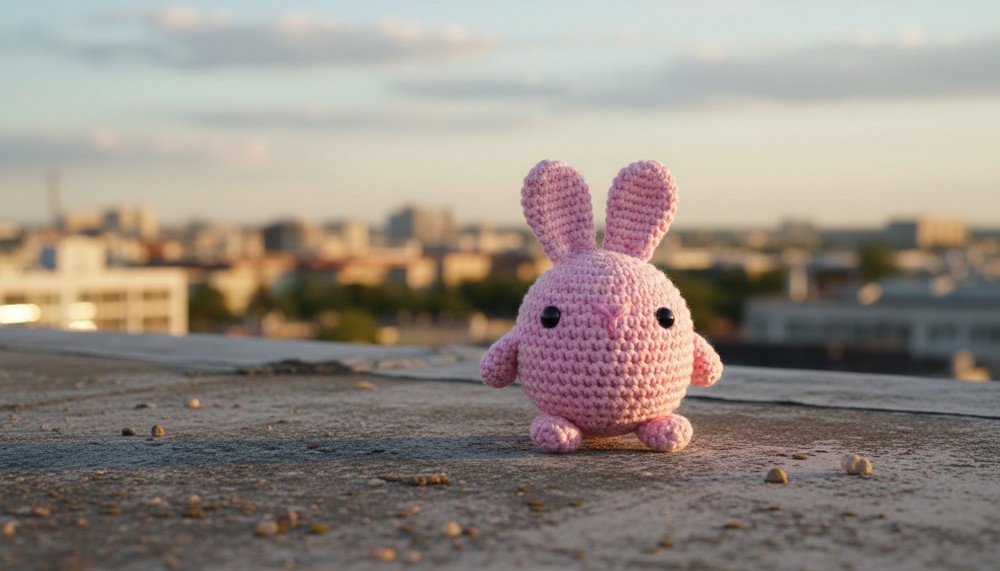
Kawaii Crochet Chubby Bunny Pattern That Sparks Smiles Daily
Materials:
Gather the following supplies to complete the project:
- Worsted weight yarn in your color of choice (e.g., white, cream, or pastel shades).
- Suggested: Loops & Threads Impeccable from Michaels.
- Size E / 3.5 mm crochet hook.
- 1 pair of 9mm black safety eyes (secure or replaced with embroidered eyes).
- Fiberfill stuffing for shaping the body.
- Pink yarn for nose embroidery.
- Stitch marker (optional, for marking the beginning of rounds).
- Yarn needle for sewing pieces together and weaving in ends.
- Straight pins for positioning parts.
- Scissors for trimming yarn ends.
Key Abbreviations (US Terms):
The pattern uses the following abbreviations:
- R = Round
- MR = Magic Ring
- sc = Single Crochet
- inc = Increase (2 sc in the same stitch)
- inv dec = Invisible Decrease (crochet 2 stitches together invisibly)
- st(s) = Stitch(es)
- * = Repeat instructions between the asterisks as many times as indicated
- ( ) = Total number of stitches at the end of the round
Finished Size:
This bunny will measure approximately 4 inches wide and 5 inches tall when using the materials and hook size specified.
Please note: The size may vary depending on your tension, yarn, and hook.
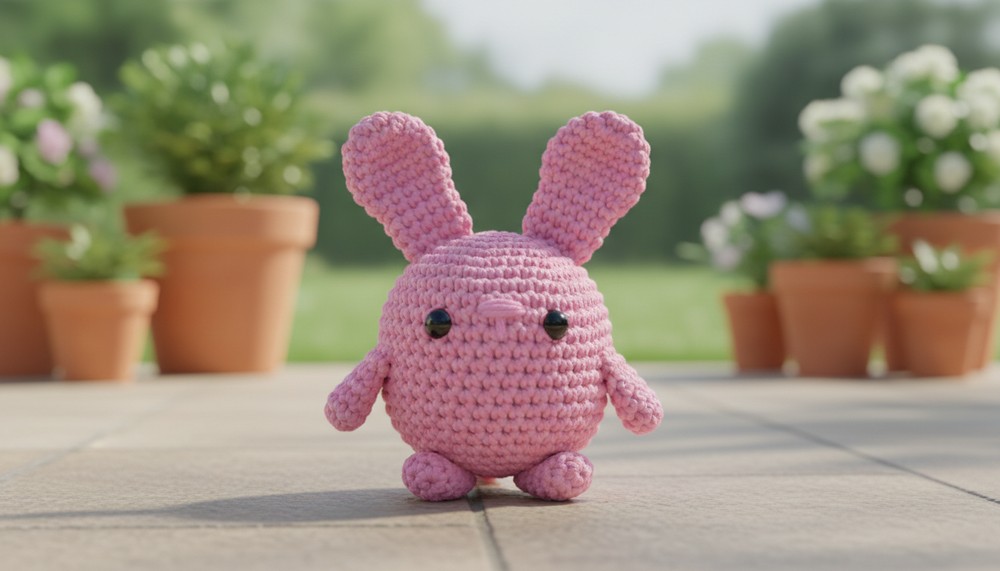
Pattern Instructions:
Body:
- Using Pink color yarn for body :
- R1: 6 sc in MR. (6 sts)
- R2: Inc in each st around. (12 sts)
- R3: [Sc 1, inc] x6. (18 sts)
- R4: [Sc 2, inc] x6. (24 sts)
- R5: [Sc 3, inc] x6. (30 sts)
- R6: [Sc 4, inc] x6. (36 sts)
- R7: Sc in each st. (36 sts)
- R8: [Sc 5, inc] x6. (42 sts)
- R9–R18: Sc in each st for 10 rounds. (42 sts per round)
- Add safety eyes:
- Insert 9mm safety eyes between Rounds 10 & 11, ensuring the eyes are spaced 6 stitches apart.
- Embroider the nose:
- Using pink yarn, sew a small nose between the eyes. Leave 1 stitch space between each eye and the nose.
- Go over the nose 4 times to enhance its texture.
- Create a vertical line starting at the bottom center of the nose down to Round 11.
- Shape the body by decreasing:
- R19: [Sc 5, inv dec] x6. (36 sts)
- R20: [Sc 4, inv dec] x6. (30 sts)
- R21: [Sc 3, inv dec] x6. (24 sts)
- Begin stuffing the body. Add more stuffing as you progress.
- R22: [Sc 2, inv dec] x6. (18 sts)
- R23: [Sc 1, inv dec] x6. (12 sts)
- R24: [Inv dec] x6. (6 sts)
- Fasten off, leaving a yarn tail. Close the opening by threading the tail through the front loops of the remaining 6 stitches using a yarn needle. Pull tightly to secure and weave in the end.
Ears (Make 2):
-
- R1: 6 sc in MR. (6 sts)
- R2: Inc in each st around. (12 sts)
- R3: [Sc 1, inc] x6. (18 sts)
- R4–R7: Sc in each st for 4 rounds. (18 sts per round)
- R8: [Sc 1, inv dec] x6. (12 sts)
- R9–R12: Sc in each st for 4 rounds. (12 sts per round)
- Fasten off, leaving a long tail for sewing.
- Do not stuff the ears. Position them on top of the head using straight pins. The ears should begin approximately 2 rounds down from the magic ring on the bunny’s head. Sew the ears in place securely using the yarn tail and a yarn needle. Knot and hide the tail inside the body.
Arms and Legs (Make 4):
-
- R1: 5 sc in MR. (5 sts)
- R2: Inc in each st around. (10 sts)
- R3–R6: Sc in each st for 4 rounds. (10 sts per round)
- R7: Flatten the round and sc through both layers (4 sts across).
- Fasten off, leaving a tail for sewing, and do not stuff the arms or legs.
- Arms:
- Position the arms starting at Round 13 of the body using straight pins. Sew the arms in place with the yarn needle. Secure with a knot and hide the tail inside the body.
- Legs:
- Attach the legs to the bottom of the body near Round 23, ensuring they are positioned evenly. Sew Round 7 of the leg to the body, then sew part of the flattened section to the body to secure and prevent floppiness. Knot and hide the tail.
Tail:
-
- R1: 6 sc in MR. (6 sts)
- R2: Inc in each st around. (12 sts)
- R3–R4: Sc in each st for 2 rounds. (12 sts per round)
- Fasten off, leaving a tail for sewing. Add a small amount of fiberfill for shaping.
- Position the tail between Rounds 17–20 on the back of the body using straight pins. Sew the tail securely to the body using a yarn needle. Knot and hide the tail.
Customization Ideas:
- Colors: Experiment with pastel shades for spring-themed bunnies or bold hues for a playful appearance.
- Accessories: Add embellishments like bows, scarves, or tiny flowers to personalize your bunny.
- Embroidery designs: Stitch additional details, such as blushing cheeks or dotted patterns on the body.
Special Notes:
- Stuffing: Be sure to stuff the body firmly as you go to prevent lumps.
- Safety Precautions: If creating the bunny for small children, replace safety eyes with embroidered ones to avoid potential choking hazards.
- Tension Tip: Maintain consistent tension throughout to keep your stitches even, ensuring a uniform shape.
Conclusion:
Your adorable Chubby Bunny is now complete! With its floppy ears, squishy body, and a charming nose, this bunny is perfect as a gift or display piece. Don't hesitate to make a whole bunny family with different colors and sizes. Enjoy your project, and share your finished creation to inspire others!
Pattern Corrections & Tips:
- If your bunny appears lopsided, double-check that each part was sewn symmetrically onto the body. Use straight pins generously before sewing.
- Use a stitch marker to mark the first stitch of every round for easier tracking.
- If difficulty arises with the invisible decrease, feel free to use a standard decrease instead.