Charming Crochet Jellyfish Pattern Great for Nursery Decor
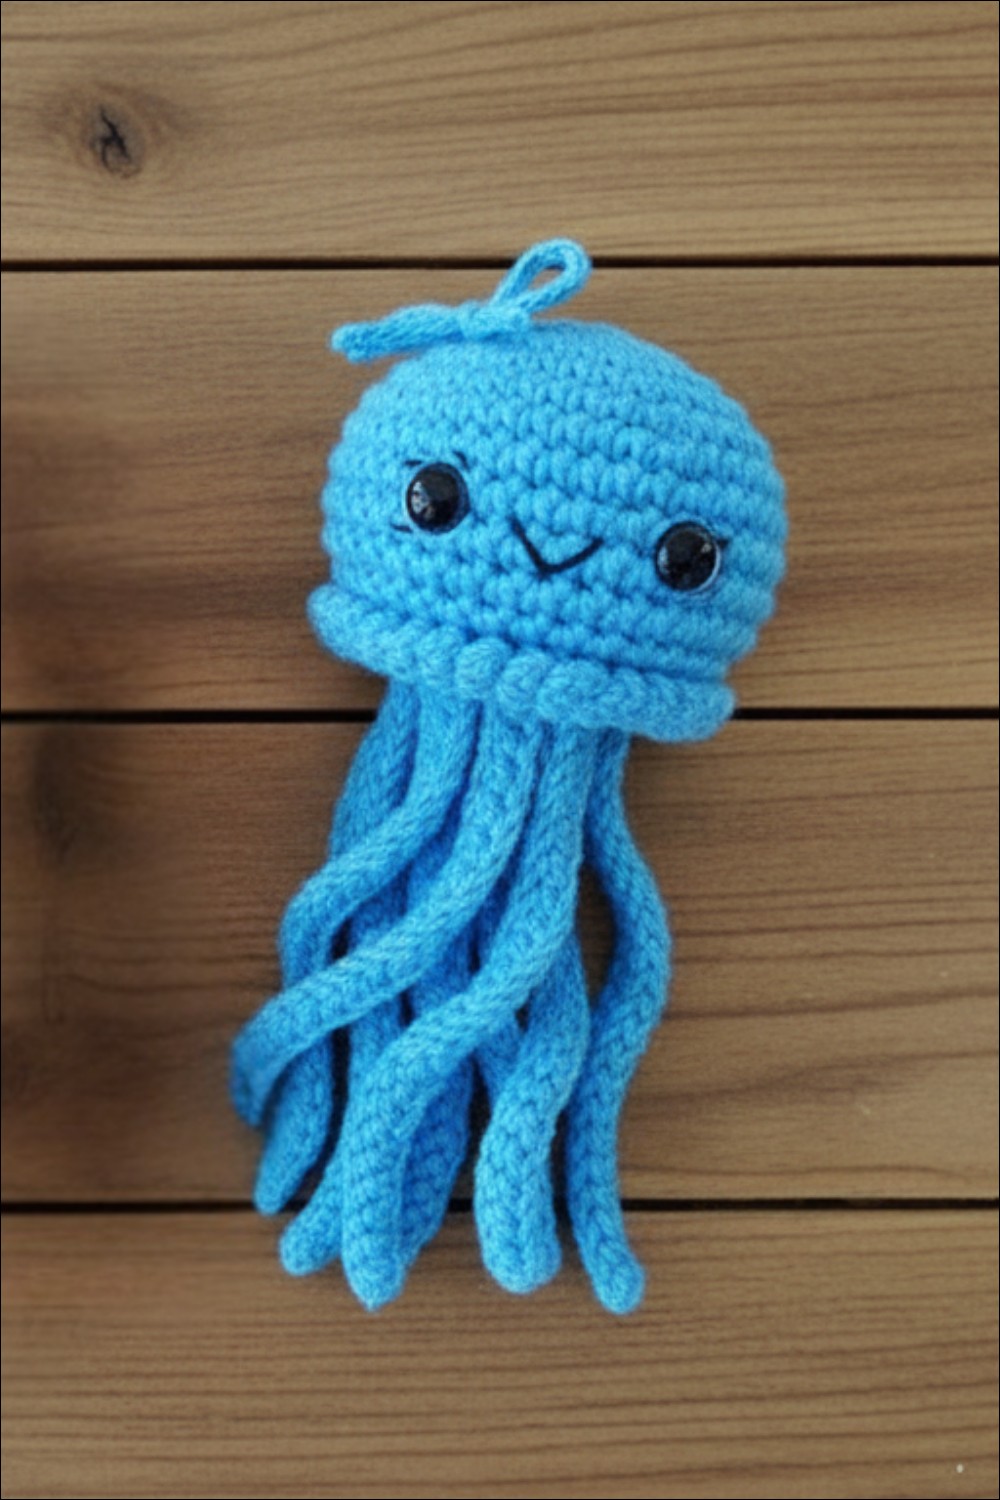
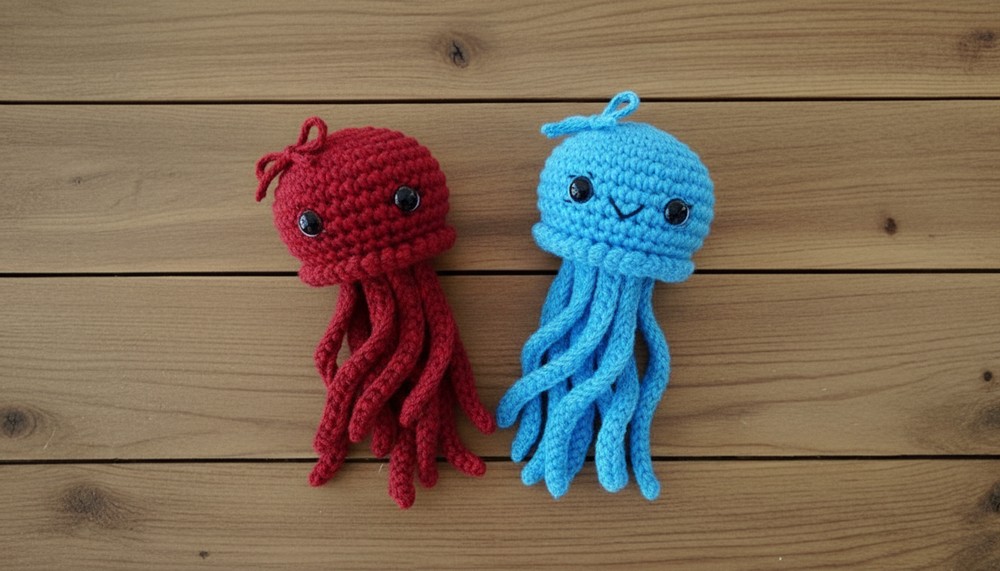
Bright and playful sea creatures can bring smiles to any home or classroom. With a crochet jellyfish pattern, you can make a soft, colorful jellyfish using yarn and simple tools. This friendly jellyfish looks adorable with its round head and dangling tentacles, making it a perfect toy, decoration, or gift for any occasion. Hang it from a bag, use it as a keychain, or display it to add a touch of ocean magic wherever you like.
The beauty of this jellyfish is in its cheerful colors and gentle shape, which children and adults alike find delightful. One important feature that makes this pattern unique is the ability to customize your jellyfish—mix different yarns, add a special face, or choose the perfect size for your needs. Even if you’re new to yarn project, following the crochet jellyfish pattern lets you enjoy making something eye-catching and sweet for yourself or someone special.
Enjoy a playful Crochet Jellyfish Pattern perfect for ocean themed decor kids gifts or room accents that will bring charm to any space.
Unique Crochet Jellyfish Pattern Perfect for Decorations
Materials List
- Yarn:
- Any yarn weight or fiber will work.
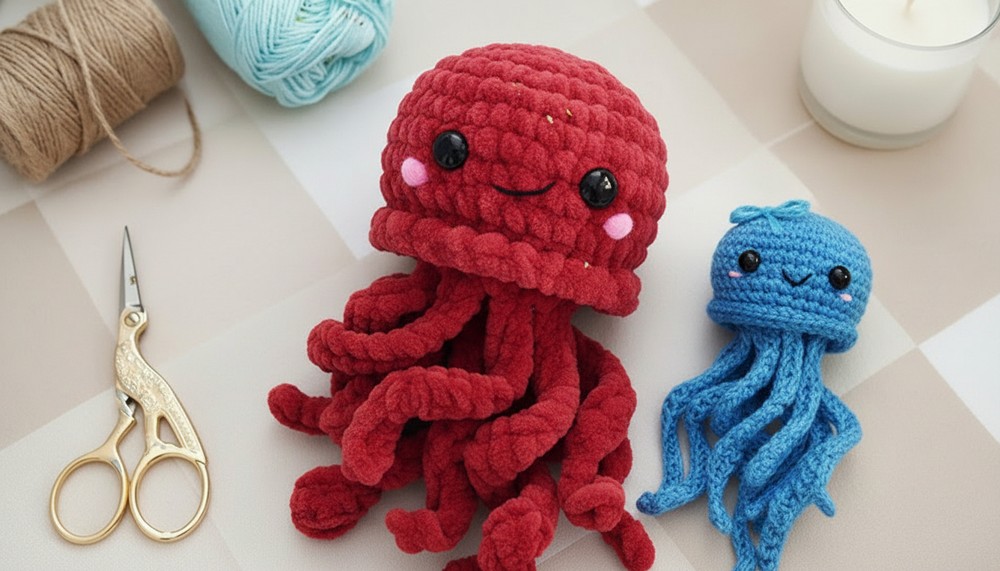
- For a plush jellyfish (as shown in photos):
- Premier Yarns Parfait Chunky in your desired colors
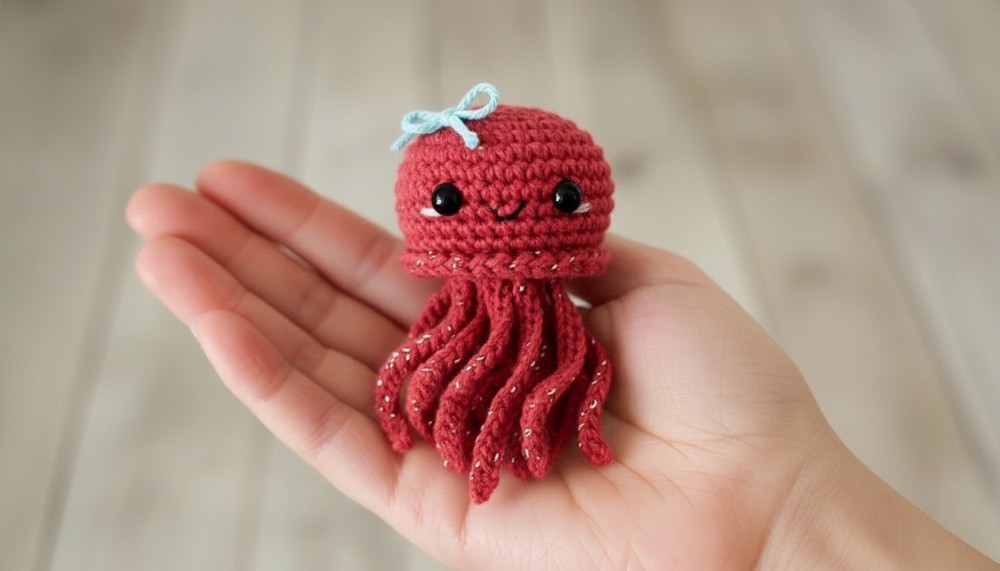
- For a smaller, keychain-sized jellyfish:
- Paintbox Yarns Cotton DK in Washed Teal and Blush Pink
- Hook:
- 4.5mm crochet hook (for plush yarn)
- Use a hook appropriate for your chosen yarn weight
- Notions:
- 10mm Safety Eyes (for plush version; adjust size for other weights)
- Stitch Markers (recommended, especially for tentacles)
- Yarn Needle
- Polyfill Stuffing
- Scissors
- Optional:
- Pink yarn or embroidery thread for cheeks
- Black embroidery thread for a side smile
Key Abbreviations (US Terminology)
| Abbreviation | Meaning |
|---|---|
| ch | chain |
| sc | single crochet |
| inc | increase (2 sc in one stitch) |
| st(s) | stitch(es) |
| [ ] x N | repeat instructions N times |
Special Notes
- Place safety eyes BEFORE closing the head for best results.
- Use plenty of stitch markers when working on tentacles, especially with plush yarn, as loops may be hard to see.
- Customize with different yarns, colors, and facial features.
Pattern: Plush Jellyfish
Head
- R1: Ch 2, 8 sc in second ch from hook (8 sts)
- R2: [inc] x8 (16 sts)
- R3: [sc, inc] x8 (24 sts)
- R4: [2 sc, inc] x8 (32 sts)
- R5-R8: Sc in each st around (32 sts, 4 rounds)
(You may insert safety eyes between rounds R6 and R7, spacing them approximately 6-8 stitches apart. Experiment with placement for best effect.) - R9: [2 sc, dec] x8 (24 sts)
- R10: [sc, dec] x8 (16 sts)
- Stuff the head firmly with polyfill.
- R11: [dec] x8 (8 sts)
- Fasten off and weave in the end to close.
Tentacles
- For each tentacle:
- Attach yarn to any stitch along the bottom edge of the jellyfish body.
- Ch 20-30 (vary the length for a whimsical effect).
- Sc in each ch back to the base.
- Slip stitch to next stitch on body, repeat for desired number of tentacles (usually 6–8).
- Tip: Use stitch markers to mark tentacle placement to keep spacing even.
Finishing & Face
- Cheeks: Attach blush pink yarn or use embroidery thread to sew a small circle on each side of the eyes.
- Mouth: Using black embroidery thread, embroider a small side smile.
- Weave in all ends neatly.
Customization Ideas
- Yarn Choice: Try plush, variegated, or sparkle yarns for different effects.
- Eyes: Use buttons, felt, or embroidered eyes if safety eyes aren't suitable.
- Accessories: Add bows, beads, or tiny hats for personality.
- Tentacle Styles: Crochet spirals or add beads for extra texture.
Conclusion
This plush crochet jellyfish pattern invites you to add whimsy to your projects, whether as a cuddly toy, playful keychain, or unique gift. Experiment with yarn, hook sizes, and facial features to make each jellyfish truly your own.
Pattern Corrections
- Pattern as written is correct for head construction. Proceed to tentacle instructions immediately after closing the head in Round 11.
- For plush yarns, adjust hook size upwards and use extra stitch markers if loops are hard to see.
Tips
- Use tight stitches to avoid stuffing showing through.
- Mark your rounds and tentacle base stitches for consistency.
- Test safety eyes before final placement for the most expressive look.