
FREE Crochet Velvet Yarn Cat Pattern for Miniature Collectors
Snuggle with Crochet Velvet Yarn Cat a soft and adorable handmade kitty that adds charm to home decor, gifts, or fun projects.
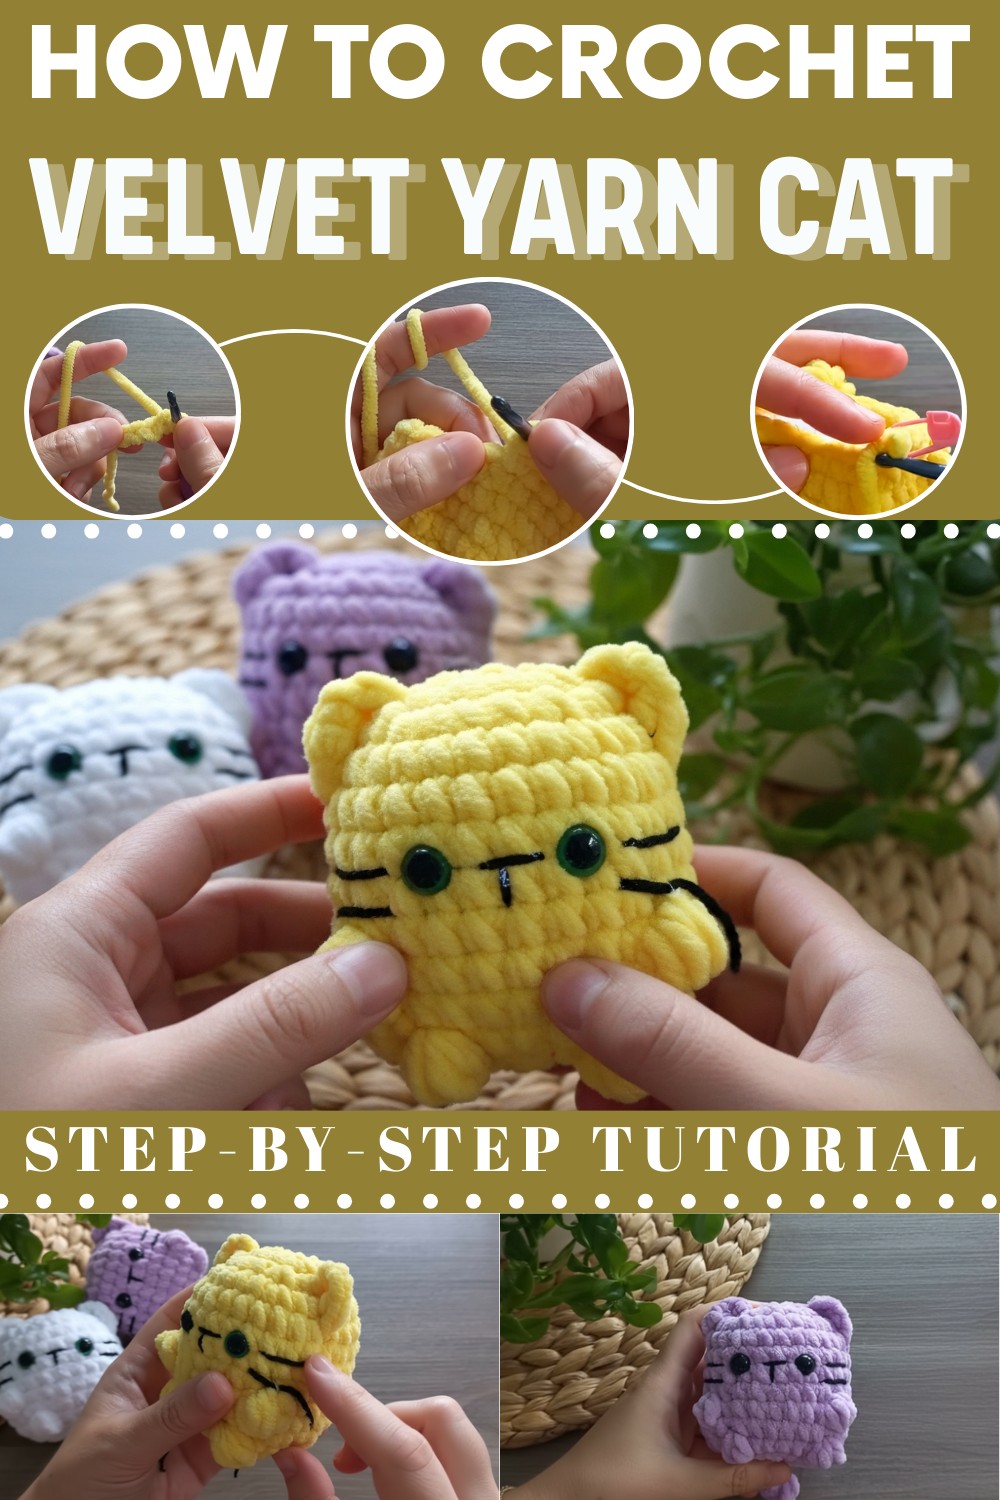
Bring your crochet skills into action with this beginner-friendly pattern that beautifully blends simplicity and fun. It’s fascinating how a simple project can transform into something as special as this crochet velvet yarn cat. The softness and luxurious feel of velvet yarn make this creation stand out, giving it a plush and elegant look that’s impossible to resist. Beyond its adorable appearance, this little cat can brighten up any space—it’s perfect as a desk companion, a shelf accent, or even a thoughtful gift for someone who loves handmade treasures.
Adorable Crochet Velvet Yarn Cat Pattern for Keychains & Fun
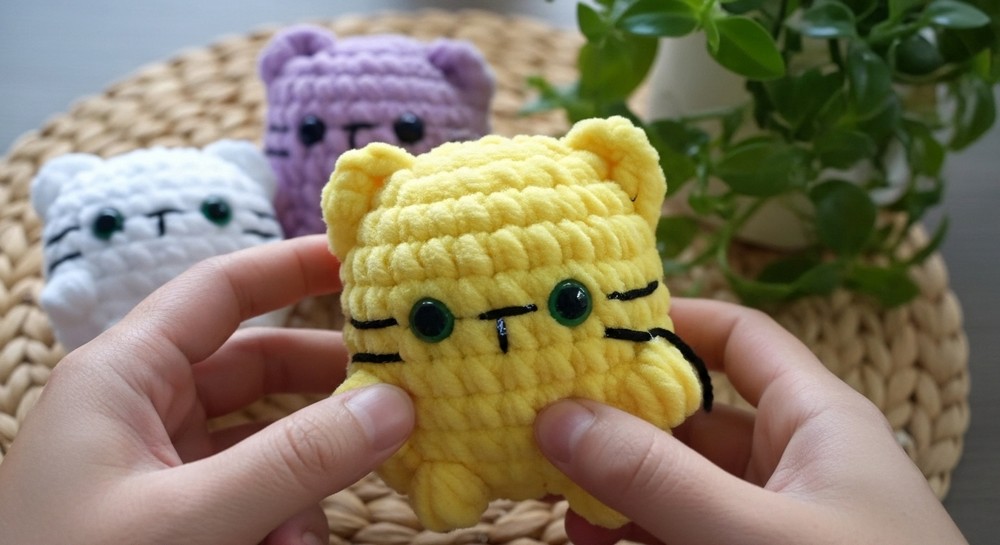
Its versatility adds to its beauty, as you can customize it with colors that reflect your personality or make it match a specific theme. This isn’t just a crochet piece; it’s a tiny, lovable creation that carries a whole lot of charm.
Step-By-Step Crochet Velvet Yarn Cat Pattern
Materials Required
- Yarn:
- Velvet yarn: YarnArt Dolce (e.g., yellow used in the video). Length: 120m.
- For facial details: Black yarn that doesn’t fuzz easily (e.g., Nako Pırlanta).
- Hook size: 5mm crochet hook (opt for smaller hooks—3mm-4mm—for a smaller version).
- Safety Eyes: 10mm green or black eyes (can substitute with felt or embroidered eyes).
- Stuffing: Polyester fiberfill or bead stuffing for a soft plush effect.
- Needles:
- Large-eye darning needle (plastic) for sewing.
- Embroidery needle for detailing the face.
- Other tools:
- Stitch markers or a piece of yarn to mark the beginning of rounds.
- Scissors.
- Optional keychain clip (if making a keychain).
Special Techniques:
- Magic Ring:
Used to start closed rounds. If you're unsure about how to create a magic ring, use a chain-4 method and form a ring. - Single Crochet (sc):
A basic stitch used throughout the pattern. - Increase:
Crochet two single crochets into one stitch. - Invisible Decrease:
Pick up the front loops of two stitches and crochet them together to create a decrease without a hole. - Four-Double-Crochet Cluster (4-dc cluster):
Similar to a puff stitch but with double crochets:- Yarn over, insert the hook, pull up a loop, and pull through two loops (leave one loop unclosed).
- Repeat three more times in the same stitch.
- You will end up with five loops on the hook. Yarn over and pull through all five.
Tip: Please ensure your stitches are consistent and not too loose to maintain the shape of your kitten.
Pattern Instructions
Body – Base of the Cat
- Start with the foundation:
- Form a slip knot and chain 4 stitches.
- In the 3rd chain from the hook, work 2 single crochets (SC).
- In the middle chain: Add 1 SC.
- In the last chain: Add 4 SC. Now, continue crocheting on the other side of the foundation chain.
- Add 1 SC in the next stitch and 2 SC in the last.
Total stitches = 10 (Round 1).
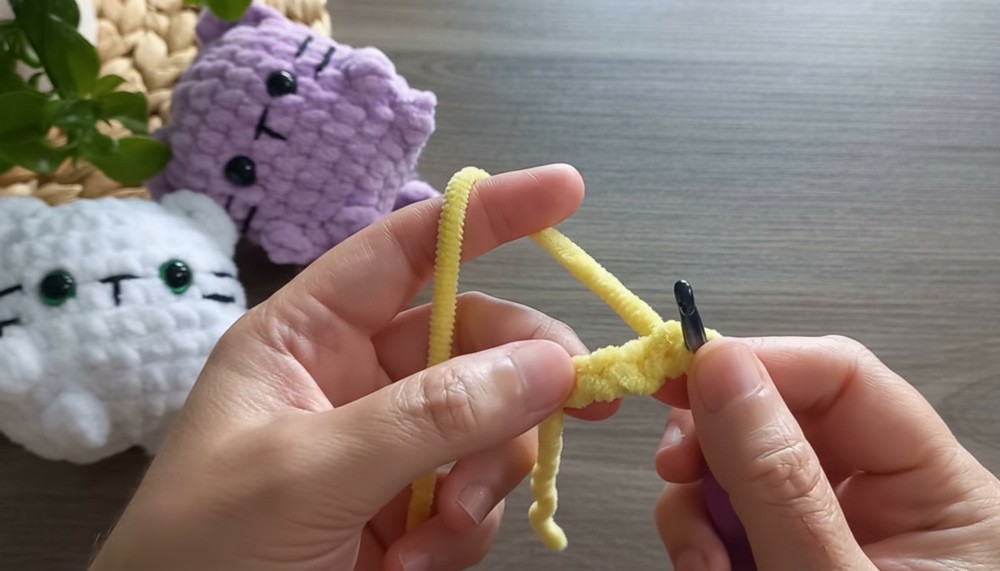
- Set your stitch marker: To keep track of each round. From here, the amigurumi is worked in a spiral.
- Round 2 (Increase round):
- (2 SC in each stitch) around.
Total stitches: 18.
- (2 SC in each stitch) around.
- Round 3 (Increase round):
- (1 SC, 2 SC in the next stitch)—repeat around.
Total stitches = 26.
- (1 SC, 2 SC in the next stitch)—repeat around.
- Rounds 4-7 (No increase):
- Work 26 SC evenly for 4 rounds.
(Counts as the base of the head/body).
- Work 26 SC evenly for 4 rounds.
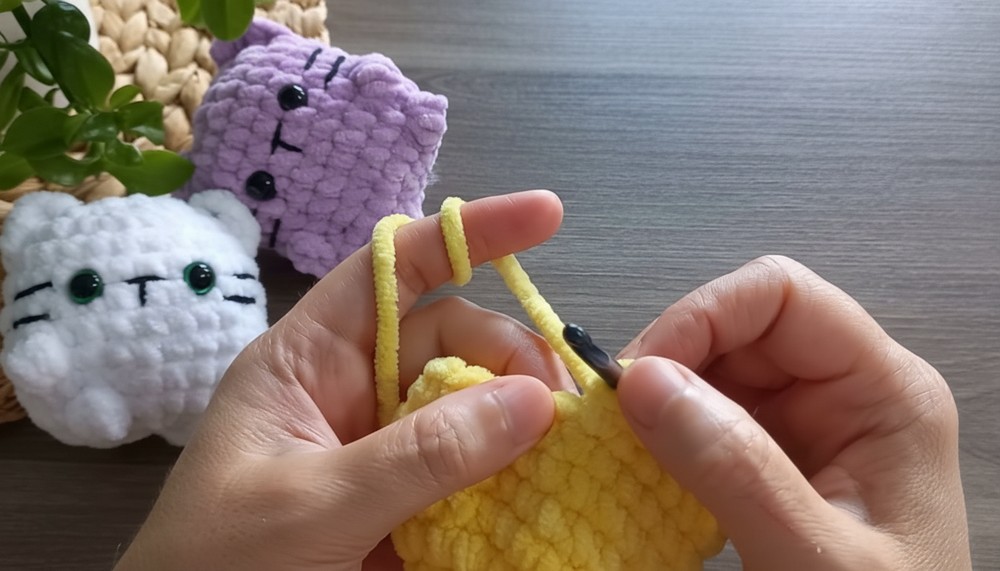
Arms
- Round 8 (Adding arms):
- SC 13 stitches. In the 14th stitch, make** an increase (2 SC).**
- Crochet an arm puff:
- Attach yarn, yarn-over, then work 4 half-double crochet (HDC) into 1 stitch.
- Don’t complete each stitch—leave loops on the hook. After 4 HDC, pull through all loops at once (creates a puff).
- Continue with 7 SC, repeat the same puff stitch for the second arm.
- Work remaining SC to finish.
Total = 28 SC.
- Round 9:
- Work evenly around with 28 SC.
Legs
- Round 10:
- Work 14 SC, then 1 decrease (combine 2 SC into 1).
- Work 5 SC, then make the first leg puff (same method as arms).
- Crochet 5 SC, then create the second leg puff.
- Work the final stitches evenly.
Total: 26 SC.
- Round 11 (Reduce stitches):
- (2 SC, 1 decrease)—repeat 6 times. Add remaining SC to finish.
Total = 20 stitches.
- (2 SC, 1 decrease)—repeat 6 times. Add remaining SC to finish.
Shaping & Stuffing
- Round 12 (Final decrease):
- (1 SC, 1 decrease) around.
- End the round with 10 SC.
- Stuff the body with fiberfill (but not too firm).
- Closing the body:
- Weave the remaining 10 stitches together using a yarn needle.
- Tug gently to secure a clean, round finish.
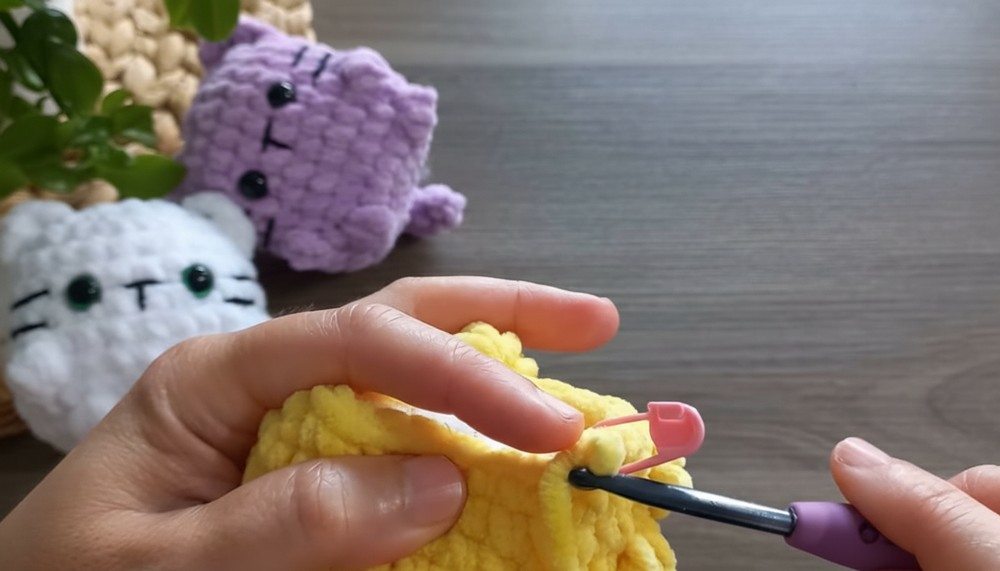
Ears
- Find the 4th round of the cat's head. Using stitch marks, place 2 ears symmetrically:
- Begin working near the 4th stitch loop.
- Crochet:
- 1 SC, work into the next 2 stitches with single and half-double crochet (HDC).
- Decrease to shape the tip.
- Leave a tail for sewing.
- Sew each ear onto the head, adjusting symmetry.
Tail
- Mark the center of the back, between Rows 3 and 4. For the tail:
- Work 9 chains, then crochet back in the chain using:
- HDC stitches and finish with SCs.
- Attach securely at the base.
- Work 9 chains, then crochet back in the chain using:
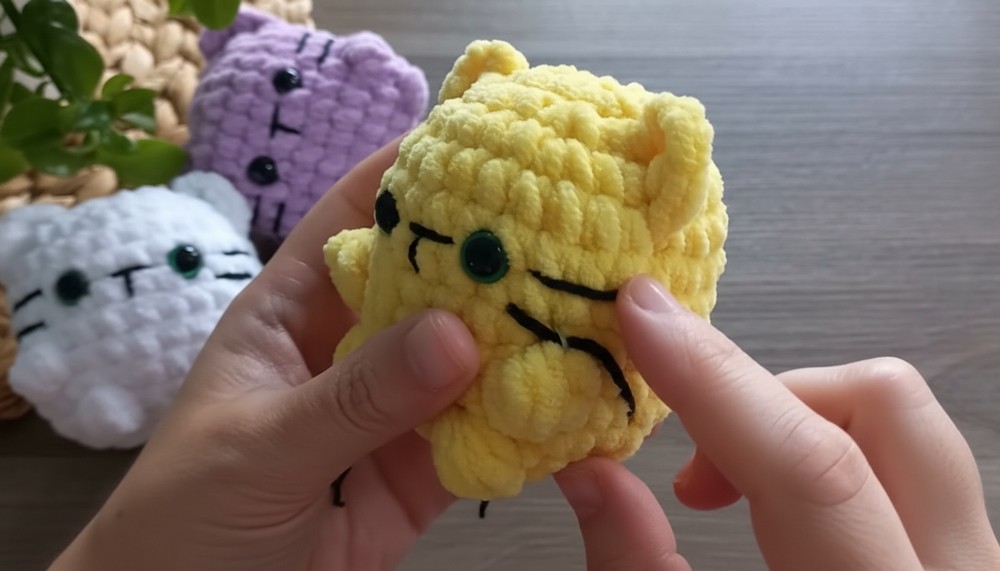
Facial Details
- Eyes:
- Place safety eyes between Rounds 5-6, leaving a 3-stitch gap between them.
- Nose and Mouth embroidery:
- Use a thin black yarn. Embroider a triangular nose between the eyes.
- Stitch a little "Y" shape underneath the nose for a cute mouth.
- Final touches:
- Add lines or designs to enhance the facial details (optional).
Special Features
- Beginner-friendly, easy-to-follow steps.
- Velvet yarn creates a soft, polished, and plush look.
- Fully customizable with different colors, faces, or even accessories.
Level of Difficulty
Beginner to Intermediate: The project is straightforward but has some amigurumi techniques (increasing, decreasing, and puff stitches). Beginners can rely on the detailed guide.
Uses
This adorable crochet cat can be used as:
- Keychain (with an added clip/keyring).
- Car charm.
- Tiny plush toy or decor for baby nurseries.
- Bag accessory.
Great for gifting or selling in craft markets!
Tutor’s Suggestions
- Transition to smaller hooks (e.g., 4mm or 3mm) for mini-sized versions.
- If safety eyes aren’t available, use embroidery or felt.
- Swap velvet yarn for cotton if you want a sharper stitch texture.
Finishing:
- Hide and secure all yarn tails inside the body.
- Shape the kitten to sit or lie down by adjusting fiberfill if necessary.
Final Words and Tips to Maintain the Pattern:
- Ensure your tension is even throughout to give your kitten a neat and polished look.
- Customize: Use different yarn colors, eye styles, or embroidery designs for a personalized touch.
- Store safely: Keep the toy away from rough handling to avoid deformations.
Conclusion
This crochet cat is a charming and rewarding project, ideal for beginners looking to explore amigurumi or experienced crafters seeking a short-term project. With its soft texture, adorable design, and customizability, you can create variations that fit any style or purpose. Relax, experiment with colors, and add a personal touch to your kitty!