
Whimsical Crochet No-Sew Dog Pattern That Will Light Up Your Day
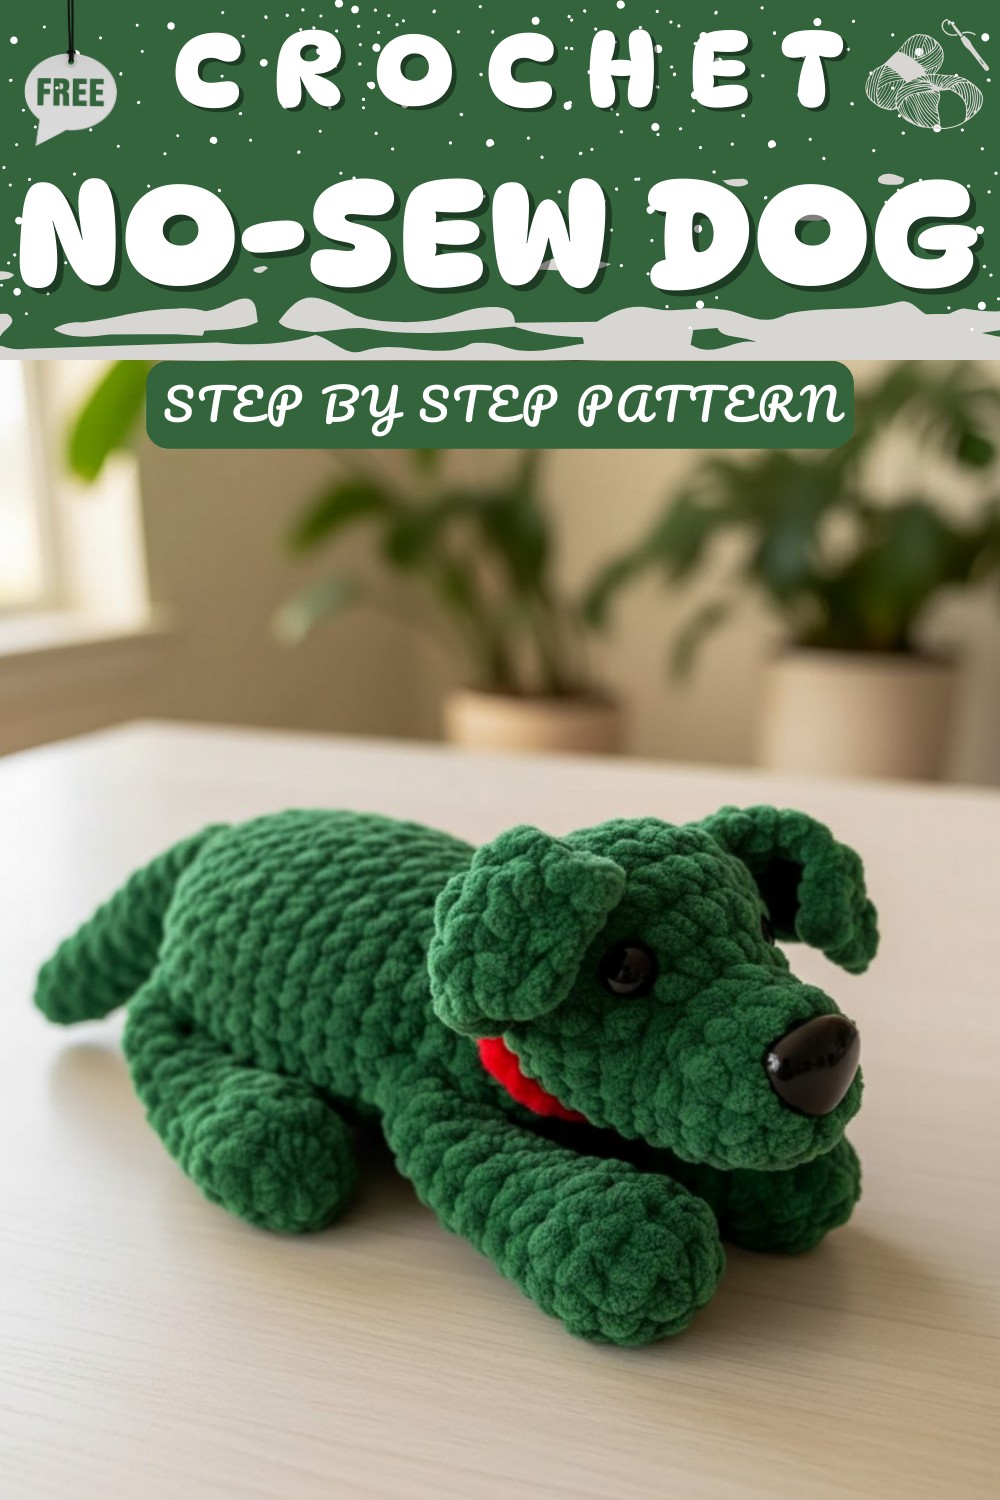
A soft and heartfelt Crochet No-Sew Dog Pattern perfect for thoughtful gifts, or adding a touch of playful charm to your home.

Holding a tiny, soft toy in your hands can bring a sense of joy and comfort, especially when it’s something you made yourself. With gentle curves and a squishy, rounded shape, this little pup instantly feels friendly and inviting. The Crochet No-Sew Dog is an easy project that turns simple yarn into a cute companion, complete with small ears, a sweet face, and a plump body that makes it perfect to hug or display.
Transform Yarn Into Cuteness With This Crochet No-Sew Dog

It can brighten a shelf, sit happily on a desk, or become a handmade gift for children and adults alike. Its lightweight, soft, and compact design makes it easy to handle and move around.
No-Sew Crochet Dog Pattern
Skill Level
Difficulty: Advanced Beginner
- You should be comfortable with basic stitches (e.g., single crochet, invisible decrease).
- Attention to detail is required for limb placement and shaping.
Materials
- Size 6 yarn (chenille): Himalaya Dolphin Baby recommended, but you can use a similar size.
- Safety nose: 24 mm (or embroidery floss if you'd rather embroider the nose).
- Safety eyes: 12 mm (adjustable based on your preference).
- Crochet hook: 5 mm.
- Yarn needle for sewing and finishing.
- Stitch markers: Highly recommended for keeping track of stitches, especially in complex areas.
- Polyester fiberfill stuffing: Soft filling to stuff the body and limbs.
Special Features
- Flexible Design: The crochet dog can be positioned flat or sitting upright based on how you organize the limbs.
- Simple Construction: Body, limbs, tail, and ears are crocheted separately and attached for easy assembly.
- Surface Single Crochet Technique: This technique adds detail to create more realistic-looking ears.
- Placement Adjustments: The tutor recommends adjusting placements to achieve symmetry during sewing and limb attachment.
Step-by-Step Pattern
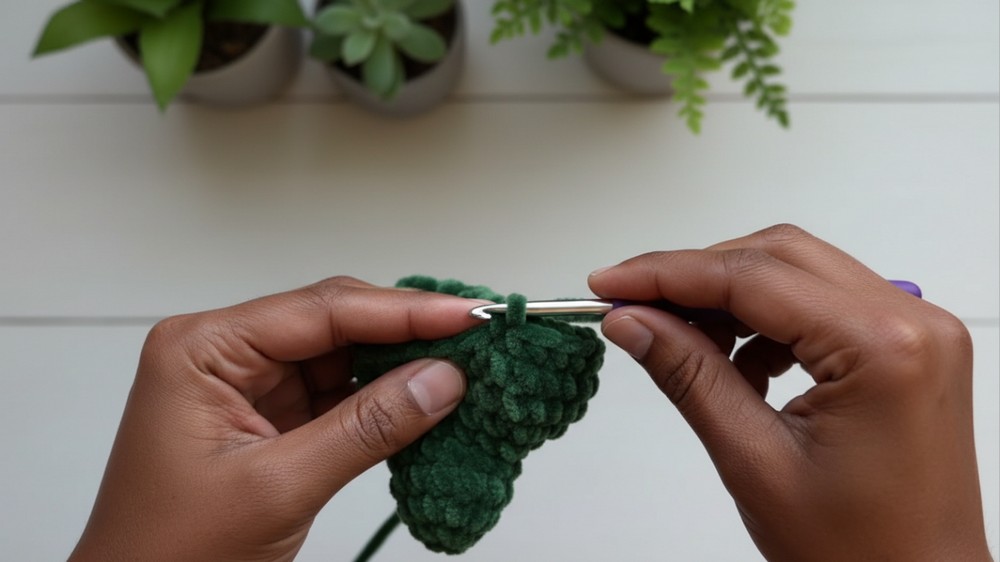
Legs (Make 4)
- Round 1: Create a magic ring and crochet 6 single crochets (SC) into the ring. [6 stitches]
- Round 2: Work 6 increases (2 SC in each stitch). [12 stitches]
- Round 3: Work 1 SC in each stitch around. [12 stitches]
- Round 4: Work 1 SC followed by an invisible decrease. Repeat this pattern 4 times. [8 stitches]
- Rounds 5-11: Work 8 SC in each round for 7 rounds straight. Go slow and maintain consistent tension for neat results.
-
- Finishing: Fasten off the yarn, leaving a 6-7 inch tail for attaching the legs to the body later.
Tutor’s Suggestion: Pause here and finish the remaining 3 legs (4 in total) following the same pattern.

Tail
- Round 1: Create a magic ring and crochet 6 SC into the ring. [6 stitches]
- Rounds 2-10: Work 6 SC in each round continuously for 9 rounds straight.
- Finishing: Fasten off the yarn and set the tail aside for later attachment.
Tip: Don't overstuff the tail—keeping it lightweight allows it to hang nicely when attached.
Body
Body Base
- Round 1: Start with a magic ring and work 6 SC into the ring. [6 stitches]
- Follow the video closely to shape the body, ensuring the placement of increases aligns symmetrically.
- Round Notes: Pay attention to Round 9 and Round 10 adjustments for symmetrical shaping of the neck and snout.
- If the increases don’t align at the center of the snout, adjust Round 9 by replacing an increase with a single crochet and correcting it in Round 10.
Stuffing
- Once the body starts to take shape (after forming the neck), begin stuffing as you crochet.
- Make sure the stuffing is evenly distributed to maintain the shape. Add stuffing gradually as you progress.

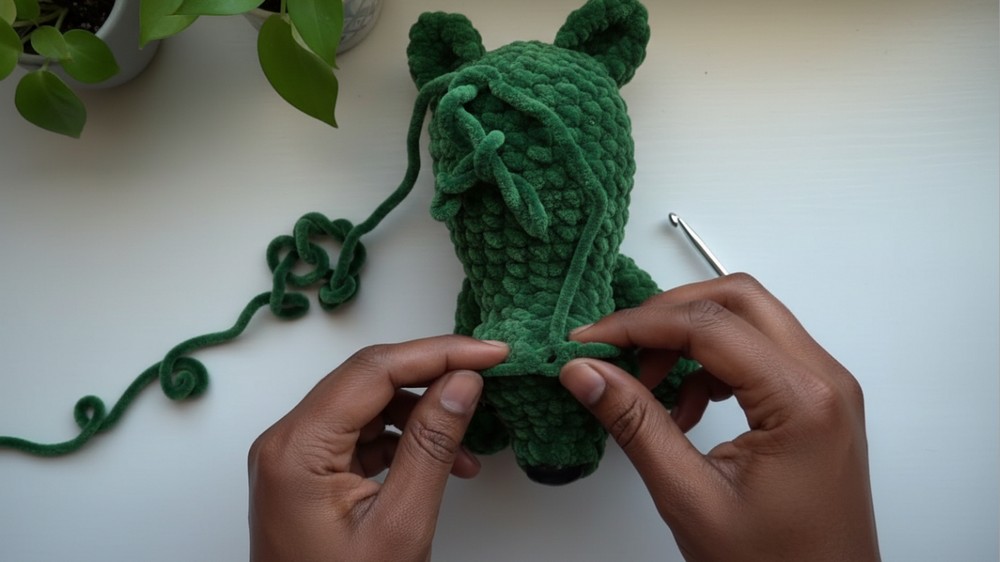
Attaching the Front Legs
- Double-Check Placement: Ensure symmetry before attaching the legs. Align them carefully with the body layout.
- Attach the legs to the body.
- Insert your hook from the inside-out through one stitch in the leg.
- Insert the hook through a stitch in the body.
- Yarn over, pull through both the leg and body, and finish the stitch normally.
Repeat the process for each leg. Follow the exact stitch placement for 2 single crochets with the first leg and 4 single crochets into the body before attaching subsequent limbs.
Tutor’s Suggestion: Ensure the stitches stay firm but flexible. Adjust based on your tension to avoid gaps.
Attaching the Back Legs
Repeat the same process used for the front legs, ensuring symmetry. Stuff the legs evenly, with more stuffing focused on the feet and less near the top of the limb for flexibility.
Attaching the Tail
- Tail Placement: Center three stitches at the top back of the body for the tail attachment.
- Attachment:
- Insert your hook from the outside, through both layers of the tail.
- Then insert into the body and yarn over, pulling through both as you finish the stitch.
- Tip: Adjust tail placement for perfect centering, even if you need to shift stitches slightly.
Ears
- Ear Placement: Find the center stitches between Rounds 8 and 9 on the head. (This can vary between 2-3 stitches depending on yarn tension.)
- Use stitch markers to identify the edges of the ears.
- Count down 5 stitches and use the 6th stitch for starting.
- Creating the Ear with Surface Single Crochet:
- Perform 5 surface single crochets along the identified placement.
- Turn, but don’t chain at the end when starting subsequent rounds of the ear.
- Use a non-invisible decrease for shaping the ear for a clean finish.
Optional Collar
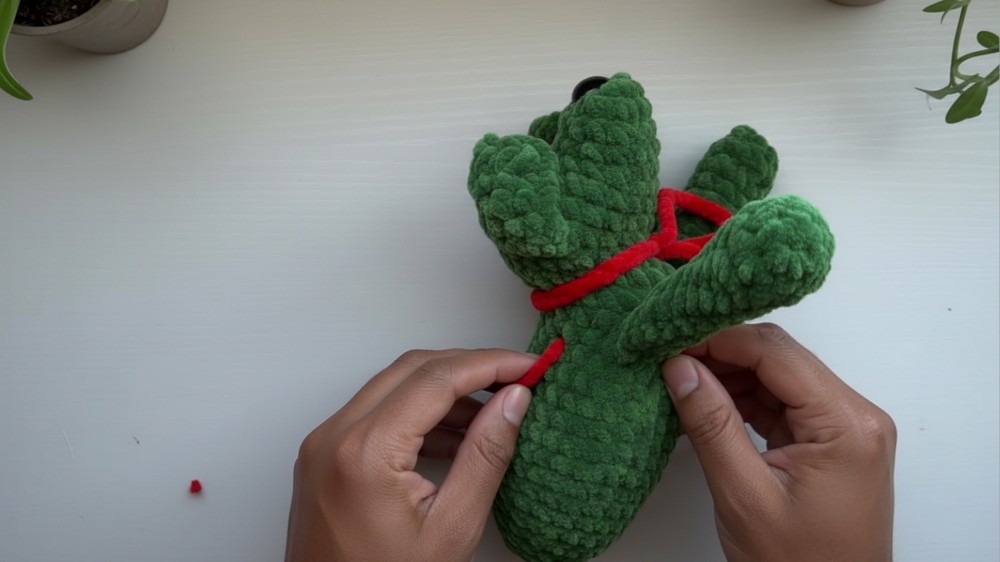
- Chain 18: Use a simple chain stitch long enough to fit around the neck.
- Test Fit: Adjust by adding or removing chains to match desired size.
- Fasten off and either:
- Leave the ends longer for a scarf-like finish, or
- Weave the ends into the collar for a polished look.

Special Features
- Flexible Pose: The Noo Dog can lay flat or sit upright, making it versatile and unique.
- Symmetrical Detailing: Great care is taken in placement for snout shaping, eyes, limbs, tail, and ears.
- Beginner-Appropriate Customization: Easy substitutions for nose, eyes, and accessories.
- Surface Crochet Technique: Adds depth to ear design.
Tutor’s Tips and Suggestions
- Symmetry Matters: Take time to adjust limb placement and shaping details for balanced symmetry.
- Stuff Wisely: Avoid overstuffing the legs to keep their flexibility intact; focus more on the feet.
- Use Stitch Markers: This helps in keeping track of rounds, particularly when attaching legs.
Uses for the Completed Project
- Decorative Item: Place it on shelves or desks for a playful touch.
- Gifts: Ideal for gifting to dog lovers or handmade item collectors.
- Plush Toy: Perfect for children when embroidered for safety.
- Amigurumi Collection: Add it to your collection of cute crochet creations!
Conclusion
The Noo Dog Crochet Pattern is a wonderful mix of simplicity and thoughtful crafting. Its adorable design, flexible poses, and attention to detail make it a joy to create for advanced beginners and experienced crochet enthusiasts alike. If you're looking for a handmade project that's both fun and charming, this pattern is the perfect choice.
Final Tip
Before attaching the limbs and tail, assemble and preview the placement first. This way, you'll avoid unevenness and achieve a polished, professional look.