
Quick and Cute Crochet Avokado Keychain Pattern
Trendy charms with Crochet Avokado Keychain Pattern featuring cute pit detail, compact size, and quick beginner finish for gifts and bags daily.
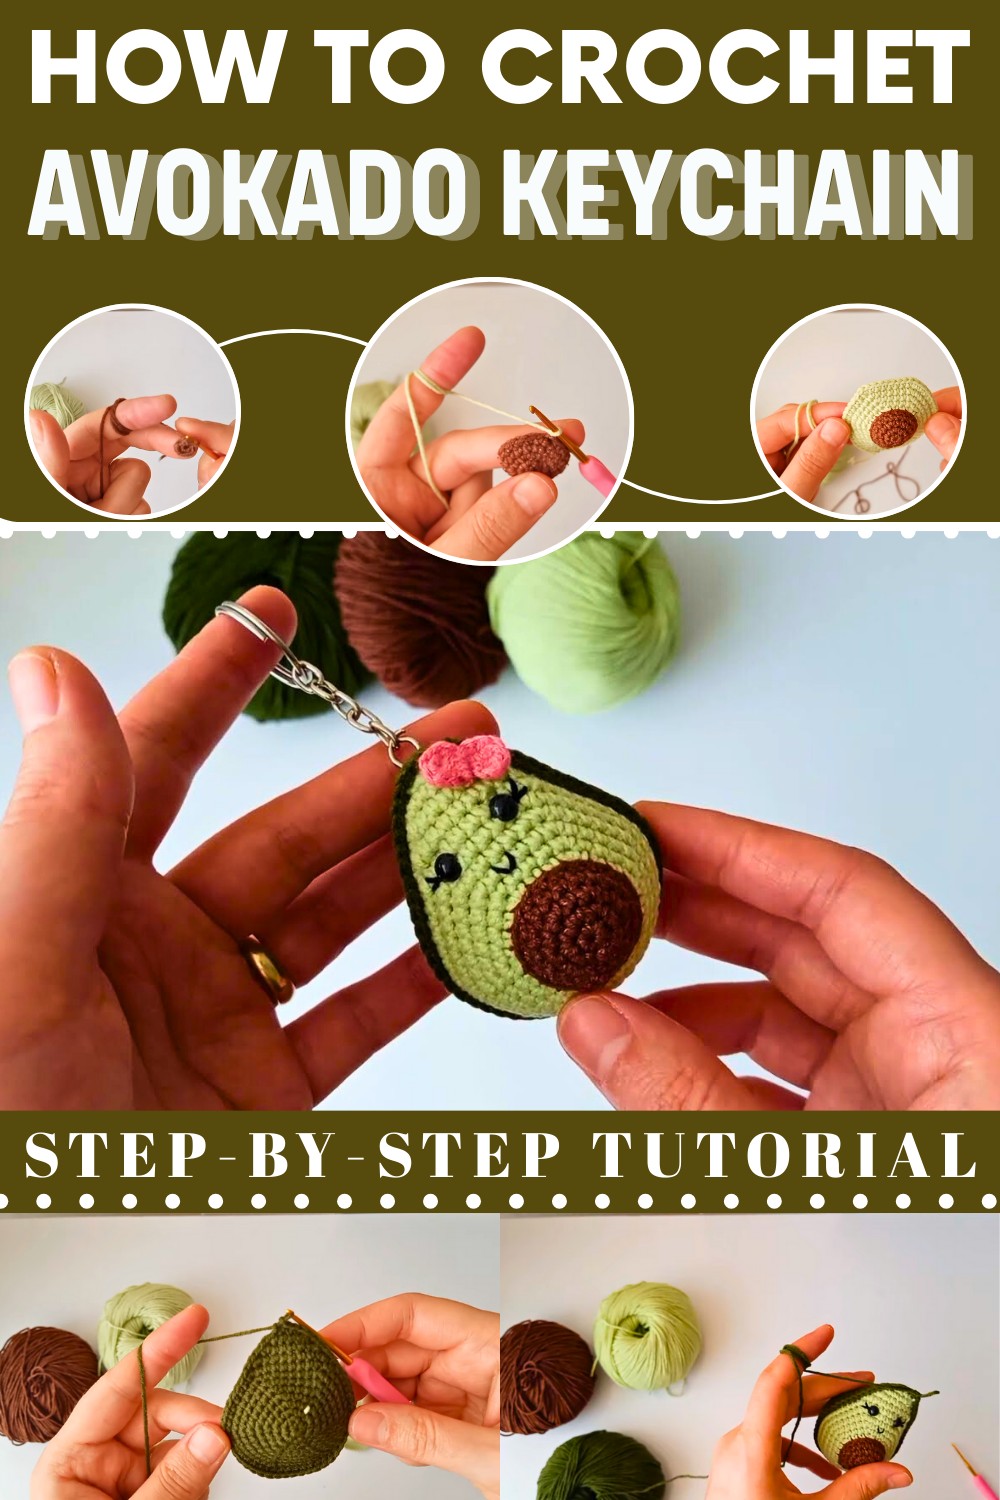
Playful handmade accessories have a special charm that instantly catches attention and adds personality to everyday items. Small crochet creations are especially loved because they are lightweight, colorful, and easy to carry anywhere. In this creative space, the Crochet Avokado keychain Pattern stands out as a fun and trendy project that mixes cuteness with usefulness. Its soft green shades, rounded shape, and tiny pit detail give it an adorable, eye-catching look that feels modern and cheerful.
Handmade Gift Idea Using Crochet Avokado Keychain Pattern
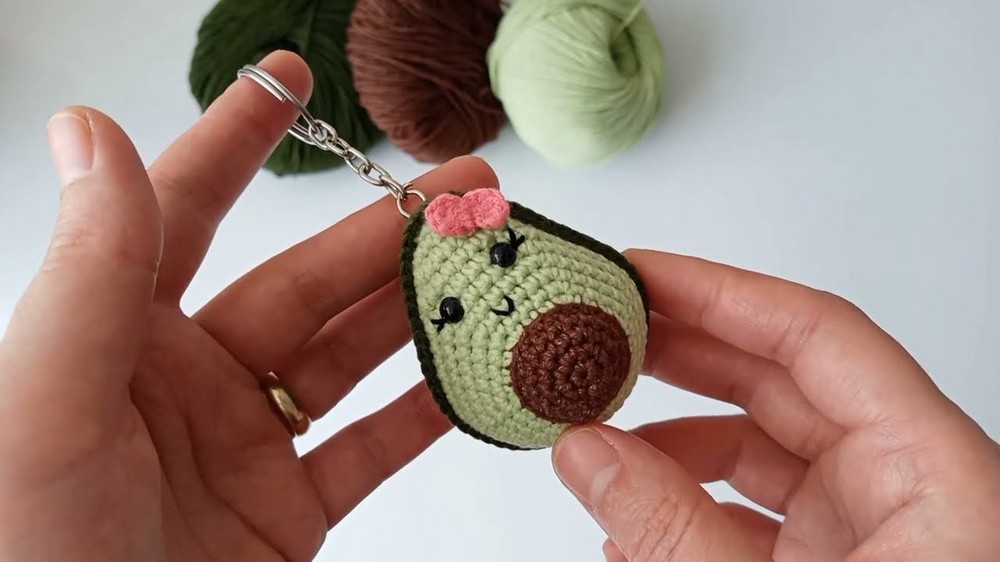
You can use the finished avocado keychain on keys, bags, backpacks, zippers, or even as a small handmade gift. It is also great for crochet fairs or personal collections. Overall, this pattern offers a joyful mix of creativity, style, and everyday usefulness.
Crochet Avokado Keychain Pattern
Materials Needed
To crochet the avocado keychain, you will need:
- Yarn: Dark green, light green, dark pink (for the pit), and optional black or other colors for details.
- Crochet Hook: A hook size suitable for the yarn (standard for amigurumi).
- Tapestry Needle: To sew and hide ends.
- Polyfill Stuffing: To give volume to the avocado.
- Safety Eyes or Bead Eyes: Optional for facial features.
- Embroidery Thread or Yarn: For the mouth if you want to add a smile.
- Keychain Ring: To turn it into a functional accessory.
- Scissors: For cutting yarn.
Step-by-Step Instructions
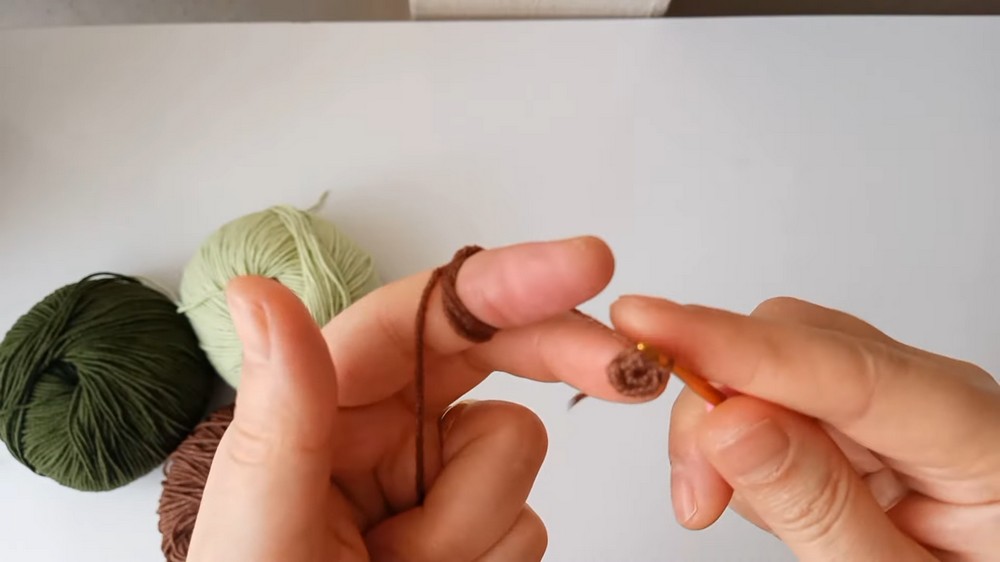
1. Starting the Magic Ring
- Begin by making a magic ring and secure it with a chain stitch.
- Crochet 6 frequent needles (single crochets) into the ring. Tighten the magic ring and close the row using the loop shift technique.
- This technique will help ensure that the rounds are neatly finished without visible seams.
2. Increasing to Create the Avocado Base
- Row 2: Work double stitches into each stitch from the previous row. At the end of the row, you should have 12 single crochets.
- Row 3: Crochet 1 single crochet, then 1 double crochet, and repeat this pattern around until you reach 18 stitches.
- Rows 4-5: Crochet two rows of straight stitches (no increases or decreases).
3. Changing to Light Green Yarn
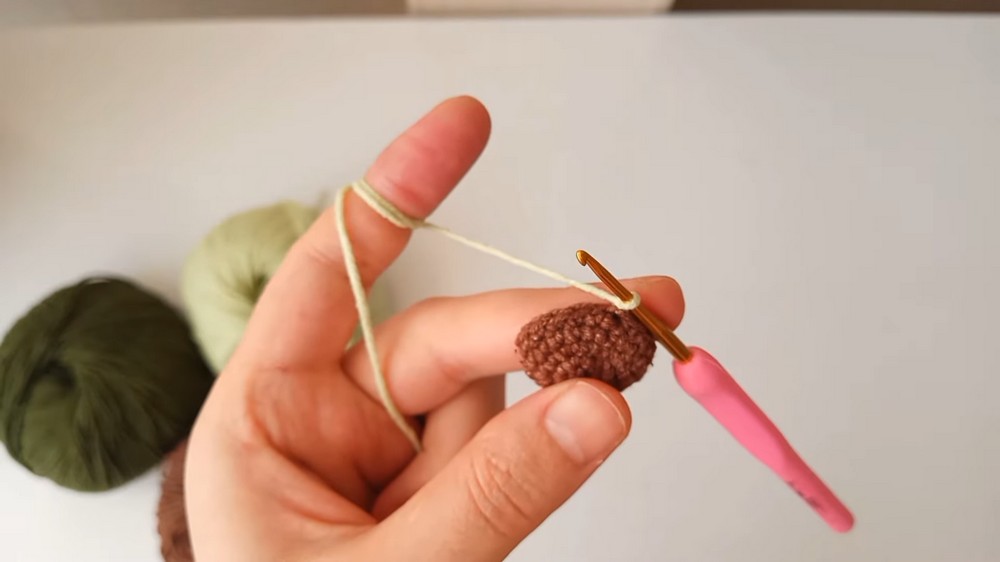
- Switch to the light green yarn by pulling the new color into your current loops.
- Work the next rows using the BLO technique (back loop only), which creates a neat texture for the color change on your avocado.
- Row 6: Work 2 single crochets into the next stitch, then continue with single crochets around until you reach 24 stitches.
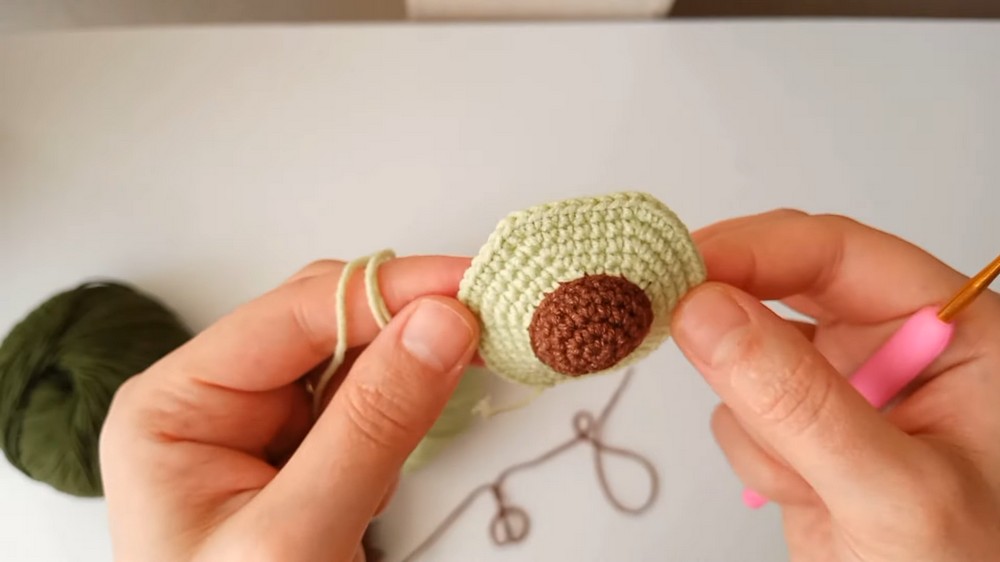
- Continue as follows:
- Row 7: 1 double crochet, then 2 single crochets across the row—30 stitches.
- Row 8: 1 double crochet, followed by 3 single crochets—36 stitches.
- Row 9: 1 double crochet, followed by 4 single crochets—42 stitches.
- Row 10: 1 double crochet, followed by 5 single crochets—48 stitches.
- At the end of this process, your avocado base is complete. You can stop increasing and move to finishing rows.
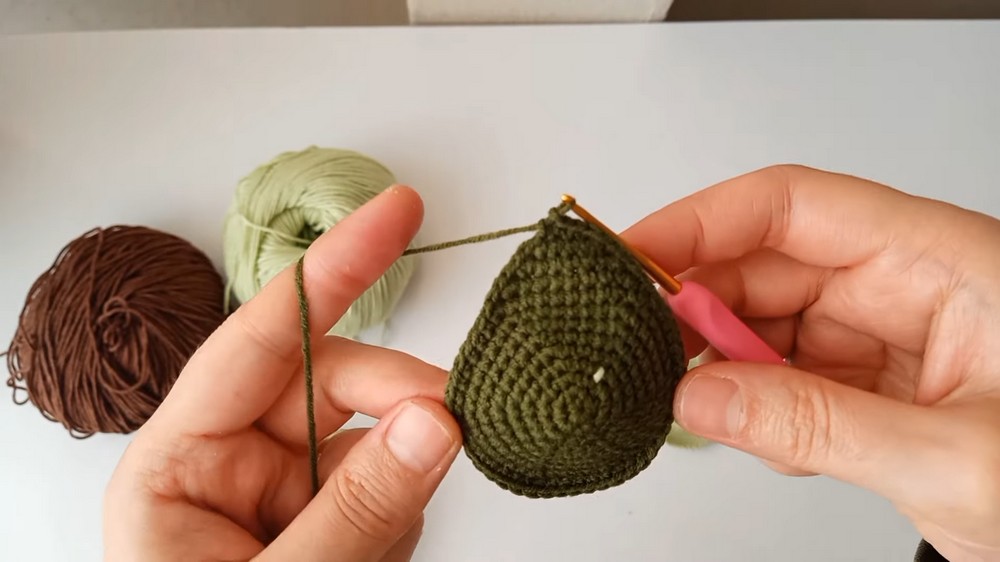
4. Completing the Body and Adding Details
- Create the Front Face: The tutor attaches neat facial features, including safety eyes for the avocado’s "eyes" and embroidery thread for a smile. Use your imagination to customize the expressions.
- Add Texture or Borders: You can crochet an extra border using dark green yarn around the edges of the shape for an outline.
5. Making the Pink Avocado Pit
- Use the pink yarn to create the avocado’s "pit."
- To do this:
- Create a magic ring, and make 6 frequent needles (single crochets) inside.
- Crochet using double stitches (treble crochet) or other techniques to make the pit slightly round and raised.
6. Stuffing and Assembly
- Once the pieces are ready:
- Add polyfill stuffing inside the two halves of the avocado.
- Use your tapestry needle to stitch the halves together carefully.
- Ensure the stuffing is evenly distributed for a smooth look.
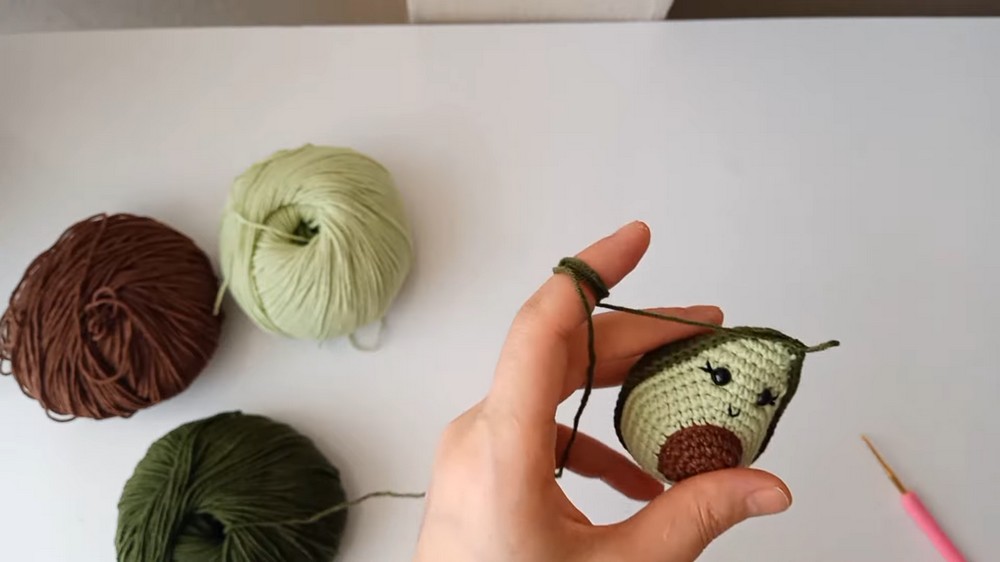
7. Attaching the Pit and Keychain Ring
- Position the pink crocheted pit at the center of the avocado and sew it securely with the same pink yarn.
- Attach the keychain ring at the top of the avocado.
Special Features
- Adorable Design: A quirky avocado shape with an optional smiling face and a colorful pit makes it a charming accessory.
- Beginner-Friendly: Basic stitches and techniques, such as single crochets, loop shifts, and color changes, are taught in an approachable way.
- Customizable: You can experiment with different yarn colors or facial expressions to give each piece its own personality.
- Portable and Practical: The avocado design is lightweight and works perfectly as a keychain, bag charm, or gift.
Level of Difficulty
Beginner to Intermediate
The project combines beginner-friendly stitches with a couple of intermediate elements, such as color changes and magic rings. While the instructions are easy to follow, newcomers may need extra practice for more challenging segments like the loop shifts and the back loop-only technique.
Tutor's Suggestions
- For neat finishes, keep loops tight and stitches consistent, especially during color changes.
- Use loop shifts for clean edges, avoiding spiraling or uneven transitions when starting new rounds.
- Avoid overstuffing the avocado to maintain its soft, compact shape.
Uses
- As a Keychain: Attach it to keys, bags, or pouches for a functional and decorative accessory.
- As Gifts: The avocado keychain makes a thoughtful handmade gift for friends and family.
- For Practice: This fun project is a great way to strengthen your crochet skills, especially in increasing stitches, color changing, and assembling amigurumi.
Conclusion
This crochet avocado keychain tutorial is the perfect project for anyone looking for a fun yet straightforward way to create something unique and functional. The step-by-step guidance ensures even beginners can follow along with ease. Once complete, you’ll have a handmade item to cherish for yourself or gift to a loved one.
Pro Tip
When working on the facial features, position the eyes and mouth before attaching them. This gives you the chance to make adjustments and ensure the face looks just right!