
Cute Crochet Turtle Keychain Free Pattern Built for Daily Use
Boost everyday style with this Crochet Turtle Keychain Pattern, featuring a tiny turtle accent ideal for keys, bags, and daily accessories.

Shell-Pop Crochet Turtle Keychain Pattern You’ll Want to Keep
Brighten up your daily essentials with this Crochet Turtle Keychain pattern, a project that turns vibrant yarn into a delightful and tiny sea creature. This miniature turtle stands at an adorable 8 to 9 cm, making it the perfect size to accent your keys, backpack, or even hang as a decorative charm in your home.
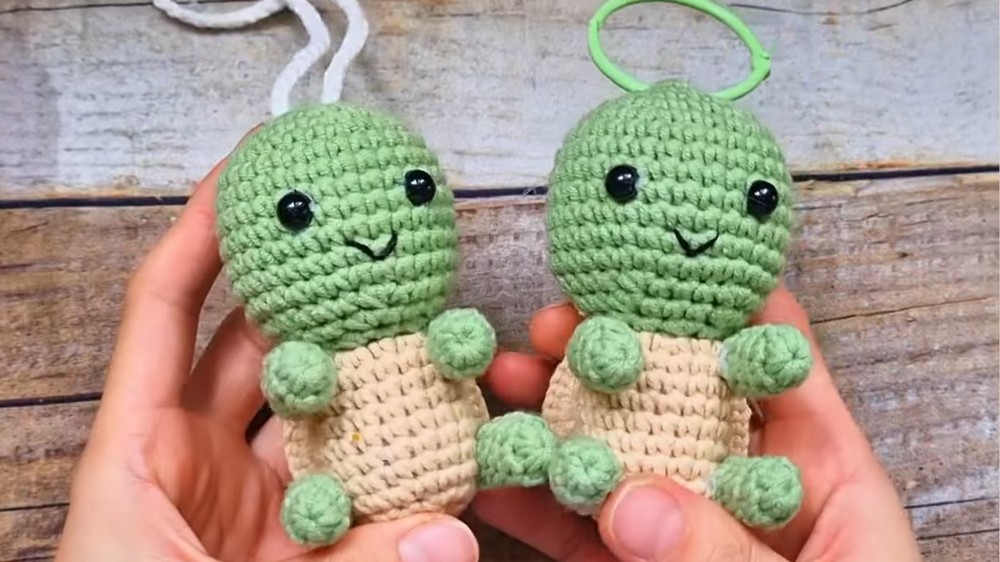
The design features a distinct, textured shell and a soft, rounded body that is satisfying to hold and touch. Its lightweight nature and durable construction ensure it can withstand the wear and tear of being a travel buddy while remaining a cute and iconic accessory that draws smiles wherever it goes.
Crochet Turtle Keychain Pattern
Materials Required
- Yarn: 125g of your preferred color for the turtle; ensure it’s suitable for amigurumi (e.g., cotton or acrylic yarn).
- Hook: 2.5 mm crochet hook.
- Stuffing: Polyester fiberfill or similar material for stuffing.
- Scissors: For cutting yarn.
- Darning Needle: For sewing pieces together and weaving in ends.
- Keychain Ring or String: Optional, for attaching finished turtle as a keychain or decoration.
- Glue (optional): For securing parts once assembled for added stability.
Gauge
Gauge is not critical for this pattern; however, ensure your stitches are tight enough to hold the stuffing without gaps.
Finished Size
- The turtle keychain measures approximately 8-9 cm in height, depending on tension and yarn used.
Skill Level
Intermediate: Familiarity with basic crochet techniques, working in the round, and simple amigurumi techniques.
Key Abbreviations and Techniques
- ch: Chain
- sc: Single Crochet
- inc: Single Crochet Increase (2 sc in the same stitch)
- dec: Single Crochet Decrease (single crochet two stitches together)
- sl st: Slip Stitch
- FO: Fasten Off
Pattern Instructions
Part 1: Turtle's Body
- Round 1: Start with a magic ring, or chain 2 and work into the first chain.
- Work 6 sc in the ring, pull tight to close circle. (6 sts)
- Round 2: Work 2 sc in each stitch around. (12 sts)
- Round 3: 1 sc, inc in each repeating; around. (18 sts)
- Round 4: 2 sc, inc around. (24 sts)
- Round 5: 3 sc, inc around. (30 sts)
- Rounds 6-12: Work 1 sc in each stitch around. (30 sts)
- Round 13: 3 sc, dec around. (24 sts)
- Round 14: 2 sc, dec around. (18 sts)
- Stuff the body with fiberfill at this point, ensuring a firm shape.
- Round 15: 1 sc, dec around. (12 sts)
- Round 16: dec around. (6 sts)
- Fasten off, weave the tail through the front loops of the stitches of the final round, pull tight to close, and weave in the ends.
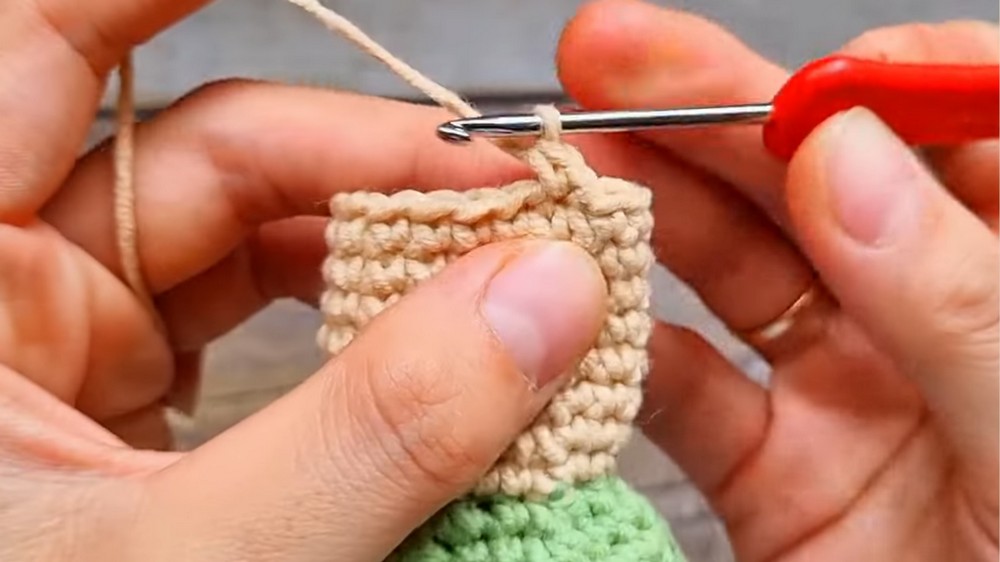

Part 2: Turtle's Shell
- Round 1: Start with a magic ring.
- Work 6 sc in the ring. (6 sts)
- Round 2: Work 2 sc in each stitch around. (12 sts)
- Round 3: 1 sc, inc around. (18 sts)
- Round 4: 2 sc, inc around. (24 sts)
- Rounds 5-6: Work 1 sc in each stitch around. (24 sts)
- Round 7 (Decrease Round): 2 sc, dec around. (18 sts)
- Fasten off, leaving a long tail for sewing. Attach the shell to the body, ensuring alignment and secure stitching.
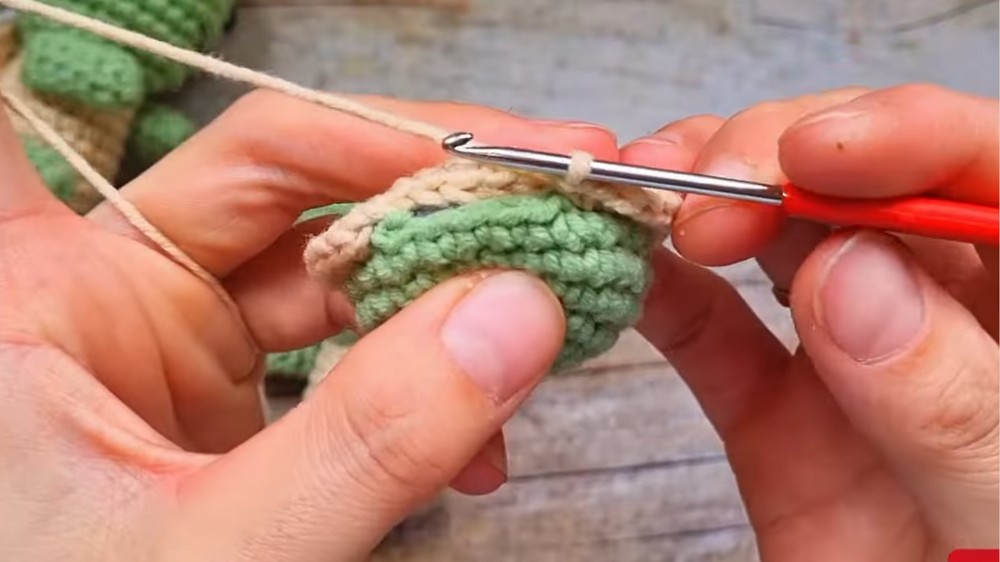
Part 3: Turtle’s Limbs (Make 4)
- Start with a magic ring:
- Work 6 sc in the ring. (6 sts)
- Round 2: Work 1 sc in each stitch around. (6 sts)
- Rounds 3-5: Repeat Round 2. (6 sts)
- Fasten off, leaving a long tail for sewing. Slightly stuff each limb before sewing them neatly onto the sides of the turtle's body, aligned with the seam of the shell.
Part 4: Turtle's Head
- Round 1: Start with a magic ring.
- Work 6 sc in the ring. (6 sts)
- Round 2: Work 2 sc in each stitch around. (12 sts)
- Round 3: 1 sc, inc around. (18 sts)
- Rounds 4-5: Work 1 sc in each stitch around. (18 sts)
- Round 6 (Decrease Round): 1 sc, dec around. (12 sts)
- Lightly stuff the head, adjusting the amount for a desired firmness.
- Round 7: dec across. (6 sts)
- Fasten off, leaving a long tail for sewing, and attach the head to the end of the body.

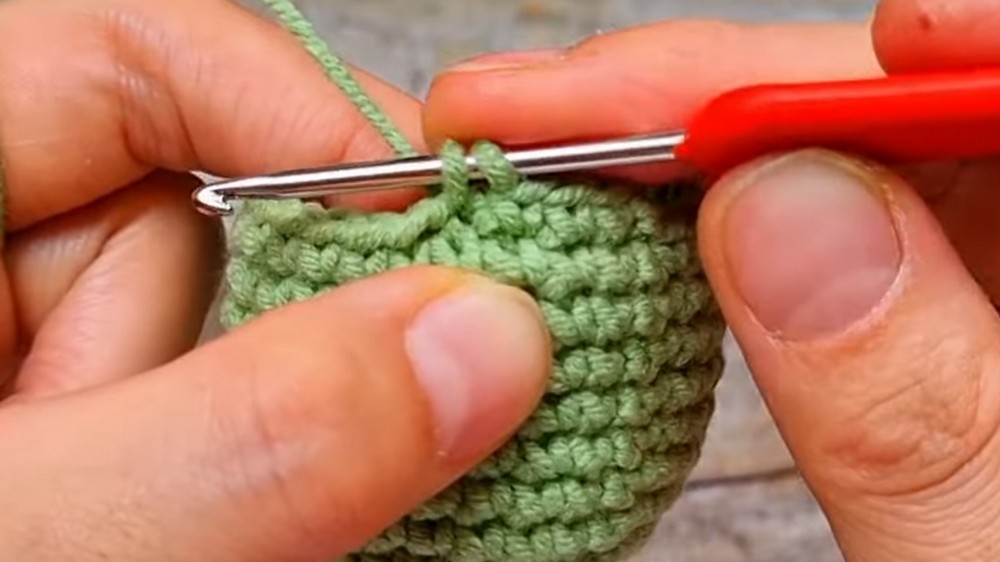
Assembly and Finishing
- Positioning: Carefully position and sew the head and limbs to the turtle’s body, ensuring symmetry.
- Final Touches:
- Use glue (optional) to secure parts for added stability.
- Attach a keychain ring or decorative string to the top for functional use.
- Weave in all ends, ensuring no loose threads are visible.
Conclusion
Your adorable turtle keychain is complete! This charming little accessory is perfect for keys or as decoration. Adjust the size and colors for a personalized touch or to match any theme.
Tips for Customization
- Color Varieties: Mix and match yarn colors for the shell and body to create different turtle designs.
- Size Alterations: Increase or decrease stitch counts in each round to adjust the turtle's size.
- Decorative Additions: Embroider eyes or add tiny felt shapes for added character.
- Multipurpose Use: Transform the design for other uses such as bag ornaments or fridge magnets by adapting keychain hook placement.