
Cozy Crochet Chubby Cat Pattern to Display on Shelves
Cuddle a cute crochet Chubby Cat with this free pattern, perfect for adding a playful handmade touch to décor, gifts, or cozy collections.
Perfect for adding whimsy and warmth to any craft project, the Crochet Chubby Cat Pattern is a delightful design that captures hearts with its plump, rounded form and playful details. This versatile pattern allows crocheters to create charming decorative pieces, heartfelt handmade gifts, or even cuddly toys for loved ones.
Adorable Crochet Chubby Cat Pattern Which Kids Will Adore
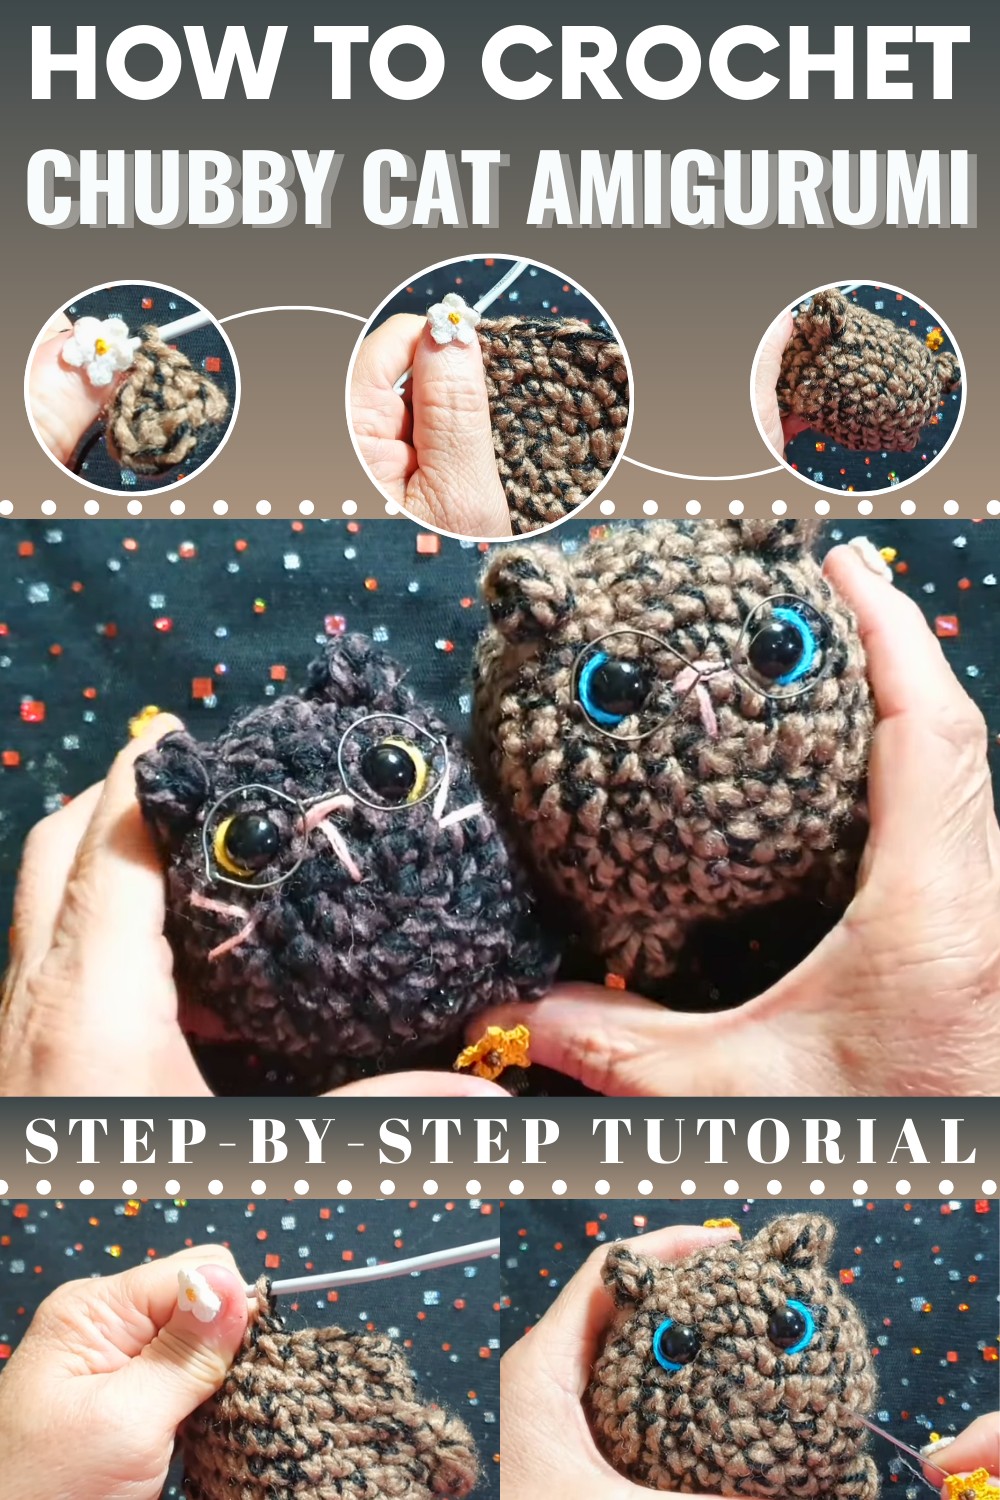
Its appealing design features stubby paws, cute ears, and a soft, squeezable body, making it a favorite among crochet enthusiasts.
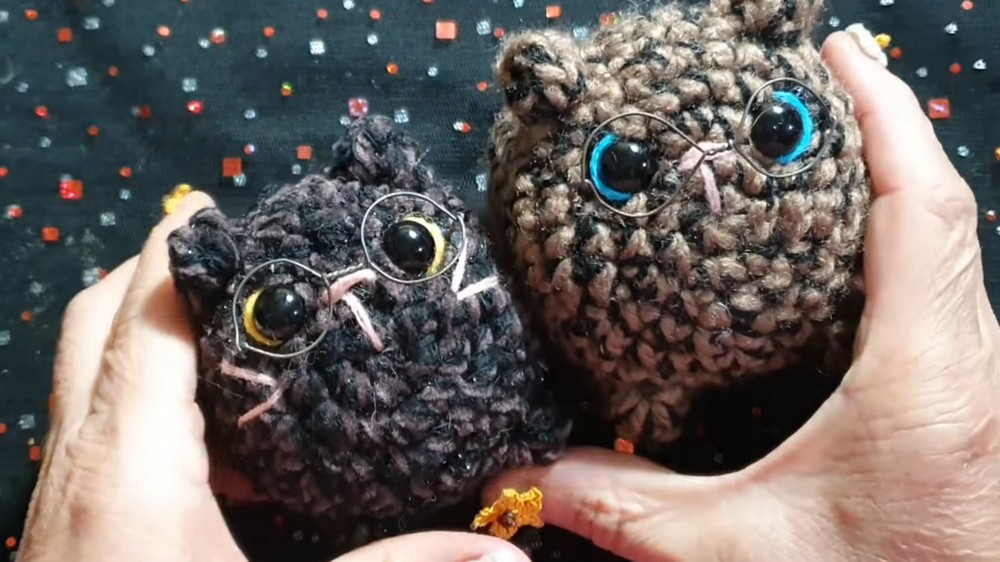
Amigurumi Kitten Crochet Pattern
Skill Level
Intermediate
This project includes basic crochet skills like working in rounds, increases, decreases, color shaping, and embroidery techniques. The glasses add an optional wirework skill.
Finished Size
- Large Kitten: Approximately 12 cm tall, made with thick yarn and a 3.5 mm hook.
- Small Kitten: Approximately 8 cm tall, using thin yarn with the same pattern.
Gauge
Gauge is not critical for this project, but ensure consistent tension so stuffing doesn't show.
Materials
Yarn
- Thick Yarn: Acrylic or wool yarn for the main body (e.g., coffee, beige, or black).
- Thin Yarn: Black acrylic for accents.
- Pink Yarn: For nose and whiskers embroidery.
- Optional: Embroidery thread for custom color eyes/details.
Tools
- Hook Size: 3.5 mm crochet hook (adjustable based on yarn weight).
- Safety Eyes: Size 12 mm, with secure backings.
- Stuffing: Fiberfill for shaping the kitten.
- Wire: Thin wire, approximately 28 cm for the glasses (malleable and sturdy wire).
- Extras:
- Yarn Needle for sewing and embroidery.
- Scissors.
- Tweezers (optional for filling small sections).
- Cold Silicone Glue: For securing the glasses and embroidered elements.
Key Abbreviations (US Terminology)
- MR: Magic Ring
- sc: Single Crochet
- dc: Double Crochet
- tr: Treble Crochet
- sl.st: Slip Stitch
- inc: Increase (2 sc stitches in same stitch)
- dec: Decrease (crochet 2 stitches together)
- ch: Chain
Special Notes
- Size Variations: Use thicker yarn for larger kittens and thinner yarn for smaller creations.
- Wire Glasses: Take care when twisting and shaping wire to avoid breakage.
- Experimentation: Try different yarn colors for creative looks and custom personality.
Step-by-Step Instructions
Kitten Body
Round 1–6: Base
- Round 1:
- Create a MR, ch 1, and 6 sc into the ring.
- Close the ring with a sl.st into the 1st sc. [6 sts]
- Round 2:
- Ch 1, 2 sc in each stitch for 12 sts.
- Close with sl.st. [12 sts]
- Round 3:
- Ch 1, (1 sc, inc) around, for 18 sts.
- Close with sl.st. [18 sts]
- Round 4:
- Ch 1, (2 sc, inc) around, for 24 sts.
- Close with sl.st. [24 sts]
- Round 5:
- Ch 1, (3 sc, inc) around, for 30 sts.
- Close with sl.st. [30 sts]
- Round 6:
- Ch 1, (4 sc, inc) around, for 36 sts.
- Close with sl.st. [36 sts]
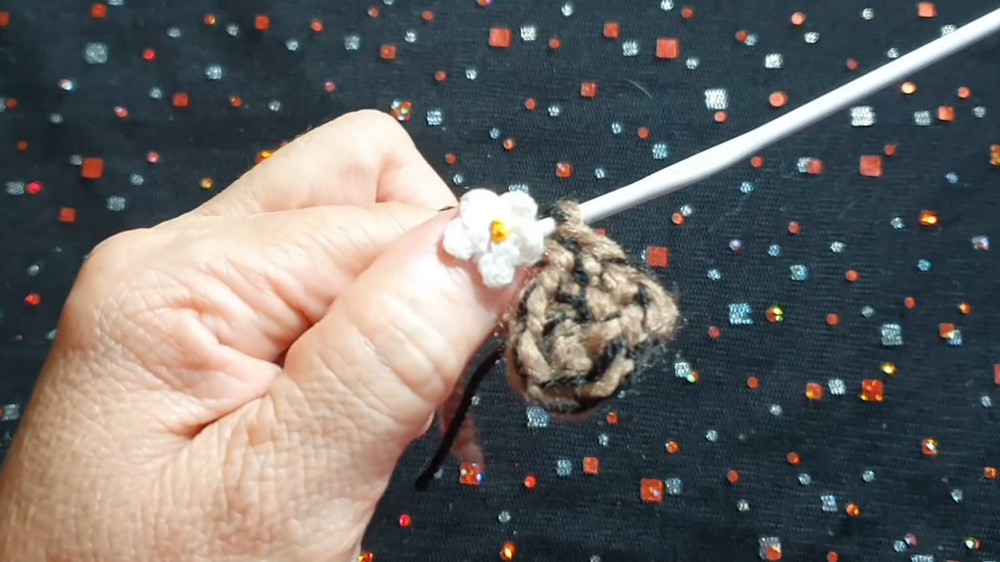
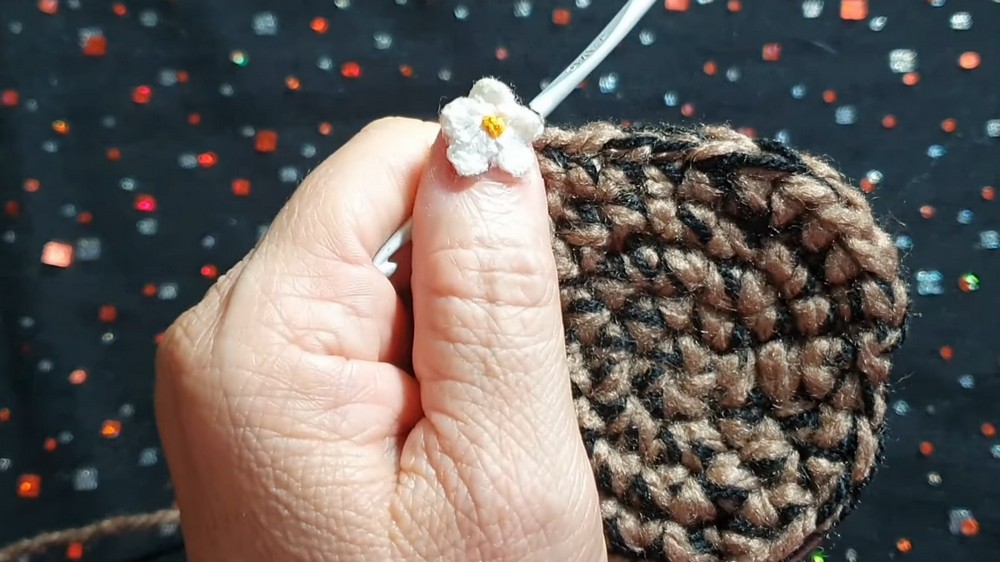
Rounds 7–13: Shaping and Ears
- Round 7:
- Ch 1, sc into each stitch for 36 sts.
- Close with sl.st.
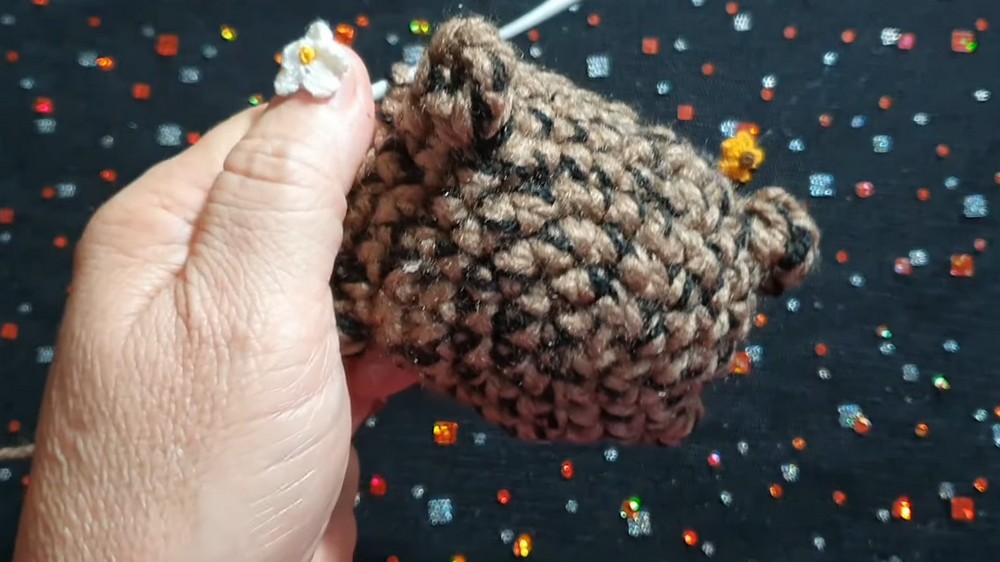
- Ears:
- Begin placing the ears symmetrically after 5-stitch gaps on either side starting at the top of the head.
- Ear Stitch Pattern:
- Front Loop only:
- Work the following in the same stitch:
- 1 dc, 1 tr, ch 1, 1 dc, 1 sc.
- Skip the next 5 sc, repeat for second ear.
- Work the following in the same stitch:
- Front Loop only:
- Ear Stitch Pattern:
- Begin placing the ears symmetrically after 5-stitch gaps on either side starting at the top of the head.
- Continue 1 round of sc for 36 sts. Use stitch markers to define ear points.
Paws
Front Paws
- Locate 2 symmetrical spaces approximately 6 sts apart.
- In chosen space: Work the following for 5 unclosed dc:
- Each dc into the front loop.
- Close all 5 with one stitch to create a paw.
Repeat for second paw.
Back Legs
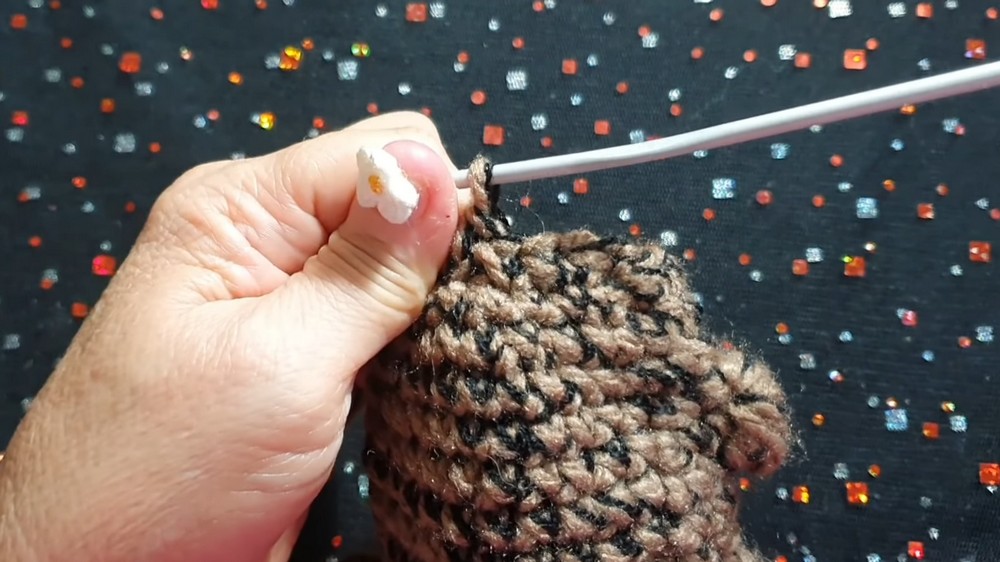
- Round 14:
- Work standard sc for 22 stitches, then begin leg placement.
- Leg Instructions:
- Front loop only:
- Work 5 unclosed dc and close all to form the small foot.
- Continue 4 sc.
- Repeat the same process for the second leg. Finish remaining stitches.
- Front loop only:
Tail
- Foundation Preparation:
- Create 11 chains.
- Work back across chain with sc.
- Attach the tail firmly with yarn stitches. Shape gently with additional filling.
Eyes, Nose, and Whiskers
Eyes
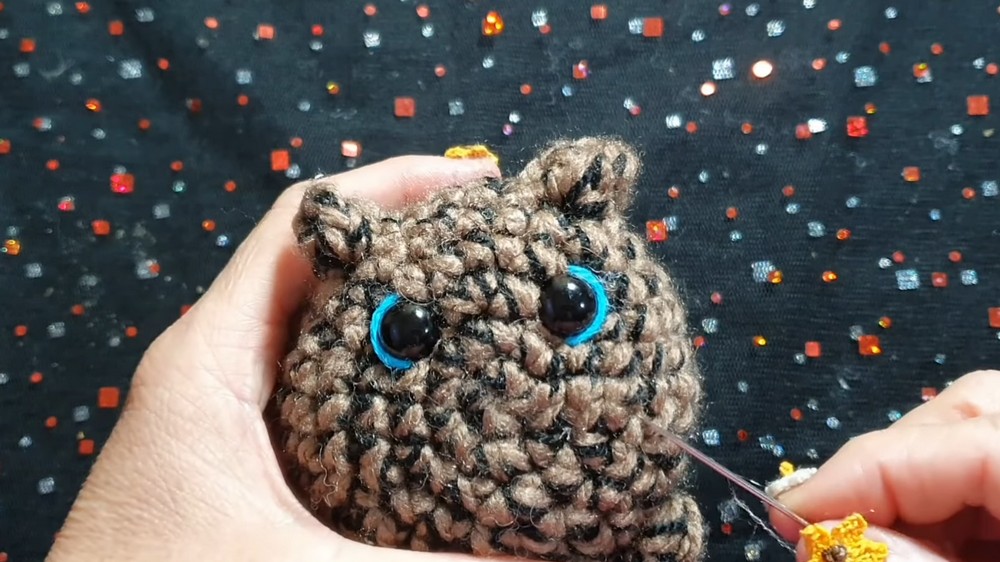
- Attach safety eyes approximately 3 stitches down from the ears.
- Maintain a 10-stitch gap between the eyes.
Nose
- Pink yarn:
- Embroider a small triangular nose at the midpoint between the eyes.
Whiskers
- Using pink yarn/thread, add thin whiskers on either side of the nose with a needle.
Wire Glasses
Materials
- Thin wire: 28 cm.
- Marker: Used as a framing tool for shaping wire.
Steps
- Measure and Shape Lenses:
- Bend the wire in half and wrap around a marker to create circles for the lens.
- Twist both ends tightly to finalize the lens and middle bridge.
- Assemble Glasses and Tailor:
- Cut excess wire, adjust evenness, and glue glasses gently to kitten’s nose area.
Customization Ideas
- Color Palette: Experiment with different yarn shades for unique kittens: black, gray, white, calico patterns.
- Accessories: Add scarves, bows, or hats for holiday-themed kittens.
- Eye Embroidery: Stitch colorful eyes instead of safety eyes for added personality.
Conclusion
The Amigurumi Kitten Crochet Pattern results in a cute and playful kitten suitable for decoration or gifting. Its customizable features allow for endless creativity, from wire glasses to embroidery details.
Pattern Corrections
- Use stitch markers to align symmetrical sections like ears, paws, and tail properly.
- Attach eyes and nose before assembling final rounds for consistency.
Tips for Success
- Use sturdy wire for glasses to avoid breakage during shaping.
- Keep tension consistent to maintain smooth curves for paws and face details.
- Fill gradually and evenly for proper shaping.