
Tiny Free Crochet Clam With Pearl Pattern That Steals Hearts
Adorn your projects with this crochet Clam With Pearl Pattern, offering a charming seashell keepsake for décor, and ocean-themed displays.
A soft little clam made from yarn opens gently to reveal a cozy “pearl” hidden inside that’s the charm of this free crochet clam with pearl project. Its shell, worked round by round, folds neatly around a tiny ball of yarn that becomes the pearl.
Free Crochet Clam With Pearl Pattern for Cute Beachy Décor
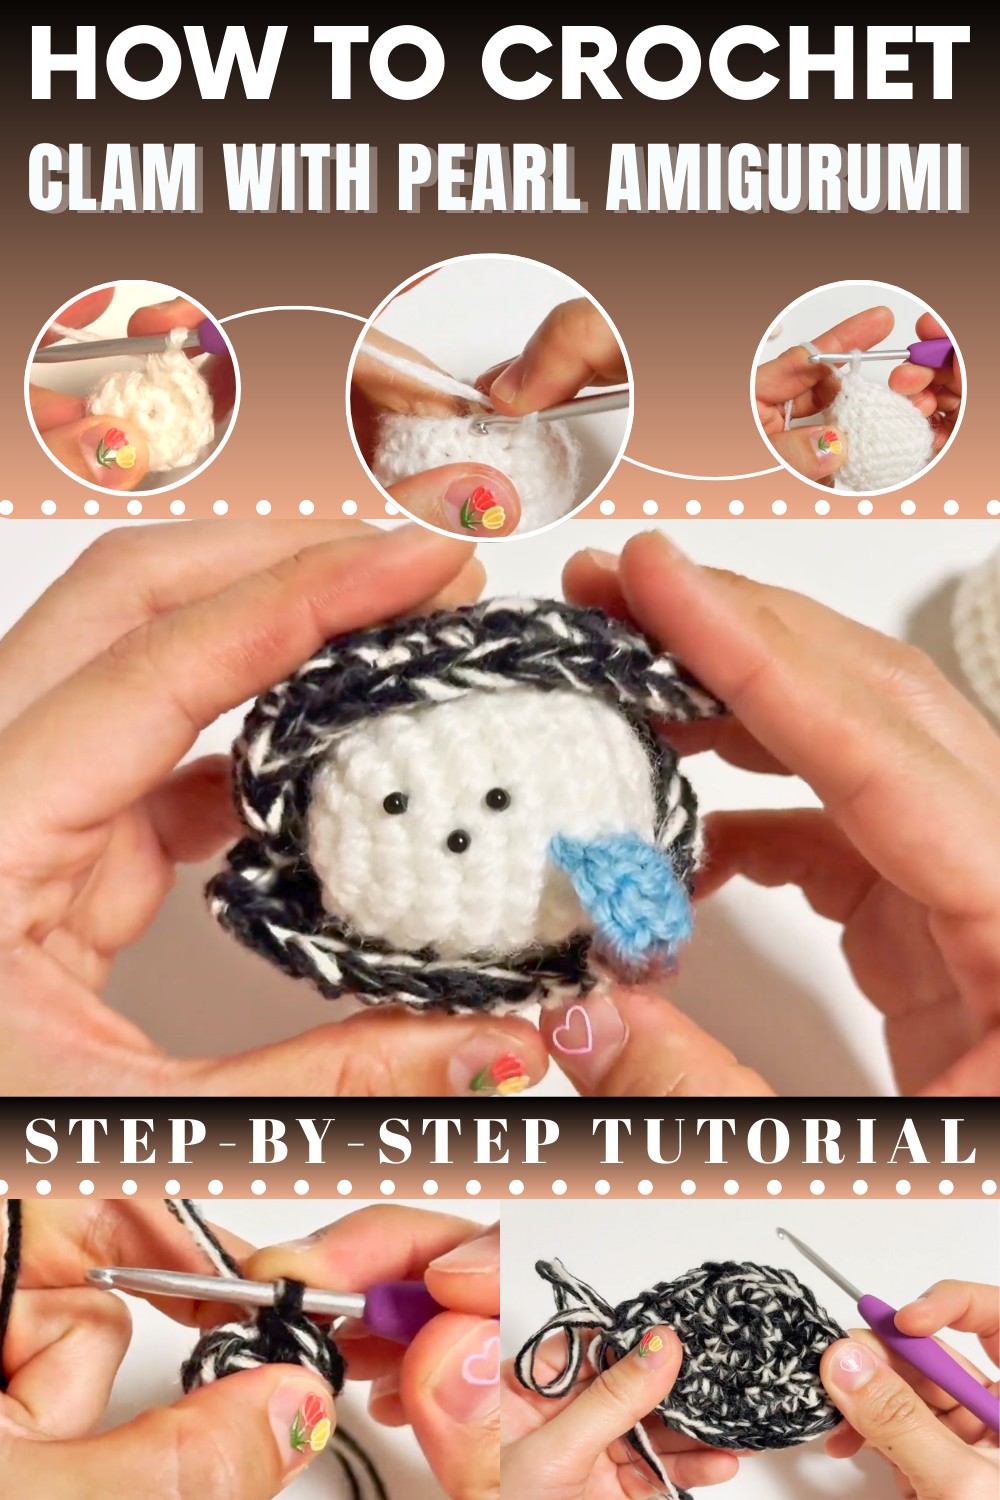
Beginners and seasoned crocheters alike often enjoy this project because it uses straightforward stitches and simple construction. Once assembled, it becomes more than just yarn a tiny handmade token that can brighten a bag, add character to a gift, or simply sit on a shelf with playful ocean vibes.

This charming clam-and-pearl creation shows how a few loops and stitches can turn yarn into a soft keepsake full of personality and small-scale beauty. Compact enough to nestle in your palm, this handmade treasure makes a playful keychain, bag charm or a small keepsake that brings a touch of seaside whimsy wherever it goes.
Materials List
- Yarn: Light worsted/DK cotton or acrylic yarn (any colors of your choice)
- Hook Size: 2.5 mm to 3.5 mm crochet hook (adjust hook size to match your yarn)
- Stuffing: Polyester fiberfill or cotton stuffing
- Tapestry Needle: For sewing and weaving in ends
- Stitch Markers: Helpful for marking rounds or hand/arm placements
- Scissors
- Optional: Eyeshadow or fabric paint for color details
- Optional: Safety eyes or beads for embellishments
Abbreviations (US Crochet Terms)
- MR: Magic Ring
- ch: Chain
- sc: Single Crochet
- inc: Increase (2 sc in the same st)
- dec: Decrease (single crochet two together)
- sl st: Slip Stitch
- st/sts: Stitch/Stitches
- rnd: Round/Row
Special Notes:
- Work in continuous rounds unless otherwise stated.
- Use a stitch marker to keep track of the beginning of each round.
- Adjust size by changing yarn weight and hook size.
- If using multiple colors, switch as desired for details or shell effect.
Pattern: Crochet Clam Body
Body
- Rnd 1: With main color, make a MR, sc 6 into ring. (6 sts)
- Rnd 2: Inc in each st around. (12 sts)
- Rnd 3: (sc 1, inc) repeat around. (18 sts)
- Rnd 4: (sc 2, inc) repeat around. (24 sts)
- Rnds 5-8: Sc in each st around. (24 sts each row)
- Rnd 9: (sc 2, dec) repeat around. (18 sts)
- Rnd 10: (sc 1, dec) repeat around. (12 sts)
- Begin stuffing with fiberfill. Adjust firmness according to taste—soft and squishy or more firm.
- Rnd 11: Dec around. (6 sts)
- Finish off, leaving a long tail. Using the tapestry needle, run the tail through the front loop of each remaining st and pull tight to close.
- Weave in the tail inside the body.


Hand/Arm or Tongue (Optional)
- Find placement: Choose a spot on the side or slightly forward for the "arm" or "tongue". Mark with a stitch marker.
- Attach yarn: Join yarn with a slip stitch at the marked position.
- ch 6: (for arm/tongue length; adjust as desired)
- Return along the chain: sc in 2nd ch from hook and in each ch back to base, sl st to the same body stitch to secure.
- Finish off. Weave ends inside body.
For multiple arms or “limbs”, repeat the above steps as desired.
Shell (Make 1-3 for layering effect)
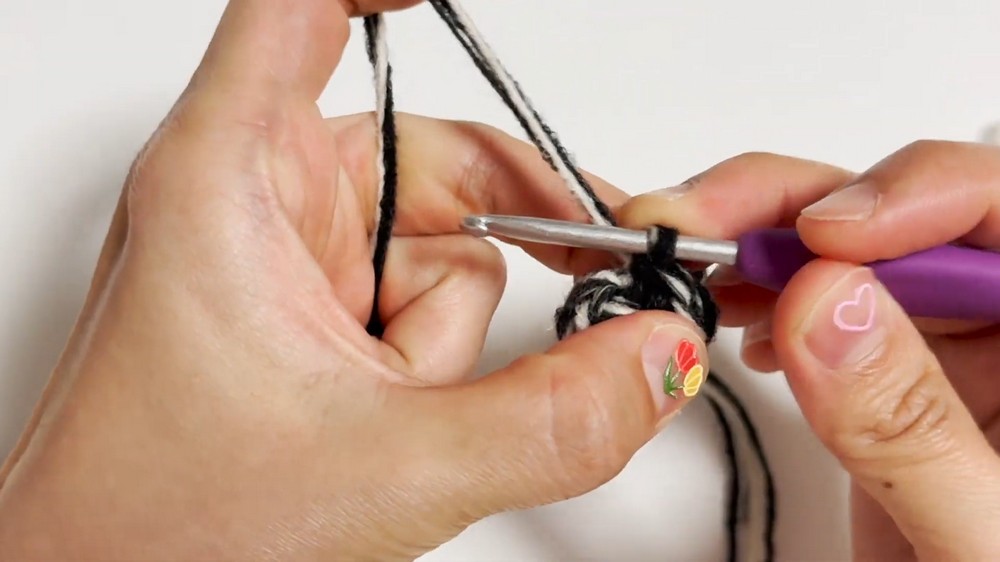
- Rnd 1: With shell color, MR, sc 8 into ring. (8 sts)
- Rnd 2: Inc in each st around. (16 sts)
- Rnd 3: (sc 1, inc) repeat 8 times. (24 sts)
- To shape shell, work only into half the number of stitches (approx. 12), turning at the end of each row to form a semi-circle. Skip rest.
- Rnd 4: (Optional for larger shell) (sc 3, inc) repeat across semi-circle section.
- Rnds 5-6: Sc across semi-circle rows. End off, leaving a long tail for sewing.

Assembly
- Stuff the clam body firmly and sew closed as described above.
- Sew shell to top or back of body (use the long tail and tapestry needle; adjust placement as desired for a natural “clam” look).
- Add facial details (embroider or use glue/safety eyes). You may add shading with eyeshadow or fabric paint for added effect—dab on and gently smudge as described, but note that powder may transfer to fabric or clothes.
- Weave in and hide all loose ends.
Pattern Corrections & Tips
Pattern Correction:
- If your stitch counts don't perfectly add up, omit or add an sc in non-essential places (like the shell edging) as needed for symmetry.
- For beginners, keep stitches tight to avoid stuffing showing.
Tips:
- Use a contrasting yarn for accessories or shell details for a more whimsical effect.
- Adjust the number of increases in the shell rows depending on your desired fullness or ruffled effect.
- Hide joins or color changes at the "back" of your clam.
- If making as a charm, attach a loop at the top before closing the body.
Conclusion
You have now created a cute, soft, and customizable clam plush following a step-by-step crochet pattern! The project is beginner-friendly, and the shapes and details can be easily adjusted to fit your own creative ideas.