
Playful Crochet Puppy Pattern for a Sweet Nursery Addition
Form a loyal little pup with this Crochet Puppy Pattern, a playful and modern design to add a cheerful touch to your shelf display at home.
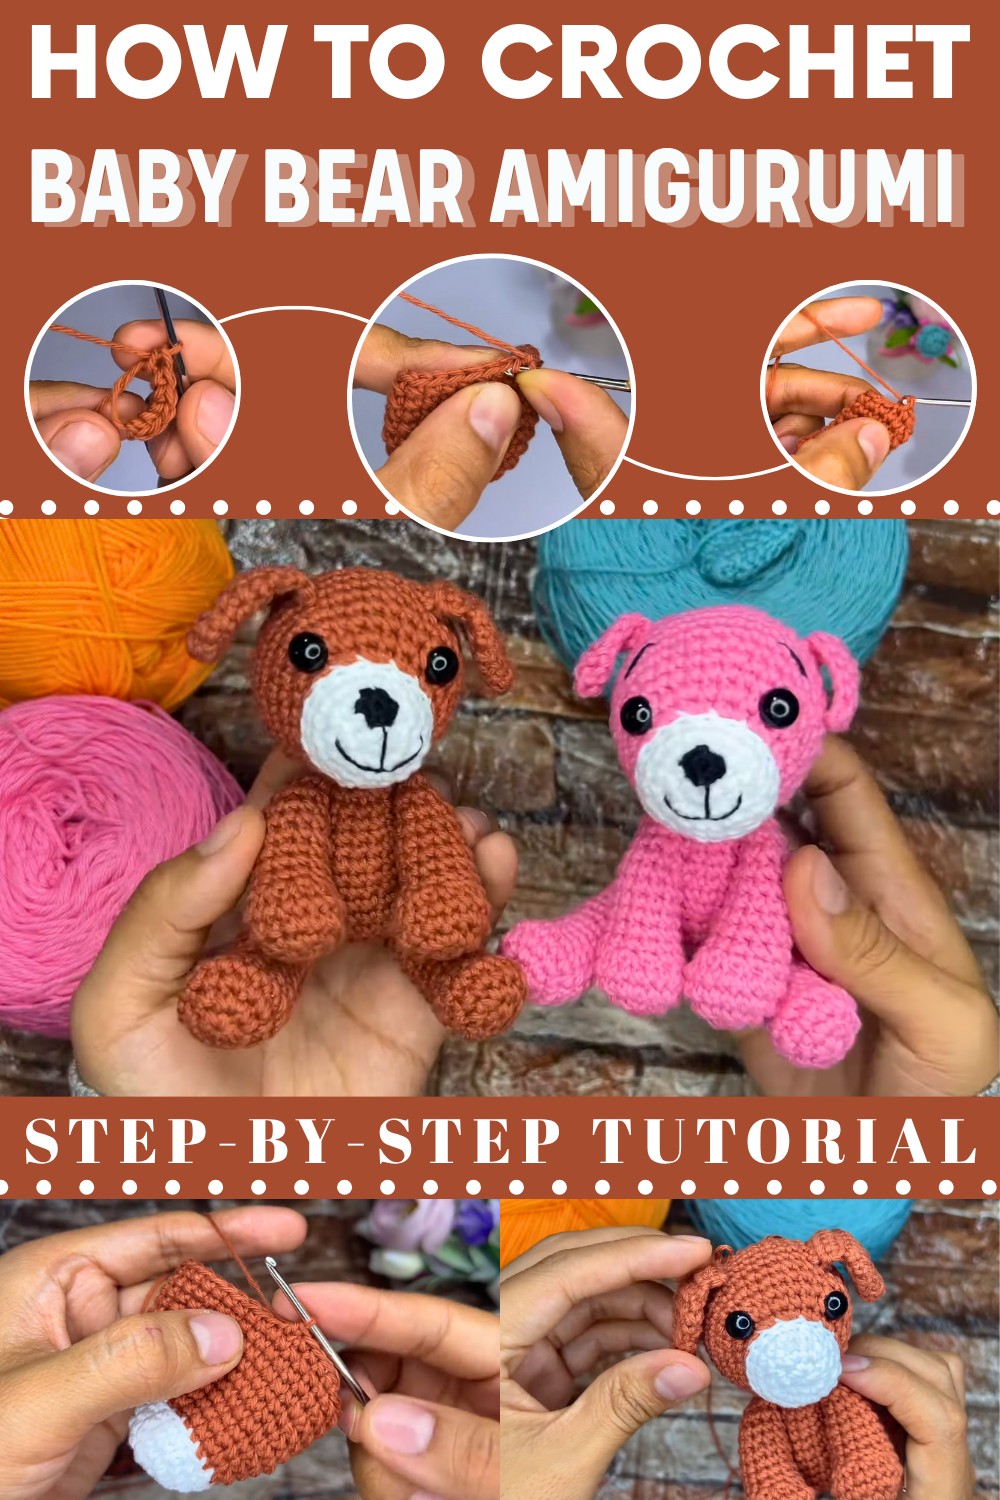
Loyal Crochet Puppy Pattern to Sit by Your Bedside
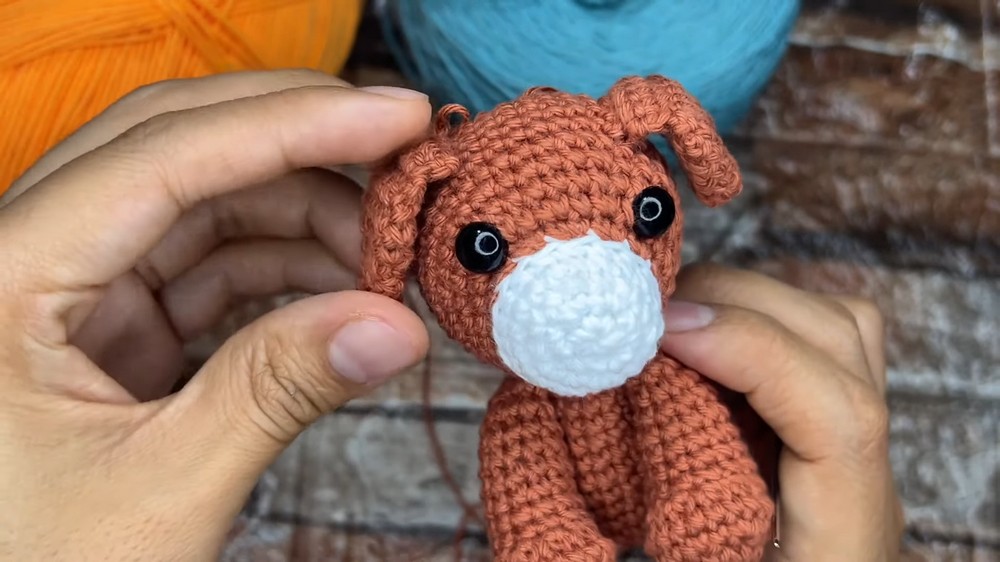
Soft yarn turns into a loyal and charming companion that brings a sense of warmth and joy to any room. This Crochet Puppy Pattern features a lifelike sitting pose and floppy ears that result in a high-quality plush toy perfect for a child’s nursery or a pet lover’s desk. The design uses smart stitching to ensure a sturdy and durable finish that holds up well during play or display. Beyond its adorable appearance the process of making this little friend offers a peaceful and meditative escape that helps you relax and improve your hand-eye coordination.
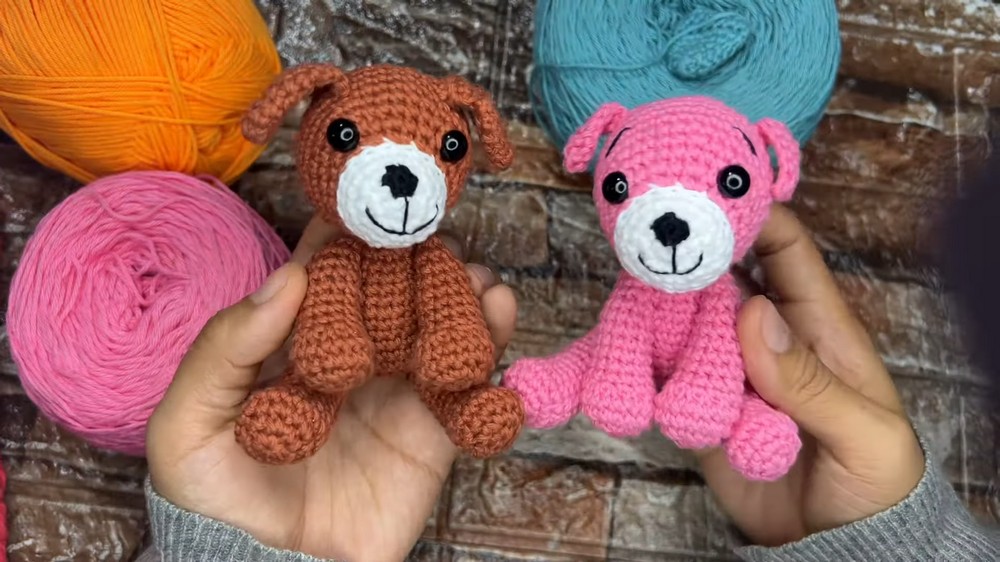
This finished masterpiece boasts a soft and huggable texture making it an ideal gift for birthdays or a comforting keepsake for someone special. Its friendly expression and realistic details provide a lovely visual appeal that captures the heart of everyone who sees it. By starting this project you get a timeless handmade buddy that adds a sweet and spirited personality to your home.
Materials
-
Yarn: 2 mm thick yarn in brown and white [00:15].
-
Hook: 2 mm crochet hook [00:15].
-
Safety Eyes: 8 mm [00:27].
-
Stuffing: Siliconized polyester fiberfill [00:27].
-
Notions: Tapestry needle, scissors, and stitch markers [00:15].
Step-by-Step Pattern
1. The Body (Brown Yarn)
-
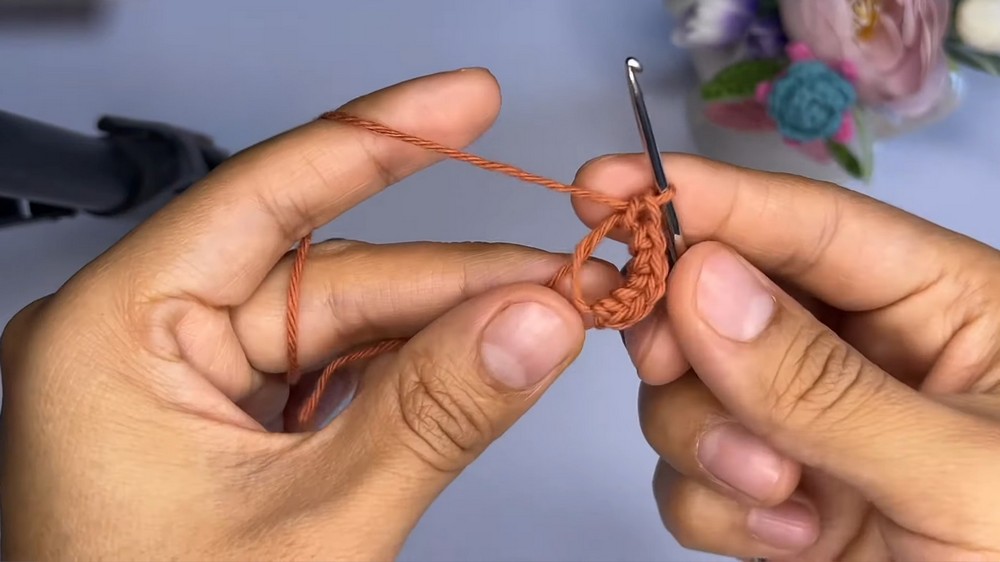
R1: 6 sc in magic ring. Close with a slip stitch (sl st) [00:49].
-
R2: 6 increases (inc) (12 sc) [01:51].
-
R3: (1 inc, 1 sc) around (18 sc) [02:41].
-
R4: (2 sc, 1 inc) around (24 sc) [03:41].
-
R5: (1 inc, 3 sc) around (30 sc) [04:28].
-
R6–7: Sc around (30 sc) [05:28].
-
R8: (1 decrease (dec), 3 sc) around (24 sc) [06:00].
-
R9–11: Sc around (24 sc) [07:04].
-
R12: (1 dec, 2 sc) around (18 sc) [07:37].
-
R13–14: Sc around (18 sc) [08:25].
-
R15: (1 sc, 1 dec) around (12 sc) [08:48].
-
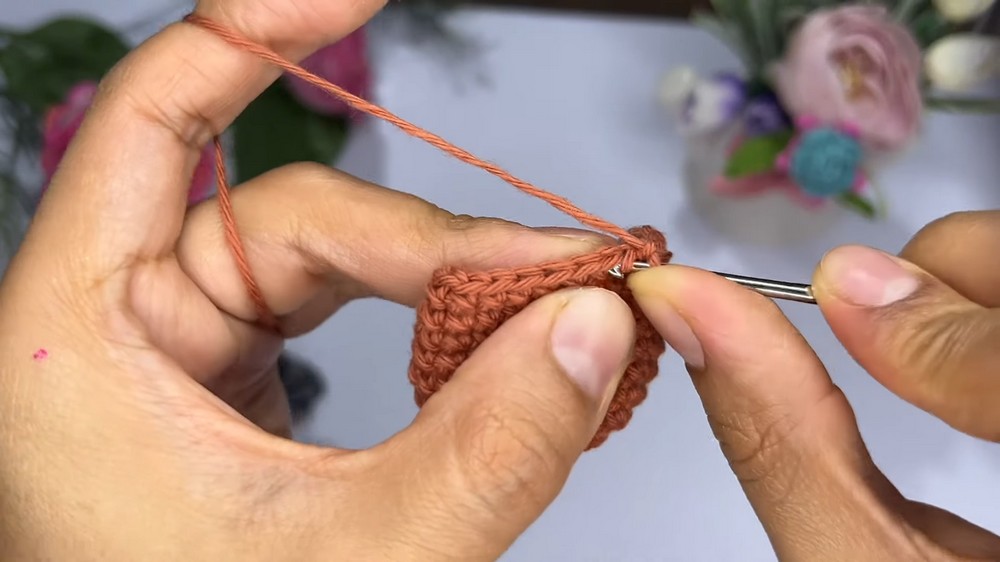
R16: Sc around (12 sc). Stuff firmly [09:24].
2. Front Legs (Make 2)
-
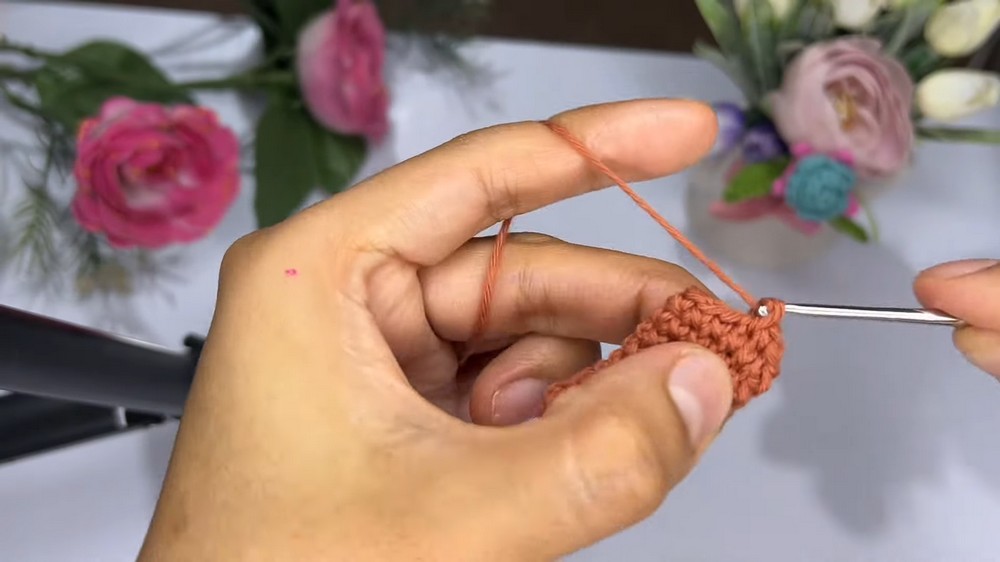
R1–3: Standard increases up to 18 sc [10:28].
-
R4: Sc around (18 sc) [12:03].
-
R5: 3 sc, 6 dec, 3 sc (12 sc) [12:37].
-
R6–12: Sc around (12 sc) [13:56].
-
R13: (4 sc, 1 dec) twice (10 sc). Stuff, then sc 5 across both sides to close [14:21].
3. Back Legs (Make 2)
-
R1–5: Follow the same start as front legs up to R5 (12 sc) [16:01].
-
R6–14: Sc around (12 sc) [18:31].
-
R15: (4 sc, 1 dec) twice. Close by sewing or crocheting 5 sc across the opening [18:50].
4. The Head (White and Brown Yarn)
-
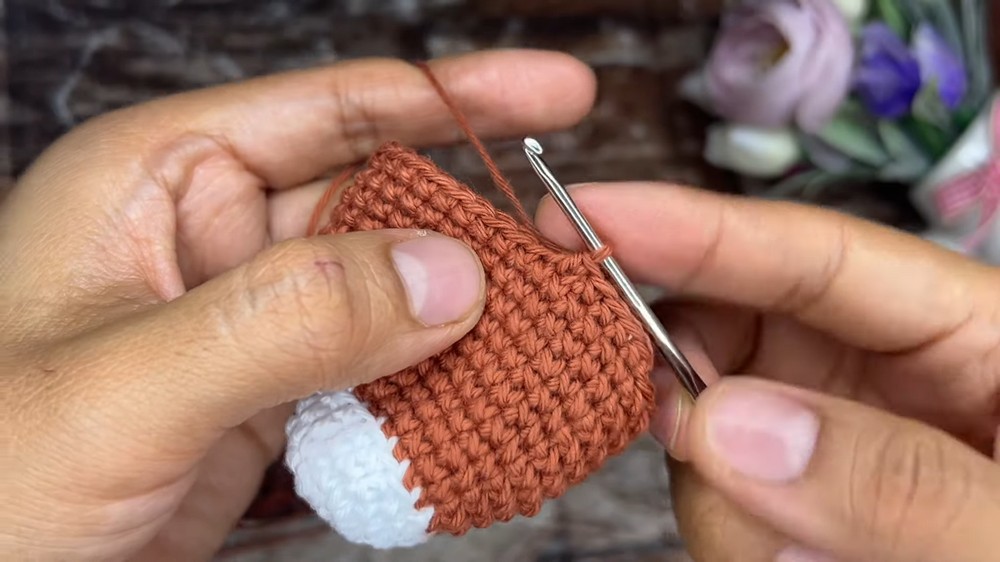
R1–4 (White): Standard increases up to 24 sc [20:30].
-
R5 (White): Sc around (24 sc) [24:01].
-
R6 (Change to Brown): Work in back loops only. 6 sc, 6 inc, 6 sc (30 sc) [24:47].
-
R7: 6 sc, (1 sc, 1 inc) six times, 6 sc (36 sc) [27:09].
-
R8: Sc around (36 sc) [28:35].
-
R9: (4 sc, 1 inc) around (42 sc) [29:10].
-
R10–15: Sc around (42 sc). Install eyes between R7–R8, 9 stitches apart [30:17].
-
R16–19: Decrease rows down to 12 sc. Stuff and close [32:00].
5. Ears (Make 2) & Tail
-
Ears: Work increases to 15 sc, then use a back-loop technique to create a permanent fold in the fabric [36:21].
-
Tail: Work a thin tube of 6 sc up to R10 [42:38].
Special Features
-
X-Stitch Technique: The tutor emphasizes keeping the hook over the yarn to create "X" shaped stitches for a sturdier structure [01:11].
-
Unique Folded Ears: A specific back-loop joining technique creates a natural downward fold without needing extra sewing [39:37].
Level of Difficulty
This project falls under Intermediate. While the stitches are basic, the specific shaping of the paws and the architectural folding of the ears require careful attention to detail.
Tutor's Suggestions
-
Eye Placement: Place eyes relative to the muzzle area to ensure the puppy looks forward and balanced [31:39].
-
Leg Assembly: Sew the front legs slightly tilted to give the puppy a "sitting" and "playful" posture [47:01].
Uses
-
Gift Idea: Makes a wonderful handmade gift for dog lovers.
-
Decor: A perfect nursery or desk accessory due to its stable sitting position.
Conclusion
Following these steps results in a delightful and professional-looking amigurumi puppy. The combination of different textures and the clever ear design makes this project stand out in any collection.
Pro-Tip
When working the paw decreases in Row 5 of the legs, pull your stitches extra tight. This creates the "sunken" effect that defines the puppy's little paws [13:23].