
Sparkly Free Crochet Snowman Pattern for Tree Ornaments
Spark up your holiday spirit using this Free Crochet Snowman Pattern to bring a cozy and adorable winter vibe to your seasonal decor mix.

Free Crochet Snowman Pattern with a Cozy Scarf
Constructing a whimsical winter figure infuses any interior with sophisticated holiday cheer. A precise Crochet Snowman Pattern functions as the essential guide for producing this delightful character, resulting in a plush accent that radiates warmth. Unlike fragile glass ornaments, this stitched sculpture offers a tactile richness and a bespoke quality that significantly elevates seasonal styling. The finished piece stands as a resilient decorative element, remaining shatterproof and safe for a family environment, which adds immense practical value to its aesthetic appeal.
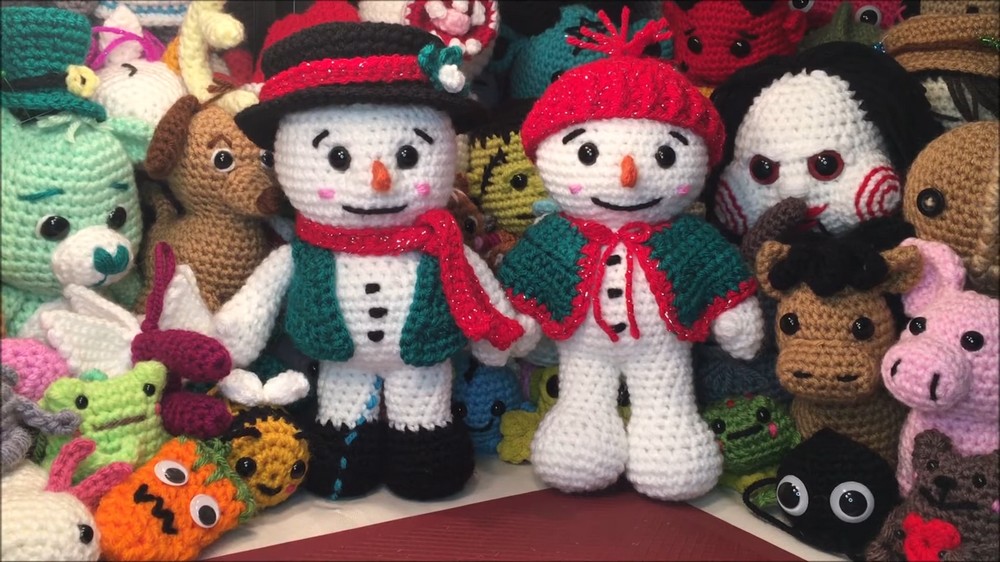
Whether displayed as a centerpiece within a festive vignette or presented as a sentimental token, it embodies a distinct personality. Utilizing a Crochet Snowman Pattern enables the generation of a cherished heirloom that withstands the test of time. Each loop contributes to a comforting texture, ensuring the holiday atmosphere feels both luxurious and invitingly soft, capturing the magic of the season in a permanent, huggable form.
Essential Materials
-
Yarn: Number 4 medium weight yarn (White for the body, assorted colors for accessories).
-
Hook: 4.25 mm crochet hook.
-
Eyes: 12 mm or 14 mm safety eyes (14 mm recommended for a cuter look).
-
Stuffing: Polyester fiberfill.
-
Tools: Stitch markers, darning needle, and scissors.
Pattern Details
Arms (Make 2)
-
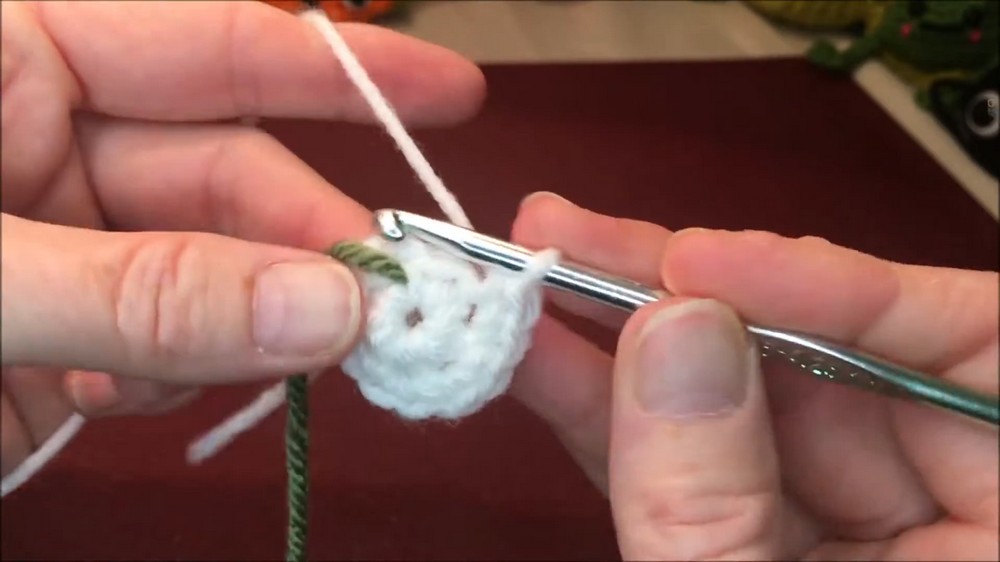
Row 1: 6 single crochet (sc) into a magic loop [02:49].
-
Row 2: 6 increases (inc) (12 stitches total) [03:37].
-
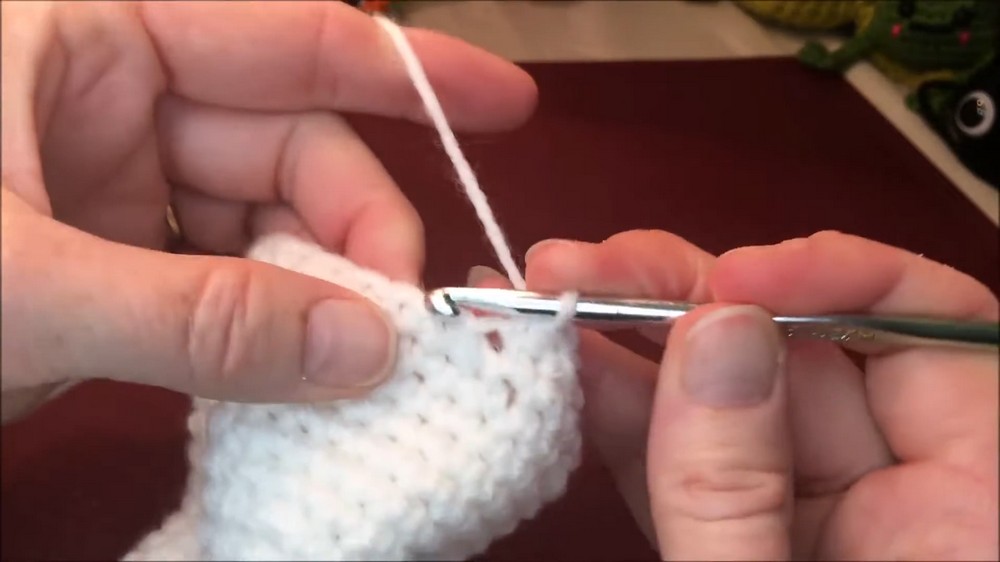
Rows 3-4: 12 sc around [04:27].
-
Row 5: Double crochet cluster of 4 for the thumb, then 11 sc (12 stitches) [05:59].
-
Row 6: (1 sc, 1 decrease (dec)) repeat around (8 stitches) [08:19].
-
Rows 7-15: 8 sc around for 9 rows [09:05].
-
Finishing: Stuff the hand firmly and the arm lightly. Sc 3 across the top through both sides to close [01:15:16].
Legs and Body
-
Legs (Make 2): Start with 6 sc in a loop, increase to 12, then 18, then 24. Work even for several rows before decreasing back to 12.
-
Joining Legs: Join the second leg to the first with sc around both (24 stitches total) [01:32:22].
-
Body Expansion: Increase the body gradually from 24 to 36 stitches [01:38:13].
-
Height: Work even for 6 rows [01:42:46].
-
Arm Attachment: Sc the arms directly into the body side-by-side [01:01:24].
-
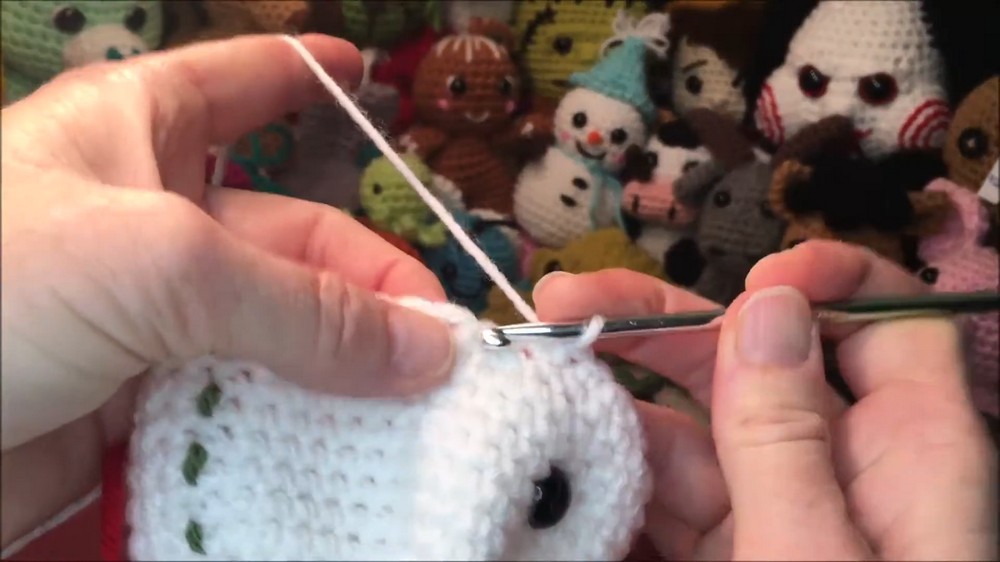
Head: Increase to 42 stitches, work even for 7 rows, then install eyes between rows 3 and 4 of the head section [01:26:35].
-
Closing: Decrease gradually until 6 stitches remain, then sew the top shut [01:41:03].
Facial Features & Finishing
-
Carrot Nose: Chain 4, slip stitch (sl st) in 2nd chain, sl st in next, sc in last. Sew to the face [01:46:55].
-
Embroidery: Add a simple mouth, eyebrows, and pink yarn for cheeks [01:51:00].
-
Buttons: Embroider small black circles on the belly [01:57:54].
Special Features
-
No-Sew Construction: The arms and legs attach as you go, minimizing assembly time.
-
Customizable Accessories: Includes patterns for a top hat, toque (beanie), scarf, cape, and vest.
-
Stability: Designed as a "standing" amigurumi with firm stuffing in the feet to help it stay upright.
Skill Level & Tutor Suggestions
-
Level: Intermediate. While the stitches are basic, joining limbs and working front/back post stitches for the hat requires focus.
-
Tutor Tips: * Stuff the feet and head firmly, but keep the tummy slightly squishy for a better shape [01:35:41].
-
Use a stitch marker to track the start of every row, especially during the long stretches of even rounds.
-
When making the "thumb" cluster, keep your loops loose to ensure the hook passes through easily [06:14].
-
Usage
These snowmen serve as festive shelf sitters, holiday gifts, or seasonal nursery decor. Their removable outfits allow you to mix and match styles for a "Snowman Couple" theme.
Pro Tip
If your snowman feels top-heavy, place a few clean plastic pellets or a small flat stone at the bottom of the feet before stuffing to provide extra weight and balance.
Conclusion
Finishing this project leaves you with a handcrafted holiday heirloom. By following these steps, you transform simple yarn into a character-filled winter companion that radiates handmade warmth.