
Simple Free Crochet Mini Star Plush Pattern to Decorate Desks
Shine bright with Crochet Mini Star Plush Pattern that sprinkles tiny joy, whimsical charm, and delightful handmade magic into gifts, décor, or playtime.
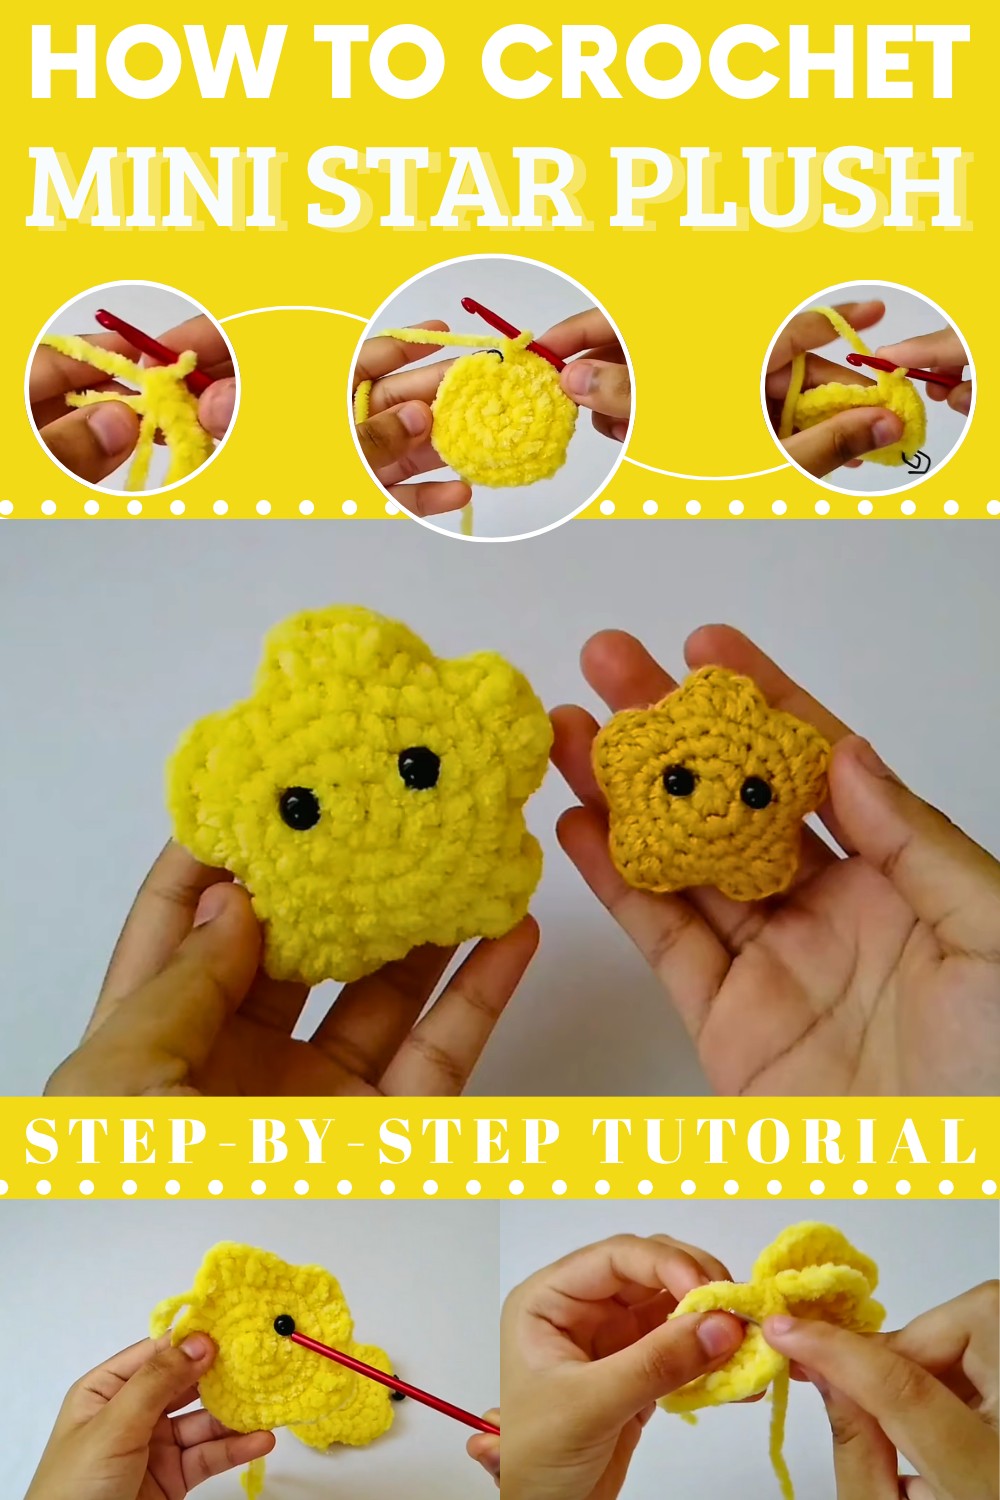
Ever wanted to hold a tiny piece of the night sky in your hands? This project begins with a small loop that quickly grows into the soft centre of your star as you crochet round by round. Each stitch adds shape, giving the star a plump, cozy feel that’s fun to hold.
Free Crochet Mini Star Plush Pattern for Colorful Home Decor
As you work, the points start forming naturally, creating that classic five‑armed star shape that instantly feels cheerful. Stuffing it before finishing makes it soft but sturdy, so it keeps its shape while staying squishy enough to hug or pinch. By the time you finish, you have a tiny, handcrafted star that’s perfect for hanging on a bag, decorating a shelf, or gifting to someone who loves handmade treasures.
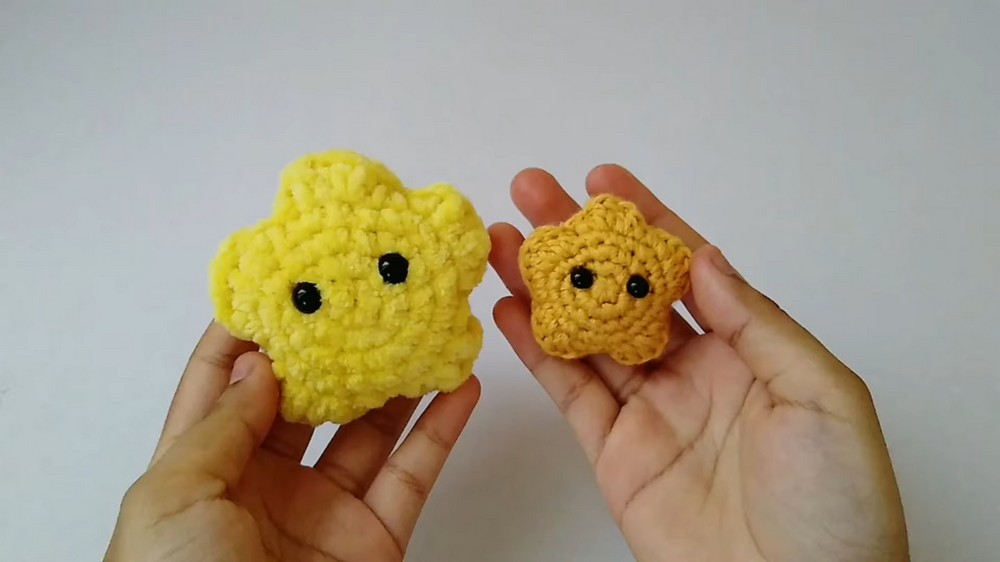
Materials
For 7 cm Star:
- Yarn: Thick acrylic yarn, color yellow (e.g., Premier Parfait, 100% polyester, Bulky #5)
- Hook: 4 mm
- Safety Eyes: 8 mm (or embroider eyes)
- Stuffing: Polyester fiberfill (silicone or cloud filling)
- Tapestry (yarn) needle
- Scissors
- Stitch marker or clip (optional)
For 5 cm Star:
- Yarn: 100% cotton, size suitable for 2–3 mm hook (e.g., sport or DK weight), any color
- Hook: 2 mm
- Safety Eyes: 6 mm (or embroider eyes)
- Other tools and fiberfill as above
Key Abbreviations (US Terms)
| Abbreviation | Meaning |
|---|---|
| MR | Magic Ring |
| ch | Chain |
| sl st | Slip Stitch |
| sc | Single Crochet |
| hdc | Half Double Crochet |
| dc | Double Crochet |
| inc | Increase (2 sc in same st) |
| st(s) | Stitch(es) |
| FO | Fasten Off |
Special Notes
- Stitches are worked in continuous rounds unless otherwise noted.
- Make two identical star pieces; join, stuff, and shape at the end.
- Safety eyes should be attached between rounds 2 and 3 before joining and stuffing; if for small children or if preferred, embroider eyes.
- Use a firm tension for well-defined shape.
- Your star's size will vary with yarn, hook size, and tension used.
Pattern
Star (Make 2)
First Piece:
- MR, 6 sc in ring (6)
- Rnd 2: inc in each st around (12)
- Rnd 3: (sc, inc) around (18)
- Rnd 4: (sc in next 2, inc) around (24)
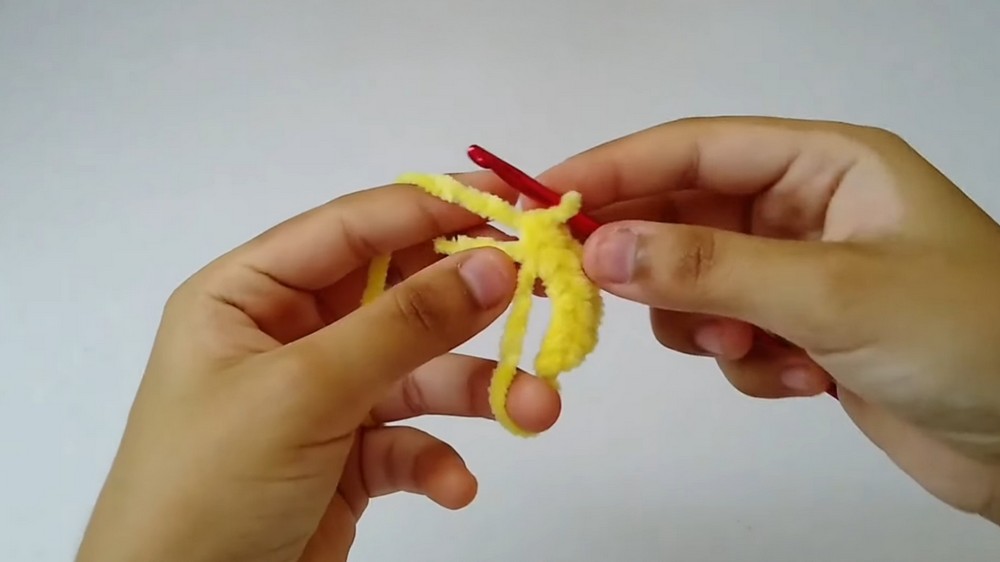


Create Star Points (done around in Round 5):
Repeat the following set for five points:
- Point 1:
- Next st: hdc
- Next st: 2 hdc in same st
- Next st: 2 dc in same st
- Next st: 2 hdc in same st
- Next st: hdc
Repeat for a total of 5 times, always using the next available stitches around. After the 5th point, sl st in the next st to finish.
- Make two identical pieces.
- In one, leave the tail short (to hide inside).
- In the other, leave a long tail for sewing both pieces together.
Place Safety Eyes / Embroider Face
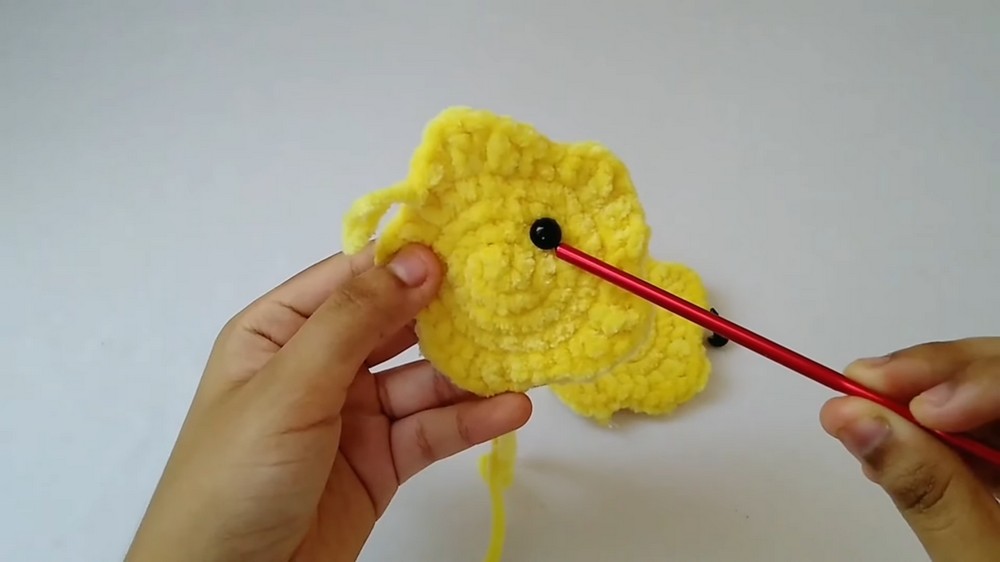
- Place safety eyes between rounds 2 and 3, spaced across adjacent stitches between two points.
- Ensure both eyes are placed at the same height and secured firmly.
Join and Stuff
- Place pieces wrong sides together (the side with yarn tails inside).
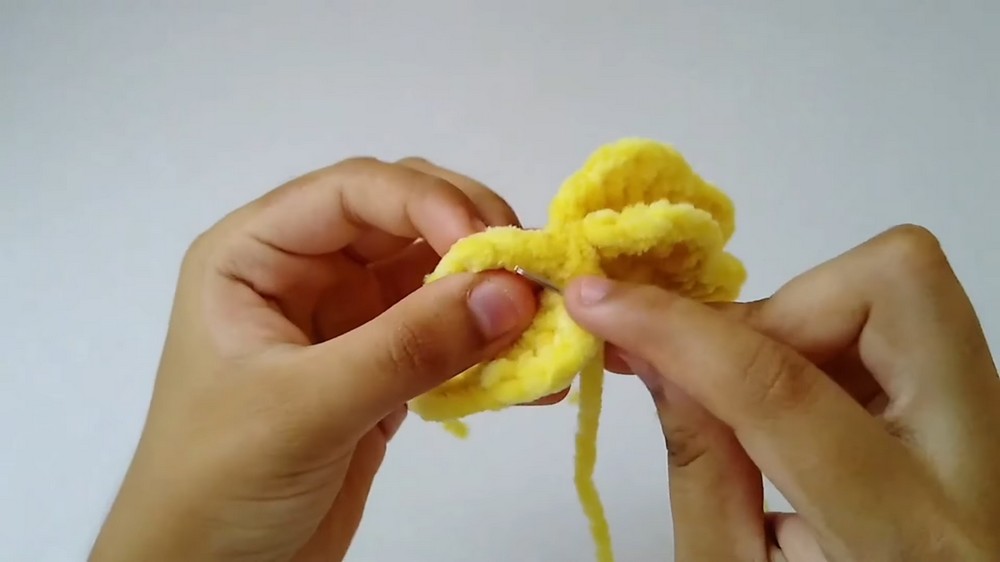
- Using whip stitch or mattress stitch, sew around the outer edges, matching points and valleys.
- Before fully closing the join (after the 4th point), stuff well—ensure stuffing reaches each point for a defined shape.
- Sew the remainder of the edge and close completely.
- Weave in and hide excess tail inside.
Finishing/ Shaping
- With the sewing tail, pass through the star to help further define and shape the points and valleys, if desired.
- Hide any remaining yarn ends securely inside.
Conclusion
You have completed a cute amigurumi star! This project is ideal for ornaments, gifts, desk buddies, or keychains. Adjust size and yarn to make a whole constellation of stars.
Pattern Correction & Tips
- Correction: For perfectly symmetrical star points, always check your st counts as you go around; each point uses 7 stitches per peak, repeated 5 times to use all 35 stitches (from round 4’s 24 base stitches, the "points" section increases the stitch count as needed).
- Tip: To keep stuffing inside the points, use small pieces and push gently with a blunt tool, such as the back of your crochet hook or a chopstick.
- For a more plush star, add a little more stuffing than you think you need before final closure.
- Embroider eyes and mouth for a baby-safe star.