
Free Crochet Onigiri Amigurumi Pattern Great For Décor
A tiny burst of charm appears on your desk or bag when a soft, playful rice ball takes shape in your hands. The Free Crochet Onigiri Amigurumi Pattern shows how to turn simple stitches into a cute triangular onigiri, perfect for beginners and experienced crocheters alike. This amigurumi project works beautifully as a keychain, bag charm, desk companion, or small handmade gift, adding personality to everyday spaces.
Tiny Free Crochet Onigiri Amigurumi Pattern For Bag Charms
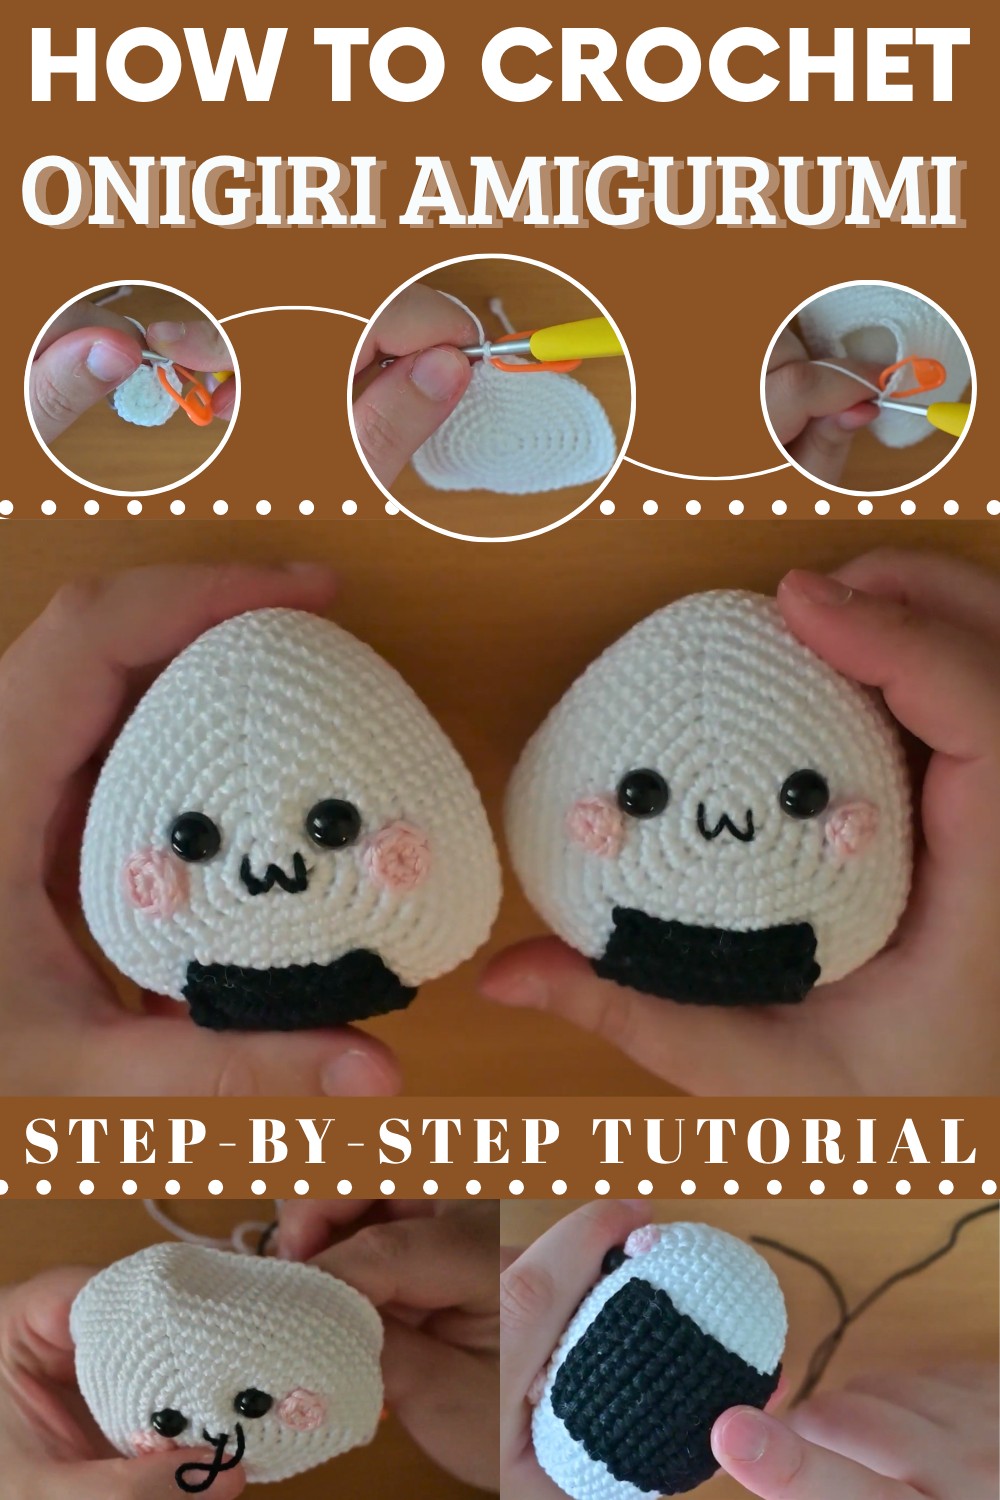
This crochet onigiri amigurumi is ideal for kawaii collections, beginner-friendly crochet practice, or holiday and gift-making projects. Its compact size and simple techniques make it a fun, quick project, while the finished piece adds a cheerful, handmade touch to any space.
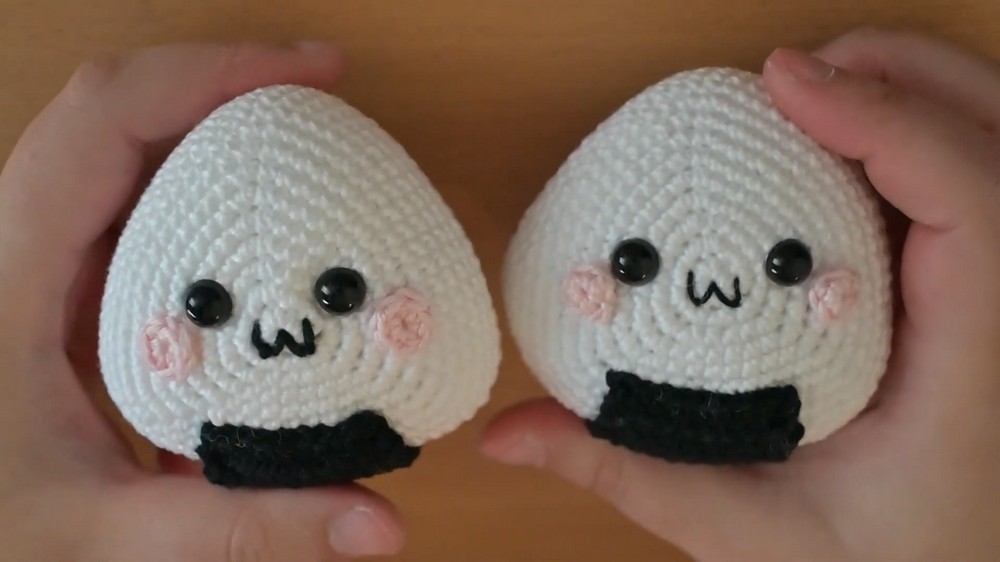
Amigurumi Rice Ball (Onigiri) Crochet Pattern
Materials
- Yarn:
- White (main body)
- Pink (cheeks)
- Black (nori/seaweed and mouth embroidery)
- Hook: 2.5 mm–3.5 mm (according to yarn)
- Safety Eyes: 6–8 mm, or black embroidery thread/felt
- Stuffing: Polyester fiberfill
- Tapestry needle: For sewing and embroidery
- Scissors
- Stitch Marker (optional)
- Pins (for positioning pieces)
Key Abbreviations
| Abbreviation | Meaning |
|---|---|
| MR | Magic Ring |
| ch | Chain |
| sc | Single Crochet |
| inc | Increase (2 sc in one st) |
| dec | Decrease (sc2tog) |
| FO | Fasten Off |
| st(s) | Stitch(es) |
| rep | Repeat |
| RS | Right Side |
| WS | Wrong Side |
Special Notes
- Work in continuous rounds unless otherwise specified.
- Use a stitch marker to mark the first st of each round.
- Face is positioned relative to triangle tip.
- Cheeks are small circles; the mouth is a “W” shape.
- “Inverted single crochet” (crab stitch) is optional for nori neatness.
Pattern
Body
With white yarn:
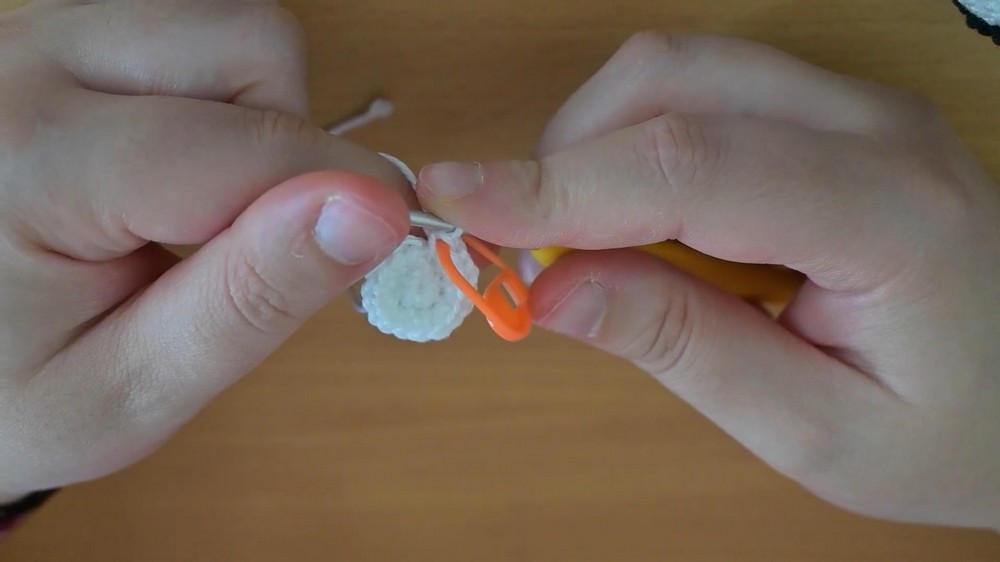
- Rnd 1: MR, 9 sc in ring. (9)
- Rnd 2: Inc in each st around. (18)
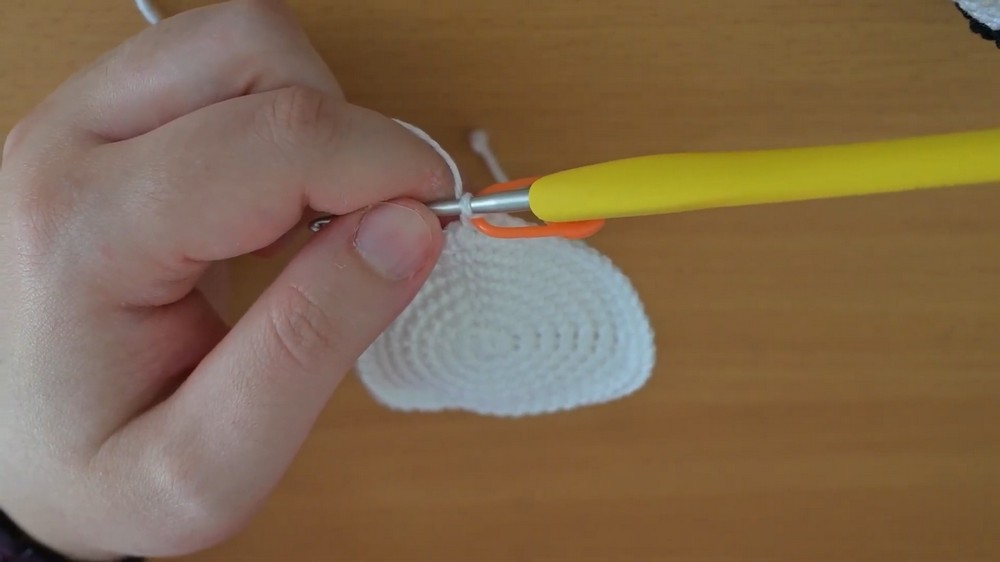
- Rnd 3: [Inc, (4 sc, inc, inc) x2, 4 sc, inc]. (24)
- (That is, 1 inc, then twice: 4 sc, inc, inc, then 4 sc, inc)
- Rnd 4: [Inc, (6 sc, inc, inc) x2, 6 sc, inc]. (30)
- (1 inc, then twice: 6 sc, inc, inc, then 6 sc, inc)
- Rnd 5: [Inc, (8 sc, inc, inc) x2, 8 sc, inc]. (36)
- Rnd 6: [Inc, (10 sc, inc, inc) x2, 10 sc, inc]. (42)
- Rnd 7: [Inc, (12 sc, inc, inc) x2, 12 sc, inc]. (48)
- Rnd 8: [Inc, (14 sc, inc, inc) x2, 14 sc, inc]. (54)
- Rnd 9: [Inc, (16 sc, inc, inc) x2, 16 sc, inc]. (60)
- Rnd 10–17: Sc in each st around. (60 sts per round, 8 rounds)
Face
- Position safety eyes: Between Rnds 4 & 5, horizontally, at the tip/corner of the triangle created by shaping, spacing [as desired or about 8–10 sts apart].
- Embroider mouth: Centered below eyes, as a "W" shape, using black.
- Embroider/sew cheeks: Make 2 (see below), and sew slightly below/diagonal to eyes.
Cheeks (Make 2)
- With pink yarn: MR, 6 sc in ring. (6)
- FO, leave a tail for sewing.
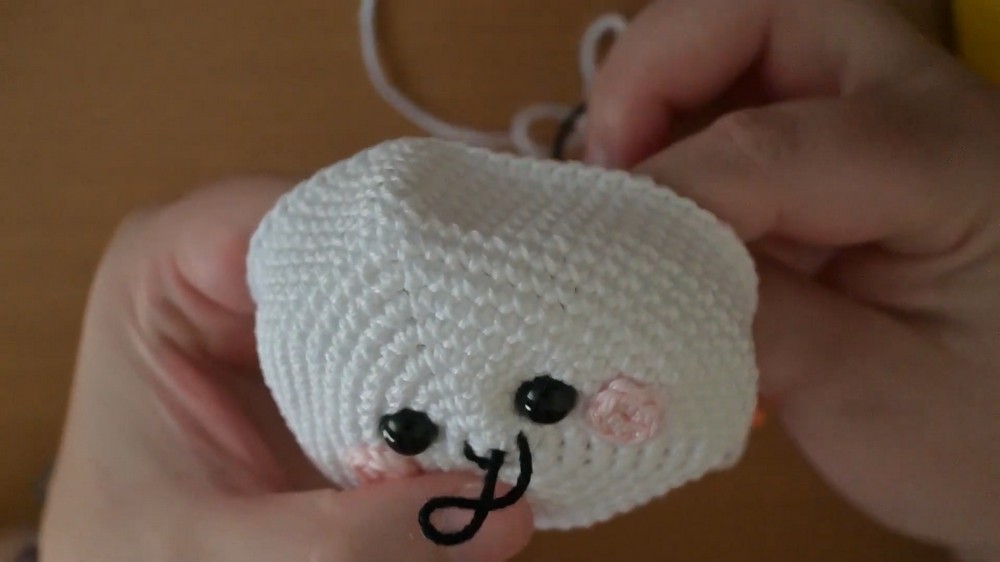
Body Shaping & Taper
- Rnd 18: [1 sc, dec, (16 sc, dec, dec) x2, 15 sc]. (54)
- Rnd 19: [Dec, dec, (14 sc, dec, dec) x2, 14 sc]. (48)
- Rnd 20: [1 sc, dec, (12 sc, dec, dec) x2, 11 sc, dec]. (42)
- Rnd 21: [Dec, (10 sc, dec, dec) x2, 10 sc, dec]. (36)
- Rnd 22: [Dec, (8 sc, dec, dec) x2, 8 sc, dec]. (30)
- Stuff firmly, shaping well, especially at three corners.
- Rnd 23: [Dec, (6 sc, dec, dec) x2, 6 sc, dec]. (24)
- Rnd 24: [Dec, (4 sc, dec, dec) x2, 4 sc, dec]. (18)
- Continue stuffing.
- Rnd 25: 9 dec. (9)
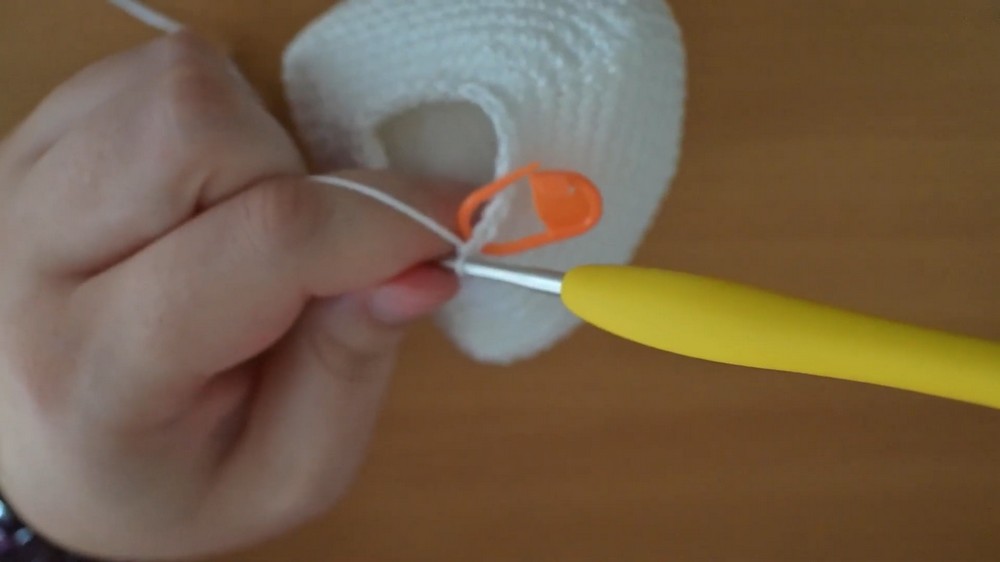
- FO, and with tail, weave through final 9 sts and pull snug to close.
Nori (Seaweed Strip/Face)
With black yarn:
- Row 1: Ch 9, turn.
- Row 2–18: Sc in each st across. Alternate:
- Odd rows: Regular sc (RS)
- Even rows: Inverted sc (crab stitch/reverse single crochet, WS) for a neat edge.
- If unfamiliar, use regular sc each row.
- FO, leaving tail for sewing.
- Assembly:
- Position nori rectangle below mouth—count 4 rows down from mouth, then sew in place, making sure the nori strip is centered and straight.
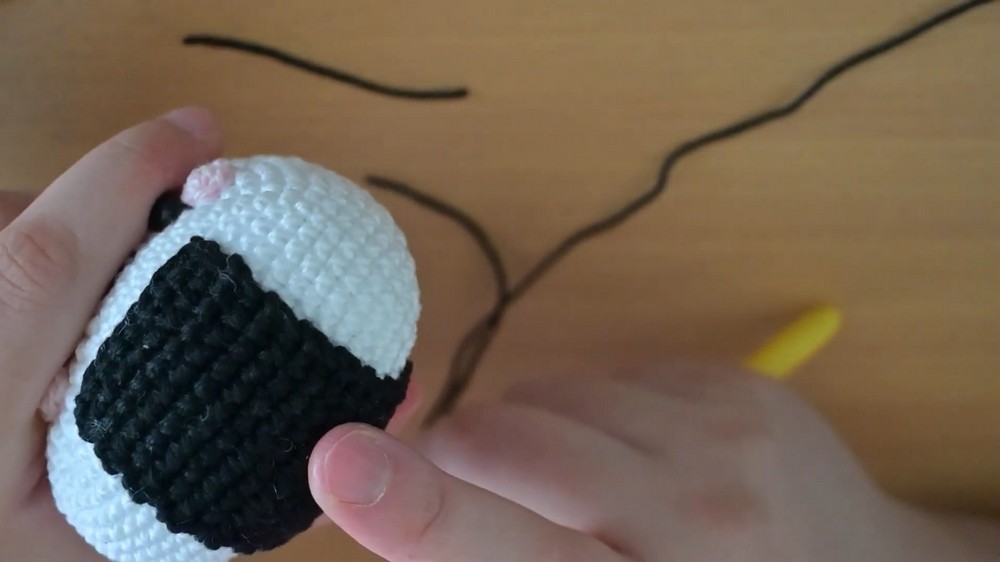
Assembly
- Sew cheeks below eyes on each side.
- Embroider “W” mouth centered between and below the eyes using black thread.
- Position and sew the nori rectangle as described.
- Check shaping at corners—shape into a triangle by pinching and squishing, especially while stuffing.
- Weave in all ends.
Conclusion
You have finished your amigurumi rice ball! This kawaii onigiri is plump, adorable, and makes a perfect desk companion or keychain. Get creative by varying the face or nori shape, or adding blush with embroidery floss or felt.
Pattern Corrections & Tips
- Stuff firmly but not overfull, especially at the triangle corners.
- Keep stitch marker at row start for easier counting.
- If corners look uneven, add more stuffing or shape as you sew closed.
- For a neater nori edge, use the crab stitch (inverted sc), but it’s optional.
- Nori can be made longer/shorter as desired.
- Position facial features before final closing for adjustment.
- Make multiple onigiri for a set, varying eye and mouth shapes!