
Free Crochet Blueberry Amigurumi Pattern Adding Colorful Accents
Burst with sweetness using the Free Crochet Blueberry Amigurumi Pattern, a cute, soft, and playful handmade accessory perfect for gifts or decor
In a sunlit garden, clusters of ripe blueberries glisten with gentle hues of deep blue, catching the eye with their perfect roundness and subtle charm. This delightful fruit inspires a miniature version that brings the same sweet appeal to your hands through the Free Crochet Blueberry Amigurumi Pattern. Soft, compact, and cheerful, it serves as a playful accessory for keychains, bag charms, or decorative accents for shelves and desks. Its vibrant color and small size make it ideal for gifting, adding a touch of whimsy and personality to everyday life.
Free Crochet Blueberry Amigurumi Pattern That Brightens Any Space
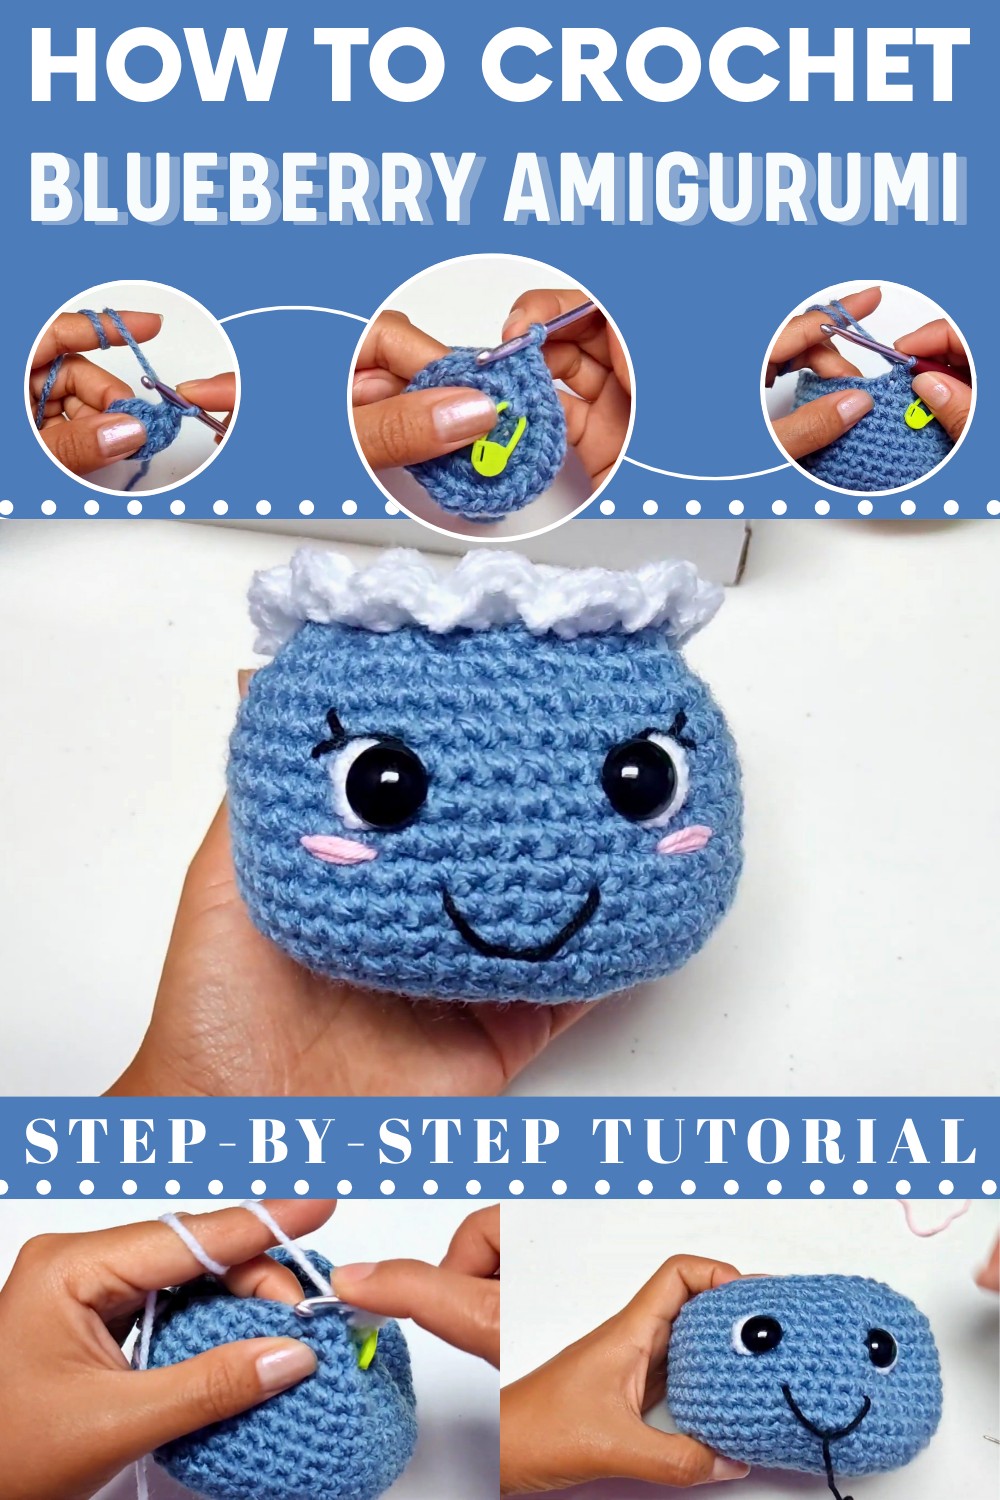
Beyond its aesthetic appeal, the Free Crochet Blueberry Amigurumi Pattern offers practical benefits: it’s perfect for using leftover yarn, encourages creativity, and results in a satisfying, finished piece that is both functional and decorative. Compact, vibrant, and delightful, this tiny amigurumi brings sweetness, color, and charm into any setting, turning simple yarn into a playful, joyful creation.
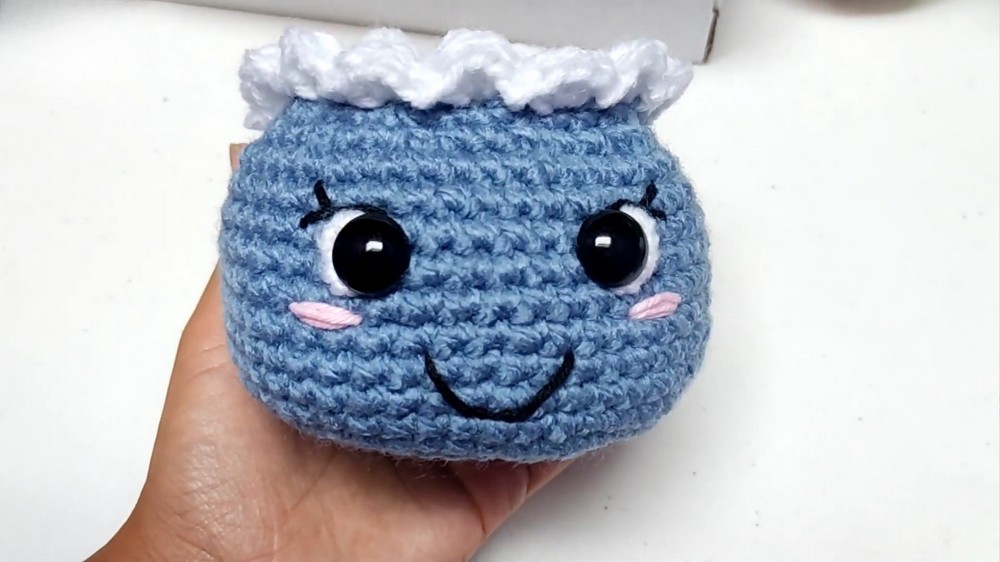
Crochet Flowerpot Plush Pattern
Materials List
- Yarn:
- Worsted weight acrylic or cotton, two contrasting colors (main: blue, accent: white; "Pepsi" colors used in the video)
- Crochet Hook: 4 mm (US G/6)
- Notions:
- Tapestry/yarn needle
- Scissors
- Googly/safety eyes (14 mm)
- Stitch marker
- Lighter (for melting safety eye backs, optional)
- Optional: small beads (for arms/legs), embroidery thread for face details
- Optional: Fiber fill for a plush look or treats for a gift
Key Abbreviations (US Terms)
- MR: Magic Ring
- sc: Single Crochet
- inc: Increase (2 sc in same stitch)
- dec: Decrease (sc 2 together)
- hdc: Half Double Crochet
- sl st: Slip Stitch
- ch: Chain
- st: Stitch(es)
- rep: Repeat
Special Notes
- Always work in continuous rounds unless otherwise directed. Use a stitch marker to keep track of the round start.
- Adjust yarn color and details as desired.
- Safety eyes should be attached and secured before closing the plush.
Pattern
Base & Body of Flowerpot (Blue Yarn)
Base
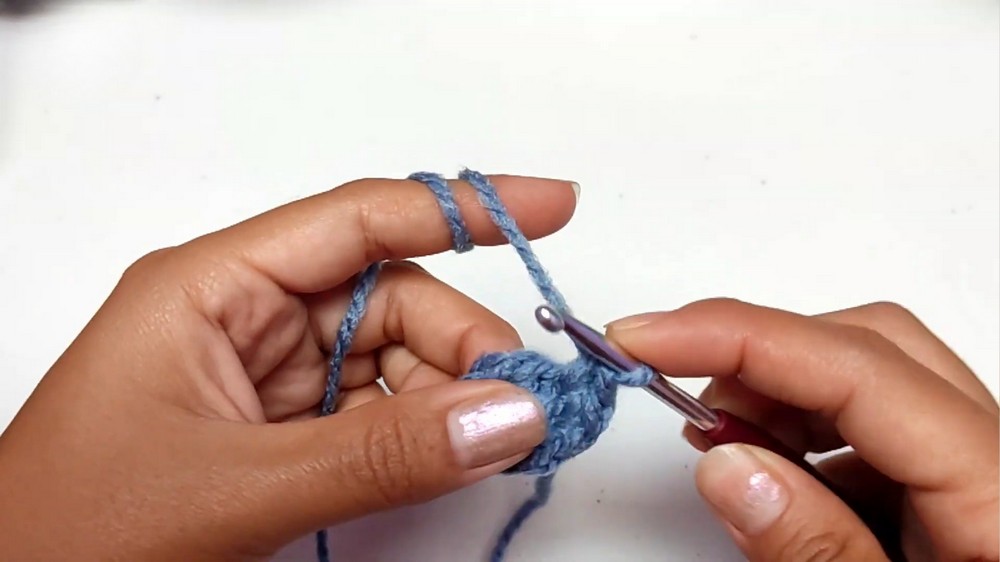
- MR, 8 sc in ring. Tighten. (8)
- Round 2: inc in each st around (16)
- Round 3: (sc, inc) around (24)
- Round 4: (sc in next 2 sts, inc) around (32)
Body Expansion
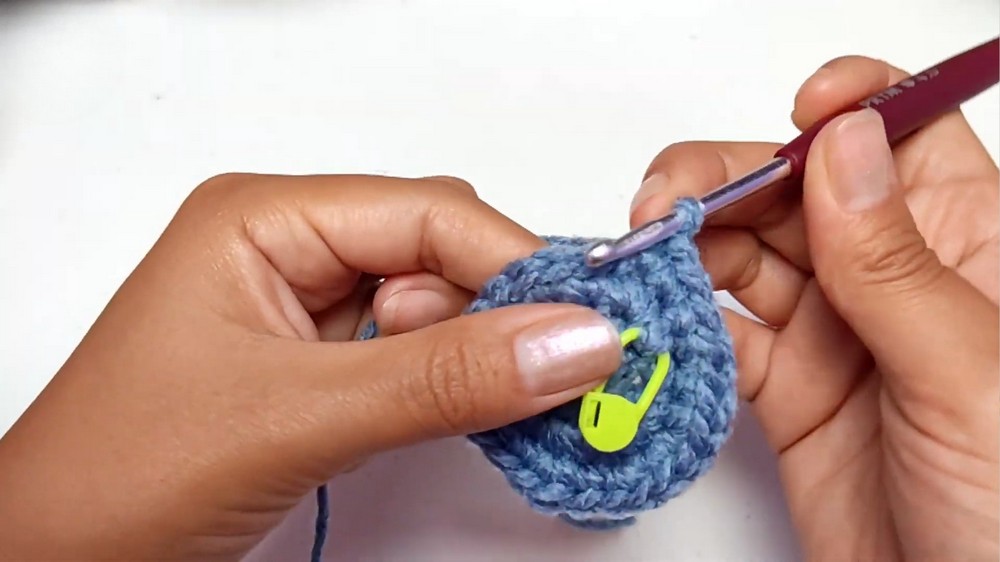
- Round 5 (sc in next 3 sts, inc) around; adjust as shown in video to have 40 sc at the end. (You may have 2 sc left at end, just work 1 sc in each)
- Round 6: (sc in next 4 sts, inc) around (48)
- Rounds 7–16: sc in each st around. (48) (10 rounds; adjust for desired height)
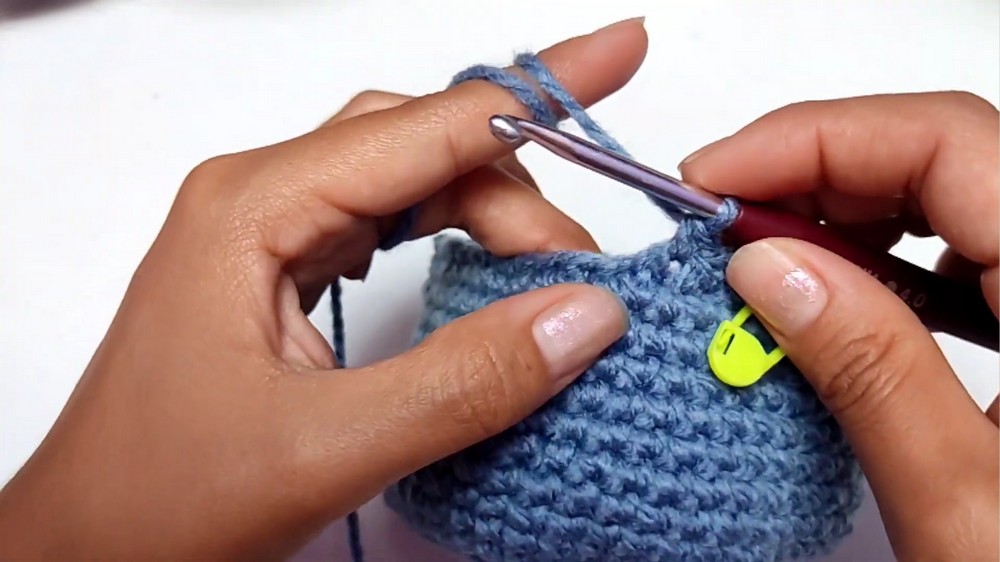
Shaping Top and Reduction
- Round 17: (sc in next 2 sts, dec) around (Repeat until done; about 2 dec per round. See video for more details; end with 27 sc)
- Round 18: Repeat (sc in next 2 sts, dec) around (27)
Fasten off blue yarn. Hide strands.
Face & Details
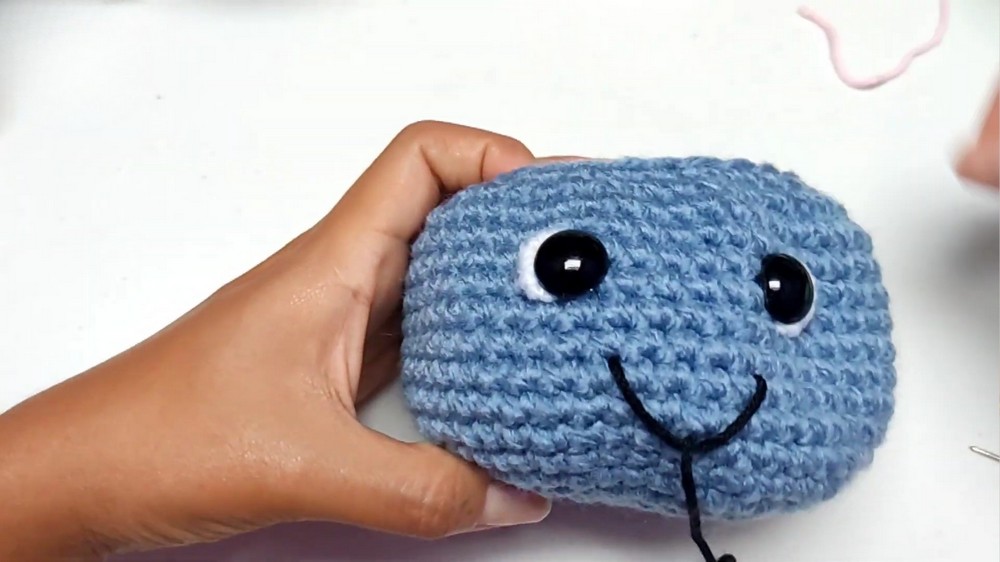
- Attach safety eyes:
- Placement: Between rounds 5–6 from top (refer to video for specific positioning).
- Secure eyes:
- Optionally, melt backs using lighter for extra security.
- Embroider facial details:
- Use embroidery thread or yarn for mouth, eyelashes, and cheeks.
- Add cheeks with makeup or pink yarn.
Scalloped Edge (Fan Stitch) - Using White Yarn
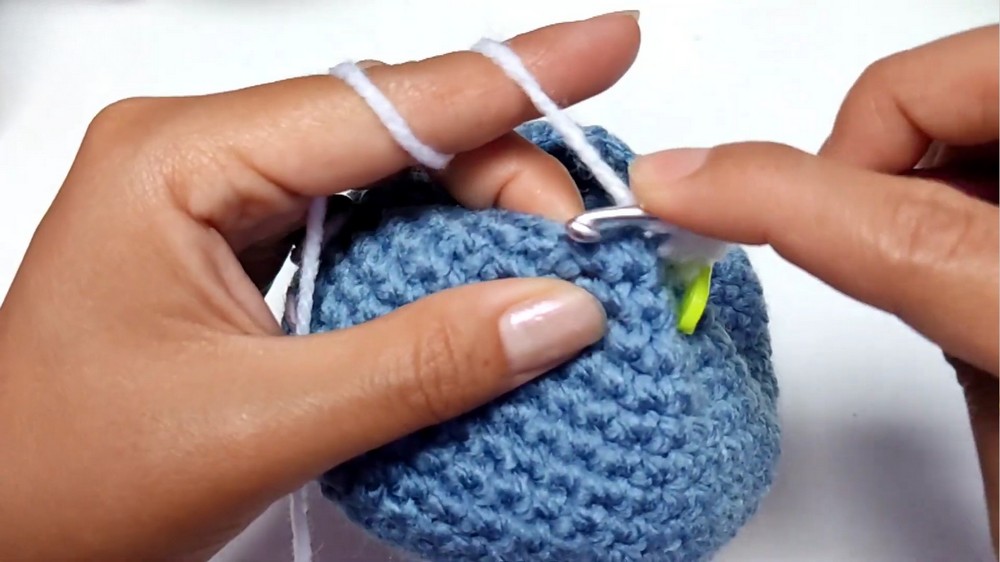
- Attach white yarn to your first st at the top edge (just one loop for a raised, decorative finish).
- Ch 2 (counts as first hdc).
- (Work 3 hdc in same st, for total of 4 hdc per fan)
- In the next st: sl st.
- In the next st: 4 hdc.
- Next st: sl st.
- Rep [4 hdc, sl st] all the way around the top edge.
- Fasten off, weave in ends.
Optional: Arms and Legs
- Make chains with worsted yarn (length as needed), and attach small beads for hands/feet if desired.
- Sew or tie to sides/bottom; these add to the plush’s personality.
Finishing
- Stuff if desired for a plush effect, or fill with treats as a gift.
- Shape the rim and body for a stable flowerpot form.
Conclusion
This flowerpot plush makes a delightful gift or centerpiece, customizable with colors, facial features, and optional arms/legs. Its scalloped rim is charming, and the plush can be filled for a surprise.
Pattern Corrections & Tips
- If your stitch counts are slightly off after rounds of increases, simply even out the round before proceeding; it's more important to keep the pot's shape than the exact stitch count.
- For a firm rim, work the last round (scallops) through the front loop only.
- Secure safety eyes thoroughly—a lighter helps melt backs to prevent accidental removal, especially for child-safe gifts.
- For more personality, add flowers, beads, or different expressions.
- Tip: Use a marker to easily track rounds, especially during ten rounds of straight sc for uniform height.