
Cute Free Crochet Amigurumi Ghost Hat Pattern For Halloween Decor
Spookify your piece with the Free Crochet Amigurumi Ghost Hat Pattern and stitch a cute, playful ghost perfect for Halloween décor or gifts
The little ghost wearing a playful hat has an immediate charm that catches the eye and invites a second glance. The Free Crochet Amigurumi Ghost Hat Pattern features a whimsical ghost figure topped with a jaunty hat, ideal as a Halloween décor piece, a fun keychain, or a unique gift tag accent. This pattern offers a softly rounded body crocheted in continuous rounds, then a flared base to give a gentle ghostly silhouette, and finally a separate hat piece that fits snugly on top for that finishing touch.
Free Crochet Amigurumi Ghost Hat Pattern To Decorate Desks
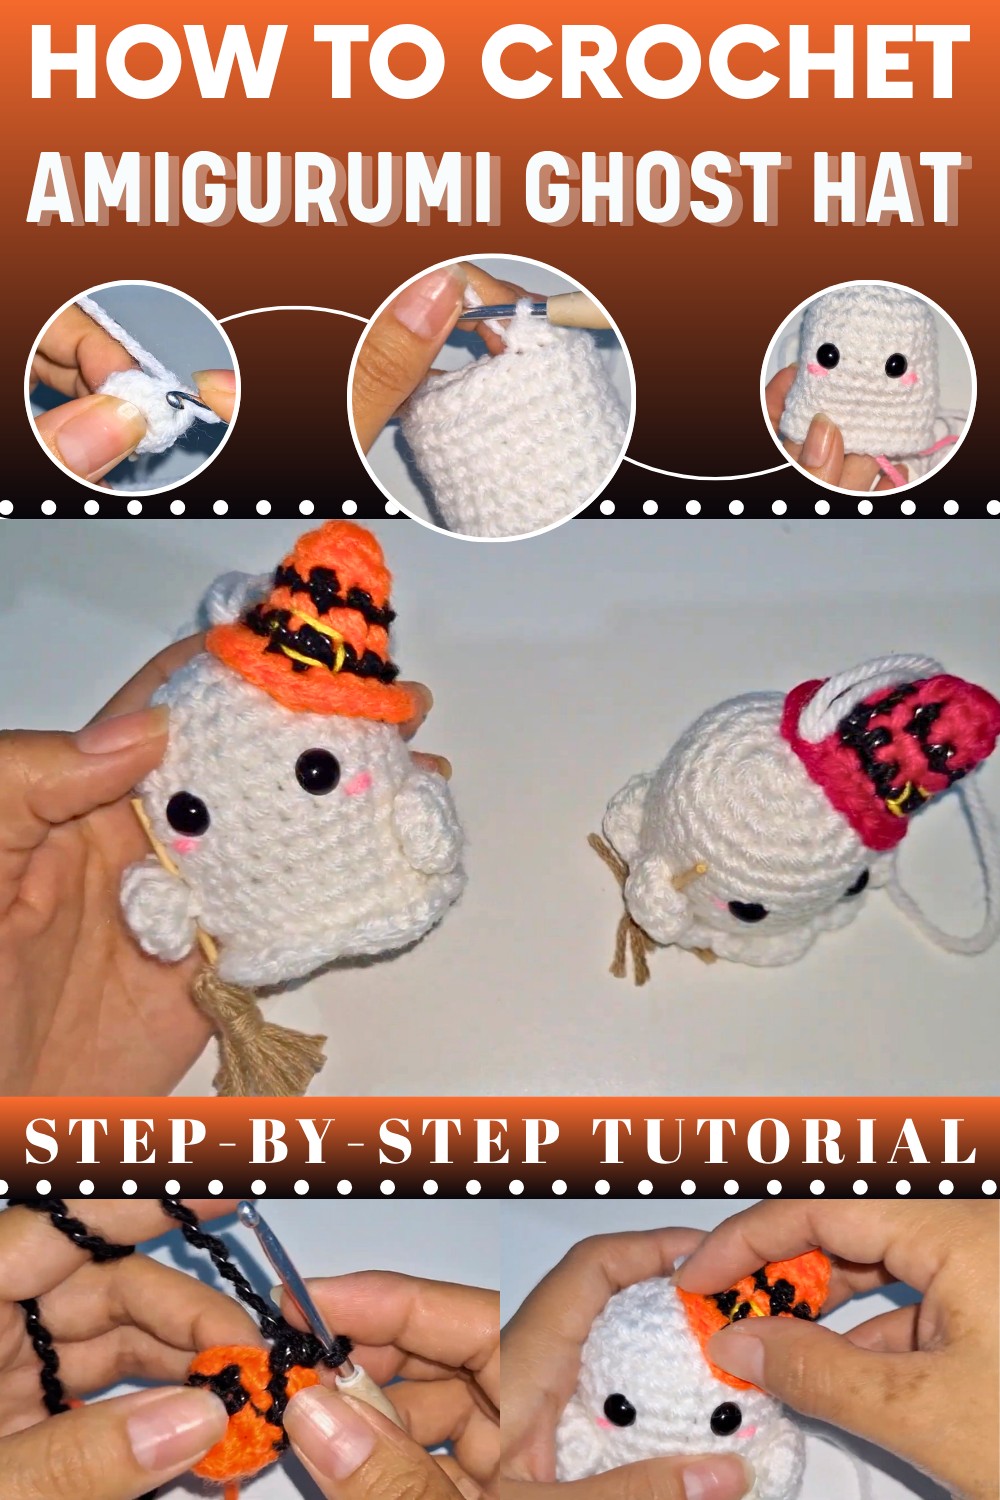
In terms of features, the Free Crochet Amigurumi Ghost Hat Pattern uses lightweight yarn and a mid-sized hook to keep it compact and cute, and relies mostly on single crochet and increases for the body, then switches into chain loops and tapered stitches for the hat.
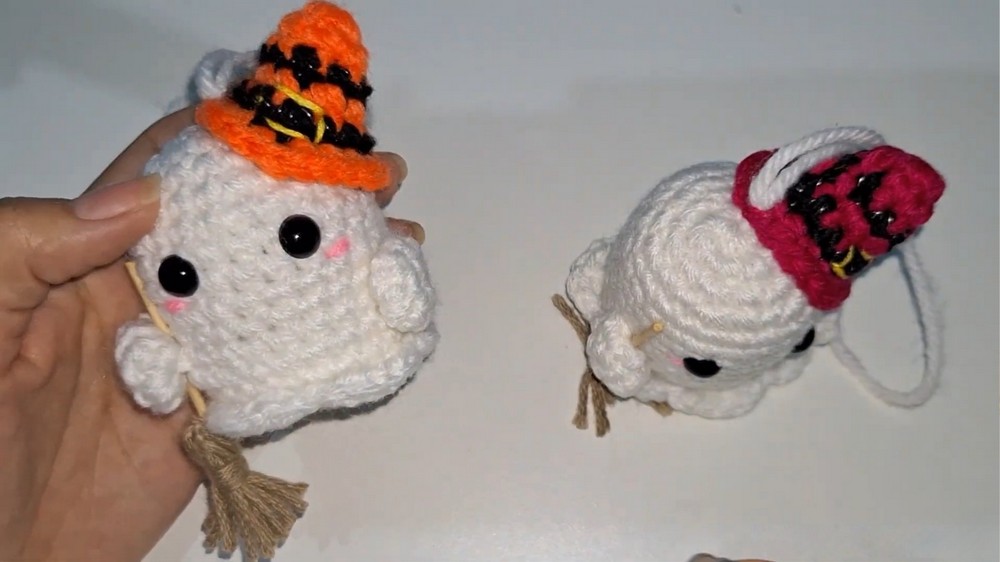
With this Free Crochet Amigurumi Ghost Hat Pattern you end up with a sweet and spooky little creation that brings charm, playful character, and handmade flair wherever it goes.
Uses
You can use the finished ghost as:
- A hanging ornament for your car or office.
- Festive decoration for altars or shelves.
- An item to sell during the holiday season.
Materials
Gather these materials for the project:
- Yarn/Thread: The tutor uses estambre (a type of worsted weight yarn) but you can use thread like ilaza for a smaller result. You need colors:
- White: For the ghost body.
- Black and a Contrast Color (e.g., Orange/Pink): For the witch's hat.
- Kaki/Beige/Brown: For the broom bristles.
- Small amount of Pink/Rose: For the cheeks (optional).
- Small amount of Yellow: For the band on the hat (optional).
- Crochet Hook: A 3.5 mm hook.
- Eyes: 8 mm safety eyes.
- Tools: Scissors, tapestry/darning needle, small dowel/stick (e.g., a toothpick or small wooden skewer) for the broom handle, and silicone glue (hot glue) to secure the hat and broom.
- Stuffing: Polyester fiberfill.
- Optional: A long piece of thread for the hanging loop.
Special Features
This pattern includes several unique features to create the ghost's distinctive look:
- Rippled Edge: You achieve the ghost's classic wavy/rippled bottom by working the last closed round of the body in the back loop only (BLO). You then attach new yarn to the front loops (FLO) you left behind to crochet the six individual ruffles, which are made using a sequence of half double crochet and slip stitches.
- Integrated Arms: You create the arms separately and then sew them onto the body. You secure the arms by threading the needle through the body and coming out on the underside, which helps position the arms slightly bent forward.
- Two-Toned Hat: The pointed witch's hat uses color changes (e.g., black and orange) to add visual interest, and you crochet the brim using the front loop only technique to make it stand out.
- Mini Broomstick: You construct the broom by wrapping yarn around your fingers and tying it off like a tassel, then you glue a small dowel or stick inside the yarn bundle for a sturdy handle.
Level of Difficulty
The tutor does not specify the difficulty, but this is an intermediate-level project. It requires:
- Proficiency in working in the round (amigurumi).
- The ability to work various stitches (single crochet, half double crochet, slip stitch).
- Precise application of the front loop only (FLO) and back loop only (BLO) techniques to create the distinct ripples and hat brim.
- Skill in assembly, including using glue to attach the broom and hat, and sewing the arms into a specific position.
Tutor's Suggestions
The tutor provides several helpful tips throughout the demonstration:
- Filling the Base: When stuffing the ghost, do not overstuff the very bottom where the closure rows are. Keep this area as firm and flat as possible to ensure the ghost can stand on its own and doesn't become rounded ("boludito").
- Cheek Placement: When sewing the rosy cheeks, use only a small piece of thread and place them close to the eyes.
- Broom Handle: Cut the pointy ends off the wooden skewer or toothpick you use for the broom handle before gluing it to prevent snags.
- Hanging Loop: You can easily create the hanging loop by threading the long tail left from closing the ghost through the top center and tying a knot to the desired length.
- Needle Use: After sewing the arms, bring the yarn tail out through the bottom of the ghost, then back up into the body, and out the back where the broom will be inserted. This technique helps firmly anchor the arm and hide the knot.
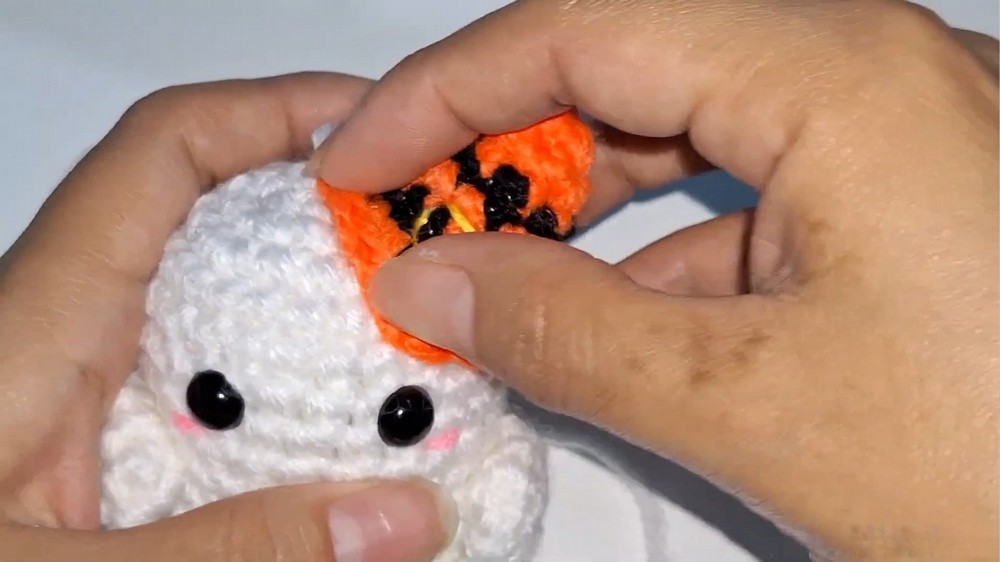
- Hat Security: If the hat feels wobbly after gluing, pass a small piece of yarn or thread through the brim and into the head to stitch it in place, preventing it from tilting.
Step-by-Step Details (Procedure)
I. Crochet the Ghost Body (White Yarn)
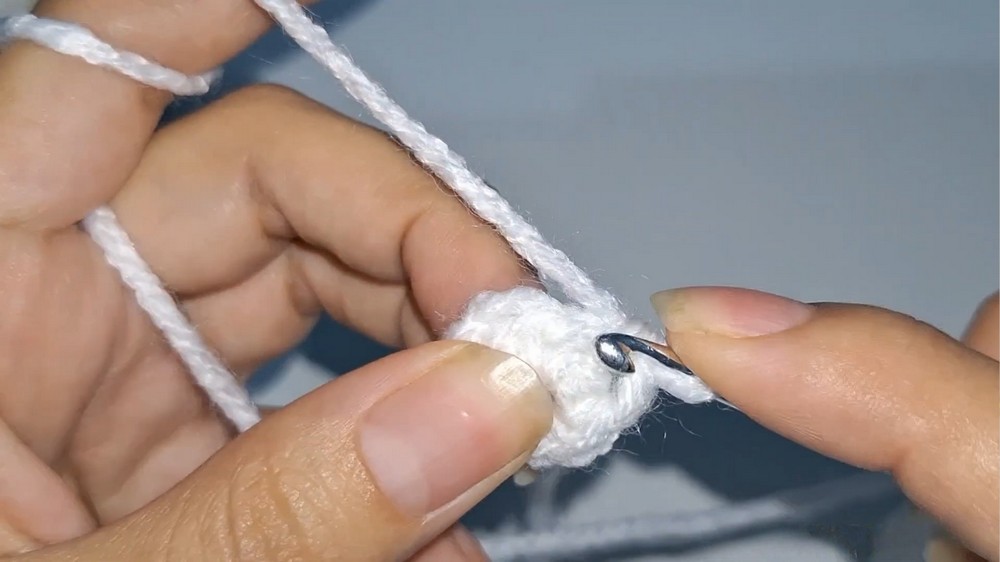
- Start the Base: Make a magic ring containing six single crochets.
- Increase Rounds: Work the following increases:
- Round 2: Increase in every stitch (12 stitches).
- Round 3: Work one single crochet and one increase (18 stitches).
- Round 4: Work two single crochets and one increase (24 stitches).
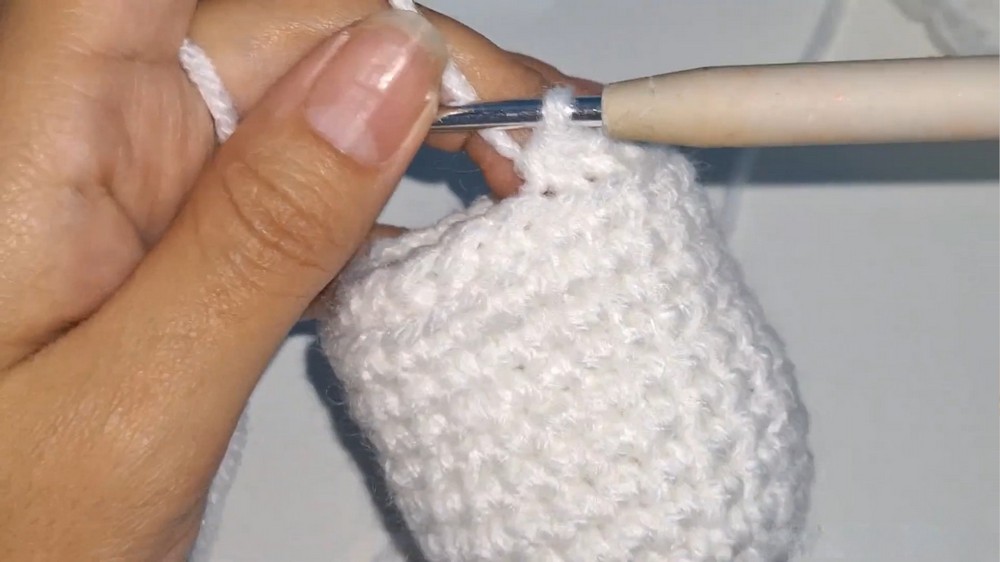
- Ghost Length: Work nine rounds of single crochet, maintaining 24 stitches.
- Place Features: Insert the 8 mm safety eyes between the 3rd and 4th rounds of the plain length section, leaving three stitches between them. Use a small piece of pink yarn to sew the cheeks beneath the eyes. Begin adding stuffing.
- First Decrease (Rippled Edge Prep): Work this round using the back loop only (BLO). Work two single crochets and one decrease (18 stitches). You leave the front loops open for the ruffles.
- Second Decrease: Work a round of one single crochet and one decrease (12 stitches), using both loops normally.
- Final Decrease: Work a round of six decreases (six stitches).
- Close: Cut the yarn, leaving a long tail. Use the tapestry needle to weave the tail through the remaining six stitches and pull to close the body firmly.
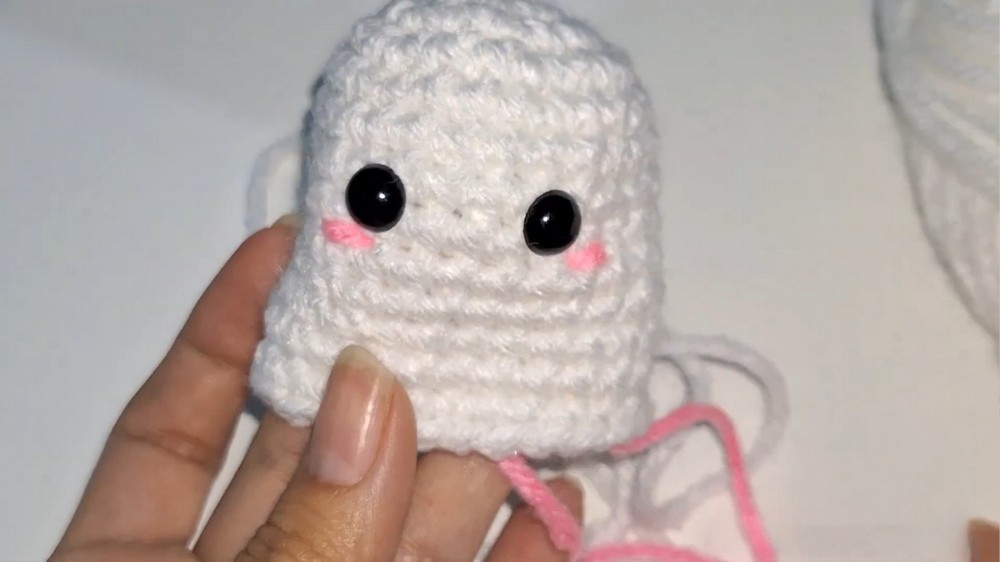
II. Crochet the Ripples (White Yarn)
- Attach Yarn: Attach the white yarn to any of the front loops (FLO) you left open in step I.5.
- Make Ruffles: Work the same sequence six times (once in each section of left-over front loops):
- Chain one (not a stitch, just a spacer).
- Work a half double crochet (HDC) into the next front loop.
- Work two HDC increases (two HDC in one stitch) into the next front loop.
- Work a single HDC into the next front loop.
- Chain one to finish the ruffle.
- Slip stitch into the next front loop to start the next ruffle section.
- Finish: Slip stitch to the beginning, cut the yarn, and weave in the tail.
III. Construct the Arms
- Arm Pieces: Make a magic ring with six single crochets. Work three rounds of single crochet, maintaining six stitches.
- Finish: Cut the yarn, leaving a tail. Create a second arm piece.
- Attach: Flatten the arms and sew them closed. Use the yarn tail to sew the arms onto the body, positioning them slightly forward and down, a few rows below the head.
IV. Create the Hat (Witch's Birrete)
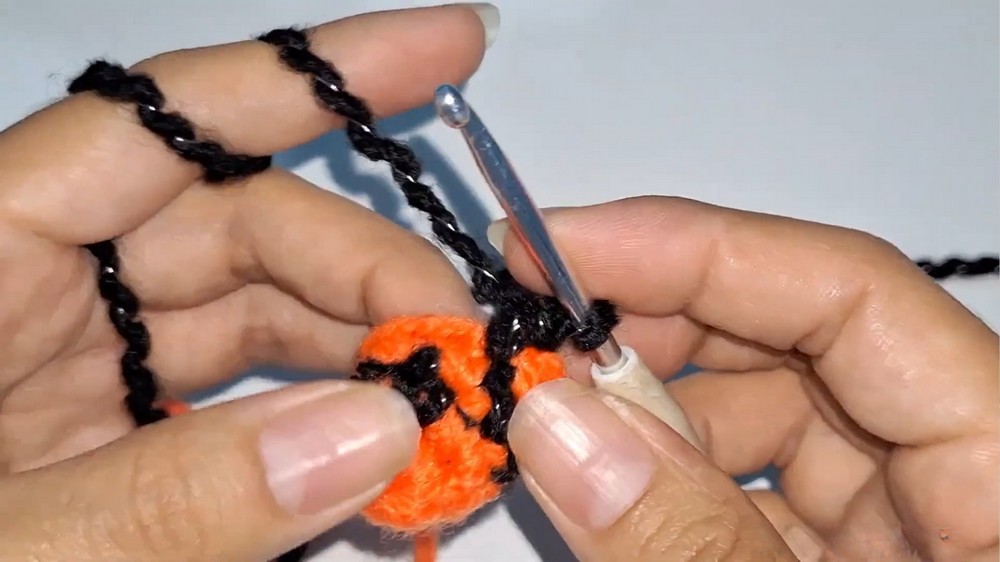
- Hat Peak (Two-Toned): Start with the first color (e.g., orange/contrast) in a magic ring with four single crochets. Work up the peak with small increases, changing colors every one or two rounds (e.g., change to black, work one round of eight stitches, change back to orange, work two rounds of 12 stitches, etc.) until the peak has 15 stitches.
- Brim Prep: On the final row of the peak, cut the yarn of the contrasting color. Attach the black yarn and work four single crochets and one increase (18 stitches).
- Brim: Work the next round using the front loop only (FLO). Work four single crochets and one increase (18 stitches). This causes the brim to flare out.
- Finish: Join with a slip stitch, chain one, and cut the yarn, leaving a tail to weave in (you will glue the hat, not sew it).
- Decoration (Optional): Use yellow thread to embroider a small band or square onto the brim of the hat.
V. Make the Broom
- Bristles: Wrap the kaki/beige yarn around two fingers 10 times.
- Tie and Shape: Tie off the yarn bundle with a long piece of the same yarn. Use a second piece of yarn to create a small tie a short distance from the top to define the bristle shape.
- Handle: Cut the points off a small dowel/stick. Apply silicone glue to the side of the stick and insert it into the center of the yarn bundle.
- Finish: Trim the bottom of the yarn bristles to make them even.
VI. Final Assembly and Tip
- Attach Hat: Apply silicone glue to the underside of the hat brim and press it firmly onto the top of the ghost's head, positioning it slightly to the side.
- Attach Broom: Insert the broom handle into the body, positioning it in one of the ghost's hands (you can add a drop of glue inside the hand to secure it).
- Hanging Loop: Use the long tail from closing the body to create a hanging loop by passing it through the top of the head and tying a knot.
Tip
To make the ruffles at the bottom of the ghost stand out better, ensure you pull your stitches tight when working the half double crochet sequence. The combination of the loose HDC and the tight slip stitch is what creates the pronounced wave effect.