
Beginner-Friendly Free Crochet Lion Pattern Step-by-Step
Step into creativity with this adorable Crochet Lion Pattern that’s easy to follow and perfect for a lovable toy or heartfelt handmade gift.
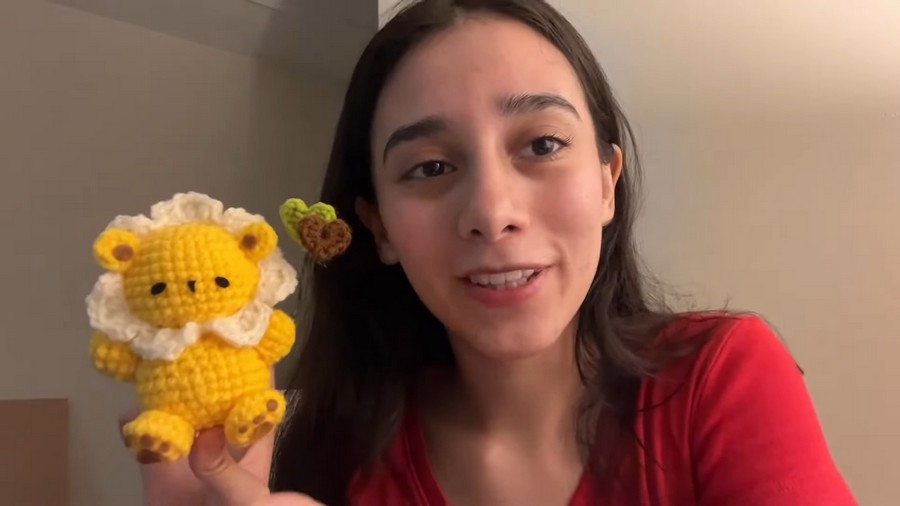
Soft yarn loops come together to form a charming little lion, embodying comfort and personality with every carefully woven stitch. This crochet lion isn’t just an adorable figure; it’s a rewarding way to hone your skills, relax your mind, and produce a keepsake that feels truly meaningful. With an approachable structure broken into manageable steps, this pattern makes it easy to bring this delightful creature to life—complete with a fluffy mane, prominent head, and sturdy little limbs.
Perfect Free Crochet Lion Pattern That Looks Pro
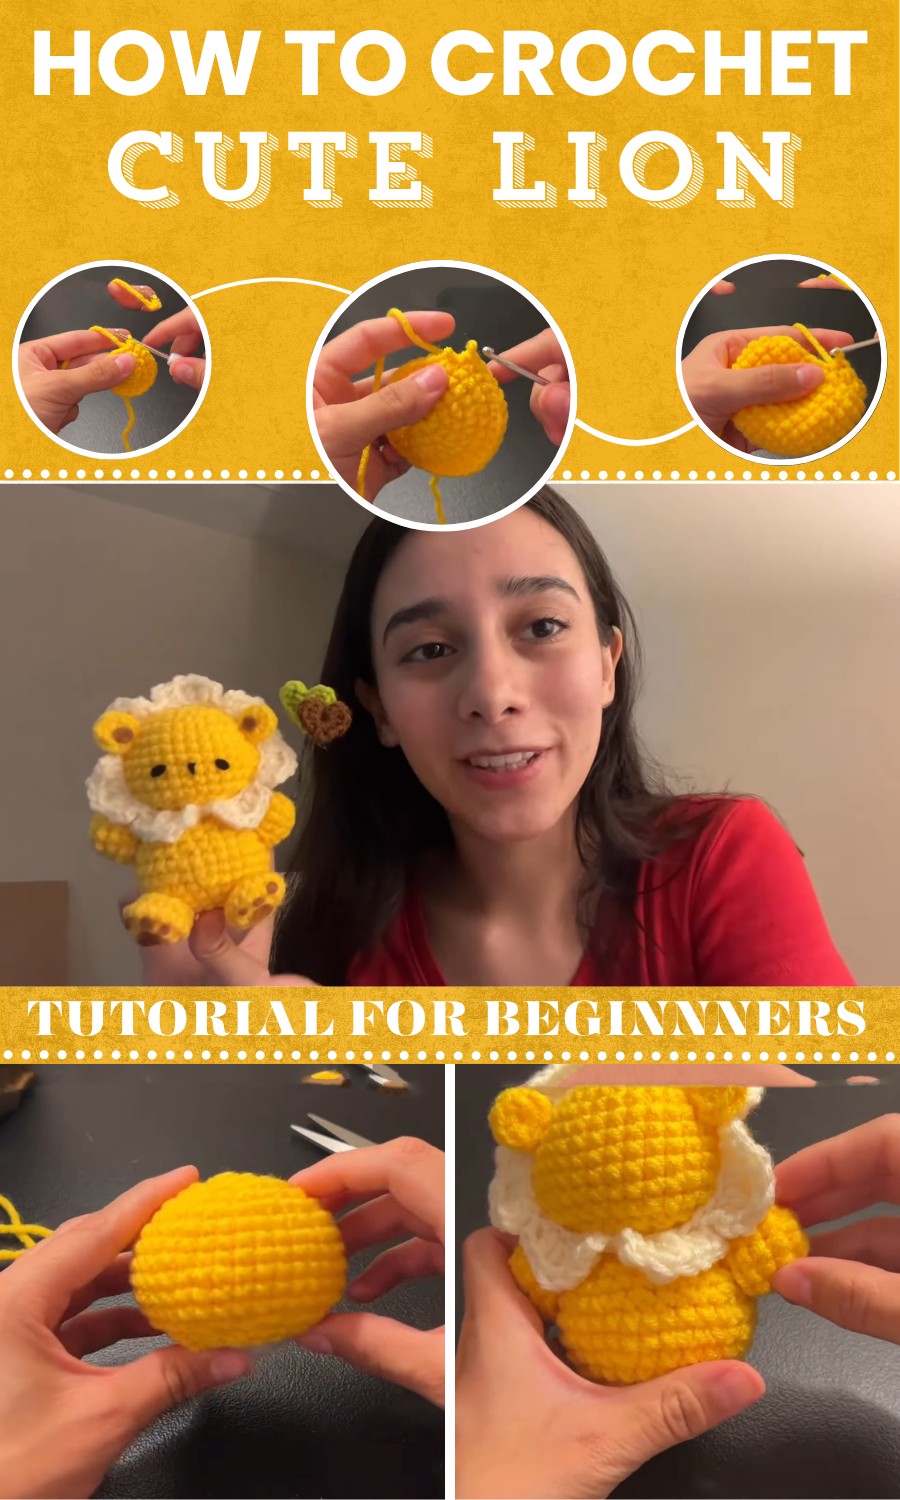
In addition to the obvious benefit of producing a unique creation, crocheting this little lion fosters mindfulness and creativity. The repetitive motion of the stitches can provide a soothing rhythm, making it a meditative and calming activity for many. Each stage of the pattern encourages exploration of techniques like single crochet, loop stitches, and shaping through increases and decreases, building confidence with each turn of the hook.
Free Crochet Lion Pattern (3-in-1)
Finished Size
When following the specified yarn and hook size, the finished plush measures approximately 8-10 inches tall (20-25 cm).
Materials Required
Yarn
- Main Body Yarn: Color of your choice for the body, head, ears, arms, legs, and tail (e.g., yellow, beige, or light brown).
- Accent Yarn for Flower: Choose vibrant colors like red, pink, or blue.
- Brown Yarn for Tail Details.
Additional Supplies
- Hook Size: 3.0 mm crochet hook.
- Stuffing: Polyester fiberfill or similar stuffing for amigurumi.
- Felt: For eyes, nose, and paw pads.
- Safety Eyes: 12 mm size (optional if not using felt).
- Floral Wire (optional): For making decorative "heart balloons".
- Yarn Needle: For weaving in ends and sewing pieces together.
- Scissors.
- Glue Gun (optional, for decorations).
Gauge
Gauge is not critical for this project. Ensure the stitches are tight to prevent stuffing from showing through.
Abbreviations (U.S. Terminology)
- ch: Chain
- sc: Single crochet
- inc: Increase (2 single crochets in the same stitch)
- dec: Decrease (invisible decrease, working into front loops only)
- hdc: Half double crochet
- dc: Double crochet
- tr: Treble crochet
- st(s): Stitch(es)
- yo: Yarn over
- sl st: Slip stitch
Special Techniques
1. Magic Ring
To start crocheting in the round:
- Wrap the yarn around your fingers to form a loop with an "X" shape.
- Slide the hook under the first strand and pull the second strand through.
- Yarn over and pull through the loop on your hook.
- Remove your fingers from the loop and crochet into the ring as instructed.
2. Invisible Decrease
- Insert the hook into the front loop of the first stitch.
- Without yarning over, insert the hook into the front loop of the next stitch.
- Yarn over and pull through the first two front loops on the hook.
- Yarn over again and pull through the last two loops.
3. Slip Stitch Join
Used to connect chains or rounds:
- Insert the hook into the specified stitch.
- Yarn over and pull through both loops on the hook.
Pattern Instructions
Head
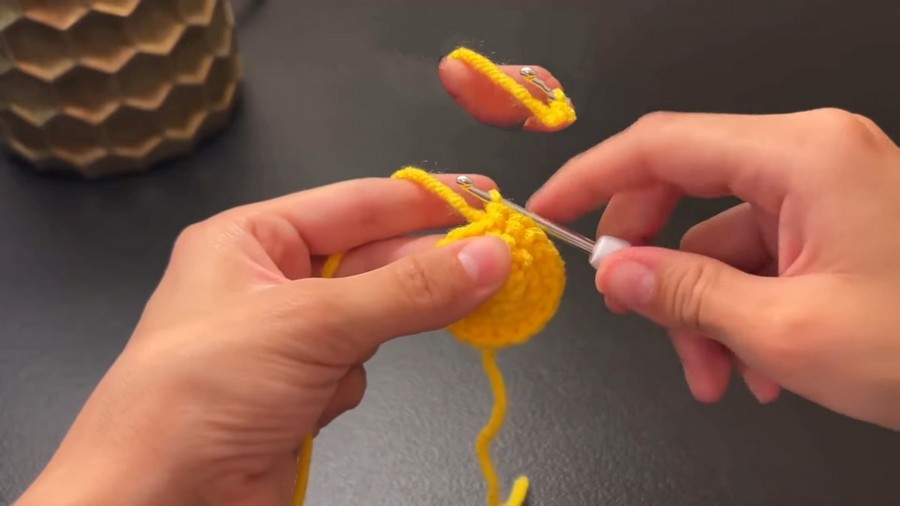
- Round 1: Create a magic ring. Make 6 sc into the ring. (6 sts)
- Round 2: Inc in each st around. (12 sts)
- Round 3: [1 sc, inc] repeat 6 times. (18 sts)
- Round 4: [1 sc, inc, 1 sc] repeat 6 times. (24 sts)
- Round 5: [3 sc, inc] repeat 6 times. (30 sts)
- Round 6: [2 sc, inc, 2 sc] repeat 6 times. (36 sts)
- Round 7-12: Sc in each st around. (36 sts)
- Round 13: [1 sc, dec] repeat 12 times. (24 sts)
- Final Round: [2 sc, dec] repeat 6 times. (18 sts)
- Fasten off. Leave a long tail for sewing.

Body
Repeat Rounds 1–5 of the head, then continue:
- Round 6: Sc in each st around. (30 sts)
- Round 7: [5 sc, inc] repeat 5 times. (35 sts)
- Round 8: Sc in each st around. (35 sts)
- Round 9: [3 sc, dec] repeat 7 times. (28 sts)
- Round 10: Sc in each st around. (28 sts)
- Round 11: [5 sc, dec] repeat 4 times. (24 sts)
- Round 12: [2 sc, dec] repeat 6 times. (18 sts)
- Fasten off. Leave a long tail for attaching the head to the body.
Flower Mane
- Base Chain: Create 36 ch.
- Join: Make a sl st into the 1st ch to form a loop.
For each petal, repeat the following pattern:
- Sl st into the next ch.
- Ch 2.
- Hdc in the same chain.
- [Dc, tr] in the next chain.
- [Tr, dc] in the next chain.
- Hdc in the following chain.
- Ch 2 and sl st to complete the petal.
Repeat this process until you have 7 petals. Fasten off and leave a tail for attaching to the head.
Ears
- Make a magic ring.
- Round 1: 7 sc into the ring. (7 sts)
- Sl st into the 1st st to finish. Fasten off, leaving a long tail for sewing. Repeat for the second ear.
Legs
- Start with a magic ring.
- Round 1: 8 sc into the ring. (8 sts)
- Round 2: 8 inc. (16 sts)
- Round 3: Sc in each st around. (16 sts)
- Round 4: [4 sc, dec] repeat 2 times. (12 sts)
- Fasten off, leaving a long tail for sewing. Repeat for the second leg.

Arms
- Start with a magic ring.
- Round 1: 8 sc into the ring. (8 sts)
- Round 2: [1 sc, inc] repeat 4 times. (12 sts)
- Round 3-4: Sc in each st around. (12 sts)
- Fasten off and leave a long tail for sewing. Repeat for the second arm.
Tail
- Start with a magic ring.
- Round 1: 6 sc into the ring. (6 sts)
- Round 2: [2 sc, inc] repeat 2 times. (8 sts)
- Round 3: [3 sc, dec] repeat around. (7 sts)
- Round 4: [1 sc, inc], then sc in the last 2 sts. (6 sts)
- Add brown yarn or wrap floral wire for pom-pom details.
Assembly Guide
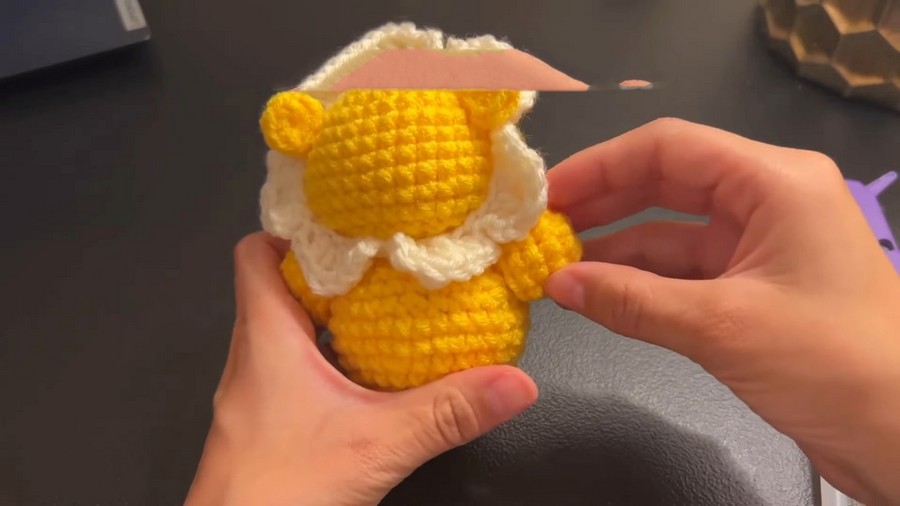
- Head to Body: Use the tail from the body to sew the head securely onto the body.
- Flower Mane: Attach the mane around the head so one petal is centered below the chin.
- Ears: Place between rounds 5 and 7 of the head and sew securely.
- Arms: Position at the top sides of the body, just below the neck.
- Legs: Attach evenly at the bottom of the body.
- Tail: Sew the tail at the back of the body.
Final Details
- Eyes, Nose, and Paws: Use felt or embroider details for a customized touch. If using safety eyes, insert them before stuffing the head.
- Decorative Balloons: Create yarn hearts and attach them to floral wire for additional flair.
Tips for Success
- Stuffing: Stuff each part firmly but not overly so to maintain the plush look.
- Safety Eyes: Use them securely. Use felt for safer options for small children.
- Sewing: Use small, careful stitches for neat assembly.
Final Words
Congratulations on completing this charming 3-in-1 crochet pattern for "Dan the Lion"! Whether you've created a lion, teddy bear, or flower bear, each piece is unique and full of personality. Please share your creations and tag the original designer to spread the love for handmade art.