
Free Crochet Avocado Fridge Magnet Pattern to Lift Your Space
Cheer up any kitchen space with this Free Crochet Avocado Fridge Magnet Pattern, ideal for keeping notes secure while adding a fun and vibrant touch.
A small, whimsical touch can turn everyday spaces into delightful expressions of personality, and nothing does this quite like a charming accessory that makes you smile every time you see it. The crochet avocado fridge magnet pattern captures the playful spirit of a beloved fruit, transforming it into a vibrant, tactile piece of art that adds a splash of fun to your kitchen or workspace. Its bright green body, with a contrasting brown pit, mimics the real fruit’s inviting look, making it a perfect miniature masterpiece for anyone who appreciates quirky decor.
How To Crochet Avocado Fridge Magnet Pattern Adds Color to Appliances
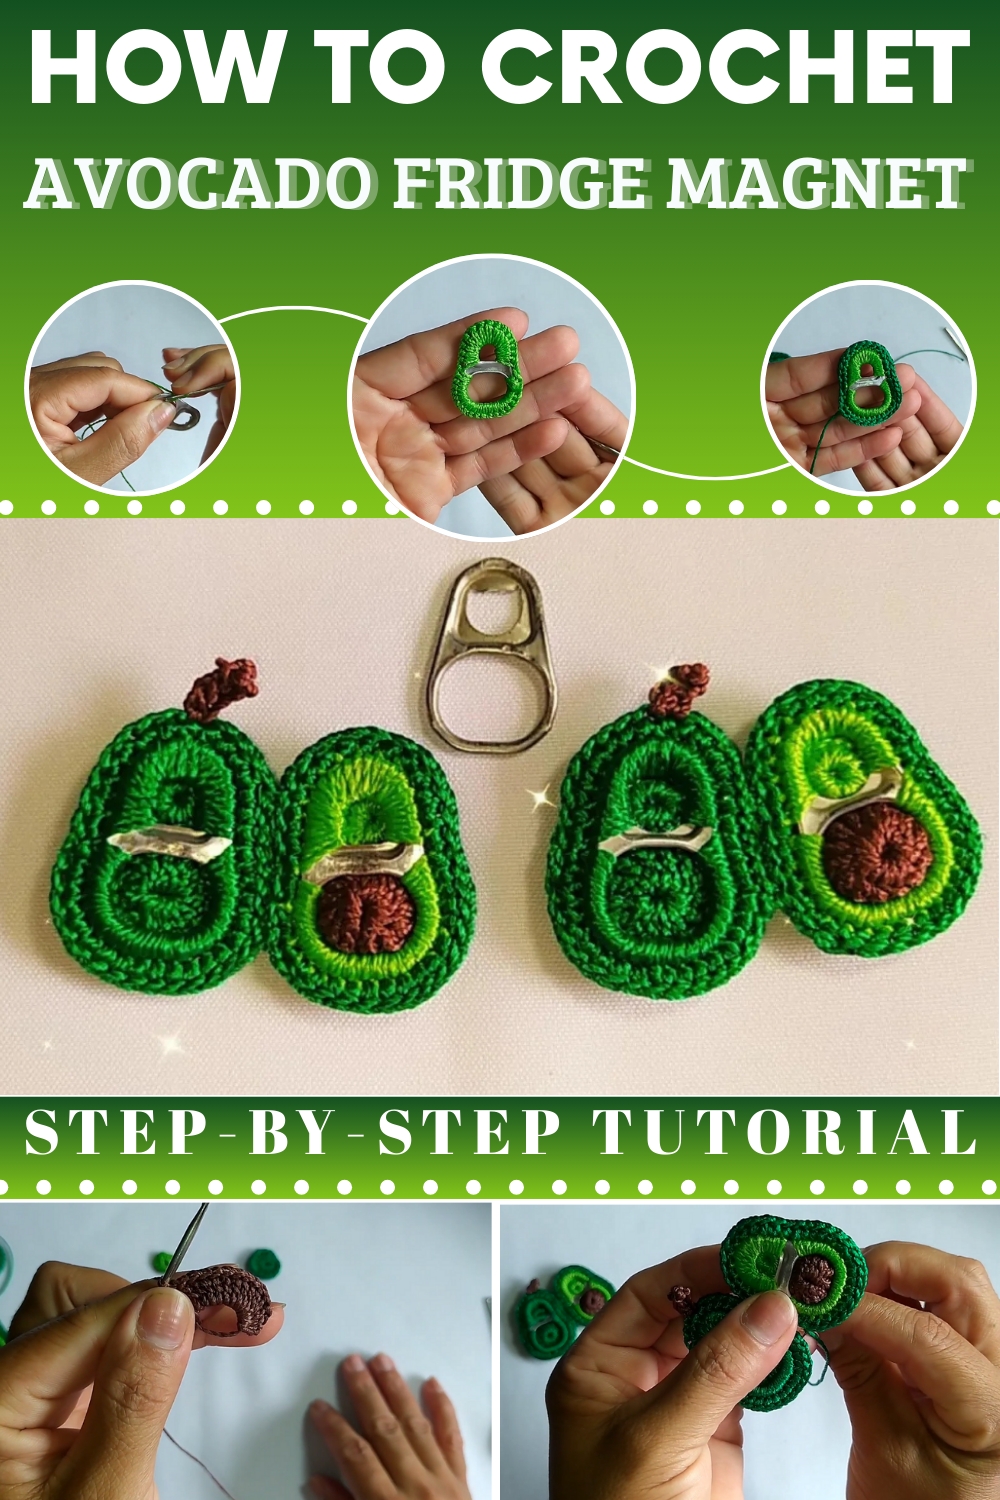
The appeal of this crochet avocado magnet lies not only in its visual charm but also in its straightforward construction. The pattern emphasizes working in continuous rounds to shape the avocado’s body, with increases at specific intervals to achieve the rounded form. The pit is worked in a spiral, then sewn onto the main body, giving a realistic touch.
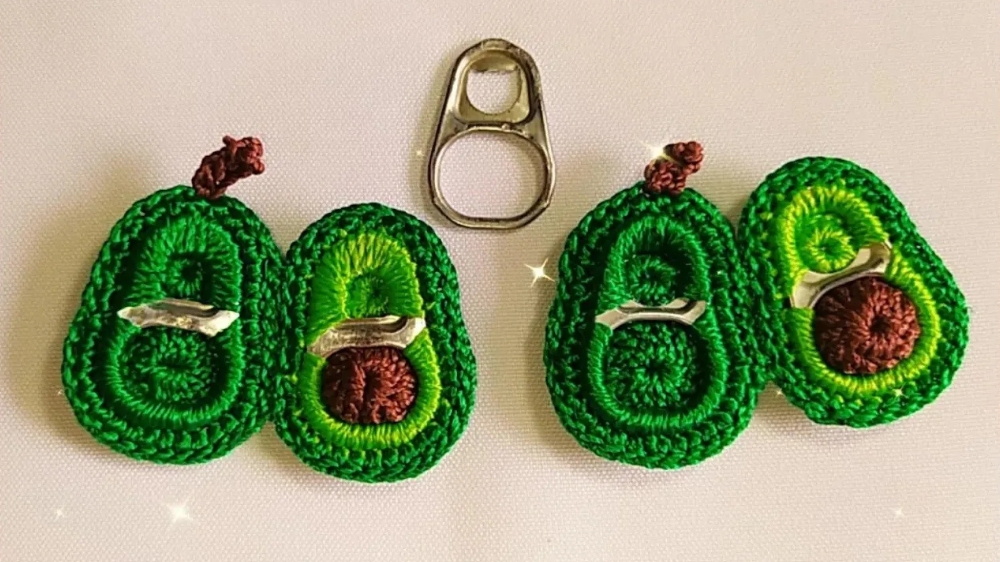
For a polished look, the finishing touches include neatly weaving in ends and securely attaching the magnet. The vibrant green and brown color choices make it lively and inviting, perfect for brightening up any metal surface. Its simple steps and appealing aesthetic make it an engaging project suitable for all levels of crochet enthusiasts.
Free Crochet Avocado Fridge Magnet Pattern
Materials List
- Yarn:
- Light green (for avocado flesh)
- Medium/dark green (for avocado skin)
- Brown (for seed and stem)
- Felt: Green or brown, for backing (optional)
- Crochet Hook: 1.75 mm steel
- Two cleaned/flattened sardine can tabs
- Sewing Needle: For assembly
- Hot Glue or Strong Craft Glue: For easier assembly (optional)
- Scissors
- (Optional): Embellishments—magnets, stones, or keyring
Key Abbreviations (US Terms)
- mr: magic ring
- ch: chain
- sc: single crochet
- sl st: slip stitch
- dc: double crochet
- st(s): stitch(es)
- FO: fasten off
- rep: repeat
Special Notes
- This project covers two sardine can tabs with crochet to form avocado halves.
- All rounds are joined with sl st unless otherwise stated.
- Adjust tension for a snug, neat cover.
- For “whole” avocado, crochet both tabs in the same color; for “sliced” avocado, use two shades.
- The felt backing hides glue and gives a professional look.
Pattern Instructions
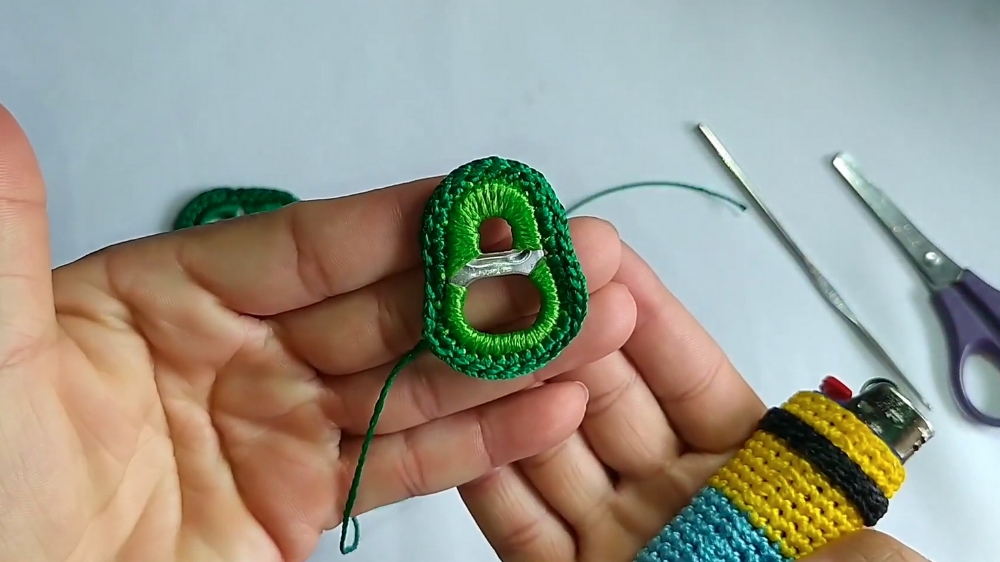
1. Cover Each Sardine Tab
A. “Avocado Flesh” (Front Side)
- Using light green yarn:
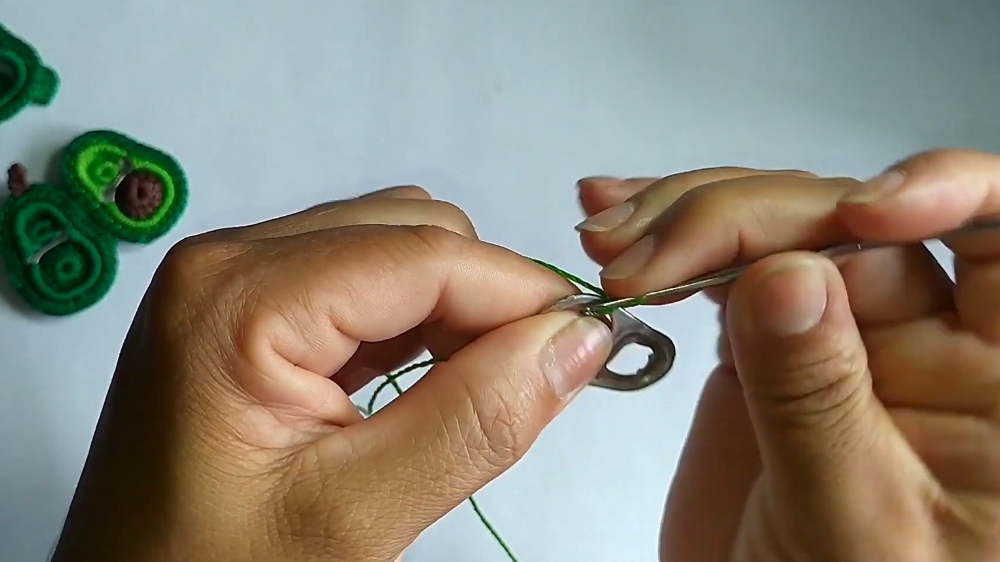
- Attach yarn to the edge of a sardine can tab with a slip knot.
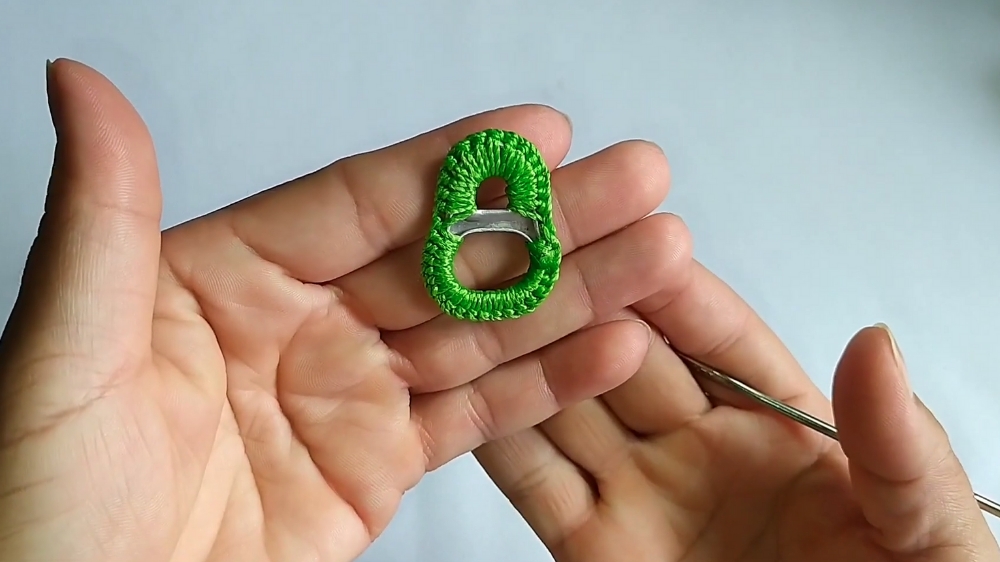
- Work sc evenly and tightly around the tab, covering all metal. (About 32–40 sc per tab depending on size.)
- Join with sl st to first sc.
- FO and weave in end.
B. “Avocado Skin” (Outer Back Side)
- With medium/dark green yarn:
- Attach yarn with a slip knot to any st on the covered tab edge (or to a free tab if making a full-green “whole”)
- Work sc in each st around.
- Join with sl st to first sc.
- FO, leaving long tail for sewing.
2. Avocado Pit & Details
A. “Seed” (Brown Center, for sliced avocado)
- With light green (small pit) or brown (large pit):
- Create a magic ring.
- Rnd 1: Ch 1, work 14 sc into the ring.
- Pull tight, join with sl st.
- FO, weave in end.
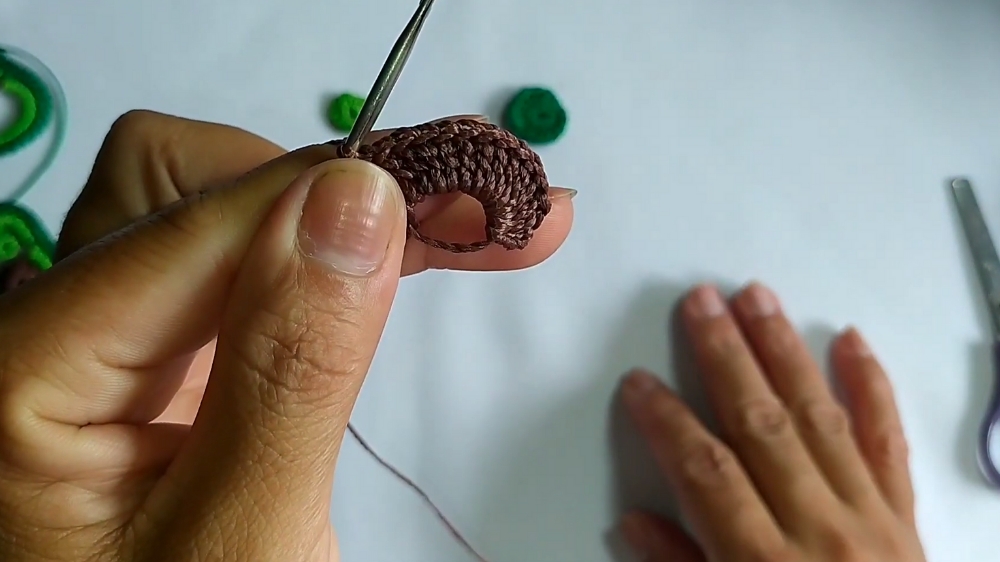
B. “Avocado Brown Seed” (for whole or sliced version):
- With brown:
- Make magic ring, ch 3.
- Work 14 dc into ring.
- Pull tight, join with sl st to 3rd ch.
- FO, weave in end.
C. “Stem” (Brown)
- Attach brown to desired “top” of whole avocado:
- Ch 4, sc in each ch back (3 sc).
- Sl st to base, FO and weave in.
3. Assembly
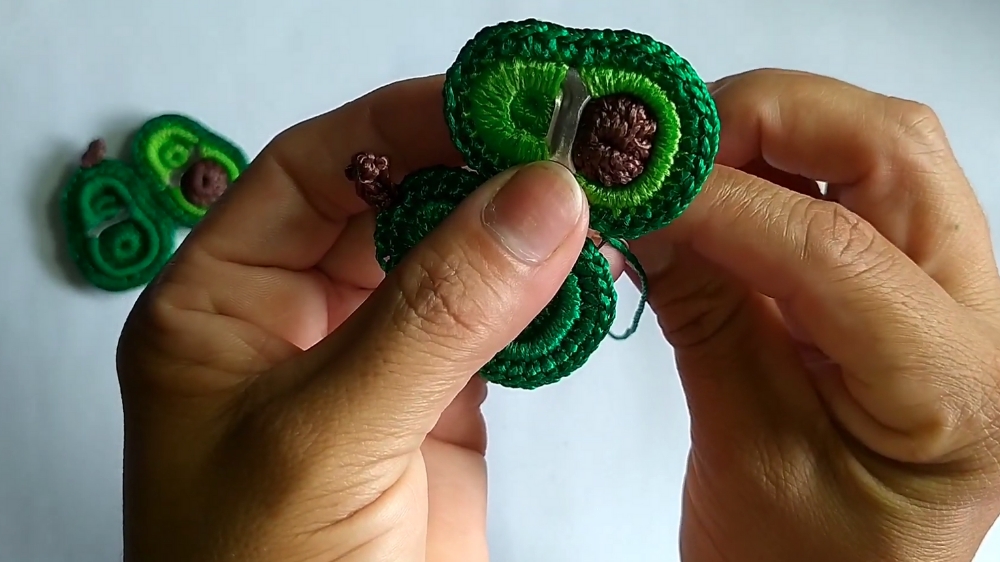
- (Optional, but recommended) Glue the pit (brown/yellow circle) to the center of the avocado flesh (the lighter green side). Press and let dry.
- Glue or sew the layered flesh+pit onto the green skin tab to finish the "slice", or attach the two tabs (with or without filling) for a "whole" avocado.
- Place a small strand of glue along the very edge before pressing together for neatness; or sew around with yarn tail, catching just the back loops to keep stitches nearly invisible on front.
4. Felt Backing (Optional, but recommended)
- Trace the sardine tab on a piece of felt.
- Cut out the shape, leaving a 0.5 cm border.
- Glue to the back of your finished avocado for a neat appearance and softer feel.
5. Embellishments (Optional)
- Hot glue a magnet or stone for a fridge magnet.
- Sew or glue on a keyring for a bag charm.
- Embroider a cute face or blush dots for extra personality!
Conclusion
This project upcycles sardine can tabs into a charming avocado slice or whole avocado, perfect for fridge magnets, keychains, or bag charms. The crochet cover is simple, neat, and durable—the optional felt backing polishes the look for professional or gift-quality finish.
Pattern Correction & Tips
- Tip: Adjust the number of sc per tab to suit your tab’s size—tabs should be fully covered with no metal showing.
- Tip: For a “full” avocado, cover both tabs in the same shade and join. For a “slice,” use two shades as described.
- Correction: Construction is modular, so you may attach the seed and details with either glue or neat sewing, as you prefer.
- Tip: A hot glue gun is quicker but any strong, clear-drying glue will work.
- Tip: If intended for children, always ensure all glued or sewn parts are extremely secure.