
Free Crochet Tulip Keychain for Seasonal Vibes
Carry floral charm with this Crochet Tulip Keychain Pattern, featuring vibrant details, sweet elegance, and a delightful handmade touch.
Tulips have long been admired as symbols of renewal and grace, often gifted to mark fresh beginnings or to brighten someone’s day. In crochet form, this delicate flower finds a charming new role as a keychain, combining beauty with practicality. Small enough to carry everywhere yet detailed enough to capture attention, it becomes a thoughtful accessory that adds a touch of elegance to everyday life. Whether used to personalize keys, adorn a handbag, or shared as a meaningful keepsake, it offers both charm and sentiment in one small piece.
Free Crochet Tulip Keychain for Personalized Accessories
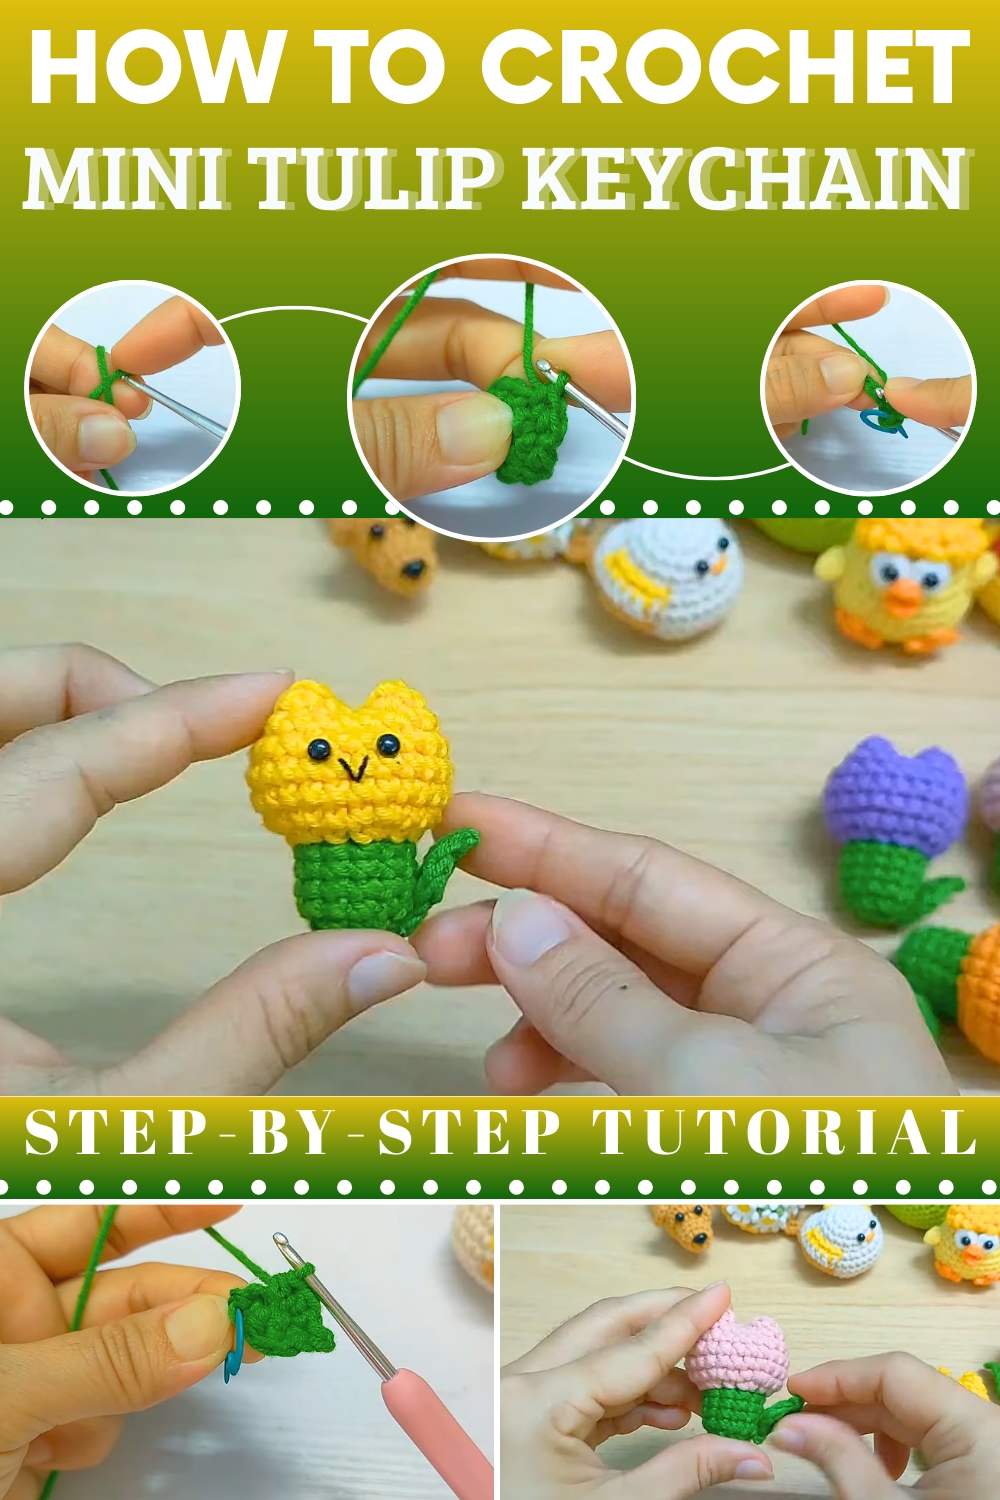
The process begins with the tulip bud, shaped through carefully worked stitches that form its rounded, layered petals. Midway, a slender stem and tiny leaves are added, giving the flower its natural balance and completing the recognizable silhouette. The entire piece is then securely attached to a keyring, ensuring durability while maintaining its delicate appearance. Each element flows seamlessly, producing a flower that feels lifelike yet stylishly simple.

Mini Tulip Flower Crochet Pattern
Materials List
- Yarn: First-grade cotton, recommended: 125g (Mil yarn or similar), in main flower color (yellow/pink/purple/orange) and green for leaves
- Hook: 2.5 mm crochet hook
- Tapestry needle (for sewing and weaving in ends)
- Scissors
- Stitch marker or pin
- Fiberfill stuffing (small amount)
- Optional: Safety eyes, embroidery thread for nose, padlock/charm
Key Abbreviations (US Terms)
| Abbreviation | Meaning |
|---|---|
| MR | Magic ring (adjustable ring) |
| ch | Chain |
| sc | Single crochet |
| hdc | Half double crochet |
| dc | Double crochet |
| sl st | Slip stitch |
| inc | Increase (2 sc in one stitch) |
| FLO | Front loop only |
| BLO | Back loop only |
Special Notes
- Work in continuous rounds; use stitch markers to mark the first stitch of each round.
- Adjust flower color as desired (yellow, orange, pink, purple, etc.).
- Do not overstuff the tulip; keep a round but not firm shape.
- For the leaves, follow the shaping to mimic a tulip leaf.
Pattern
Tulip Head
R1:
- MR, 6 sc in ring (6).
- Tighten MR to close the hole.
R2:
- Inc in each st around (12).
- (2 sc in each stitch)
R3–R6:
- 1 sc in each st around (12 per round).
- (No increases or decreases, just sc in each stitch)
Note: Place a stitch marker in the first stitch of each round to keep track. Always count to make sure you have 12 stitches at the end of each round.
R7 (FLO):
- FLO: 1 sc in each stitch around (crochet only into the front loop of each stitch) (12).
- This creates a nice lip or base for the tulip.
R8:
- Normal rounds (both loops):
- (1 sc, inc) six times (18).
- (Sc in one st, 2 sc in next st) repeat around (increase for shaping).
R9–R13:
- 1 sc in each st around (24 per round).
- (No increases or decreases)
Stuff lightly with fiberfill after R13.
Finish:
- Count out 12 stitches from the end or beginning, divide in half, and sew or crochet base closed if desired for a firmer tulip shape.
Leaf
Yarn: Green
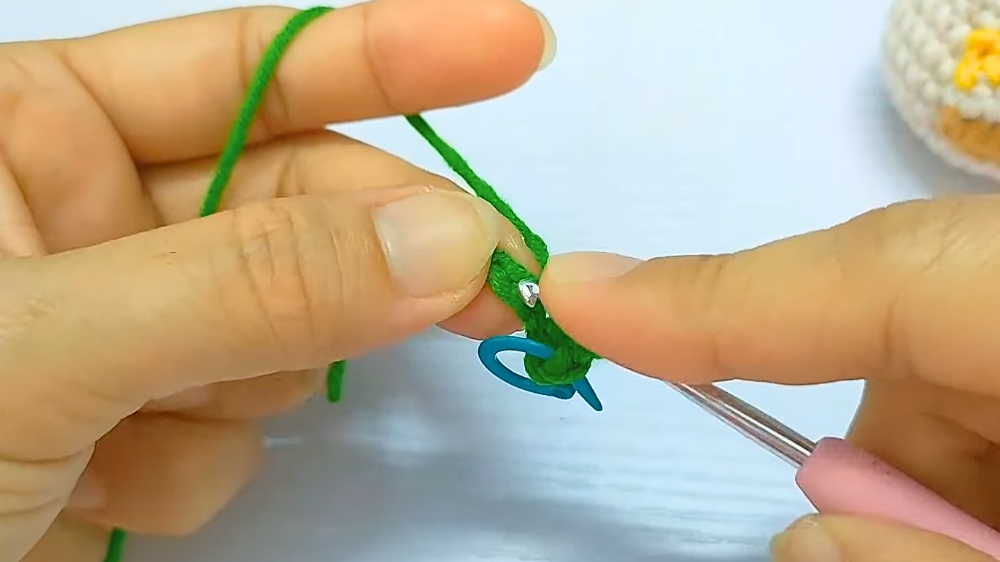
- Ch 5.
- Starting in the 2nd ch from hook:
- sc.
- hdc in next ch.
- dc in next ch.
- hdc in next ch.
- sc in next ch.
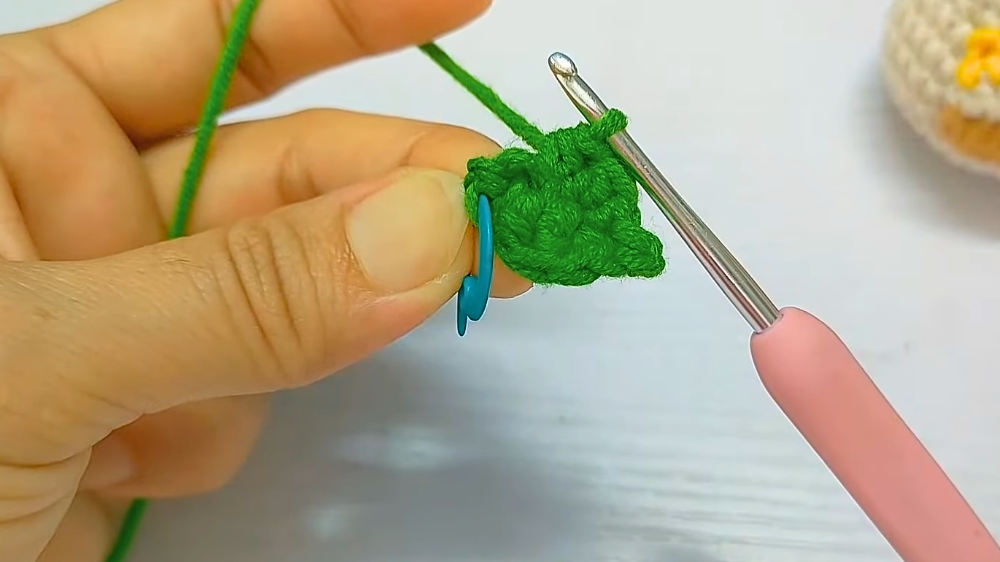
- Ch 1, turn.
- Work back down the other side:
- sc, hdc, dc, hdc, sc.
- Sl st into initial ch to finish.
- Fasten off, weave in yarn end.


Final Assembly
- Shape the tulip: Adjust the flower head firmly to a round tulip form.
- Attach leaf: Sew or crochet the leaf at the base of the tulip head.
- Optional face: Add safety eyes and embroidered nose if desired.
- Optional charm: Attach a padlock or keychain at the base or top.

Pattern Corrections
- Ensure you work FLO rounds at R7 for the lip of the tulip.
- Count stitches at the end of each round, especially after increases, to keep the tulip head symmetric.
- Use the appropriate number of sc, hdc, and dc in the leaf shaping for a natural effect.
Tips
- Use a stitch marker to keep round counts accurate.
- For a neater leaf, do not over-crochet; keep leaf edges smooth.
- If your tulip isn’t round, adjust stuffing or gently shape as you finish.
- Changing color at R7 or R8 is optional for a two-tone tulip; join new yarn on the last yarn-over of the previous round.
- Weaving in ends carefully inside will give a cleaner finish.
Conclusion
This mini tulip crochet pattern is beginner-friendly, quick to make, and perfect for spring decor or gifts. Customize the flower color, add a face or charm as desired, and enjoy this sweet floral project.