
FREE Crochet White Rabbit Amigurumi Pattern for Home Décor
Celebrate charm with the Free Crochet White Rabbit Amigurumi Pattern, a playful and detailed project perfect for décor, gifts, or collectible displays.
A touch of whimsical charm can instantly lift the atmosphere of any room, and a tiny white rabbit offers that delicate enchantment. This crochet project transforms simple yarn into a soft, expressive amigurumi figure, perfect for collectors, gift-givers, or anyone looking to add personality to shelves, desks, or nurseries. The rabbit’s gentle curves, upright ears, and bright eyes lend an approachable yet captivating presence, making it both a decorative accent and a comforting keepsake. Its compact size ensures it fits anywhere, from a keychain to a display corner, while still retaining the intricacies of hand-crafted detail.
Joyful Crochet White Rabbit Amigurumi Pattern That Shines
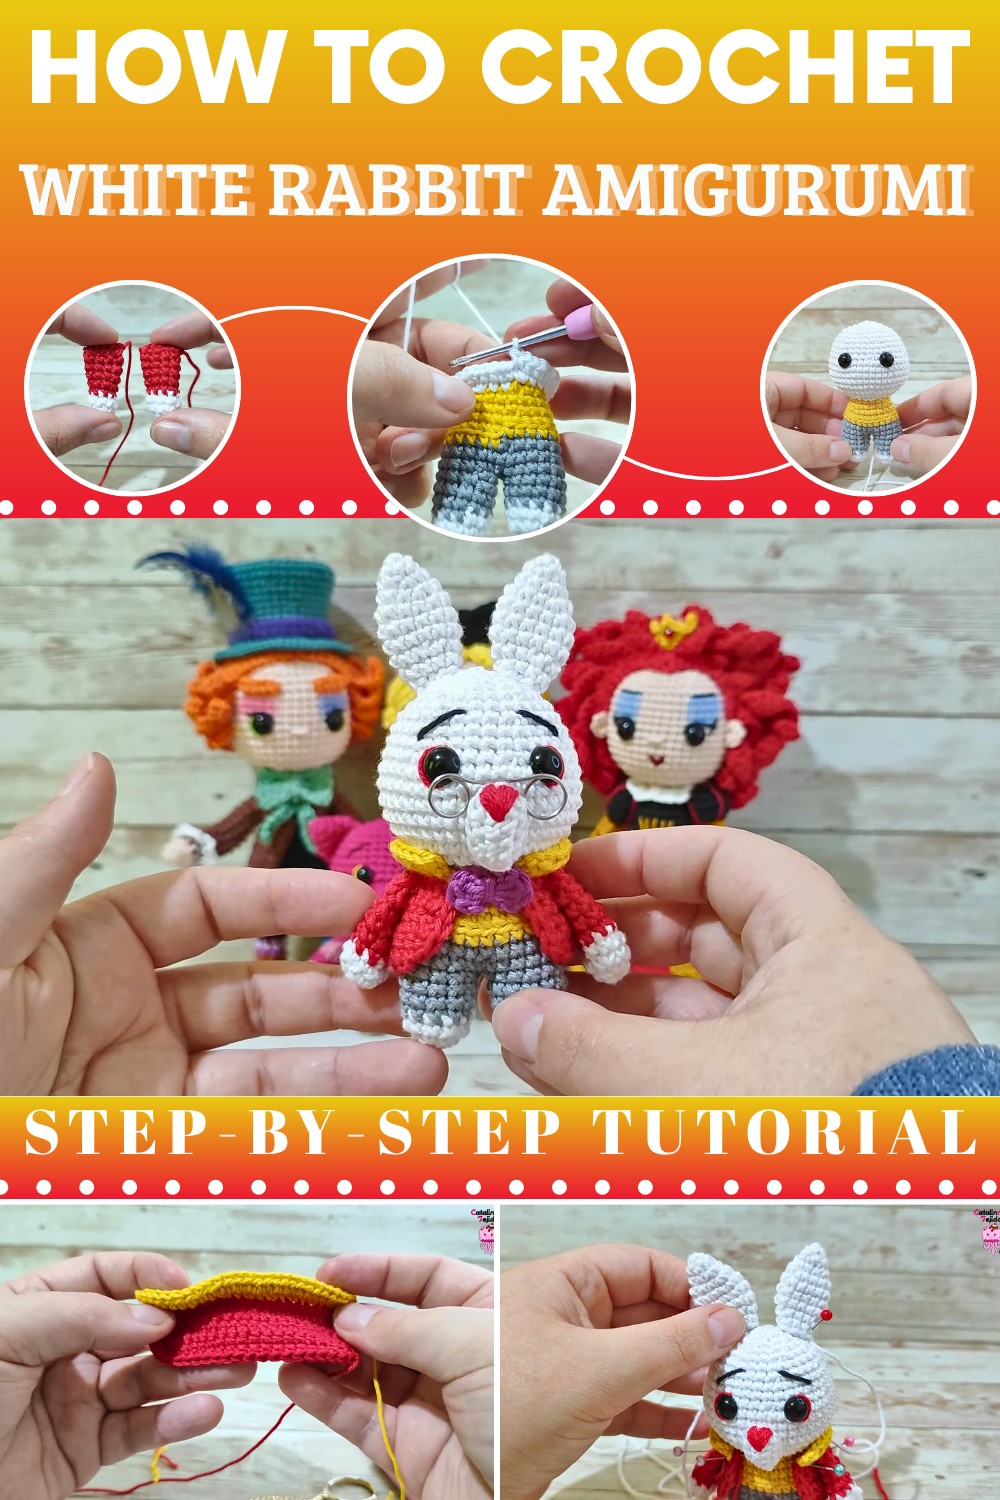
This white rabbit offers more than just visual delight; it introduces warmth and character to any setting while demonstrating the potential of handmade art. Perfect for gifting, display, or even small interactive play, it enhances any space with charm and personality. Its compact size, expressive features, and tactile appeal make it a rewarding project that strengthens crocheting techniques and encourages thoughtful creativity.
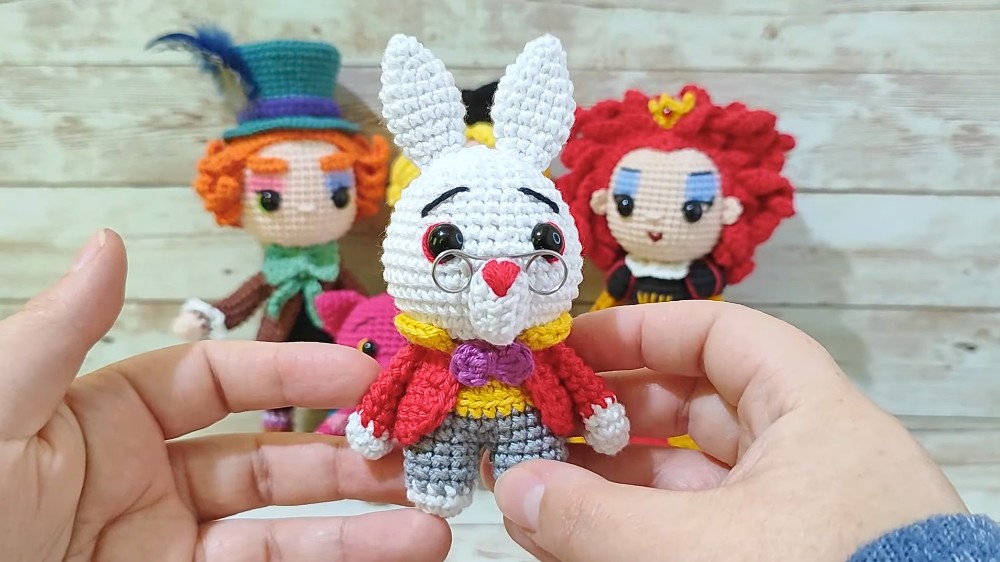
Crochet White Rabbit Amigurumi Pattern
Finished Size
- Approx. 13 cm–16 cm (5 inches–6.5 inches), depending on yarn choice and tension.
Materials Needed
- Yarn:
- White (Rabbit's body)
- Red (Sleeves)
- Gray (Pants)
- Yellow (Jacket trim)
- Black (Eyebrows)
- Pink or Red (Bow)
- Small amount of red (For nose and eye detail)
- Crochet Hook: Size 2.0 mm (or appropriate for chosen yarn).
- Safety eyes: Approx. 7 mm in diameter, with backings.
- Stuffing: Polyester fiberfill for shaping the body, head, and limbs.
- Wire for Glasses: Thin, flexible craft wire (or any soft wire suitable for shaping).
- Needles: Tapestry needle for sewing and embroidery.
- Scissors: For cutting yarn and wire.
- Stitch Marker: To mark the start of rounds when working in continuous rounds.
- Glue: All-purpose craft glue to secure finer details (optional).
Gauge
Gauge is not critical for this project. To ensure the firmness of stitches, use a slightly smaller hook than recommended for your yarn. This ensures that the fiberfill stuffing does not show through.
Special Techniques
- Magic Ring: A foundational crochet technique used to start circular pieces with a tight center.
- Invisible Decrease: A neat way to decrease that minimizes gaps.
- Back Loop Only (BLO): Work only into the back loop of the stitch for patterns requiring texture or design highlights.
- Surface Crochet or Embroidery: Used to add post-crochet details like eyebrows or tailoring around edges.
Step-by-Step Pattern
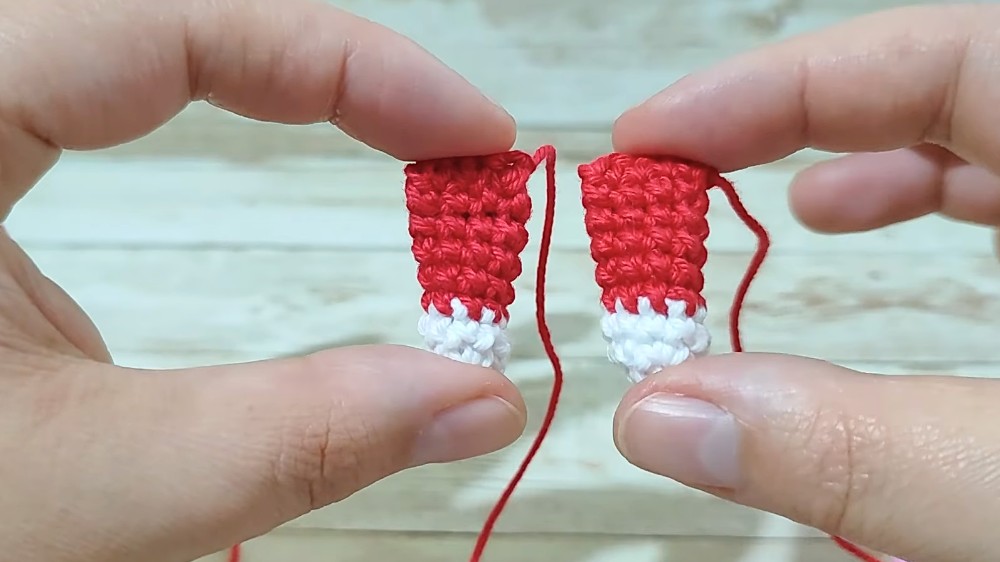
1. ARMS (Make 2)
- With white yarn:
- Start with a Magic Ring, make 6 single crochets (sc) into the ring (6 sts).
- Round 2: (1 sc, 1 increase) repeat 3 times (9 sts).
- Rounds 3-3: Work 9 sc.
- Change to red yarn for the sleeves:
- Rounds 4–8: 1 sc in each stitch (9 sc per round).
- Do not stuff these pieces.
- Closing:
- Flatten the top of the sleeve, crochet through both front and back loops of 2 adjacent stitches to close the opening.
- Leave a long tail for sewing later.
2. BODY
- Start with white yarn:
- Magic Ring: 6 sc (6 sts).
- Round 2: Increase in each stitch (12 sts).
- Round 3: 1 sc in each stitch (12 sts).
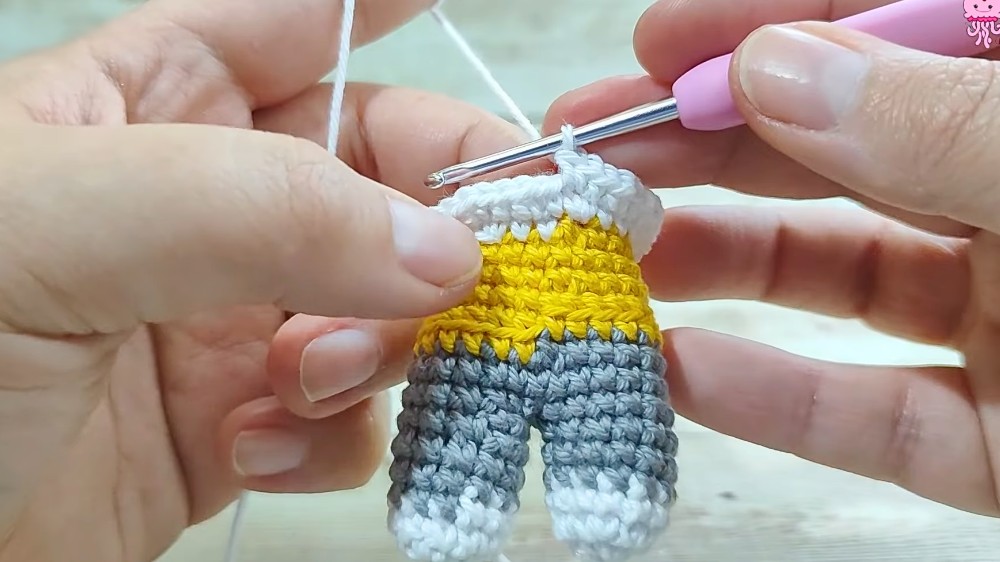
- Switch to gray yarn for the pants:
- Rounds 4–6: 1 sc around (12 sts).
- Create the pants’ legs (make 2 pieces):
- Work as instructed above.
- Join the Legs:
- Flatten the first leg, crochet 12 sc into the stitches. Then chain 1 and attach to the second leg while continuing with seamless crochet around the second leg’s 12 stitches. Work along the connection chain to form a continuous round with 26 stitches.
- Rounds 8–9: Work 1 sc in each stitch.
- Start shaping.
- Round 10: Work (11 sc, 1 decrease) twice (24 sts).
- Switch to yellow yarn for the jacket section.
- Round 11: BLO only, work 1 sc across (24 sts).
- Rounds 12–13: Work (6 sc, decrease) 3 times (21 sts).
- Round 14: Work (5 sc, decrease) 3 times (18 sts).
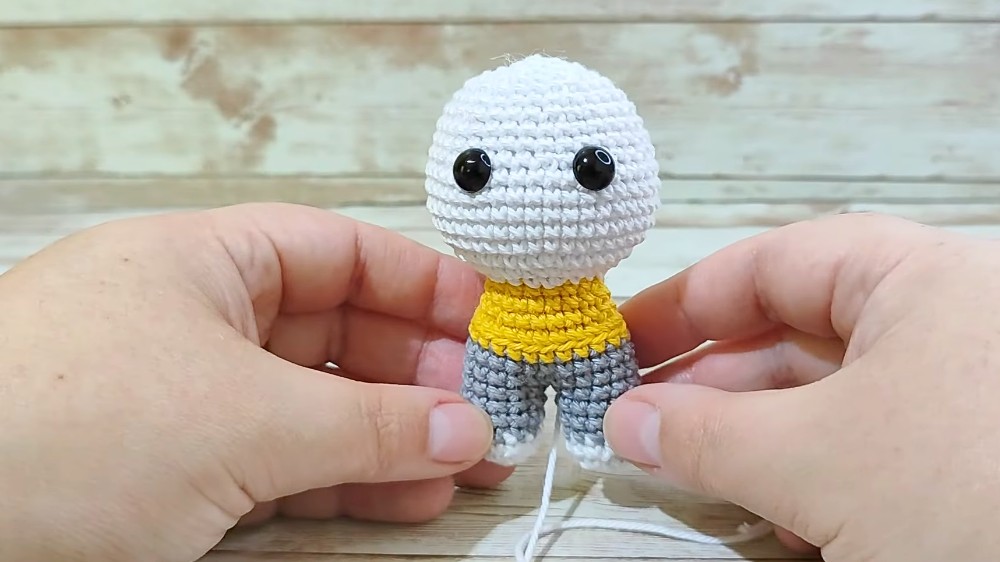
3. HEAD
- Attach back to white yarn for the head:
- Round 15: (2 sc, increase) to end (24 sts).
- Round 16: (1 sc, increase) to end (36 sts).
- Round 17: (5 sc, increase) to end (42 sts).
- Rounds 18–22: Work 1 sc in each stitch (42 sts). This forms the widest part of the head.
- Begin Decreasing:
- Round 23: (5 sc, decrease) to end (36 sts).
- Rounds 24–25: 1 sc in each (36 sts).
- Round 26: (4 sc, decrease) to end (30 sts).
- Round 28: (3 sc, decrease) to end (24 sts).
- Shape the top by progressively decreasing until you reach 6 sc.
- Close using a tapestry needle and weave through the front loops of the remaining stitches to secure.
4. NOSE & DETAILS
- Nose Base:
- Chain 5. Start from 2nd chain from the hook, work into both sides of the foundation chain:
- 3 sc in back ridge.
- 1 increase at row edge.
- Finish shaping with a single round.
- Chain 5. Start from 2nd chain from the hook, work into both sides of the foundation chain:
- Nose Embroidery:
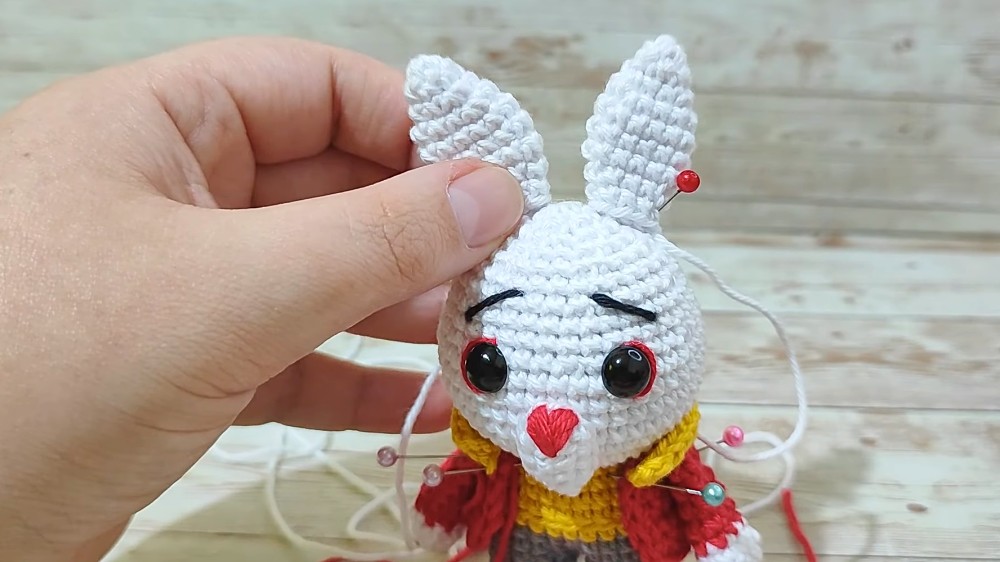
- Use red yarn to embroider a triangular nose on the base. Make small-to-medium thread passes to fill the shape neatly.
- Details (Decorative):
- For the eyes: Position safety eyes between rounds 22 and 23, spacing them approximately 7 stitches apart.
- Make red marking lines under the eyes using embroidery thread for detail.
5. EARS (Make 2)
- White yarn:
- Magic Ring: 6 sc (6 sts).
- Round 2: Work 1 sc in each stitch (6 sts).
- Round 3: (1 sc, increase) 3 times (9 sts).
- Round 4: (2 sc, increase) 3 times (12 sts).
- Rounds 5–7: Work 1 sc around (12 sts).
- Round 8: (2 sc, decrease) 3 times (9 sts).
- Round 9: Work 1 sc around (9 sts).
- Leave a long tail for sewing.
6. TAIL
- Magic Ring: Work 7 sc into the ring.
- Round 2: Work 1 sc in each stitch (7 sts).
- Close the ring tightly and leave a long yarn tail for sewing.
7. JACKET
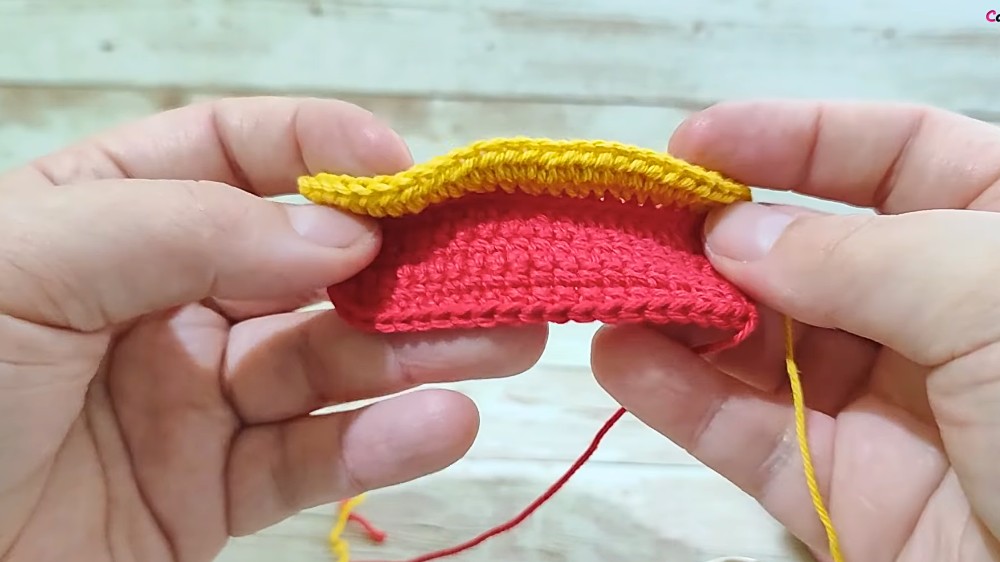
- Red yarn:
- Chain 19. Work 18 sc, turning rows to form a rectangle.
- Add yellow trim around edges.
- Assembly of Jacket:
- Center around the body and sew over the neck loops only to secure.
8. ASSEMBLY
- Sew Arms: Align them to the shoulders and stitch securely.
- Place Ears: Use symmetry and sew 2 stitches apart at the top of the head.
- Attach Tail: Position it halfway up the back of the pants.
- Finalize: Add the glasses by shaping wire into small circles.
Final Words
Congratulations! You've completed the White Rabbit amigurumi! This piece is a delightful addition to the Alice in Wonderland collection. The whimsical touches like the glasses, bow, and jacket add personality. Share your creation with others and don’t hesitate to customize it for your preferences.
Tips for Care:
- Hand-wash gently if needed.
- Keep away from pets or small children unless sturdy closures are ensured for safety.