
How to Make Crochet Crab That Stands
Hook into creativity with this adorable Crochet Crab Amigurumi Pattern, perfect for crocheting charming ocean-inspired plushies that are fun to make and gift.
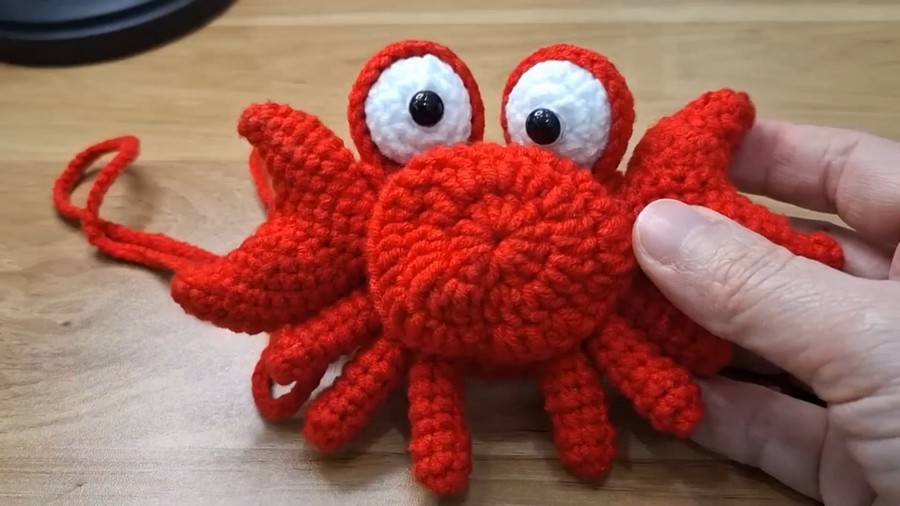
Delicately woven with care and an eye for detail, the crochet crab amigurumi is a stunning reflection of the timeless artistry that lives in handmade treasures. With its adorably curved pincers, soft rounded body, and cheerful, expressive eyes, this endearing creation captures the charm of coastal life with unmatched elegance. Whether perched on a nursery shelf, enhancing a beach-themed room, or sitting on your desk as a lighthearted companion, its whimsical appeal adds a perfect touch of personality and warmth to any setting.
Easy Crochet Crab Pattern With Fun Color Options & Tips for Beginners
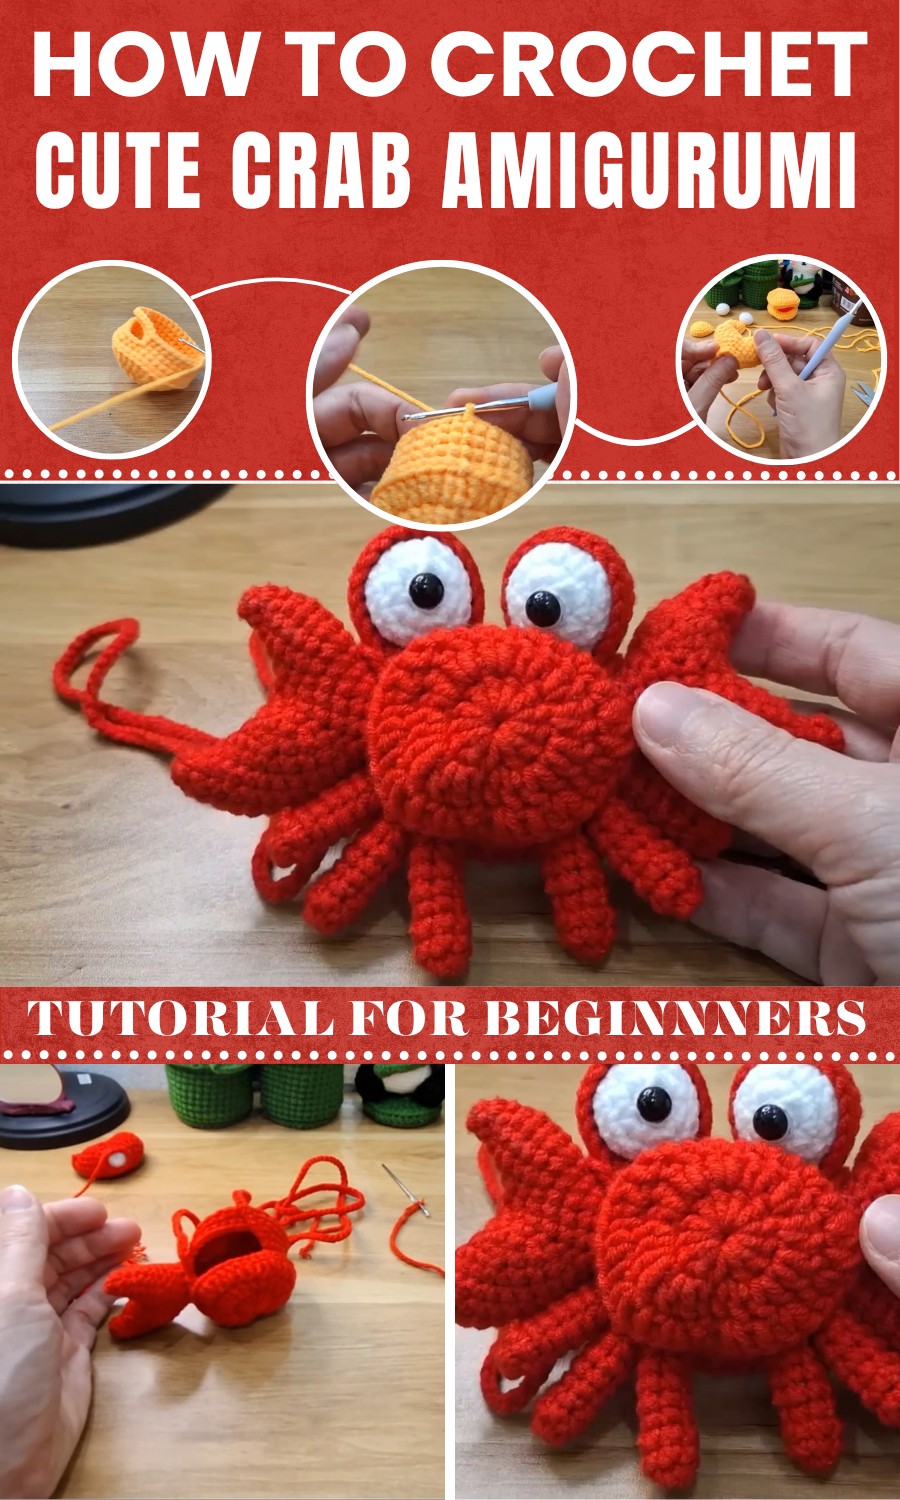
Far more than a decorative piece, the crochet crab amigurumi offers versatile benefits. Its soft texture and compact size make it an ideal stress-relief tool, while its intricate design lends itself beautifully to customizations—whether experimenting with colors, embellishments, or even accessories. It is an excellent gift for new parents, children, or anyone who appreciates the thoughtfulness behind a handmade keepsake. Its balance of beauty and practicality ensures it fits effortlessly into all types of spaces, bringing a hint of joy and a story worth sharing.
Every carefully crocheted stitch in this delightful creation is a celebration of creativity and mindfulness. Beyond its uses, it encourages a sense of nostalgia and appreciation for the art of amigurumi. Whether it’s admired on display, hugged by tiny hands, or given as a heartfelt token, the crochet crab amigurumi is a sweet and enduring reminder of how the small, meaningful things in life often leave the biggest impressions.
Materials Needed
To complete this project, you'll need the following:
- Yellow Wool Yarn: For the crab body.
- White Wool Yarn: For the eyes.
- 2.5mm Crochet Hook: Ensures fine and precise stitching.
- Sewing Needle: To assemble the pieces and add details.
- Cotton Stuffing: To give dimensionality to parts of the crab, like the claws and eyes.
Special Features
- Unique Design: A crab-shaped garlic bag with expressive eyes and detailed claws.
- Multi-Purpose Use: Serves as a creative storage pouch, a baby’s accessory bag, or even a playful interior decoration piece.
- Customizable Colors: The bag can be made in any color, but here it is crocheted in a cheerful yellow with white accents for the eyes.
Level of Difficulty
Intermediate:
This project requires familiarity with basic crochet techniques such as:
- Magic circle.
- Single crochet stitches.
- Increasing and decreasing stitches.
For beginners, it may require some patience and practice, especially during the assembly and detailing stages.
Step-by-Step Instructions
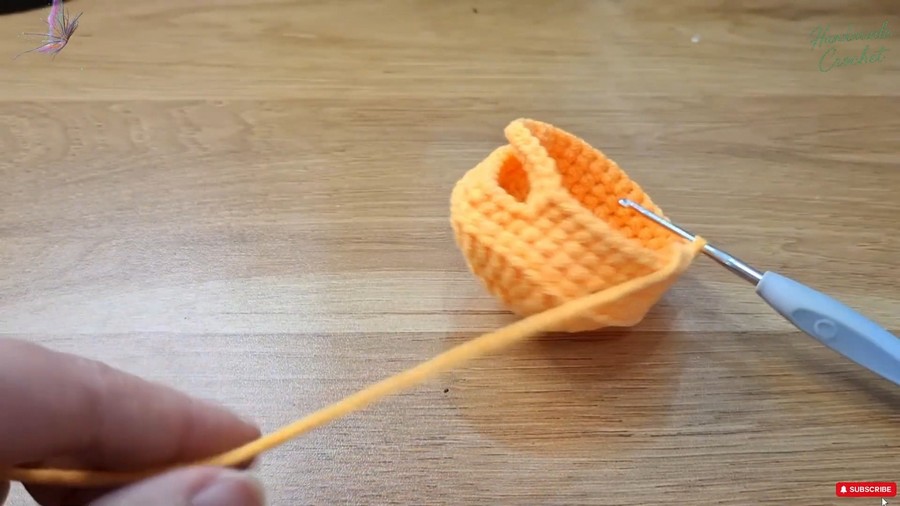
1. Crocheting the Body
- Start by making two identical body pieces:
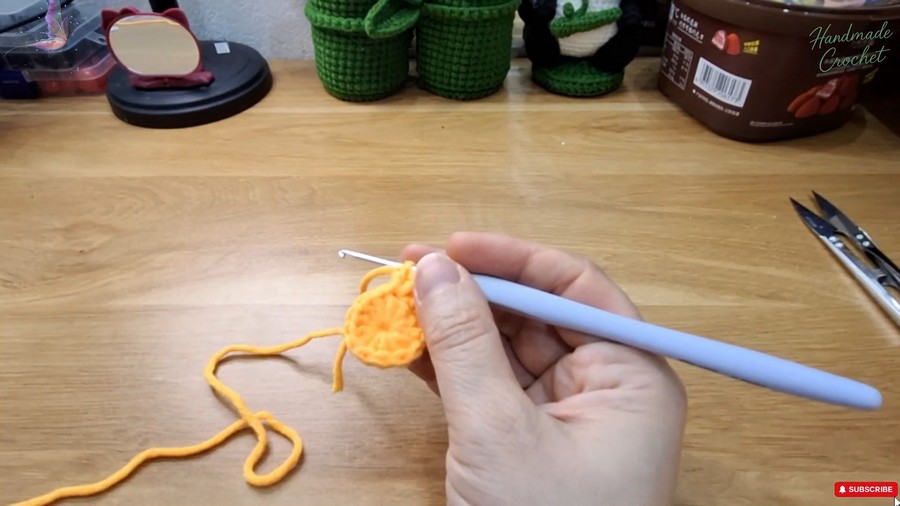
- Round 1: Create a magic circle and crochet 12 double stitches.
- Round 2: Crochet 12 single double stitches increase around the circle.
- Round 3: Alternate one single double stitch and one double increase stitch until the circle expands.
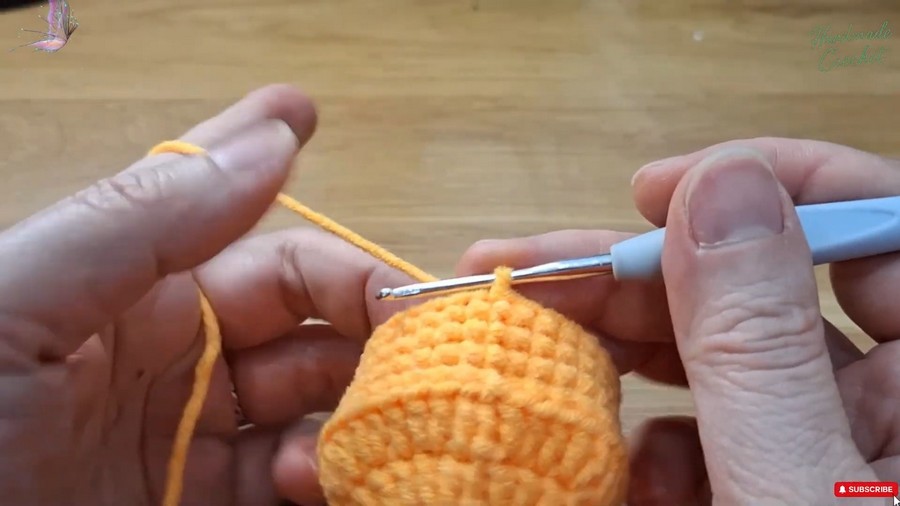
- Round 4: Make 36 single crochet stitches on the back loop of the circle to form structure.
- Continue stitching and increasing over several rows until the body reaches the desired size.
- Assemble the two pieces together using the sewing needle.
2. Crocheting the Eyes
- Outer Eye Circle:
- Start with seven single crochet stitches in a magic circle.
- Increase over several rows until reaching 21 single crochet stitches per row.
- Inner White Eye:
- Begin with six single crochet stitches in a magic circle.
- Crochet in a spiral, increasing and maintaining shape over multiple rows until complete.
- Use cotton stuffing and sew the eye shapes using the sewing needle.
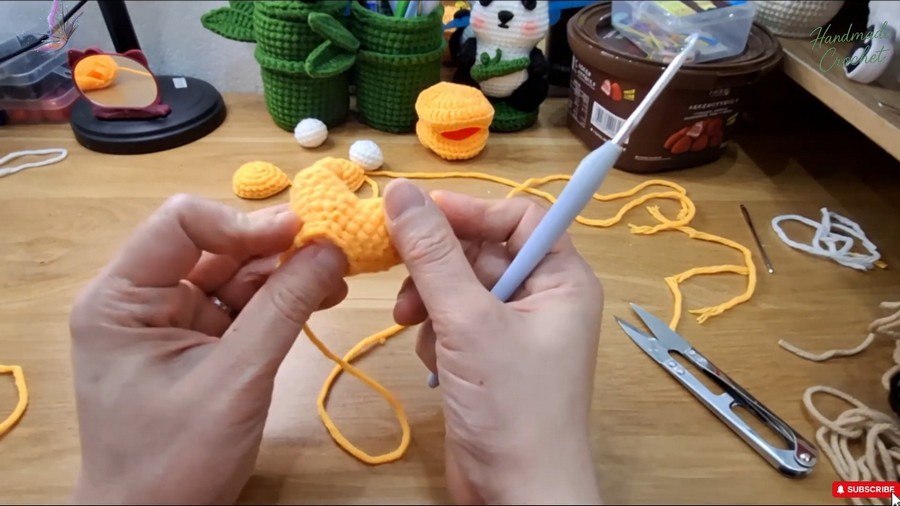
3. Creating the Claws
- Small Claw Branch:
- Use four single crochet stitches in a magic circle, then increase stitches over several rows. Finish by shaping it with decreases.
- Large Claw Branch:
- Begin similarly with four single crochet stitches. Continue enlarging the claw by increasing stitches over rows until completing its structure.
- Assembly: Stuff the claws and sew them to the body.
4. Crafting the Legs
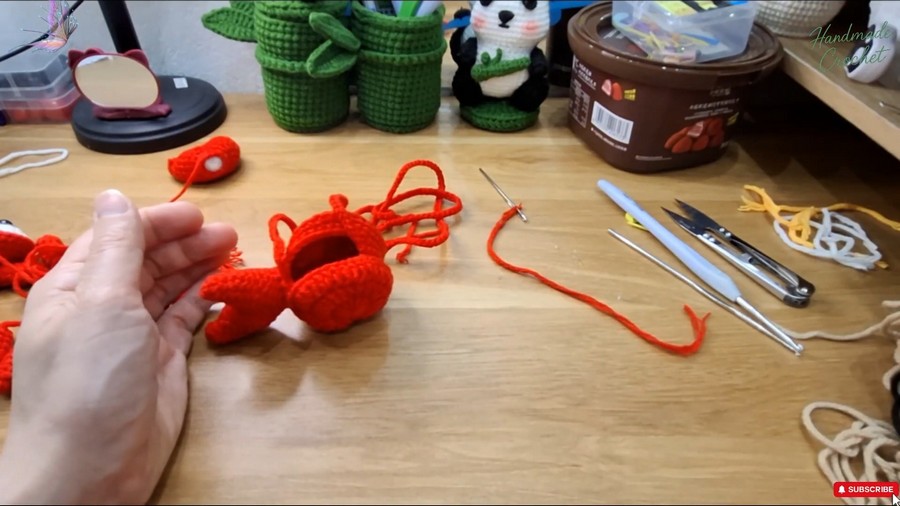
- Make six small legs using a magic circle method with six single crochet stitches per row.
- Stuff the legs lightly with cotton and attach them to the crab’s body—three on each side.
5. Adding the Strap
- Instead of crocheting the strand on the body, create a long strap for convenience. Attach it securely to the crab’s mouth area as a functional handle.
Tutor’s Suggestions
- Ensure symmetry: Pay attention when sewing pieces (eyes, claws, legs) to create a balanced and visually appealing crab shape.
- Work patiently: Some parts, like the claws and the strap, may be tricky, especially for beginners.
Uses
This adorable crab bag can be used in multiple ways:
- Storage for small items (e.g., garlic or herbs in the kitchen).
- As a baby or child's accessory for playful charm.
- A handmade gift for loved ones.
- A unique decorative piece for your home.
Tip
Use stitch markers for the magic circle and spiral sections. This will help you keep track of stitch counts and maintain even rows, especially for small, detailed parts like the eyes and claws.
Conclusion
With its playful design, this crab-shaped garlic bag is sure to bring joy and whimsy to any space. By following the pattern carefully, you’ll learn various crochet techniques and end up with a marvelous handmade piece.