
Fun FREE Crochet Lion Pattern With Step-by-Step
Bring your imagination to life with this Crochet Lion Pattern—create cute, customizable lions, bears, or dandelions, perfect for gifting or decorating!
Who would guess that just a few loops of yarn could bring a playful lion to life? With this free crochet lion pattern, turning simple stitches into a charming lion figure is easier than you’d imagine. Perfect for beginner and advanced crocheters alike, this pattern provides a step-by-step guide to making an adorable lion packed with personality. It’s not just a fun DIY project—it’s also highly versatile. These crochet lions can be used as toys for kids, heartfelt handmade gifts, nursery decorations, or even whimsical accessories for shelves and corners.
FREE Crochet Lion Pattern That Will Spark Your Creativity
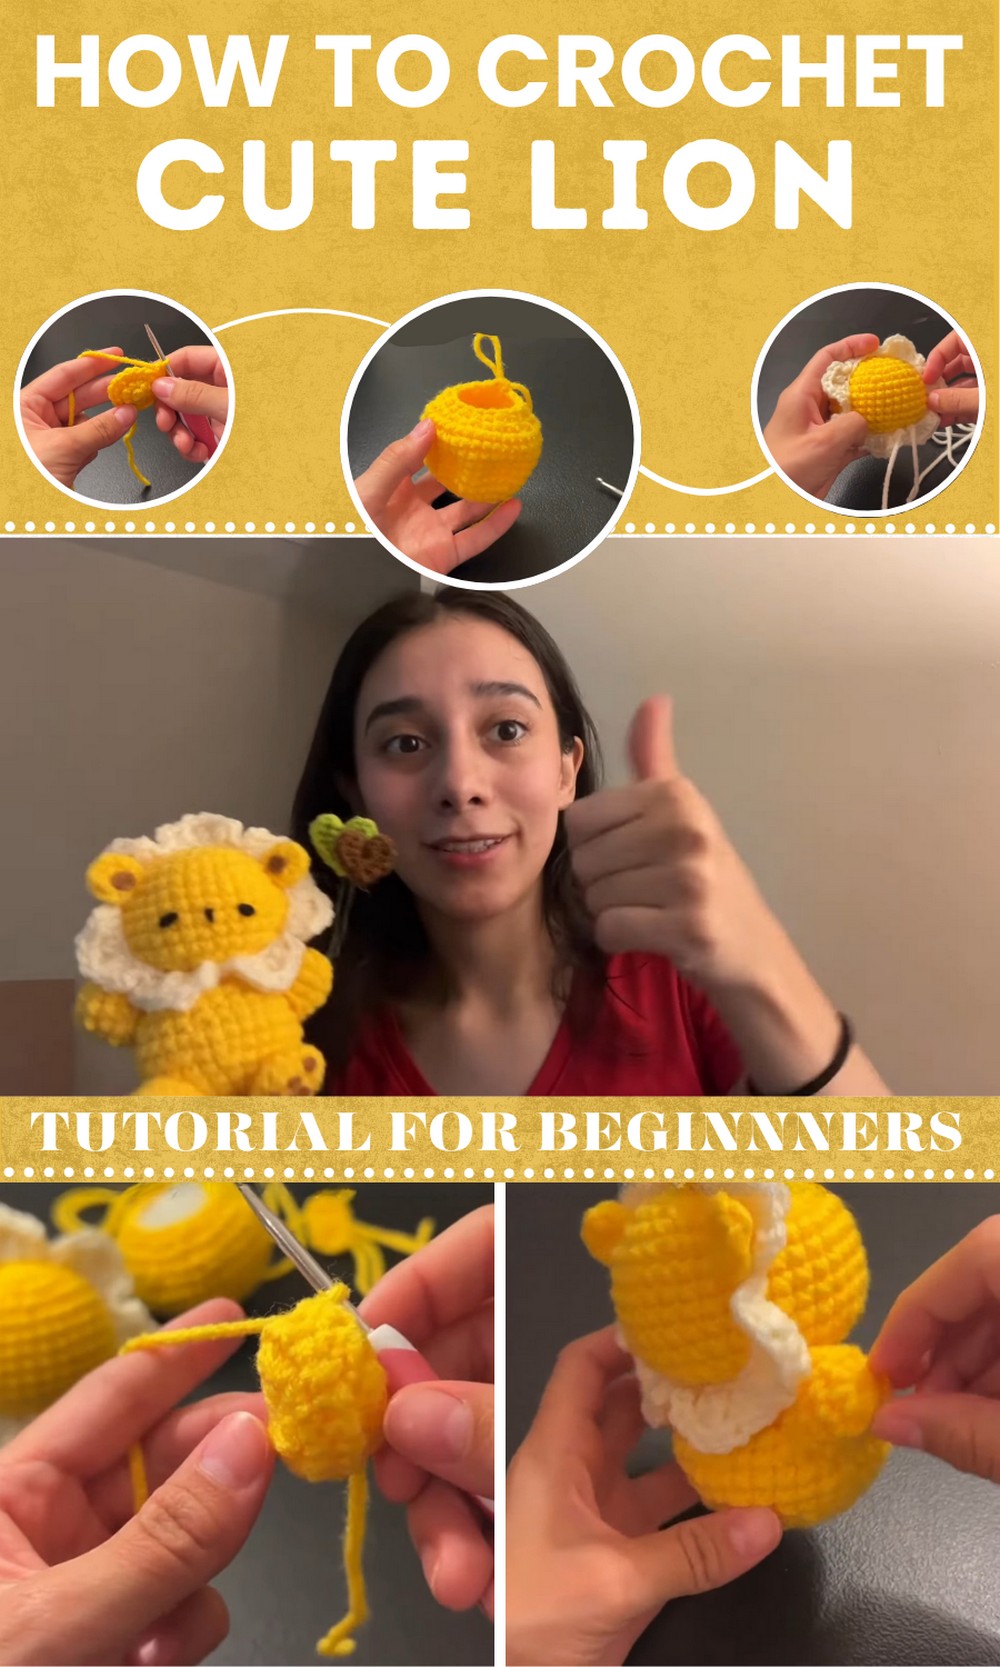
A project like this offers more than just a finished product. It’s a relaxing and rewarding way to spend your time, allowing you to focus your mind and enjoy the rhythm of each stitch. Each finished lion becomes a unique piece, whether you experiment with bright colors to create a fun twist or stick with classic earthy tones. Crochet enthusiasts love how this pattern balances simplicity with creativity, making it an accessible yet meaningful pastime. So, with just a bit of yarn, some handy tools, and a couple of hours, you can design something truly special that’s sure to bring smiles for days to come.
FREE Crochet Lion Pattern
Materials
Required Items:
- Yarn:
- Lion body (Main Color): Yellow or beige (or alternate colors for teddy bears) — use medium-weight yarn.
- Petals of the flower mane: Yellow, orange, or colors of your choice for the flower.
- Optional: Brown yarn for tail decoration.
- Red/Pink yarn: Hearts (optional for decoration).
- Hook Size:
- 3 mm crochet hook (adapt hook size based on yarn thickness).
- Stuffing:
- Polyester fiberfill or toy stuffing.
- Accessories:
- Safety Eyes (recommended size: 8-10 mm) OR felt eyes for decorative purposes.
- Pliers and floral wire (for optional tail or heart balloons).
- Glue gun (optional, if not sewing decorations).
- Scissors.
- Stitch marker (optional, for tracking rounds).
- Yarn needle or tapestry needle (for sewing).
Gauge
Gauge is not critical for this project. Tight stitches are recommended to ensure the stuffing doesn’t peek through the stitches.
Finished Size
- Approximate height: 7-9 inches (18-23 cm), depending on yarn thickness and tension.
- Ideal for displaying as décor or gifting.
Special Techniques and Abbreviations
- Magic Ring (MR):
- A technique to start seamless crocheted rounds. Alternatively, chain 2 and work into the second chain.
- Increase (inc):
- Work 2 single crochet stitches into the same stitch.
- Invisible Decrease (dec):
- Work through the front loops only of two adjacent stitches, yarn over, pull through both loops, then complete as an SC.
- Slip Stitch (sl st):
- A stitch used to join chains or pieces seamlessly.
- Additional Abbreviations:
- SC: Single Crochet.
- HDC: Half Double Crochet.
- DC: Double Crochet.
- TR: Treble Crochet.
Pattern Instructions
Head
R1:
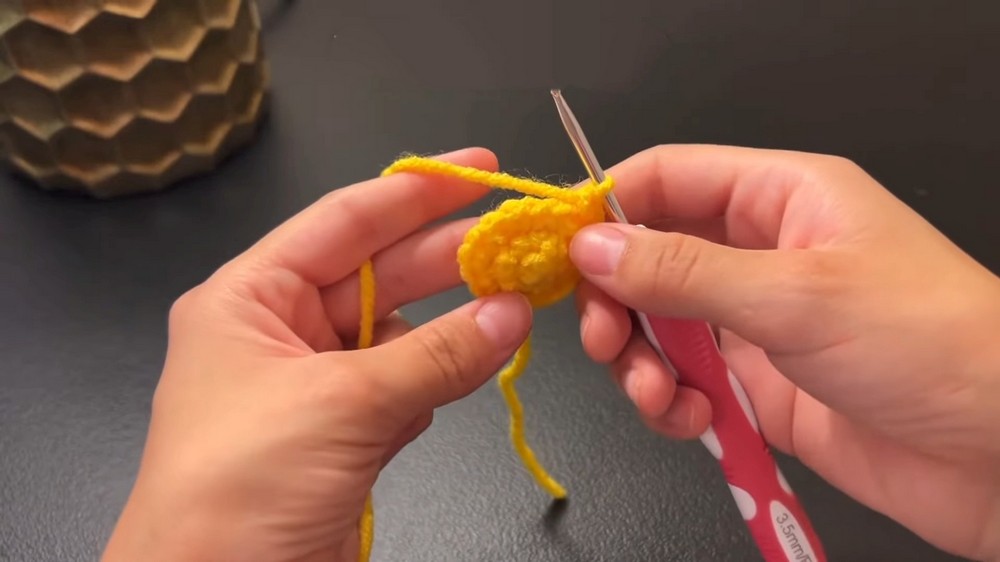
- Create a magic ring. Work 6 SC into MR. (6 stitches total)
R2:
- Inc in each stitch. (12 stitches total)
R3:
- SC 1, inc in the next stitch. Repeat 6 times. (18 stitches total)
R4:
- SC 1, inc, SC 1. Repeat 6 times. (24 stitches total)
R5:
- SC 3, inc. Repeat 6 times. (30 stitches total)
R6:
- SC 2, inc, SC 2. Repeat 6 times. (36 stitches total)
R7-R12:
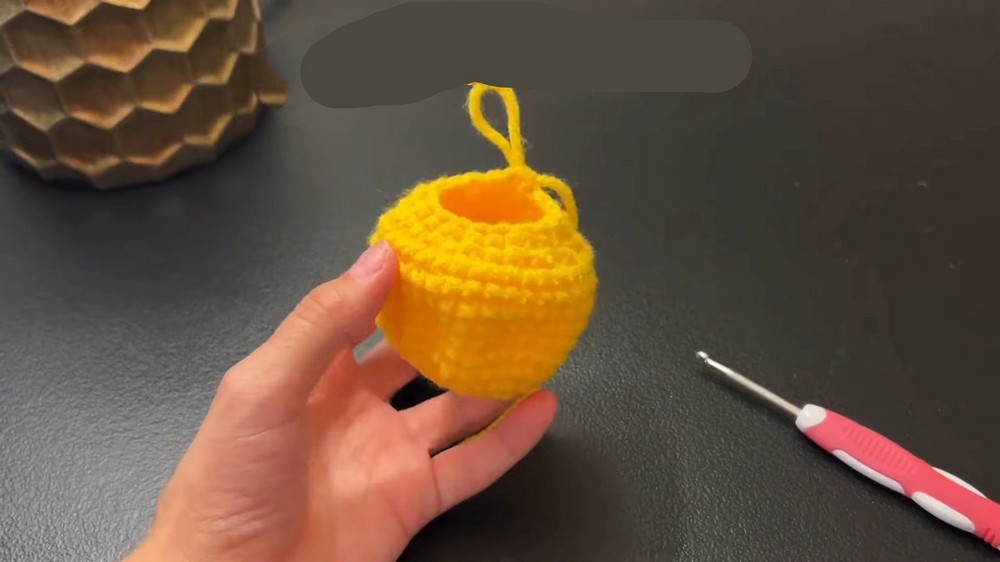
- SC in each stitch around. (36 stitches per round)
R13:
- SC 1, dec. Repeat 12 times. (24 stitches total)
R14 (Final Round):
- SC 2, dec. Repeat 6 times. (18 stitches total)
Final Step for Head:
- Secure the yarn. If using safety eyes, place them between rounds 9 and 10, spaced evenly. Stuff the head firmly before closing.
Body
R1-R5:
- Repeat R1-R5 from the head pattern. (30 stitches end of round 5)
R6-R7:
- SC in each stitch around. (30 stitches per round)
R8:
- SC 5, inc. Repeat 5 times. (35 stitches total)
R9:
- SC in each stitch around. (35 stitches total)
R10:
- SC 3, dec. Repeat 7 times. (28 stitches total)
R11:
- SC 5, dec. Repeat 4 times. (24 stitches total)
R12 (Final Round):
- SC 2, dec. Repeat 6 times. (18 stitches total)
Final Step for Body:
Stuff the body firmly, leave a long yarn tail for sewing.
Flower Petals (Make 7)
- Foundation Chains:
- Chain 36. Use a slip knot to start chains.
- First Round:
- Join into a circle with a SL ST into the first chain. Work the following pattern:
- SL ST, chain 2, HDC, DC, TR in consecutive chains.
- On the next chain, TR, DC, HDC, chain 2, SL ST.
- Repeat for 7 petals.
- Join into a circle with a SL ST into the first chain. Work the following pattern:
- Assembly of Flower:
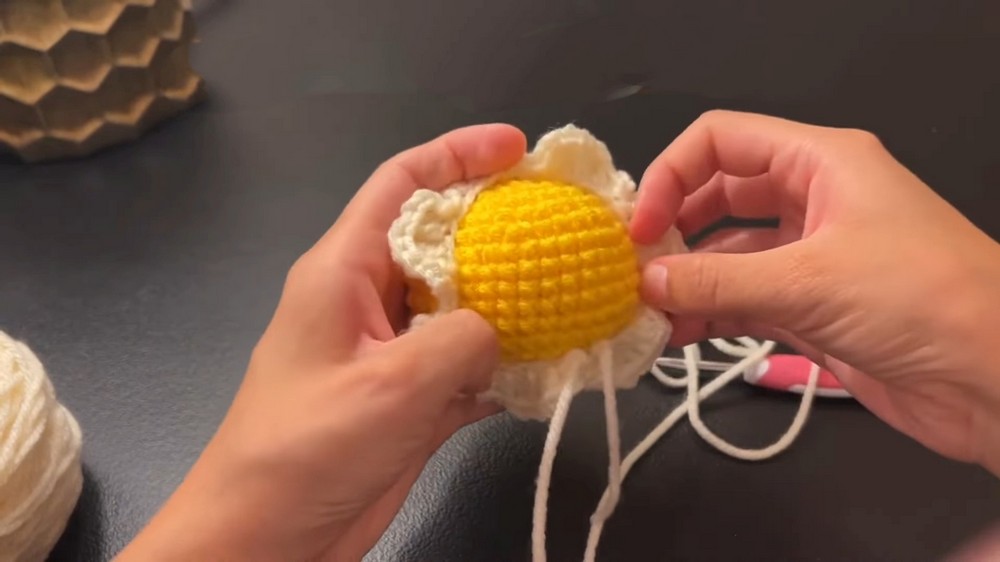
- Position the flower mane evenly around the head. Adjust petals to fan out properly.
Ears (Make 2)
R1:
- Work 7 SC into a Magic Ring. (7 stitches total)
Final Step for Ears:
Leave a long yarn tail for sewing.
Legs (Make 2)
R1:
- Work 8 SC into a Magic Ring. (8 stitches total)
R2:
- Inc in each stitch. (16 stitches total)
R3:
- SC in each stitch around. (16 stitches total)
R4:
- SC 4, dec. Repeat 4 times. (12 stitches total)
Arms (Make 2)
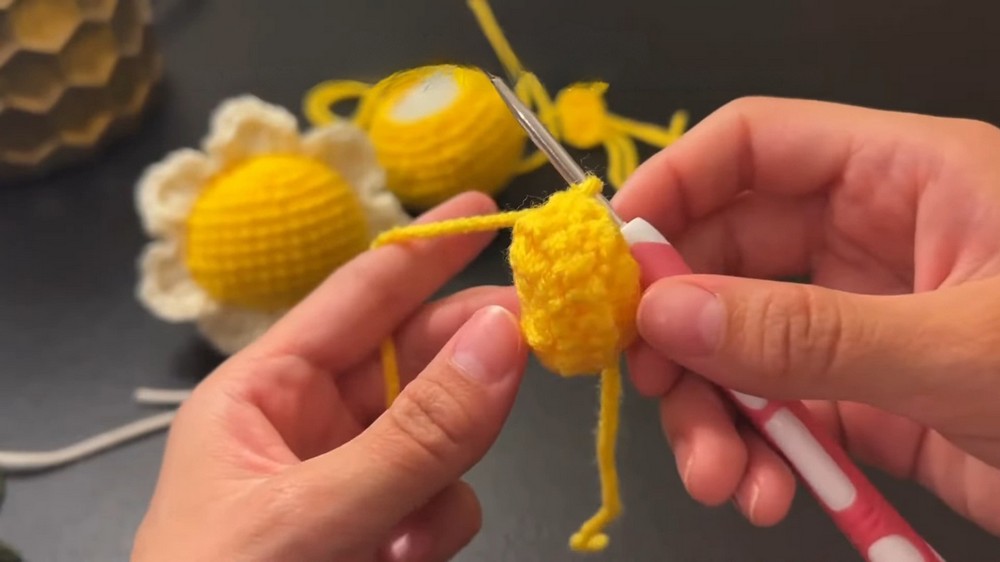
R1:
- Work 8 SC into a Magic Ring. (8 stitches total)
R2:
- SC 1, inc. Repeat 4 times. (12 stitches total)
R3-R4:
- SC in each stitch around. (12 stitches per round)
Tail
R1:
- Work 6 SC into a Magic Ring. (6 stitches total)
R2:
- SC 2, inc. Repeat 2 times. (8 stitches total)
R3:
- SC 3, dec, SC 3. (6 stitches total)
R4:
- SC 1, inc, SC 2, dec. (6 stitches total)
Assembly
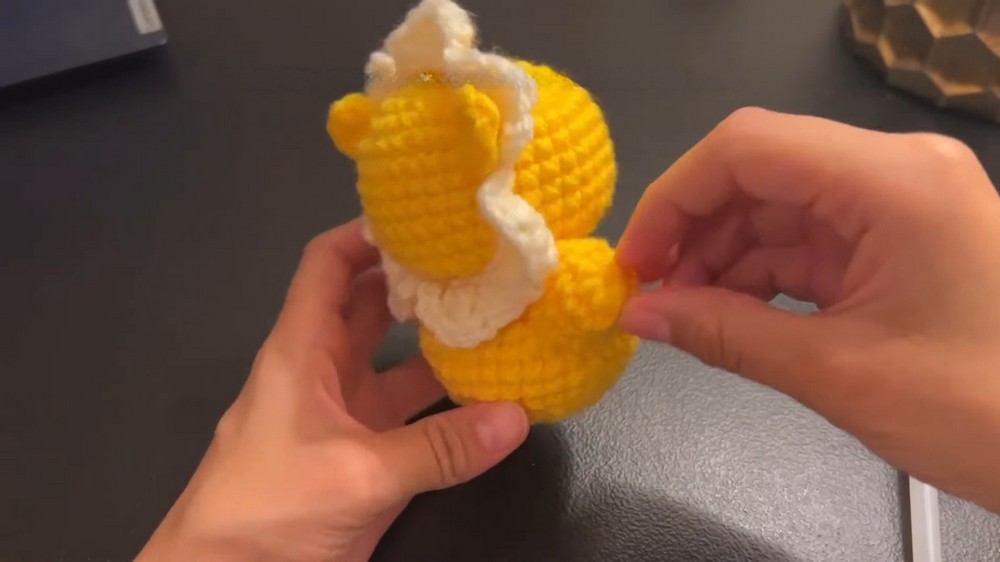
- Head and Body: Sew the head onto the top of the body securely.
- Flower Mane: Position around the head, sew securely, with one petal centered at the top.
- Ears: Attach to the side of the head between rounds 5 and 7.
- Legs: Sew onto the lower body between rounds 2 and 6.
- Arms: Attach below the flower mane, behind the head.
- Tail: Optional: Wrap floral wire with brown yarn or crochet a tail and sew onto the back.
Optional Decorations
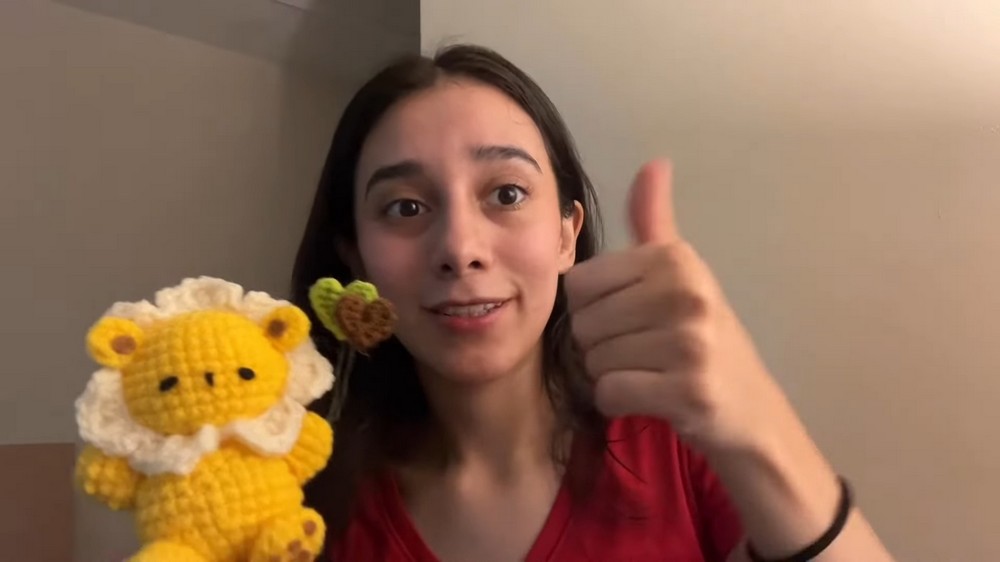
- Heart Balloons:
- Crochet small hearts in colors of your choice and attach them onto floral wires.
- Facial Features:
- Use felt or embroidery for eyes, nose, and paws.
Tips & Customization Ideas
- Use Different Yarn Colors:
- Create a teddy bear or a whimsical flower animal with color combinations.
- Add Accessories:
- Use bows, hats, or scarves for a festive look.
- Increase Size:
- Use chunky yarn and increase hook size for a larger plushie.
Conclusion
Congratulations on completing your Dandelion Lion, Teddy Bear, or Flower Animal! The 3-in-1 pattern allows for creativity with endless possibilities, making it a perfect gift or keepsake.