
Quick Crochet Amigurumi Bunny Egg Free Pattern For Easter Basket
Place a cute bunny on your shelf with the Crochet Amigurumi Bunny Egg Free Pattern, an egg-shaped friend for Easter decorations and small gifts.
Small handmade characters can turn a simple corner of your home into a cheerful display. They are especially nice when you want decorations that are easy to arrange and keep for years. The Crochet Amigurumi Bunny Egg created by Passione Uncinetto is a playful yarn project that combines a familiar animal with an egg-inspired shape. Its compact size and soft texture give it a sweet appearance without needing many extra details.
Free Crochet Amigurumi Bunny Egg Pattern For Cute Decorations
The rounded form allows the figure to stand neatly among other decorations. Small features give it personality, while different yarn shades offer plenty of color choices. You can use cream, soft peach, or light green for a gentle finish, or combine several shades for a more colorful collection.
The crocheting process involves working the main body in rounds, using increases and decreases to control its shape. Stuffing provides support, and the smaller parts are attached with careful stitches. Keeping the yarn tension even helps the finished figure sit properly.
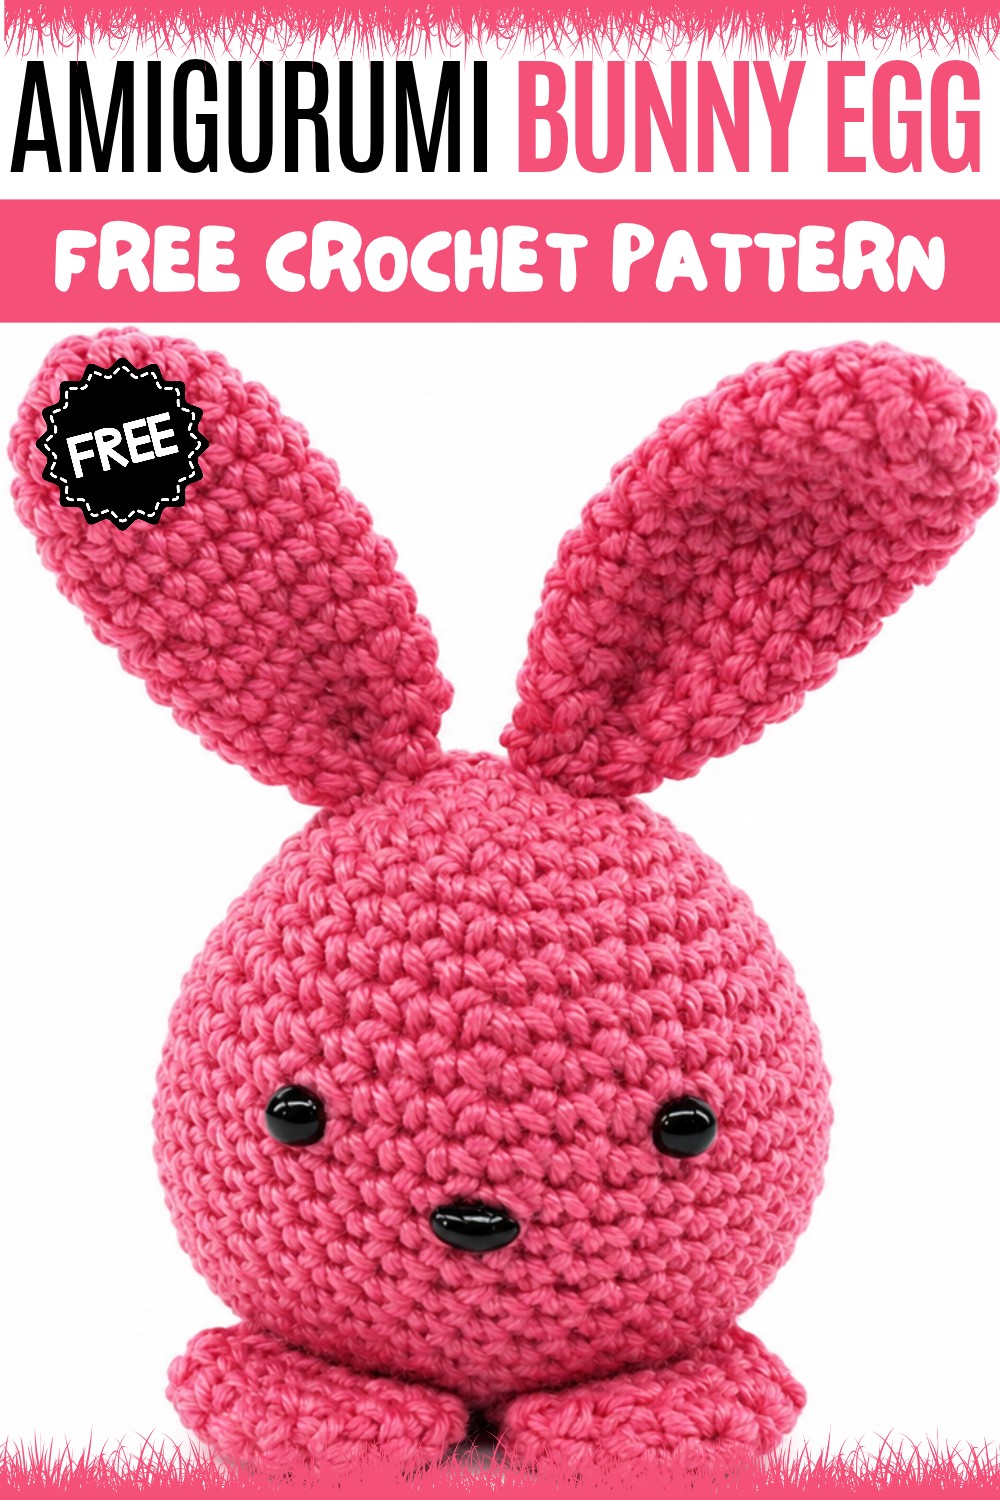
This Bunny offers a chance to practice basic amigurumi techniques while working on a small, manageable figure. Its simple structure also makes it suitable for trying different color combinations.
Spiral Crochet Bunny Egg Pattern
About the Pattern
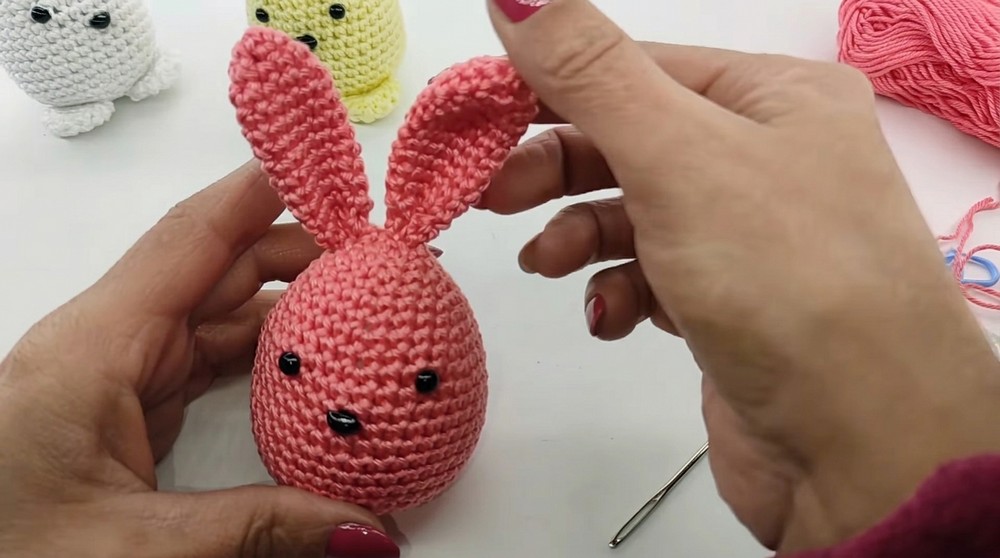
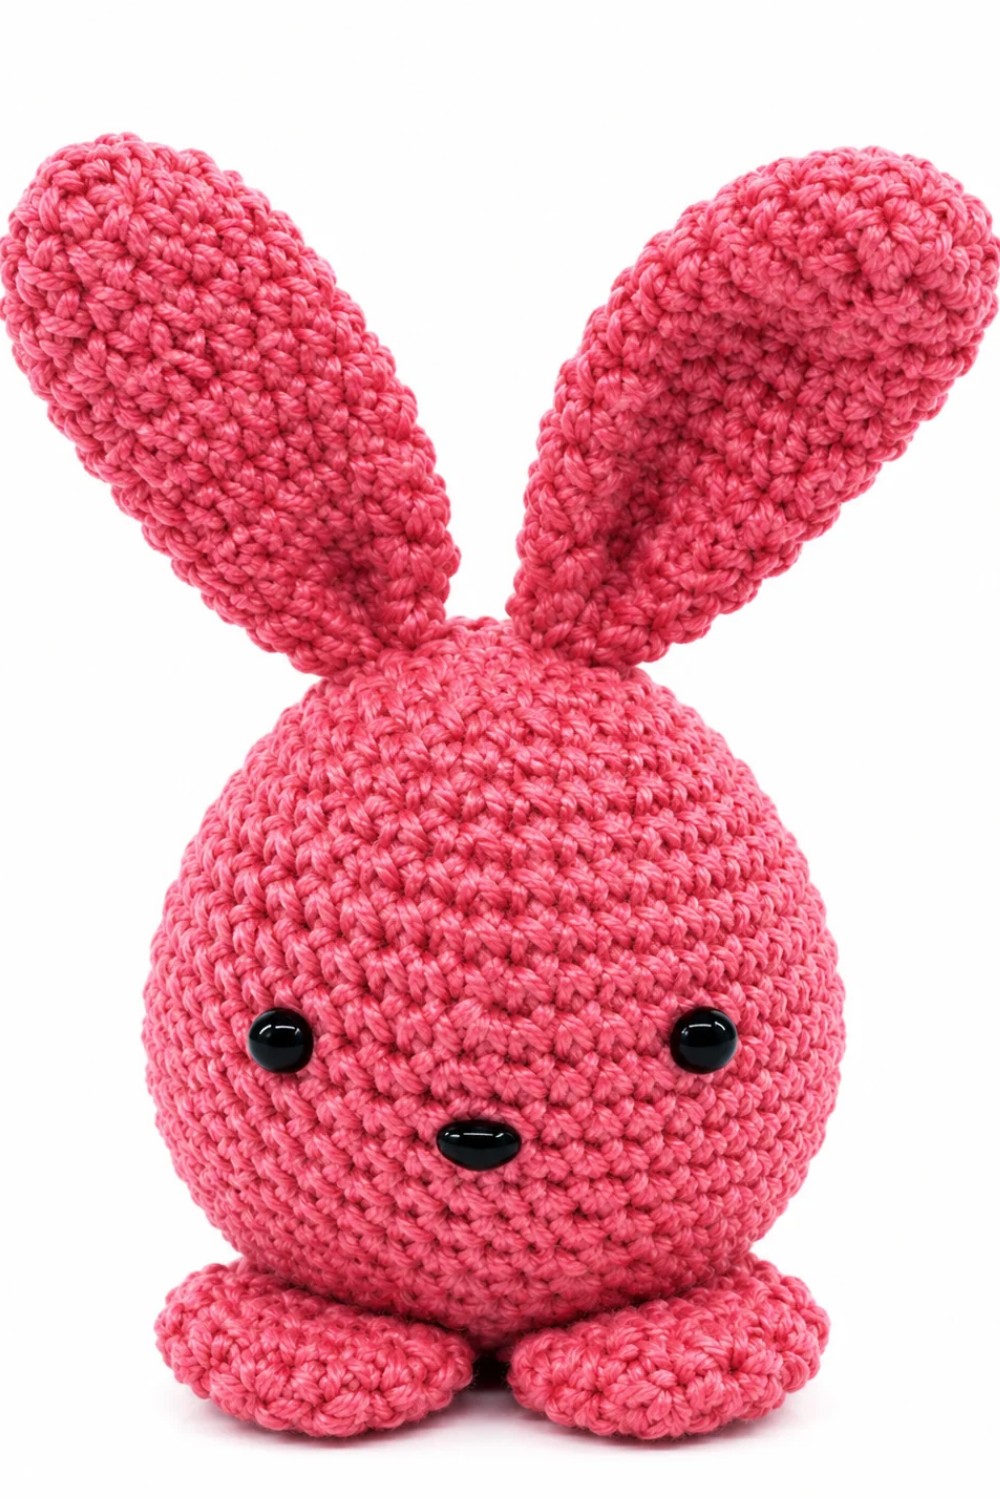
A whimsical, three-dimensional bunny egg is made using a classic spiral crochet technique. This pattern produces a seamless egg-shaped body, perky ears, and round feet. The simple construction is ideal for springtime decor, Easter gifts, or whimsical toys. Embellished with safety eyes and a sewn nose, this amigurumi project stands on its own thanks to engineered foot placement.
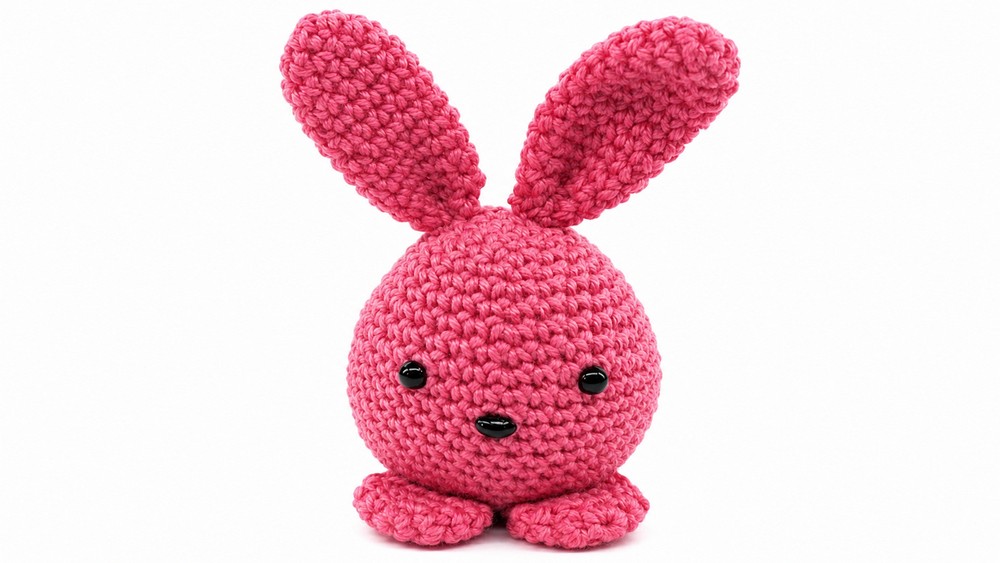
Pattern at a Glance
- Worked in continuous spirals for a seamless look—no visible round joins.
- The egg body is formed by strategic increases and decreases.
- Separate ears and feet are crocheted and attached for character and balance.
- Stuffing ensures a three-dimensional shape.
- Facial features are inserted before final body closing for secure and accurate placement.
Important Notes
- Use a stitch marker to mark the beginning of each round, as no slip stitches are used to join rounds.
- Stuff the body firmly for shape, but take care not to overfill.
- Eyes must be positioned before the final decreases to allow for easy placement and safety.
- When sewing pieces in assembly, align carefully to achieve a balanced look and a bunny that stands upright.
Difficulty Level
Beginner to Intermediate.
Familiarity with working in spirals (amigurumi), increases and decreases, and basic sewing for assembly required.
Supplies Needed
- Worsted weight yarn in your desired color for the body and ears (cream, pale pink, or white recommended)
- Small amount of contrasting yarn for facial features
- Crochet hook (size to match yarn weight, typically 2.5mm or 3mm for tight amigurumi work)
- Safety eyes (appropriate size for your bunny egg, usually 5–6mm) or black yarn for embroidering eyes
- Polyester fiberfill or batting for stuffing
- Yarn needle for sewing and embroidery
- Scissors
- Stitch marker
Size & Measurements
- Finished bunny egg is approximately 7–9 cm tall (depending on yarn and stuffing)
- The base is slightly flattened by the feet for stability
Gauge & Stitch Details
- Gauge is not critical as long as stitches are tight to contain stuffing
- Amigurumi is typically worked at a smaller gauge than usual for dense, gap-free fabric
Crochet Abbreviations
- MR = magic ring
- sc = single crochet
- inc = increase (2 sc in one stitch)
- dec = decrease (single crochet two together)
- st(s) = stitch(es)
- rep = repeat
Special Stitch Guide
- Magic Ring: Make a center-adjustable ring for beginning rounds.
- Increase (inc): Work 2 single crochet in the same stitch.
- Decrease (dec): Single crochet 2 stitches together (invisible decrease recommended).
- Spiral technique: Work continuously without joining rounds; spiral up using a stitch marker for the beginning of each round.
Complete Crochet Pattern
The Egg Body
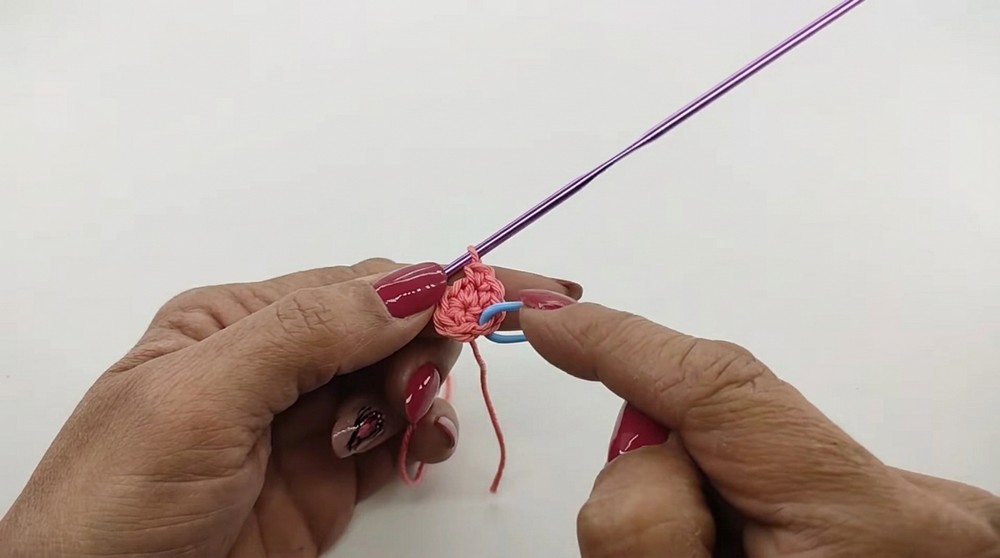
- Foundation:
Start with a magic ring (MR), 6 single crochets (sc) in the ring. - Increases:
- Round 2: inc in every st around (12 sc total).
- Round 3: 1 sc, 1 inc—rep around (18 sc).
- Round 4: 2 sc, 1 inc—rep (24 sc).
- Round 5: 3 sc, 1 inc—rep (30 sc).
- Round 6: 4 sc, 1 inc—rep (36 sc).
- Body Height:
- Rounds 7–14: 36 sc each round (8 rounds).
- Use a marker to keep track of rounds.
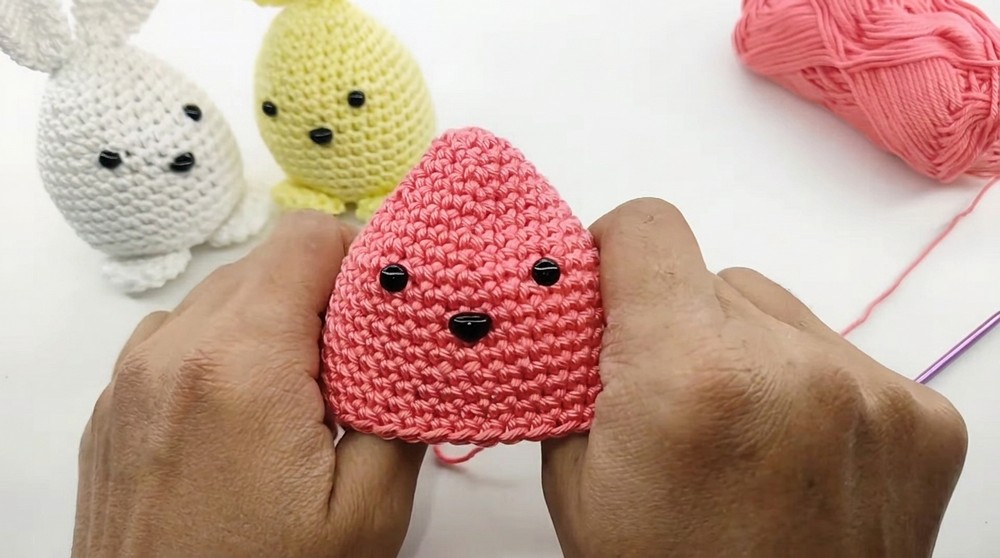
- Facial Features:
- Place safety eyes between the 10th and 11th rounds from the top, spacing 5 stitches apart.
- Embroider or attach a nose one round below the eyes, centered.
- Decreases:
Reverse pairs of the starting increase pattern:- Round 15: 4 sc, 1 dec—rep around.
- Round 16: 3 sc, 1 dec—rep around.
- Round 17: 2 sc, 1 dec—rep around.
- Round 18: 1 sc, 1 dec—rep around.
- Closing:
- Begin stuffing the body firmly with fiberfill.
- Continue working dec in every st until the opening is closed.
- Fasten off, leaving a yarn tail to sew any last gap closed. Weave in end.
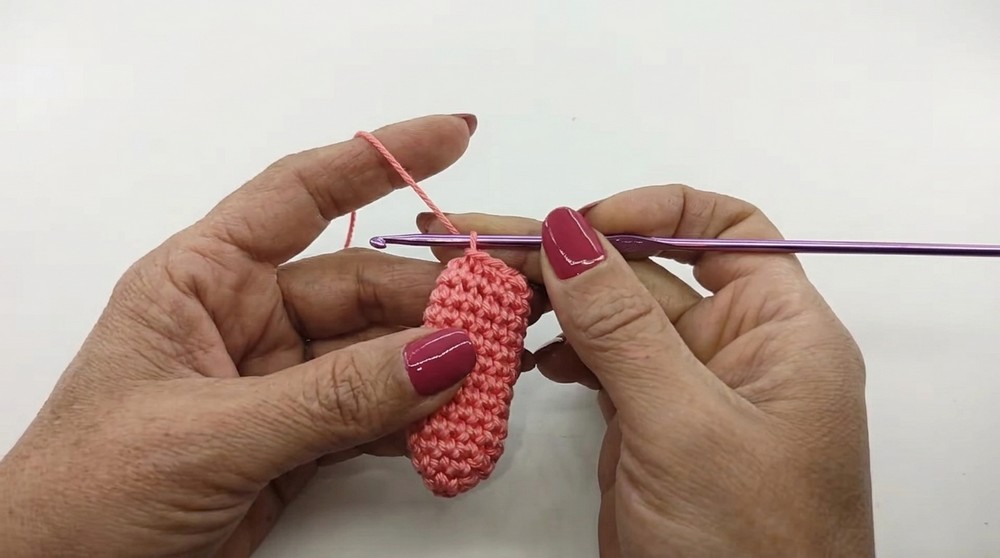
The Ears (Make 2)
- Foundation:
Magic ring, 6 sc in the ring. - Round 2:
(1 sc, 1 inc)—rep around (9 sc). - Round 3:
(2 sc, 1 inc)—rep around (12 sc). - Height:
Rounds 4–12: 12 sc each round (9 rounds). - Decrease:
(2 sc, 1 dec)—rep around. - Assembly for Ears:
- Do not stuff.
- Pinch base of each ear to form a natural crease and flatten.
- Fasten off, leaving a long tail for sewing.
The Feet (Make 2)
- Foundation:
Magic ring, 6 sc. - Round 2:
inc in every st (12 sc total). - Rounds 3–4:
12 sc in each round (2 rounds).- Fasten off leaving tail for sewing.
Assembly & Finished Size
- Ears:
Fold and pinch the base of each finished ear. Using the yarn tail and a needle, sew each ear to the top of the egg, spacing evenly for a typical bunny look. - Feet:
Attach feet to the lower front area of the egg. Position so the finished piece stands balanced. Sew in place securely. - Finishing:
Check stuffing, adjust as needed for symmetry and roundness. Weave in any remaining yarn tails. - Measurements:
Completed bunny egg is about 7–9 cm (egg height), plus ears.
Conclusion
This spiral bunny egg features intuitive shaping with regular increases and decreases, resulting in a neat, seamless form. The separate ears and feet are quickly made and lend dimension and character. Secure placement of eyes and nose before closing the body is crucial for a neat finish. Strategic foot placement allows the egg to stand, offering delightful display appeal. This charming amigurumi is ideal for seasonal decor, gifts, or personalized handmade treasures—simple to customize for different expressions or accessories. Experiment with color and embellishments to create a unique and lovable crochet bunny egg.