
Free Pompompurin Crochet Pattern for Beginners
Pompompurin is well known for his warm yellow color, floppy brown beret, and friendly face. These details give the finished toy its familiar look and make it especially appealing to fans of cute characters. Its small, cuddly shape makes it easy to display on a desk, bedside table, or shelf. You can also place it beside other amigurumi toys to create a sweet little character collection.
Free Amigurumi Pompompurin Crochet Pattern
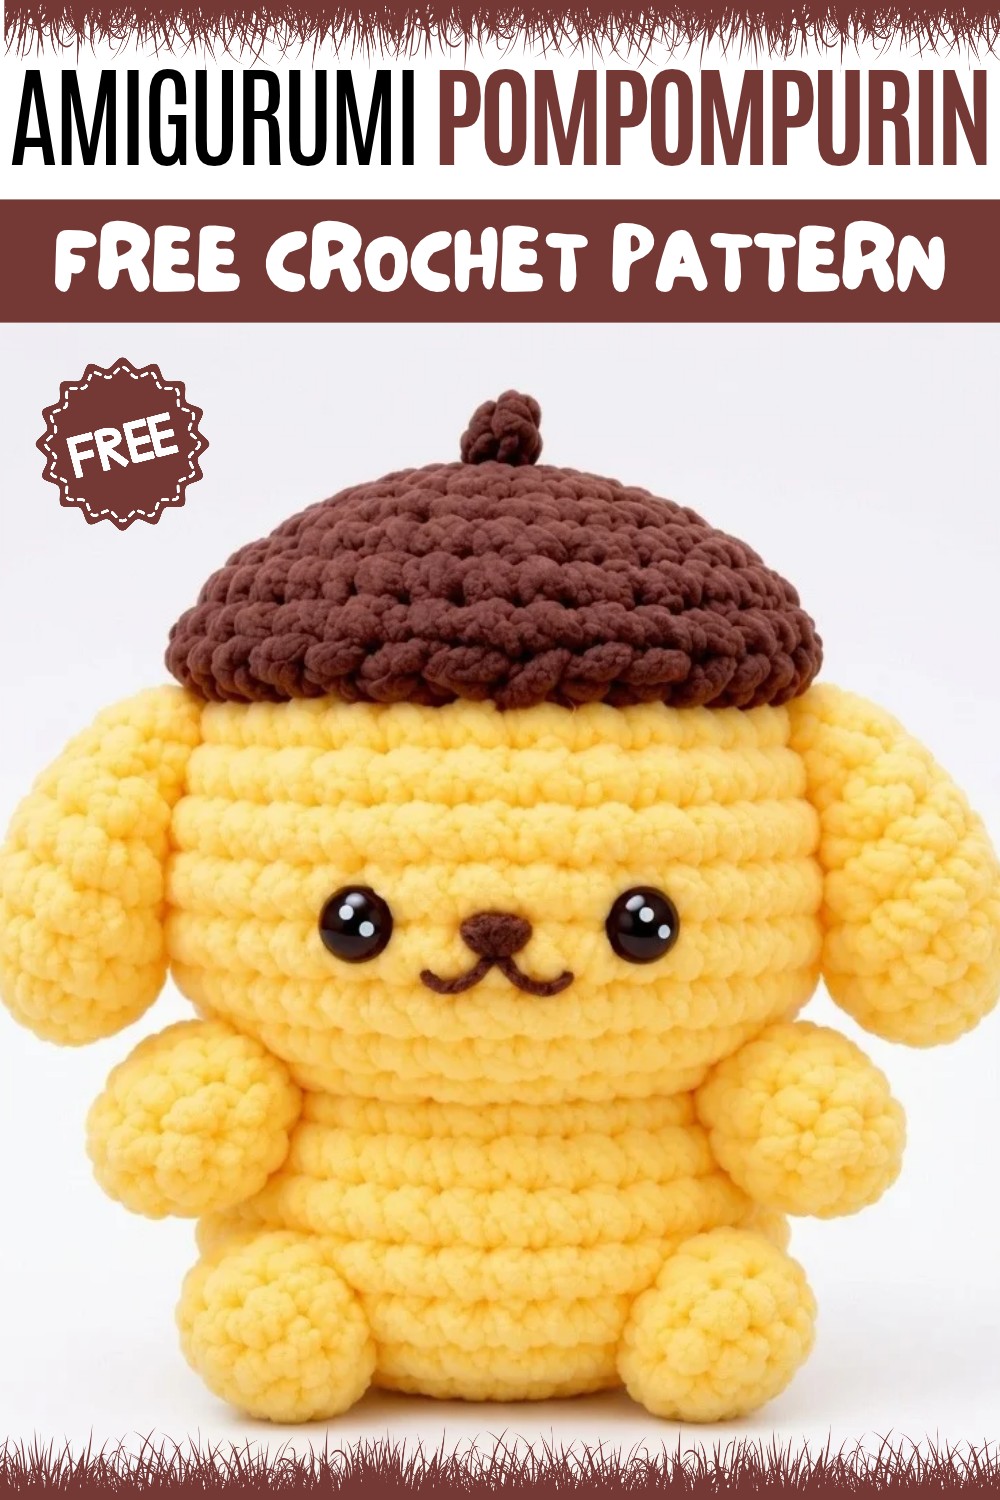
One of the nicest things about this project is its gifting potential. A handmade Pompompurin makes a lovely surprise for birthdays, Christmas, or special occasions. It can be a thoughtful present for children, friends, or anyone who enjoys collecting adorable character toys. Its cheerful appearance can also bring a playful touch to a reading corner or personal space.
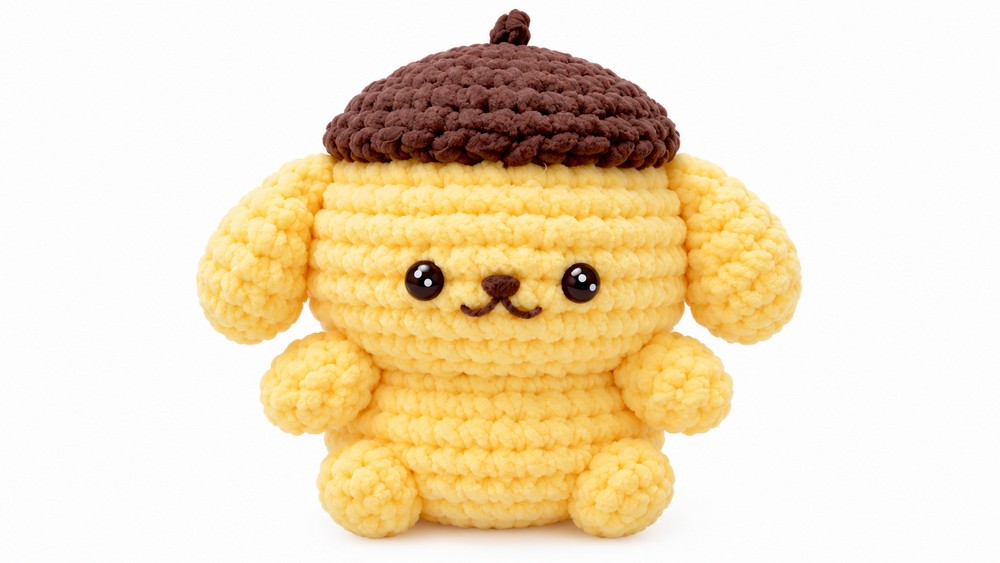
This project can be enjoyable for crocheters who like making character-inspired amigurumi. It offers a chance to create a recognizable figure while paying attention to its cute facial features and overall shape. You can also personalize the finished toy with small decorative touches to give it a unique look.
Whether you make it for yourself or someone special, this sweet Pompompurin amigurumi is a delightful way to add handmade charm to any collection.
Pompompurin Plushie Crochet Pattern
This detailed crochet pattern guides you step-by-step in creating your own adorable Pompompurin plushie. Using matte chenille yarn and an appropriate crochet hook, you will work through rounds that form the body, hands, feet, ears, tail, and hat, finishing by assembling all components into a charming plush figure. The pattern carefully follows stitch counts and techniques to help ensure an accurate and neat result.
Pattern Highlights
- Body: Worked in continuous rounds with increases and decreases to shape Pompompurin’s signature rounded figure.
- Hands: Simple small rounds to form stubby paws.
- Feet: Slightly larger than hands with back loop only stitches for texture.
- Ears: Shaped through rounds incorporating decreases for a slight cup shape.
- Tail: Created using a short chain and a combination of half-double and double crochets.
- Hat: A small cap constructed with multiple rounds of increases to fit snugly on the head.
- Assembly: All parts are sewn securely together at the end for a polished finish.
Notes
- This pattern uses a matte chenille yarn approx. 1.5 mm thickness for softness and durability.
- Hook size varies between 2.5 mm and 3.0 mm depending on desired tightness and size.
- Stitch markers are recommended to track round beginnings, since rounds are worked continuously.
- Keep stitches tight to hold stuffing well and maintain shape.
- Use hot/tacky glue sparingly for sturdiness during finishing touches.
- Adjust yarn tension and hook size to achieve consistent gauge and desired plush size.
- Leave long tails for sewing parts together during assembly.
Skill Level
Intermediate: Requires familiarity with basic crochet stitches, magic ring technique, increases, decreases, working in continuous rounds, and basic assembly techniques.
Materials
- Matte chenille yarn (approx. 1.5 mm thickness) in the required color(s)
- Crochet hook size 4/0 (2.5 mm) or 5/0 (3.0 mm)
- Stitch marker
- Scissors
- Hot/tacky glue
- Tapestry needle for assembly
- Polyester fiberfill stuffing
Measurements / Sizing
- Finished plushie size depends on yarn and hook used but generally fits comfortably into the palm of your hand.
- Maintains typical amigurumi scale with compact but plush body proportions.
- Adjust hook size for slight variations in finished size.
Gauge & Stitch Pattern
- Worked mostly in single crochet (sc).
- Rounds contain increases (inc) and decreases (dec) to sculpt the figure.
- Some rounds specify back loop only (BLO) stitches for shaping and texture.
Stitch Abbreviations
| Abbr. | Term | Description |
|---|---|---|
| sc | Single crochet | Insert hook, yarn over, pull through both loops |
| inc | Increase | 2 sc stitches in the same stitch |
| dec | Decrease | Crochet two stitches together |
| hdc | Half double crochet | Yarn over, insert hook, yarn over, pull through one loop, yarn over, pull through two loops |
| dc | Double crochet | Yarn over, insert hook, yarn over, pull through one loop, yarn over, pull through two loops, yarn over, pull through last two loops |
| BLO | Back loops only | Work stitch only in the back loop of the stitch |
Special Stitches
- Magic ring: Creates a tight adjustable loop to start crocheting in rounds without gaps.
- Back loops only (BLO): Used in feet to add definition and texture.
- Increases and decreases: Essential for shaping the plushie’s curves.
- Short chains and varying crochet heights: Used in tail construction for detail.
The Crochet Pattern
Body
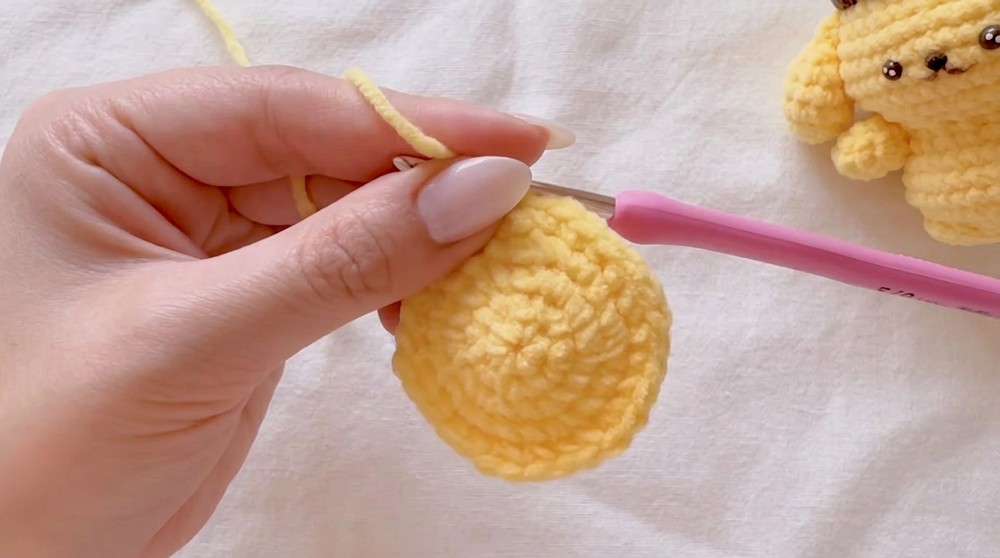
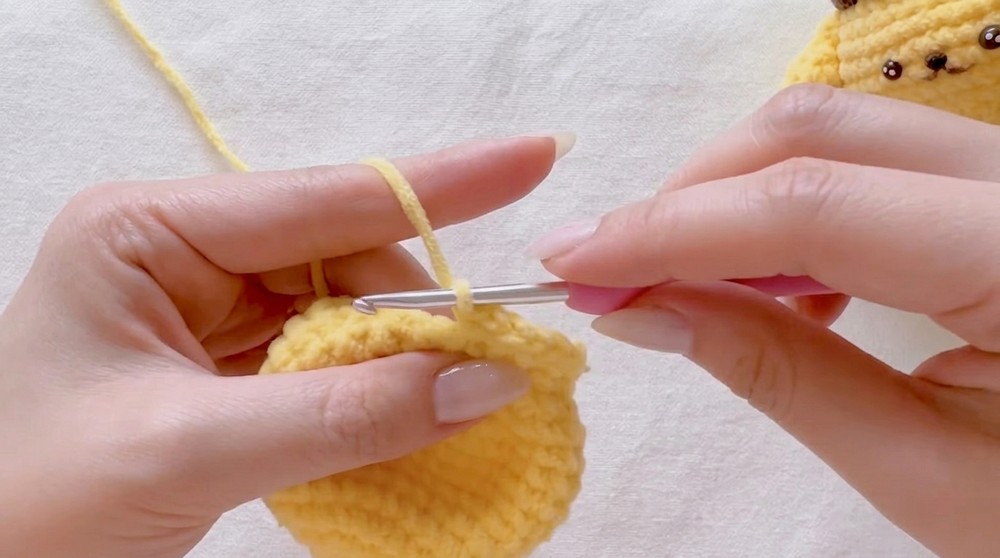
- Round 1: Begin with magic ring. Crochet 6 sc into ring. (6 stitches)
- Round 2: 6 inc (2 sc in each stitch) around to double stitch count. (12 stitches)
- Round 3: (1 sc, 1 inc) repeat 6 times. (18 stitches)
- Round 4: (1 sc, 1 inc, 1 sc) repeat 6 times. (24 stitches)
- Round 5: (2 sc, 1 inc, 1 sc) around or similar spacing. (30 stitches)
- Round 6: (2 sc, 1 inc, 2 sc) repeat 6 times. (36 stitches)
- Rounds 7-8: Crochet 36 sc evenly. (36 stitches)
- Round 9: (5 sc, 1 inc) repeat 6 times. (42 stitches)
- Round 10: (3 sc, 1 inc, 3 sc) repeat 6 times. (48 stitches)
- Rounds 11-13: Crochet 48 sc evenly. (48 stitches)
- Round 14: (1 sc, 1 dec, 1 sc) repeat 12 times. (36 stitches)
- Round 15: (1 sc, 1 dec) repeat 12 times. (24 stitches)
- Round 16: Crochet 24 sc in front loops only (BLO). (24 stitches)
- Round 17: (1 sc, 1 inc) repeat 12 times. (36 stitches)
- Rounds 18-19: Crochet 36 sc evenly. (36 stitches)
- Round 20: (2 sc, 1 inc, 2 sc) repeat 7 times, end with 1 sc. (36 stitches)
- Round 21: (2 sc, 1 dec, 2 sc) repeat.
- Round 22: (1 sc, 1 dec, 1 sc) repeat 9 times.
- Rounds 23-24: (1 sc, 1 dec) repeat until desired decreases.
- Round 25: 9 dec to close.
Hands
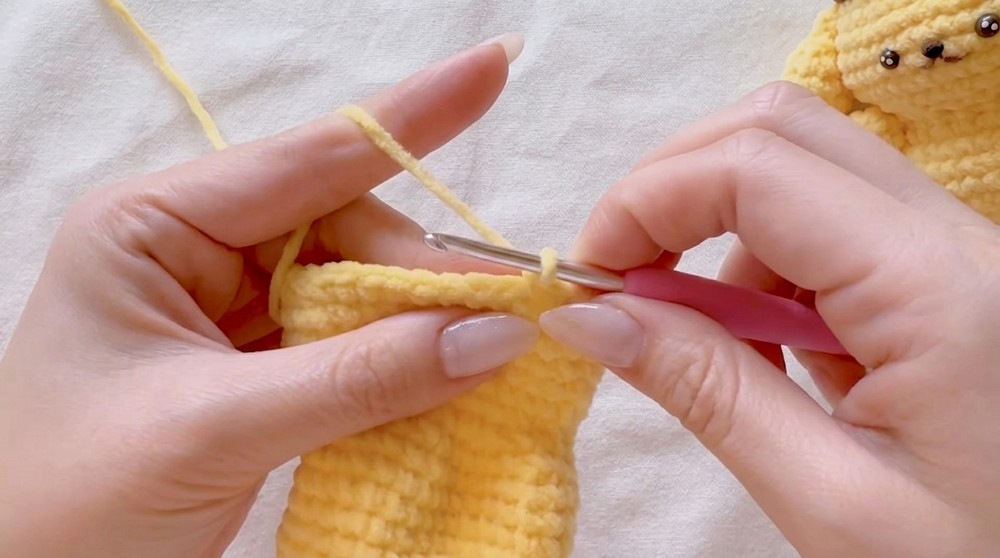
- Round 1: Magic ring, 4 sc.
- Round 2: 4 inc (8 stitches).
- Rounds 3-4: Crochet 8 sc evenly.
Feet
- Round 1: Magic ring, 8 sc.
- Round 2: 8 inc (16 stitches).
- Round 3: Crochet 16 sc in back loops only (BLO).
Ears
- Round 1: Magic ring, 6 sc.
- Round 2: 6 inc (12 stitches).
- Rounds 3-4: Crochet 12 sc evenly.
- Round 5: (1 sc, 1 dec, 1 sc) repeat.
- Round 6: (1 sc, 1 dec) repeat.
- Round 7: Crochet 3 dec to finish shaping.
Tail
- Chain 4.
- Row 1: 1 hdc in second chain from hook, 1 dc in next chain, 1 dc in last chain.
Hat
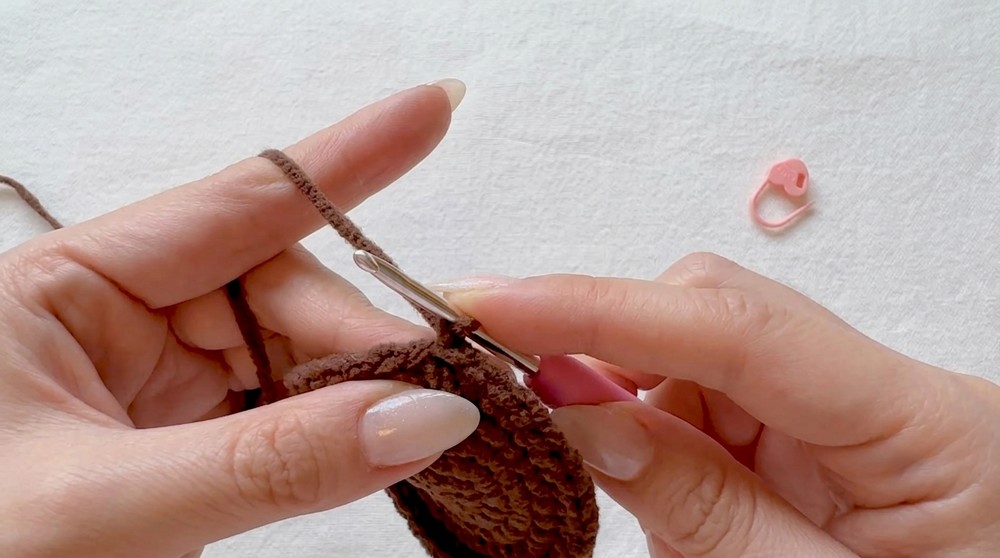
- Round 1: Magic ring, 8 sc.
- Round 2: 8 inc (16 stitches).
- Round 3: (1 sc, 1 inc) repeat 8 times. (24 stitches)
- Round 4: (1 sc, 1 inc, 1 sc) repeat 8 times. (32 stitches)
- Round 5: (3 sc, 1 inc) repeat 8 times. (40 stitches)
- Round 6: Crochet 40 sc evenly.
- Round 7: (6 sc, 1 dec) repeat.
Assembly & Finished Size
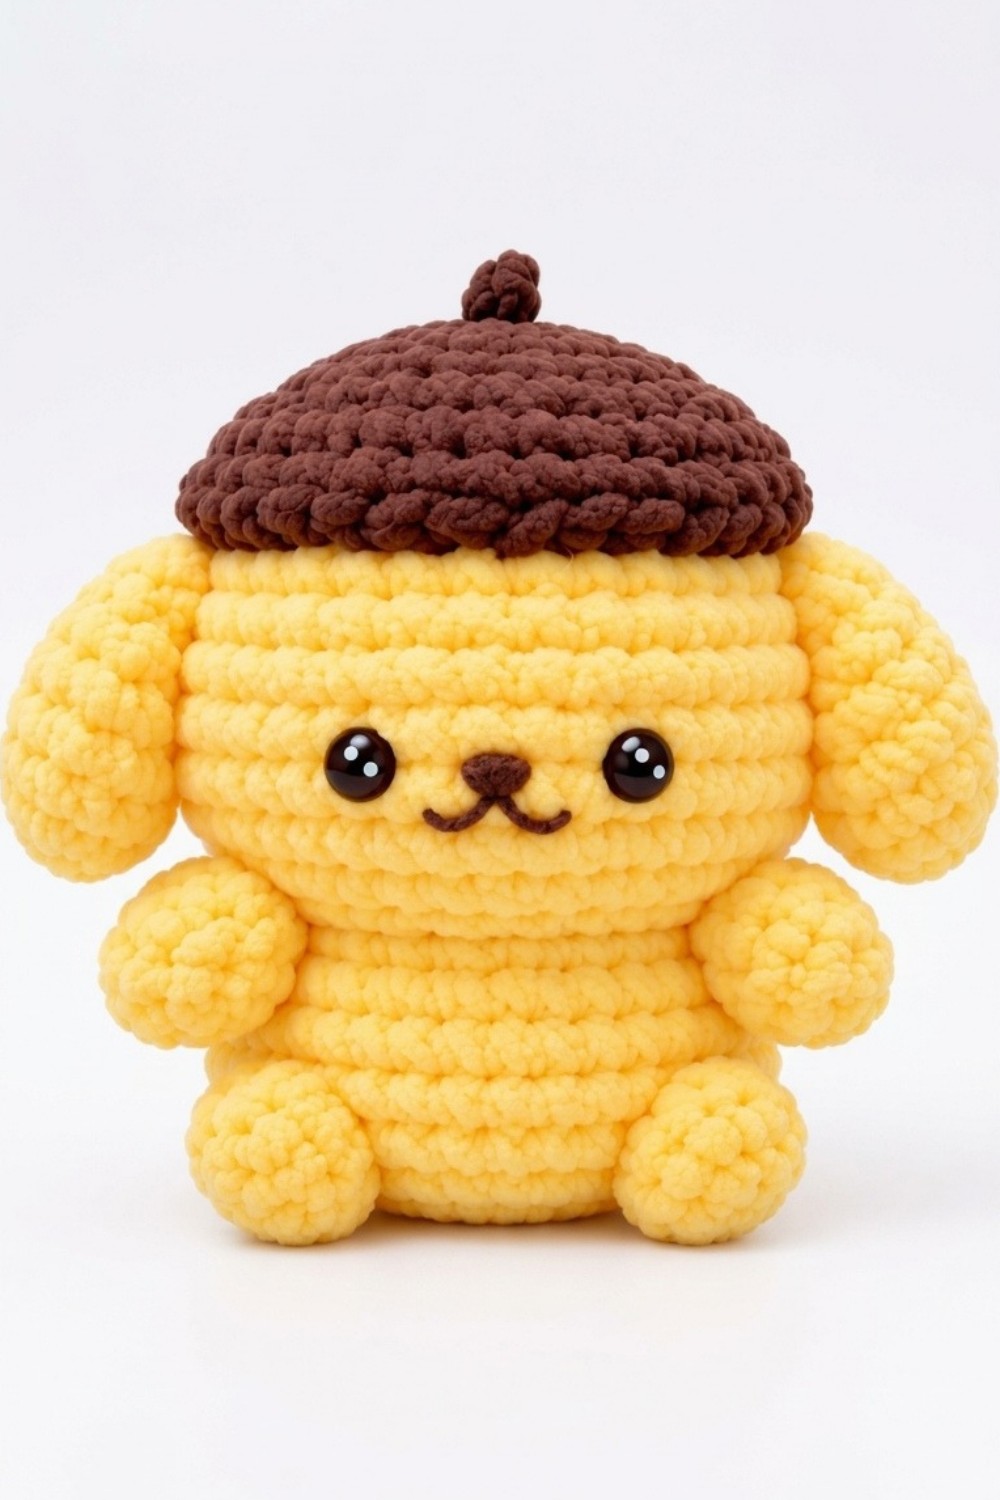
After crocheting all pieces, assemble by attaching the hands, feet, ears, tail, and hat to the body using a tapestry needle and yarn tails left during crochet. Secure each part evenly and firmly, stuffing the body and limbs as you sew parts to maintain shape and softness.
The finished Pompompurin plushie fits comfortably into your hand, with soft matte chenille yarn giving it a cuddly texture and a rounded, clean shape from well-executed decreases and increases.
Conclusion
This pattern is designed to guide you through creating an adorable Pompompurin plushie with clear round-by-round instructions, suitable for intermediate crocheters eager to practice shaping and assembly. By following the stitch counts carefully and assembling neatly, you’ll achieve a polished, professional-looking amigurumi that is both cute and soft.