
Easy Crochet Amigurumi My Melody Free Pattern For Beginners
Style your shelf with the Crochet Amigurumi My Melody Free Pattern, a pink-hooded bunny doll for cute room displays and sweet birthday gifts.
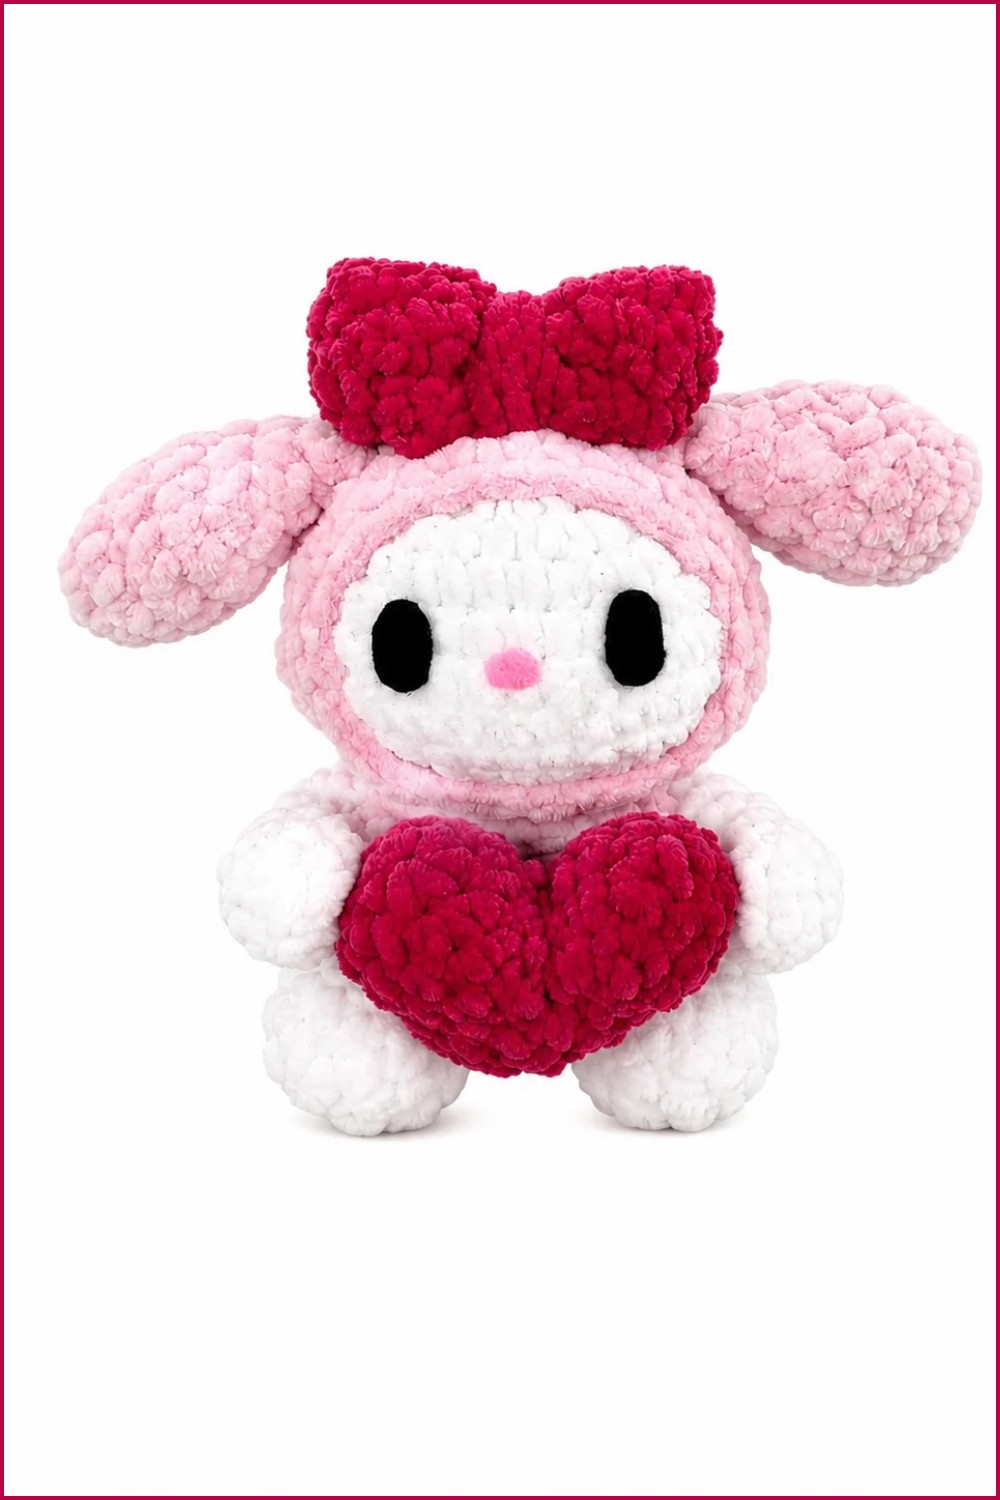
Take a closer look at a charming crochet project. The Crochet Amigurumi My Melody is inspired by the beloved Sanrio character and has a soft, friendly appearance that stands out. This small figure features gentle curves and a sweet expression, giving it a warm and lifelike feel.
Lovely Crochet Amigurumi My Melody Free Pattern With A Pink Hood
Its color scheme mainly includes soft pinks and whites, which create a calm and inviting look. The yarn used has a smooth and plush texture, adding to the overall softness of the amigurumi. These qualities make it suitable as a decorative piece for desks or shelves, a comforting companion for children, or a unique handmade gift.
In addition to its appearance, this project helps build important crochet skills such as working in rounds, shaping, and sewing small parts together. The instructions are approachable for those with basic crochet experience. Embroidering the delicate facial details allows for practice with finer stitches.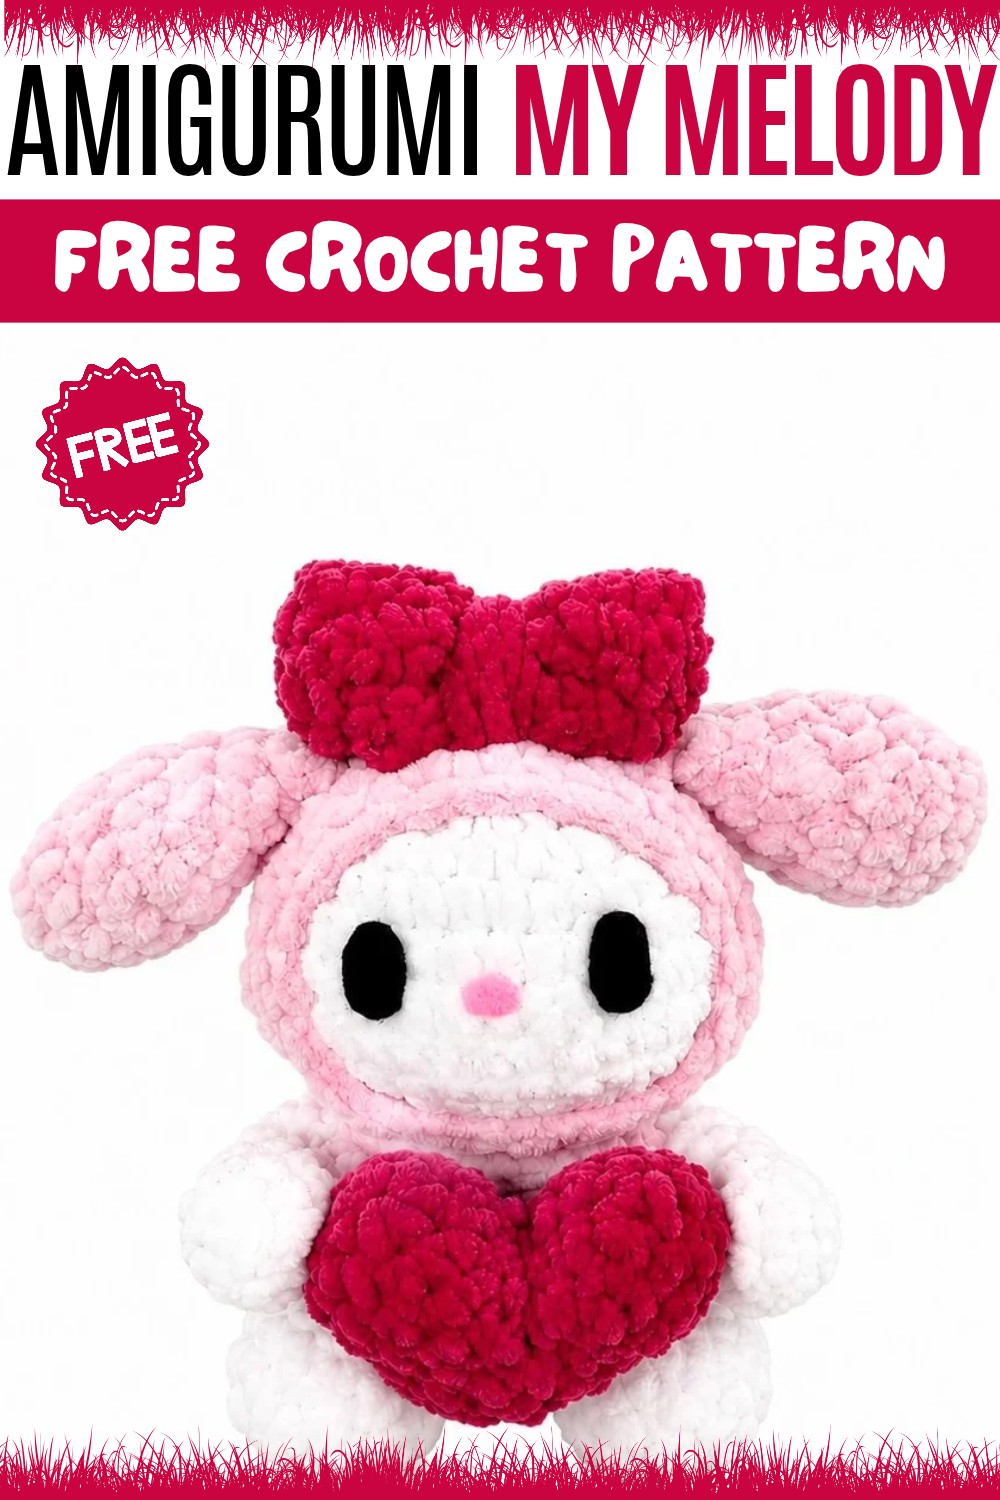
Overall, Crochet Amigurumi My Melody adds a touch of cheer and comfort wherever it is placed. Whether displayed on a shelf or held in one’s hands, it carries a sense of warmth and friendliness. This free pattern offers a inviting challenge for anyone interested in making a cute and cozy crochet toy.
About the Pattern
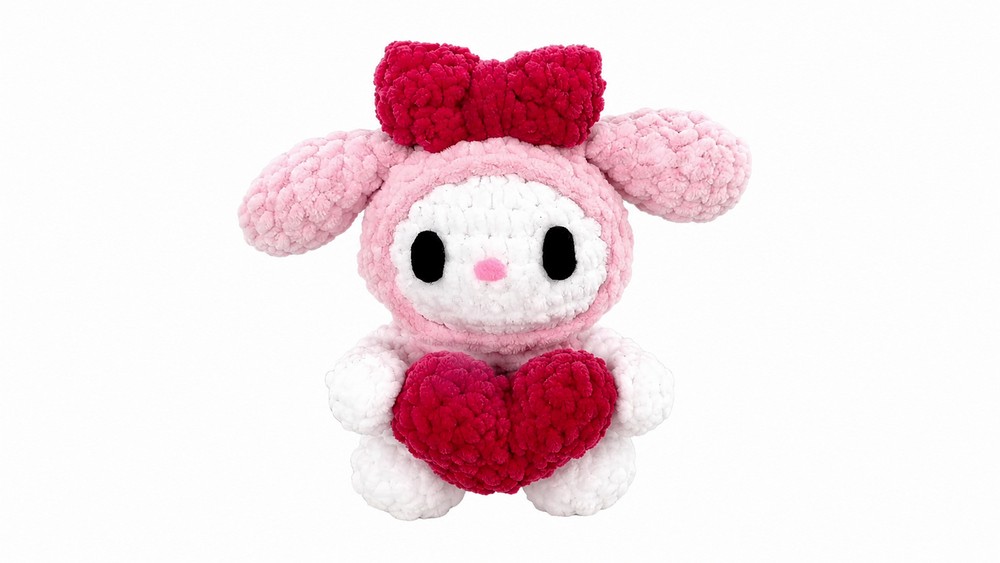
This Cupid My Melody amigurumi pattern is a thoughtfully structured project blending precision shaping with charming detail. The design includes sequential construction of the head, hood, body, limbs, heart, bow, and wings, each using foundational crochet techniques. The modular nature of the pattern allows a focus on individual body parts before seamless assembly, culminating in a compact and heartwarming cupid-themed amigurumi. Careful counting, color changes, and basic sewing guarantee a polished and playful finished piece.
Pattern at a Glance
- Form: Cupid My Melody figure with hood, removable accessories, and poseable limbs.
- Construction: Separate body parts crocheted in the round, then joined for sturdy assembly. Accessories—bow, heart, and wings—are independently made, enhancing overall character.
- Stitches Used: Magic ring, single crochet, increase, decrease, half double crochet, double crochet, slip stitch.
- Features: Stuff-as-you-go construction for a plump figure, three-dimensional detailing in the wings and bow.
Important Notes
- Always mark the beginning of each round to ensure stitch accuracy.
- Stuff each component firmly before closing to retain shape and structure.
- Seamless joining (catching both loops) results in a durable and professional finish.
- The hood must fit snugly over the head but be positioned with care before securing.
- Consistency in gauge across all pieces ensures proportional assembly.
Difficulty Level
This project is rated as advanced beginner to intermediate. The completion of various accessories and shaping techniques requires comfort working in the round, knowledge of increases and decreases, and basic assembly/embroidery skills.
Supplies Needed
- Yarn: Sport or DK weight in white, pink, and red (or as desired for body, hood, and accessories)
- Hook: 2.0–3.0 mm (appropriate for chosen yarn to obtain a firm fabric)
- Polyester fiberfill or equivalent for stuffing
- Yarn needle: For sewing parts and weaving in ends
- Scissors
- Stitch marker: Optional, for tracking round beginnings
Size & Measurements
Using DK weight yarn and a 2.5mm hook, the finished Cupid My Melody measures:
- Height: 4–5 inches (10–13 cm)
- Width: 2.5–3 inches (6.5–7.5 cm) (including wings)
Size may vary by yarn thickness, hook size, and stuffing density.
Gauge & Stitch Details
Gauge is not critical, but stitches should be tight enough to contain filling without gaps.
- Tip: Make a test swatch; stitches should be dense, especially single crochet rounds.
Crochet Abbreviations
- mr: magic ring
- sc: single crochet
- inc: increase (2 sc in one st)
- dec: decrease (sc2tog)
- hdc: half double crochet
- dc: double crochet
- sl st: slip stitch
- ch: chain
- st(s): stitch(es)
Special Stitch Guide
- Magic Ring (mr): Wrap yarn into a loop, work stitches into the ring, then tighten.
- Increase (inc): Two single crochets in the same stitch.
- Decrease (dec): Single crochet two stitches together, using invisible decrease technique if preferred.
- Assembly/Sewing: Use whipstitch through both visible loops of attaching pieces for a secure join.
Complete Crochet Pattern
1. The Head
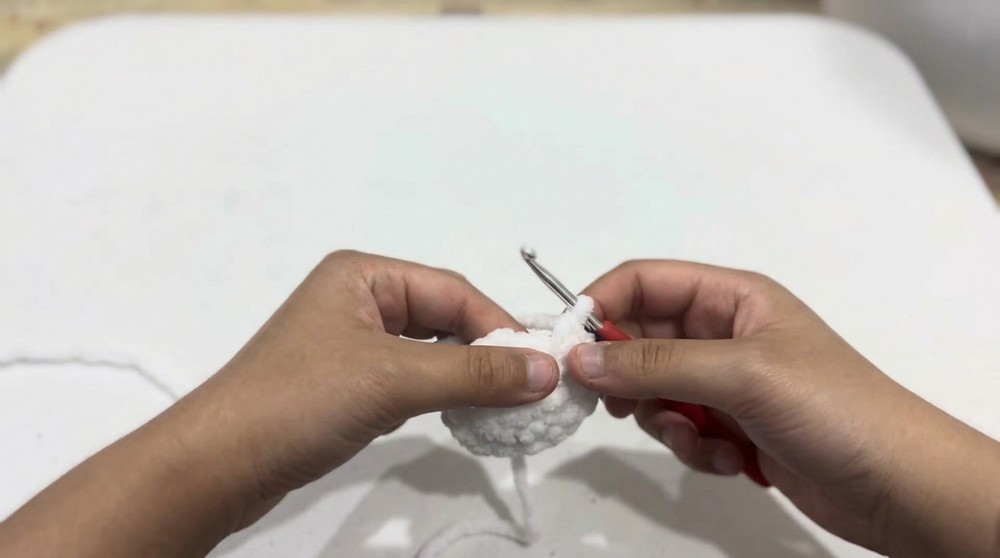
- Round 1: Make a magic ring, work 6 sc into ring.
- Round 2: 6 inc (12 sc).
- Round 3: (1 sc, inc) repeat around (18 sc).
- Round 4: (2 sc, inc) repeat around (24 sc).
- Round 5: (3 sc, inc) repeat around (30 sc).
- Round 6: (4 sc, inc) repeat around (36 sc).
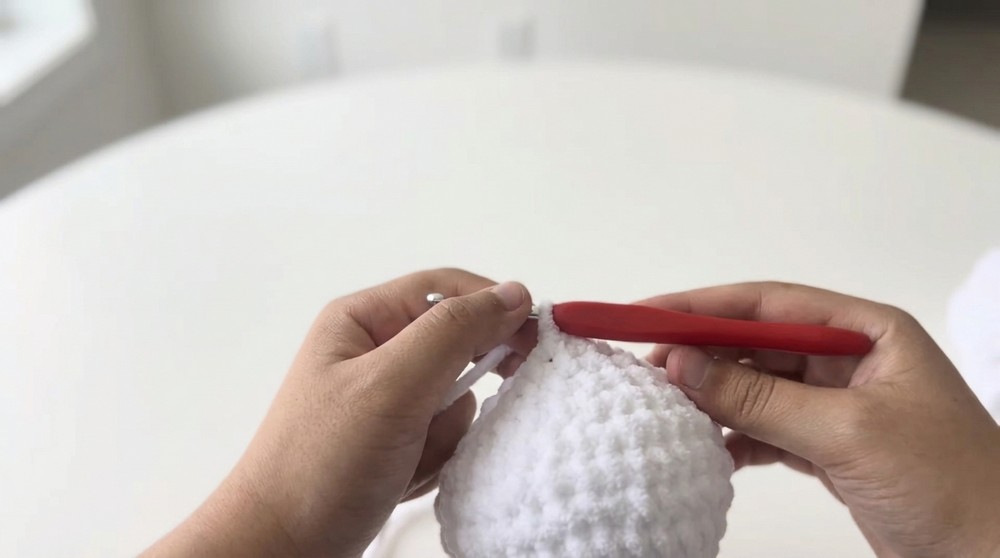
- Rounds 7–8: 36 sc (work even for two rounds).
- Round 9: (4 sc, dec) repeat around (30 sc).
- Round 10: (3 sc, dec) repeat around (24 sc).
- Round 11: (2 sc, dec) repeat around (18 sc).
- Round 12: (1 sc, dec) repeat around (12 sc).
- Finishing: Stuff the head firmly. Fasten off, thread needle through final stitches, pull tight to close hole.
2. The Hood
- Follow the head pattern up to the round with (4 sc, inc) (36 sc).
- Rounds 7–9: 36 sc (work even for three rounds).
- Round 10: (4 sc, dec) repeat around (30 sc).
- Assembly: Position the hood over the stuffed head.
- Work (3 sc, dec) round, then (2 sc, dec), closing the hood gently and sewing it in position if needed.
3. Body and Arms
Arms (make 2):
- Round 1: 5 sc in magic ring.
- Round 2: 5 inc (10 sc).
- Round 3: (1 sc, inc) repeat around (15 sc).
- Rounds 4–5: 15 sc each round.
- Round 6: (1 sc, dec) repeat around (10 sc).
- Rounds 7–8: 10 sc each round.
- Finishing: Leave a long tail for sewing.
Body:
- Follow the head pattern up to (3 sc, inc) round (24 sc).
- Rounds 6–10: 24 sc (five rounds even).
- Fasten off, stuff, and leave tail for joining.
Tail:
- Round 1: 6 sc in magic ring.
- Rounds 2–8: 6 sc per round (seven rounds even).
- Fasten off, stuff lightly.
4. Heart and Bow
Bow:
- Ch 20, turn, work 1 sc in each ch back (19 sc).
- Repeat: Work 2 more rows of sc across.
- Folding: Fold into a bow shape, sew through center to gather securely.
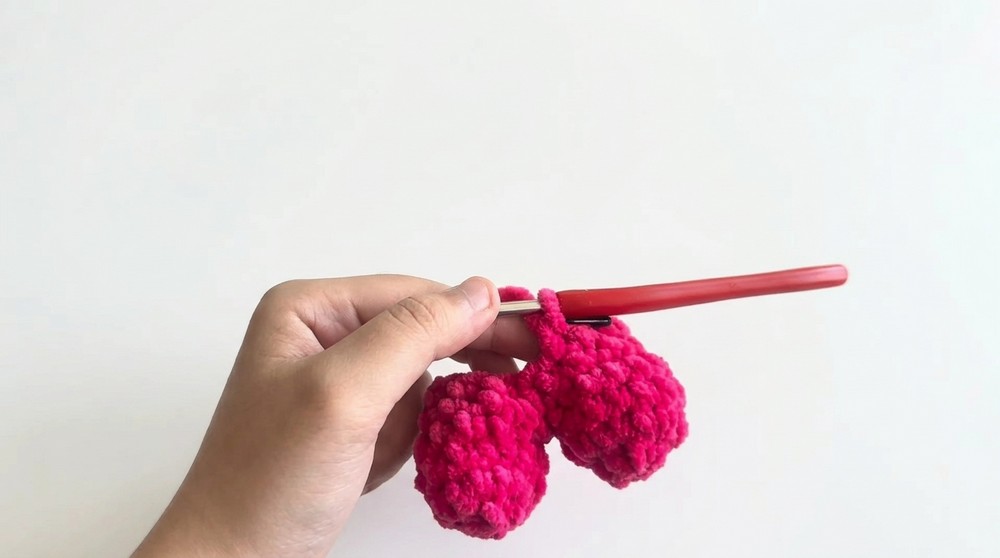
Heart:
- Make 2 halves:
- 6 sc in magic ring.
- Round 2: 6 inc (12 sc).
- Rounds 3–4: 12 sc each round.
- Join the two halves by placing them side by side and working sc around both shapes together.
- Work decrease rounds (single crochet two together) on either side at intervals, stuffing as you go, until the heart closes completely.
Wings (make 2):
- Ch 15, turn.
- Row 1: hdc, dc, dc, hdc, then 5 sl st. In the last 5 sts, repeat the row in reverse order (hdc, dc, dc, hdc).
- Finish and fasten off, leaving a tail for sewing.
5. Final Assembly
- Position and sew the hood over the closed and stuffed head, making sure it sits symmetrically.
- Attach arms to either side of the body; make sure they are evenly spaced and secure.
- Sew the body to the head through both loops for a firm join.
- Place and sew tail at the back center of the body.
- Sew wings at the back of the body, aligning both for symmetry.
- Attach the bow just below or near the ears/hood, sewing through all layers for extra security.
- Sew the heart between the hands/arms or in front of the body as desired.
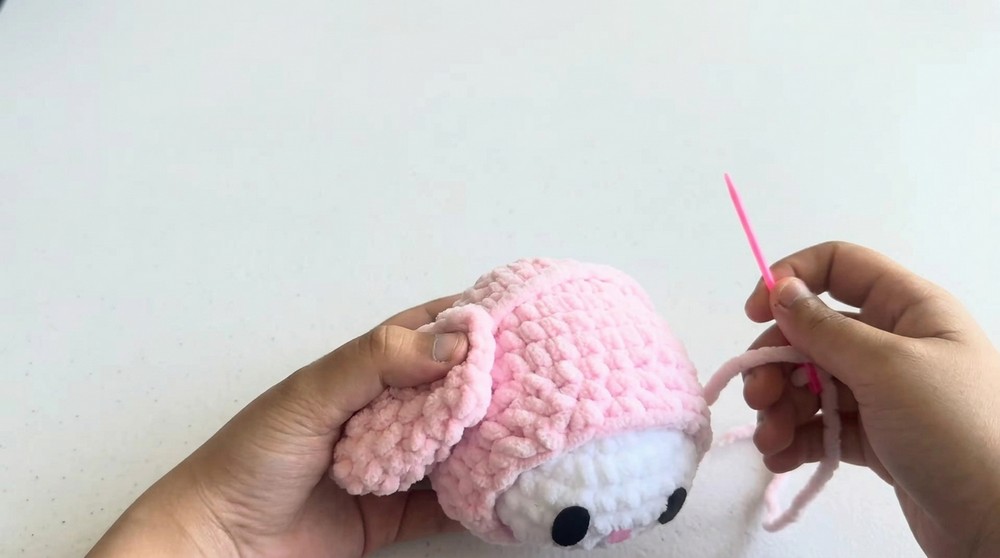
Assembly & Finished Size
Once all parts are securely sewn, weave in and trim any loose ends. Shape the head and body gently by squeezing and adjusting stuffing for a smooth final form. Cupid My Melody stands complete, measuring approximately 4 to 5 inches tall, with all details and accessories securely attached, ready for display or gifting.
Conclusion
This Cupid My Melody amigurumi pattern provides a rewarding project blending basic shapes with thoughtful detail. The sequential breakdown allows for easy construction of complex accessories, and the finished figure embodies both character and craftsmanship. The addition of a heart, bow, and wings gives the amigurumi a memorable, playful twist, making it suitable for festive occasions, collections, or meaningful handmade gifts. The pattern encourages personalization and careful assembly for the most endearing result.