
Cute Crochet Santa Claus Free Pattern For Christmas Gifts
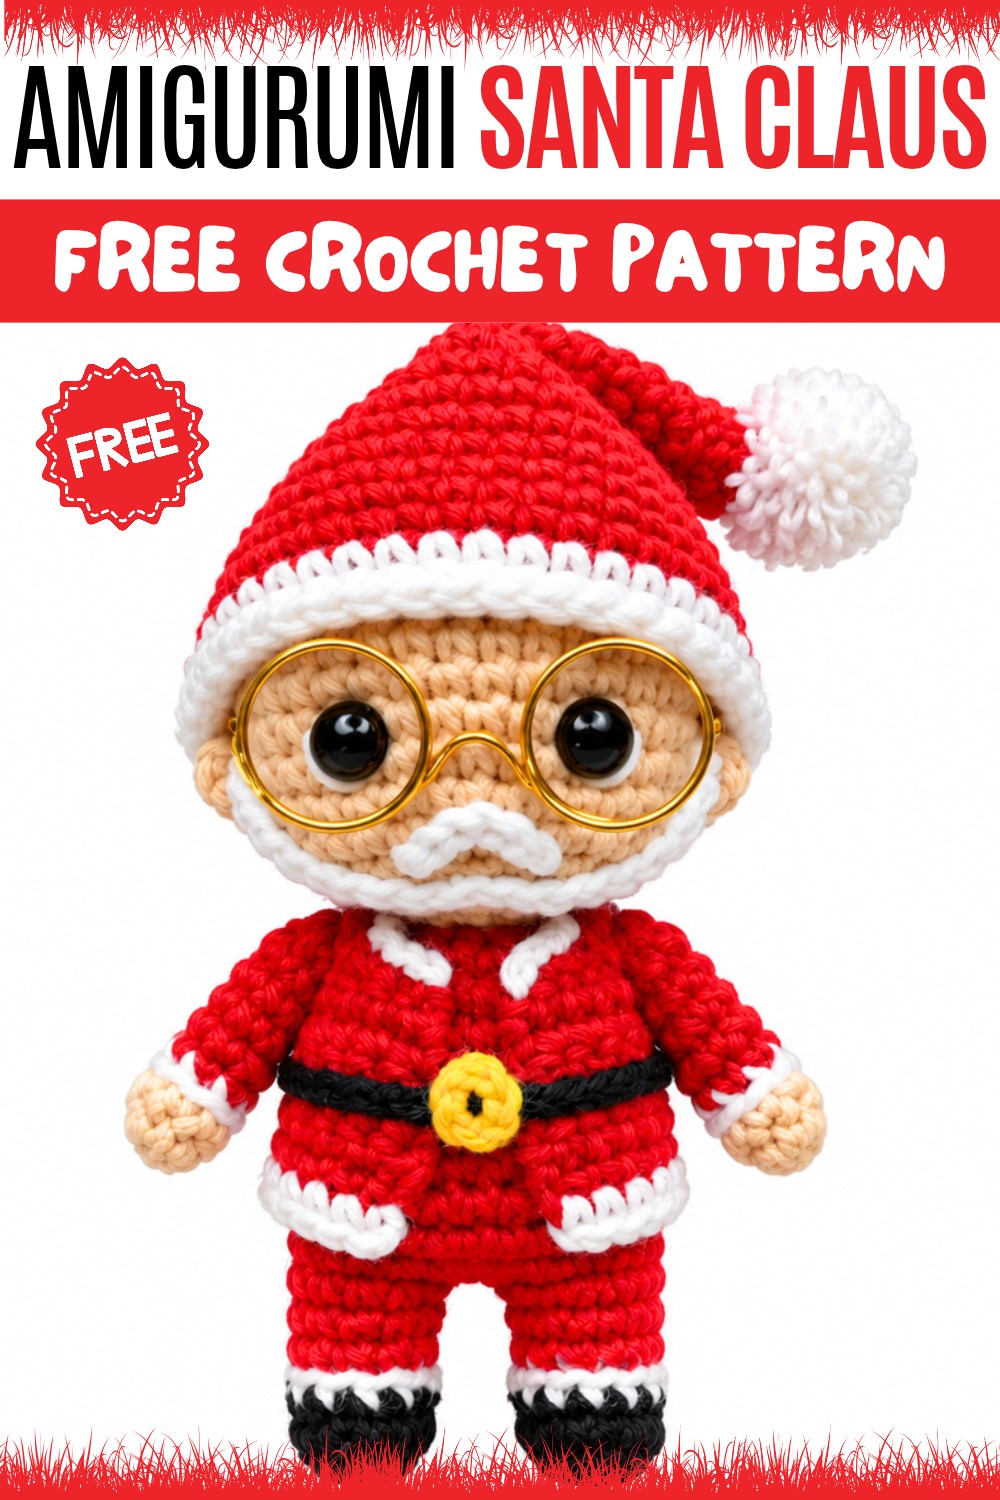
Pick red and white yarn for this Crochet Amigurumi Santa Claus Free Pattern and enjoy a sweet figure for Christmas displays and family gifts.
Find a cheerful holiday project to try this season. Crochet Santa Claus is a friendly and charming figure that many enjoy making, especially during the festive months. This small toy usually stands about 6 to 8 inches tall and captures the classic look of Santa with a round belly, jolly face, and a red hat trimmed with white.
Simple Crochet Santa Claus Free Pattern With A Red Hat
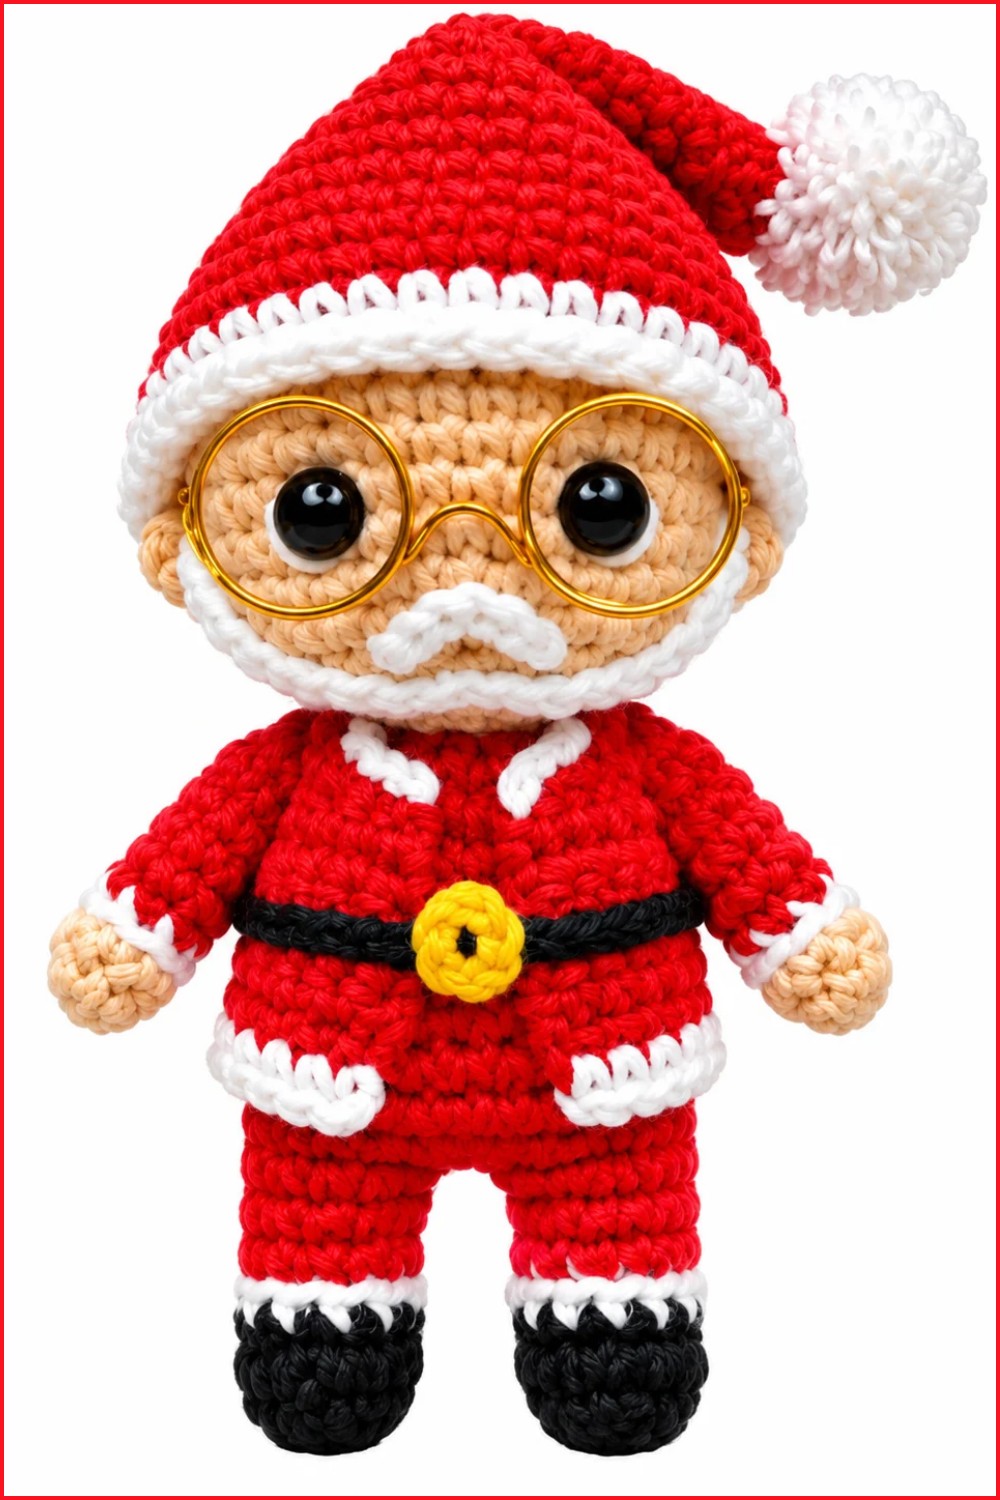
The design includes lovely details like a fluffy beard, black belt, boots, and buttons, which give Santa a warm and inviting personality. In addition, the white trim and beard are often made using soft or fuzzy yarn to add a special touch.
This project design by Lana Factory works well for beginner to intermediate crocheters. It uses basic stitches but involves creating several parts separately—such as the body, hat, arms, and legs—and then sewing them together carefully. This step helps improve skills in assembling crochet pieces smoothly.
All in all, this project offers an enjoyable way to practice crochet while adding a bit of festive cheer. If you like simple, fun projects with a seasonal twist, this Santa might be just right for you.
About the Pattern
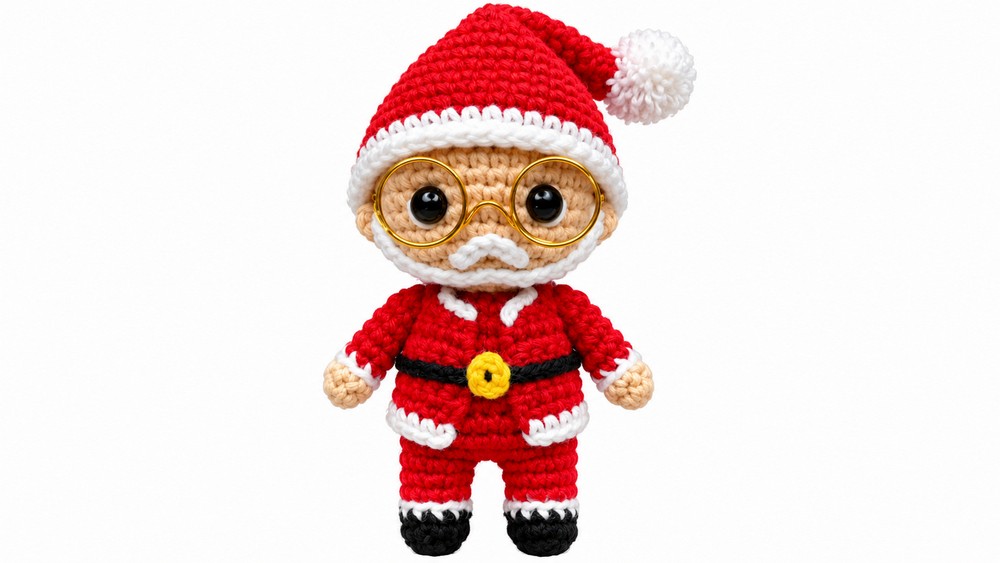
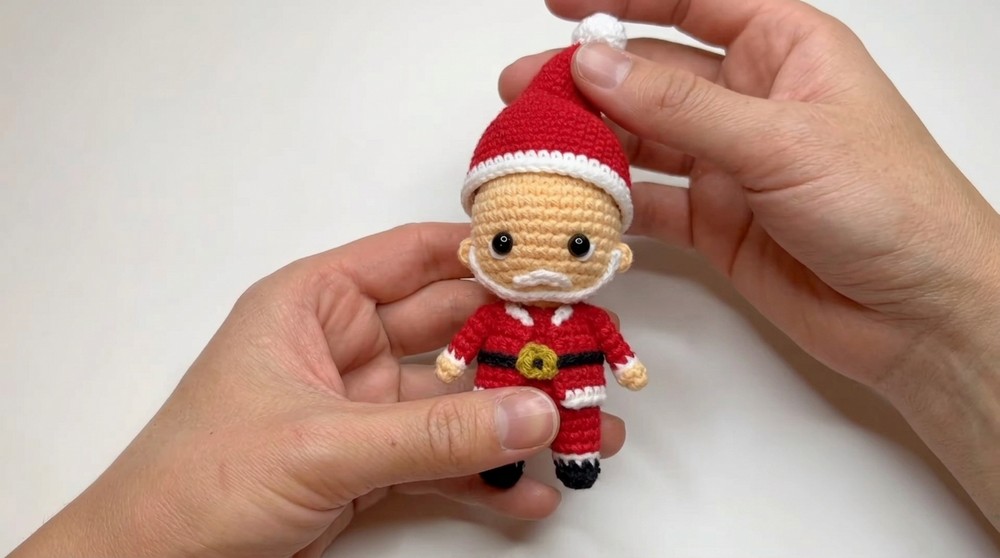
This Santa Claus Chibi crochet pattern captures the spirit of holiday cheer in a compact 10 cm figure. Every segment, from the rounded head to finely detailed accessories, uses tight amigurumi stitches for durability. The design incorporates essential color changes and careful shaping to ensure recognizable features, while special techniques produce dimensional details like the beard, mustache, and hat. Thoughtful finishing, including the iconic glasses and classic belt, adds character and charm.
Pattern at a Glance
- Head and body: Worked in consecutive rounds, seamlessly transitioning from head to torso.
- Legs and arms: Crocheted separately and attached to maintain chibi proportions.
- Accessories: Crafted with additional stitches and color changes for coat, hat, beard, mustache, belt, and glasses.
- Assembly: Structured sewing and pinning create a neat, expressive finish.
Important Notes
- Work amigurumi components in spirals; use a stitch marker to track rounds.
- Change yarn color promptly at indicated rounds for crisp transition between features.
- Stuff parts firmly for shape retention; avoid over-stuffing, which can distort stitches.
- Use pins or marking tools for exact placement when assembling facial features and accessories.
Difficulty Level
Intermediate
The pattern involves seamless joins, color changes, shaping, and fine accessory work, requiring familiarity with basic amigurumi techniques and several decorative applications.
Supplies Needed
- Yarn: DK or sport weight in red, white, black, beige, yellow (cotton or acrylic recommended)
- Hook: 2.0–2.5 mm
- Stuffing: Polyester fiberfill
- Wire: Thin, for glasses
- Tapestry needle: For sewing and assembly
- Small pom-pom: For hat tip
- Scissors
- Stitch marker
- Pins: For positioning beard and mustache
Size & Measurements
- Finished height: Approximately 10 cm
- Widest measurement: About 5 cm across belly
- Figures made with this pattern are suitable for holiday decor, gifting, or adding to collections.
Gauge & Stitch Details
- Gauge: 8 single crochet x 8 rounds = 2 cm square
- Main stitch: Single Crochet (sc)
- Tension: Tight for a smooth, compact fabric
Crochet Abbreviations
| Abbreviation | Stitch Name |
|---|---|
| ch | chain |
| sc | single crochet |
| inc | increase (2 sc in 1 st) |
| dec | decrease (sc 2 together) |
| sl st | slip stitch |
| st(s) | stitch(es) |
| MR | magic ring |
Special Stitch Guide
- Single Crochet (sc): Insert hook, yarn over, pull up loop, yarn over, pull through both loops.
- Increase (inc): Work 2 sc in the same stitch.
- Decrease (dec): Insert hook into next st, draw up loop, insert into next st, draw up 2nd loop, yarn over, pull through all 3 loops.
- Magic Ring (MR): Loop yarn, insert hook, ch 1, then sc into ring as directed.
Complete Crochet Pattern
Body and Head
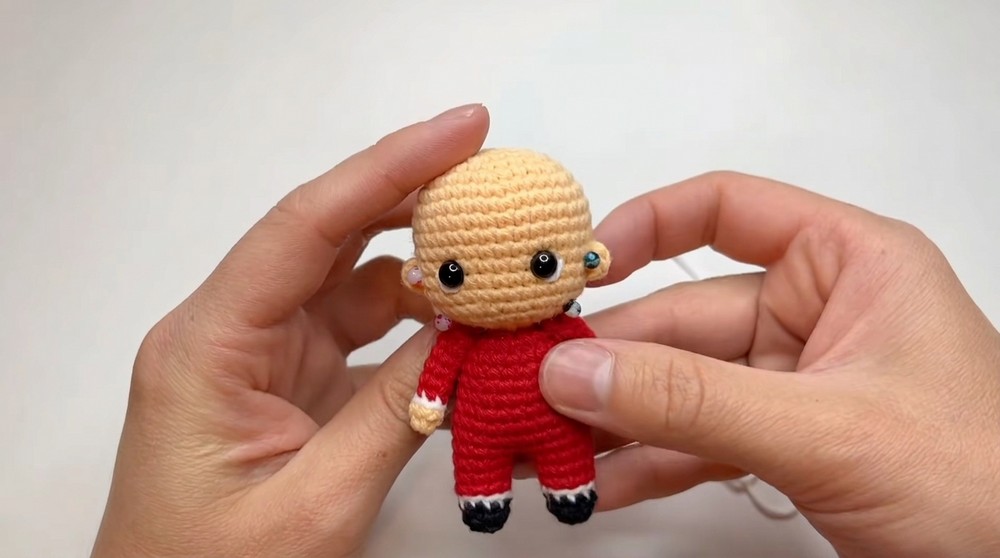
Head (Rounds 1–18):
- Begin with a Magic Ring (MR), 6 sc in ring.
- Increase in sequential rounds to achieve rounded shape:
- Continue increasing every round as per standard amigurumi head structure, until you reach round 18.
- Each round should grow evenly to accommodate stuffing and recognizable chibi proportions.
Body (Rounds 19–28):
- Round 19: [2 sc, 1 inc] pattern, spaced evenly.
- Progress up to Round 26: Increase until you reach 24 sc.
- Rounds 27–28: Work 24 sc each, forming a smooth torso base.
Legs (Rounds 29–33):
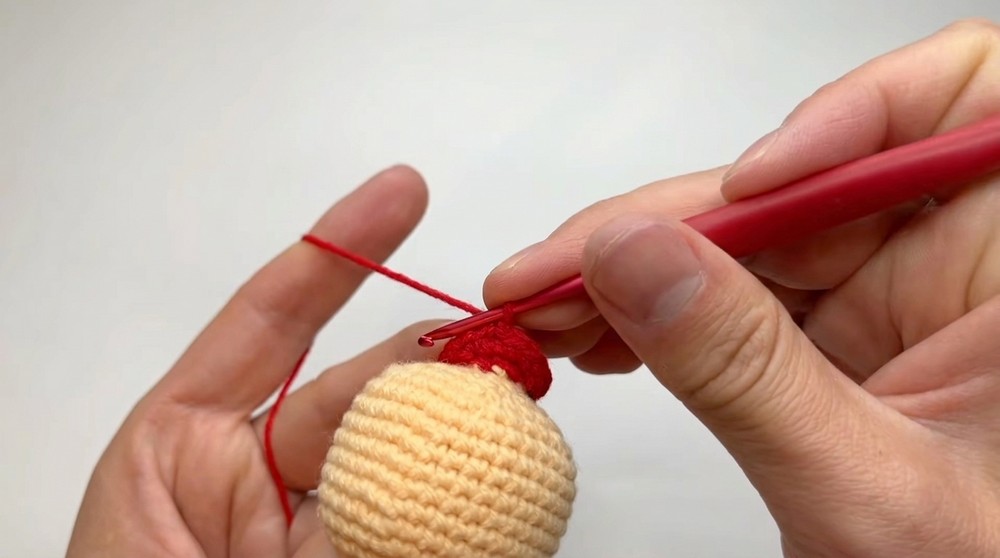
- Separate stitches for two legs at round 29; each leg is worked individually.
- Form each leg with 7 sc per round; continue through round 33.
- Fasten off after each leg, leaving tails for sewing if separate.
Arms and Details
Arms:
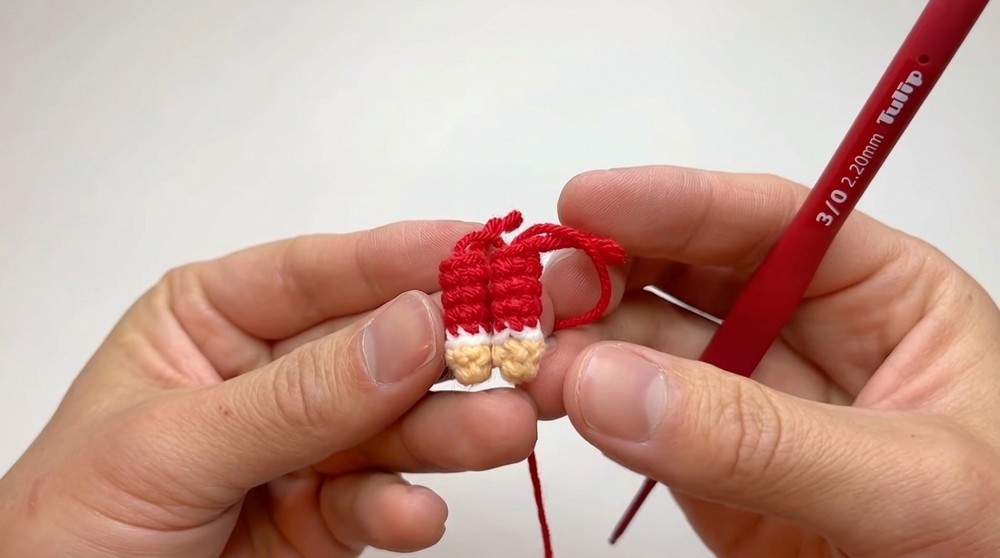
- Begin with a Magic Ring (MR), 6 sc.
- Work through 8 rounds, including color changes to red, white, and skin tone as indicated.
- Incorporate decreases in later rounds for subtle shaping.
- Fasten off, leaving a tail for sewing.
Ears:
- Start with a Magic Ring (MR), 4 sc.
- Fasten off, shaping the tiny ears for attachment.
Sack (Coat):
- Chain 25.
- Rows 2–6: Work rows of single crochet, turning after each row.
- Row 7: Incorporate armholes by skipping or chaining as needed; refer to exact placement from the transcription.
- Finish with white trim in final rows for Santa’s classic coat appearance.
Accessories:
- Beard: Work a series of chain loops, shaped and sewn with pins.
- Mustache: Crocheted separately, shaped with two small loops or clusters.
- Hat: Begin in rounds up to Round 23; use classic amigurumi increases for a cone, finishing with white trim and a pom-pom.
Assembly
Beard:
- Pin beard in place; sew by passing needle behind chain loops, ensuring it sits flush under the nose and mouth area.
Mustache:
- Position between head rounds 13–14; secure on the back side for neat placement.
Belt:
- Crochet a chain (length sufficient to wrap around the waist, about 18–22 chains).
- Add a yellow buckle with separate yarn or embroidery.
- Attach belt securely at waist, cinching for shape retention.
Hat:
- Stuff and shape hat.
- Attach to head with firm stitching.
- Add pom-pom at tip (glue or sew for security).
Glasses:
- Using thin wire, form oval shapes for frames and join at bridge.
- Place gently on face, securing with minimal stitches or glue if needed.
Finishing Details:
- Sew ears to sides of head, arms to body, and coat to torso.
- Adjust stuffing and seams for smooth appearance.
- Weave in all ends, positioning each accessory for maximum expression.
Assembly & Finished Size
Shape your chibi Santa carefully after final assembly. The figure should stand upright, with limbs positioned for character and accessories perfectly aligned. Each facial and clothing detail—beard, mustache, hat, belt, and glasses—should display the classic Santa silhouette, maintaining the 10 cm height and chibi proportions.
Conclusion
The Santa Claus Chibi pattern is defined by precise shaping, color transitions, and expressive accessories, offering a charming blend of tradition and amigurumi detail. Each feature is crafted with clarity and care, from seamless head-body integration and sculpted limbs to intricate facial details and festive attire. Sturdy stitches, crisp color changes, and thoughtful placement ensure a joyful miniature that brightens the holidays. The pattern’s balance of technical guidance and creativity supports both skill-building and personalized finishing touches for a memorable festive figure.