
Bright Crochet Amigurumi Elephant Free Pattern For Playtime
Dress up your toy shelf with this Crochet Amigurumi Elephant Free Pattern and make a lovely toy with big ears and a cute little trunk.
Elephants are known for their gentle nature and big hearts.Try This Crochet Amigurumi Elephant is a small, handmade toy that brings that same warmth in a soft, cuddly form. This project creates a cute elephant, usually about 6 to 8 inches tall when finished—just the right size to hold or display.
Try a Free Crochet Amigurumi Elephant Pattern For Fun
This little elephant has key features like big floppy ears, a curved trunk, and tiny legs that give it a sweet and friendly appearance. It is often made with basic crochet stitches such as single crochet, increases, and decreases, making it suitable for beginners who want to try amigurumi projects or those with some crochet experience looking for a fun, straightforward project.
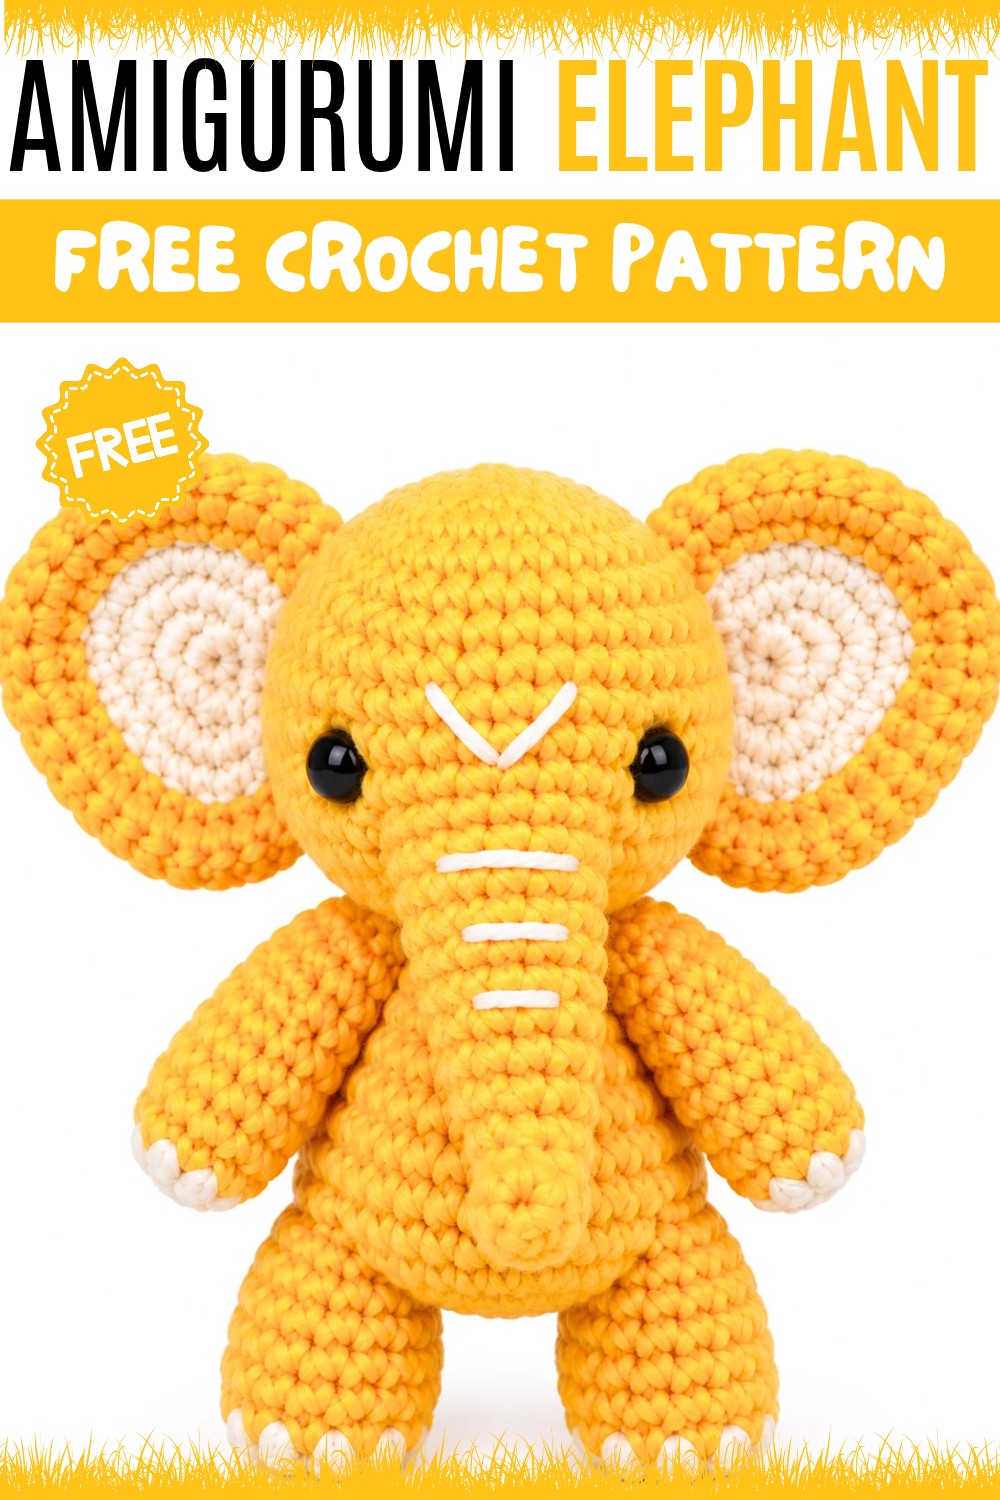
This project is enjoyable because it combines simple crochet techniques with light sewing to attach ears and limbs. This helps improve your skills gradually while creating a delightful result. Working on this elephant also teaches patience and attention to detail, especially during shaping and assembly.
Give this adorable little friend a go with this free pattern and see how quickly it comes to life stitch by stitch!
About the Pattern
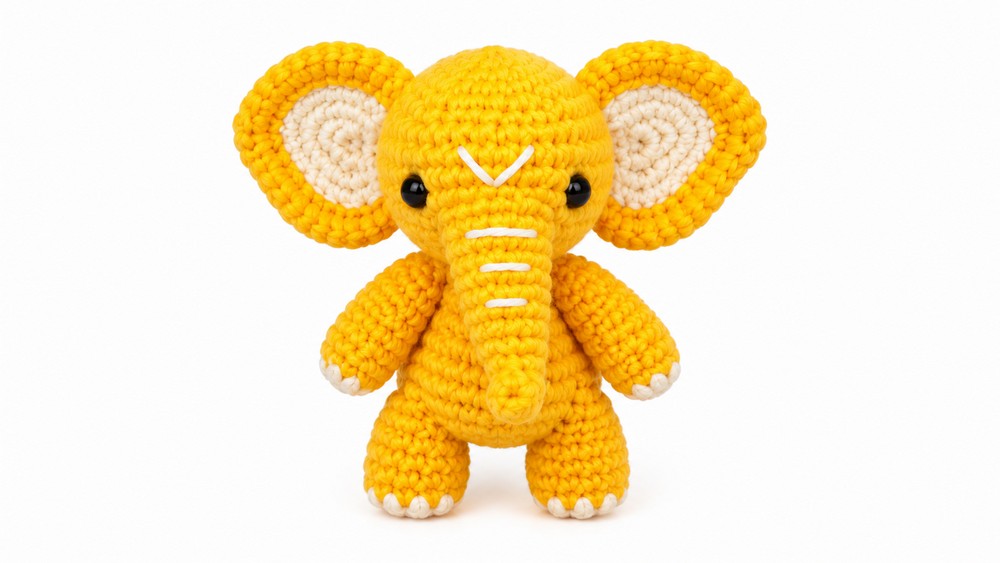
This pattern creates a detailed, movable 11 cm crochet elephant, featuring classic shaping techniques and well-structured assembly. Each body segment is individually formed with clear increases and decreases to achieve realistic proportions. Distinct attention is given to elements like a two-color ear option, jointed limbs, a characterful trunk, and finishing embroidery details, resulting in a professional and customization miniature elephant.
Key Pattern Details
- Complete body and head are worked as a single unit before trunk and facial features are added.
- Movable arms and legs are attached with thread-jointing, offering flexibility for posing.
- Spiral rounds are used for most shaping, providing a seamless look.
- Decorative embroidery enhances the trunk and toes.
- Ears can be made in a two-color style for extra character.
Important Notes
- Use a consistent, firm tension to ensure a tight fabric so stuffing remains hidden and the final shape is maintained.
- Pay attention to rounds and stitch count; miscounts may impact symmetry.
- Sew or thread-joint arms and legs securely for safety and durability.
- The tail uses simple yarn strands and basic braiding for a classic finish.
- Embroider details only after main assembly to ensure proper positioning.
Difficulty Level
The elephant pattern suits an advanced beginner to intermediate crocheter. Familiarity with the magic ring method, working in rounds, increasing, decreasing, thread-jointing, color changes, and basic embroidery is required.
Supplies Needed
- DK or light worsted weight yarn in gray (main color) and optional second color for ears
- Small amounts of black for embroidery
- Crochet hook appropriate for yarn (suggested 2.25–3 mm)
- Fiberfill stuffing
- Yarn needle for sewing and embroidery
- Scissors
- Stitch markers (optional)
- Needle and strong thread or thin yarn for jointing limbs
Size & Measurements
Finished elephant measures approximately 11 cm (about 4.3 inches) from toe to top of head (excluding tail). Slight size variation may occur with different yarns or personal tension.
Gauge & Stitch Details
- Gauge is not critical; ensure stitches are tight to avoid showing stuffing.
- Single crochet (sc) is used for nearly all construction.
- Turning rows may be used for detail pieces like the ears.
Crochet Abbreviations
- MR: Magic ring
- sc: single crochet
- inc: increase (2 sc in one stitch)
- dec: decrease (sc 2 together)
- sl st: slip stitch
- ch: chain
- st: stitch
- FO: fasten off
Special Stitch Guide
- Magic Ring (MR): Begin with a tightly closed, adjustable ring for starting in the round.
- Increase (inc): Work two single crochets into the same stitch.
- Decrease (dec): Single crochet two stitches together (invisible decrease for best results).
Complete Crochet Pattern
Body and Head
- Round 1: Start with a magic ring, work 6 sc.
- Round 2: Inc in each st around (12 sc).
- Round 3: (1 sc, inc) around (18 sc).
- Round 4: (2 sc, inc) around (24 sc).
- Round 5: (3 sc, inc) around (30 sc).
- Rounds 6–9: Work 30 sc per round for shaping the body.
- Round 10: (3 sc, dec) around (24 sc).
- Round 11: (2 sc, dec) around (18 sc).
- Round 12: (1 sc, dec) around (12 sc).
- Add stuffing to the body at this point, ensuring it is firm but not overstretched.
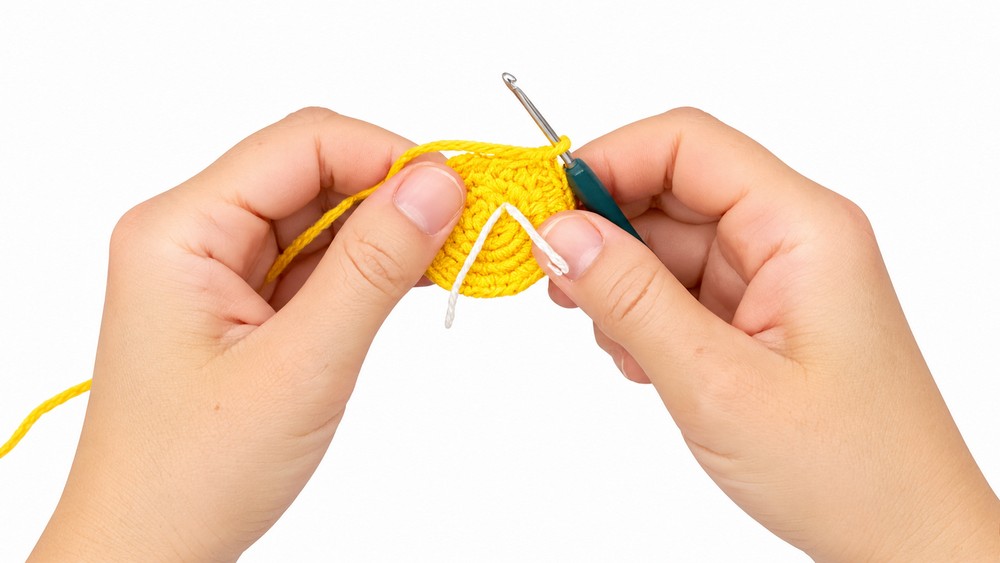
Do not fasten off. Begin head directly:
Head Development
- Round 13: (1 sc, inc) around (18 sc).
- Round 14: (2 sc, inc) around (24 sc).
- Round 15: (3 sc, inc) around (30 sc).
- Round 16: Work 30 sc evenly.
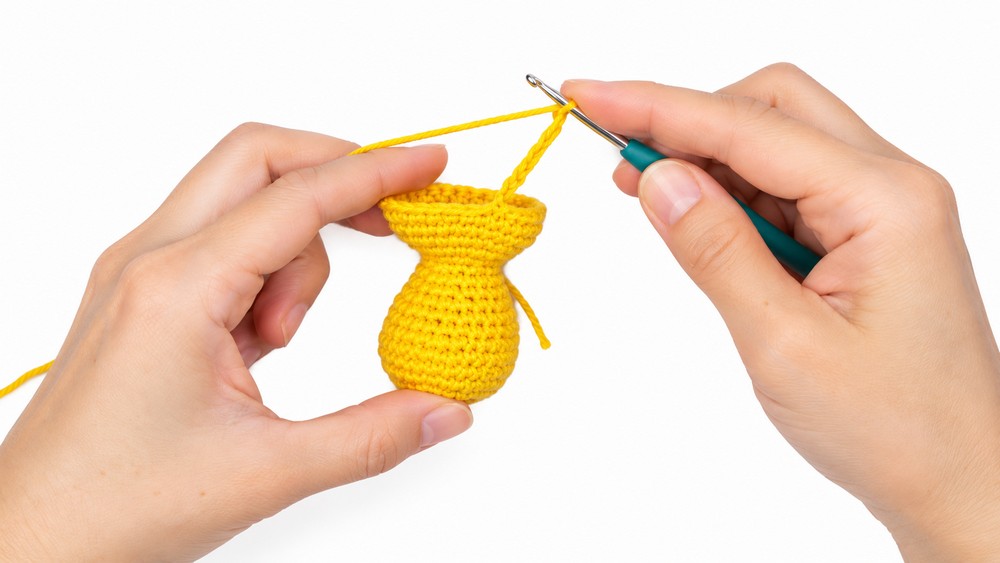
- Round 17: Prepare an opening for the trunk by skipping the appropriate number of stitches (approximately the center front 6–8 stitches), then continue around for the remainder of the round. Total should be 35 sc (including trunk opening).
- Rounds 18–20: Work 35 sc each round to finish shaping the head. After Round 20, add stuffing generously so the head holds its form.
Trunk
- Attach yarn to the base of the trunk opening at the front center of the head.
- Round 1: Work sc evenly around the opening, picking up 8–10 stitches.
- Rounds 2–4: Work 8–10 sc evenly.
- Round 5: (2 sc, dec) around (down to about 6 sc).
- Rounds 6–10: Work 6 sc per round to narrow and extend the trunk.
- Stuff lightly as you work to shape but allow for flexibility.
- FO, weave in end.
Ears (Make 2)
- Round 1: With main or contrast color, start with a magic ring, 6 sc, pull tight.
- Round 2: Inc in each st (12 sc).
- Row 3: Turn, (1 sc, inc) across the row (18 sc).
- From here, alternate rows of sc and turning at end to develop a rounded, slightly cupped shape for the ear. Work 2–3 more rows, increasing where necessary to maintain a fan shape.
- Optional: Change yarn color halfway or on the last two rows for the inner ear contrast.
- FO, leave long tail for sewing.
Arms (Make 2)
- Round 1: Magic ring, 6 sc.
- Round 2: Inc in next 6 sts (12 sc).
- Rounds 3–10: Work 12 sc in each round.
- FO, stuff lightly, leave long tail for jointing.
Legs (Make 2)
- Round 1: Magic ring, 6 sc.
- Round 2: Inc in each stitch (12 sc).
- Round 3: (1 sc, inc) around (18 sc).
- Rounds 4–10: Work 15 sc for 7 rows (decrease on first rounds from 18 to 15 by working a few evenly spaced decreases as necessary in round 4).
- FO, stuff, leave long tail for jointing.
Tail
- Cut 2–3 strands of yarn (about 7–8 cm each). Thread together at the body, between rows 5 and 6 on the back side. Braid and knot, trimming to desired length.
Assembly and Details
- Use strong thread or thin yarn for thread-jointing each arm and leg: sew through the body and the limb several times to secure; tie off firmly inside.
- Attach ears securely to sides of head, positioned just behind and slightly above the eyes.
- Embroider trunk ridges using straight stitches and toes on the feet using contrasting yarn with whip- or straight-stitch.
- Add stuffing as needed to finish shaping, close off any remaining openings.
Joining & Final Size
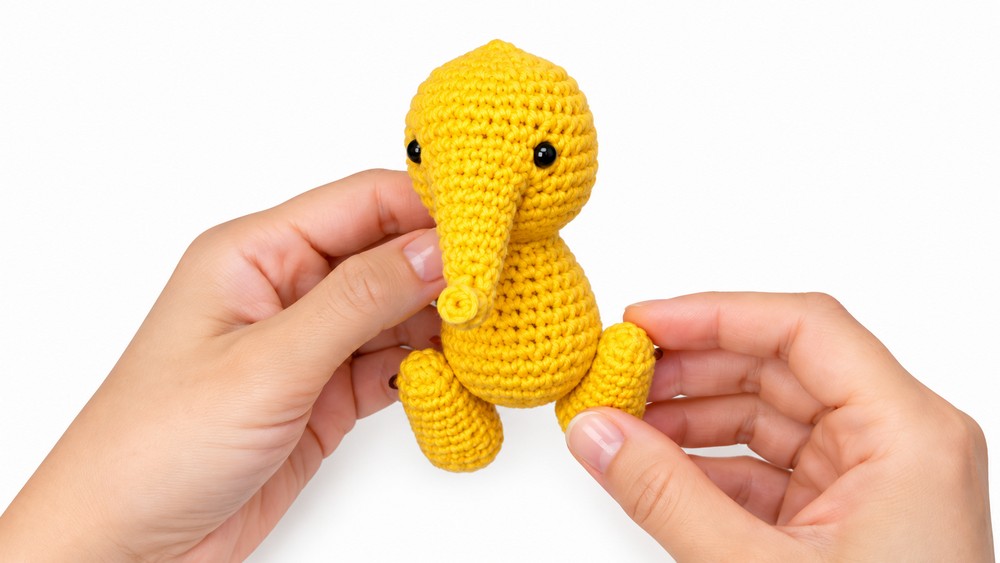
Attach arms and legs with secure thread-jointing for movable parts and poseability. Sew ears evenly to either side of the head, maintaining symmetry. Fix the tail between the 5th and 6th rows at the back. Use embroidery to reinforce trunk ridges and outline toes, enhancing facial and limb detail. The final assembled elephant stands at approximately 11 cm, with charming proportions, jointed limbs, and a classic braided tail.
Final Words
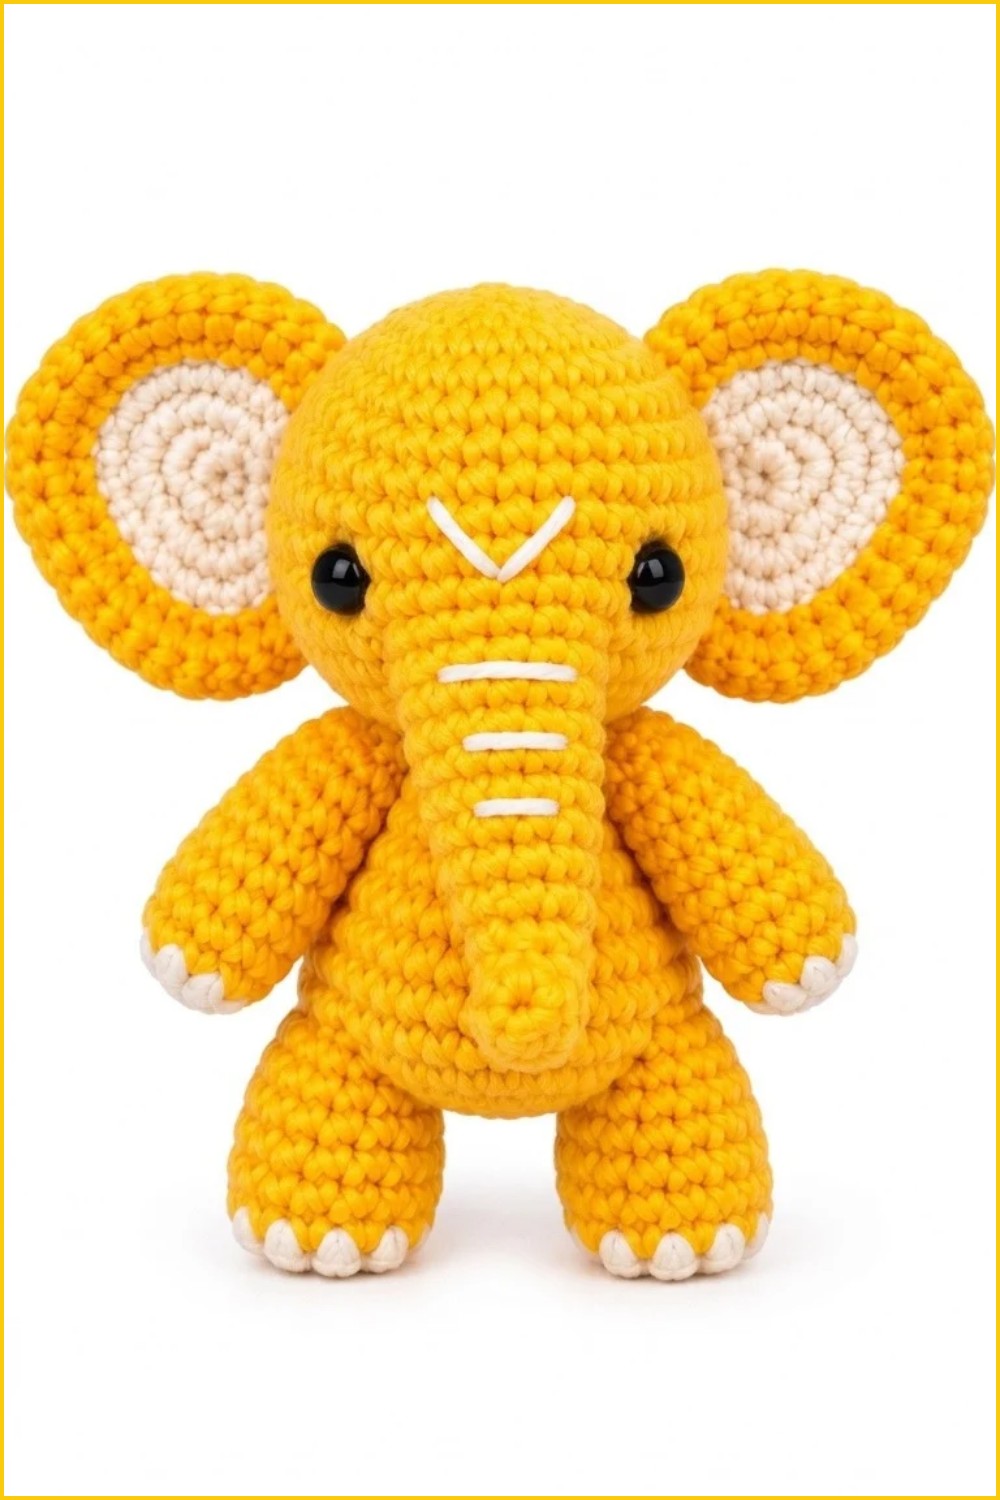
This 11 cm crochet elephant combines well-defined rounds, classic shaping, and thoughtful assembly for a timeless toy or display piece. Each segment’s clear structure provides a robust and polished result, while the movable limbs and embroidered details add personality and character that make this project especially special for makers and recipients alike.