
Cute Crochet Amigurumi Hello Kitty Free Pattern To Try
Give your toy collection a sweet new friend with this Crochet Amigurumi Hello Kitty Free Pattern and enjoy making a cute doll with a pretty little bow.
Would you like to create something cute and cuddly? The Crochet Hello Kitty Amigurumi is a small, soft doll made using yarn and a hook. It looks just like the popular Hello Kitty character and is perfect to hold, play with, or display around your home. You can make it any size you want—small enough to fit in your hand or bigger to hug!
Easy Crochet Hello Kitty Amigurumi Free Pattern For Kids
One fun thing about this crochet is choosing the colours. Most Hello Kitty dolls have a white body with her signature red bow, but you can pick your favorite colours to make your doll unique. try making a pink Hello Kitty or even a rainbow one! This makes every doll special and full of personality.
The doll’s shape is simple yet lovable: a round face with a little nose, pointy ears, and cute whiskers. Its small arms and legs pop out just enough to hold onto tiny treasures. All these parts are made using the single crochet stitch, which keeps the yarn stitches tight so the doll stays soft but firm, and nothing can peek through.
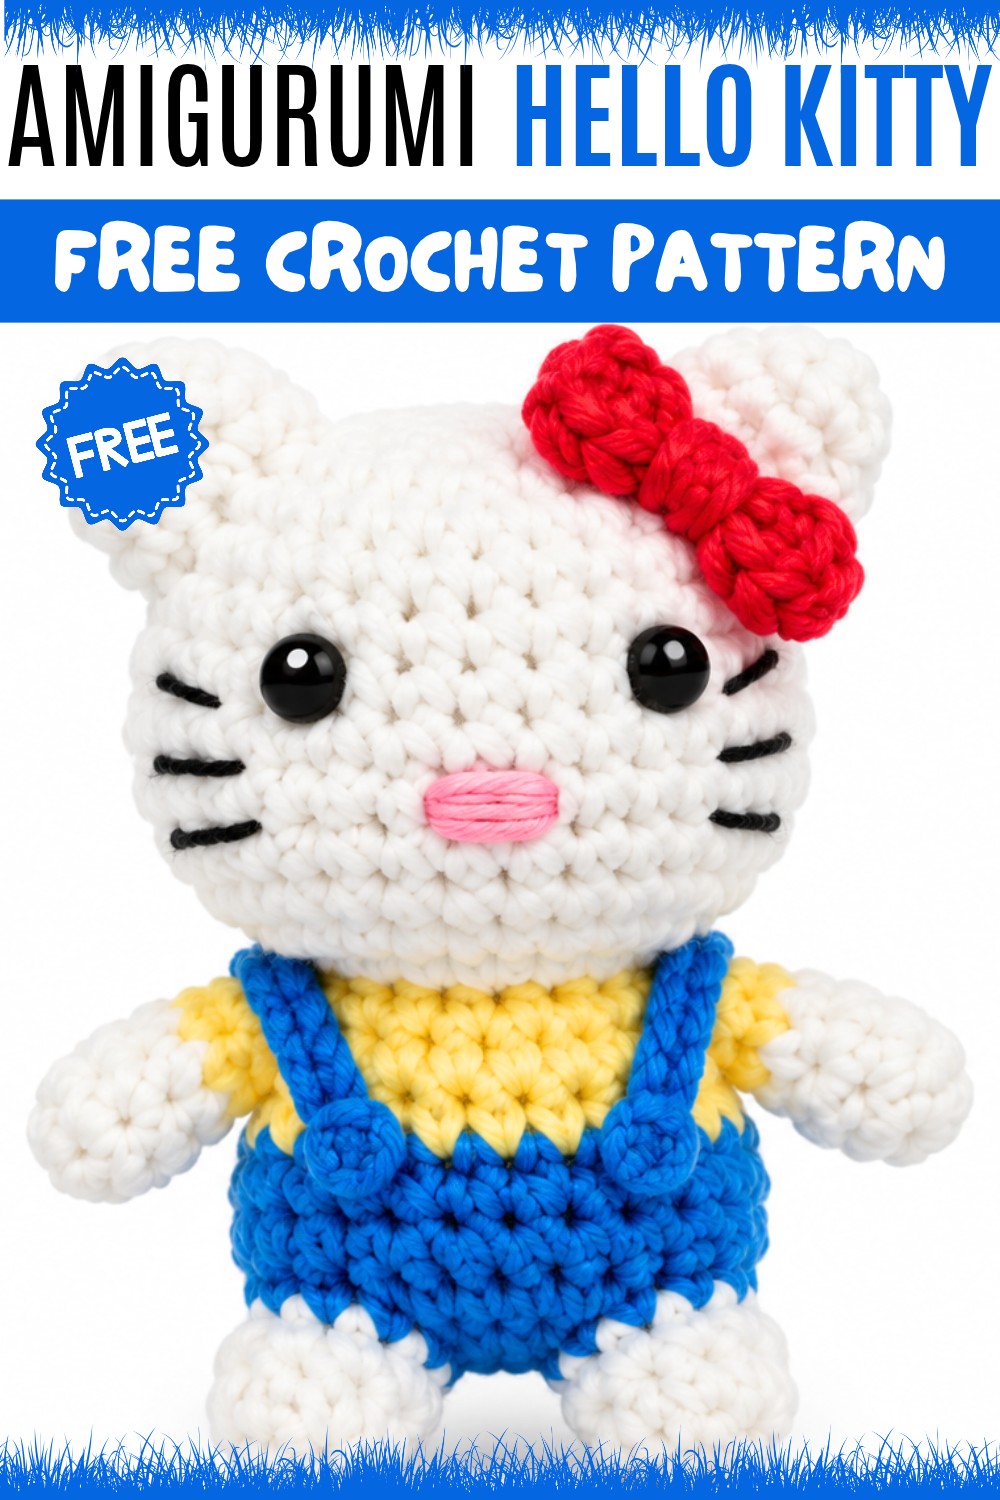
This fun crochet shows how simple yarn and some time can turn into a little friend that brings smiles and joy to everyone!
Crochet Kitty Doll Amigurumi Pattern
About the Pattern
This crochet kitty doll pattern is comprised of several small but distinct amigurumi pieces: the head, body, legs, arms, ears, facial details, and a bow accessory. Each part is carefully shaped using rounds of single crochet stitches, magic rings, color changes, and minimal seaming for a clean finish. The result is a playful, expressive kitty figure assembled with embroidered whiskers, bead eyes, and additional embellishments.

Key Pattern Details
The construction of this kitty amigurumi uses frequent increases and decreases to create gentle curves and defined features. The magic ring technique gives a tight, gapless base for spheres (head, body, ears, limbs) and most shapes are finished off by stuffing and trimming with a yarn needle. Color changes and back loop techniques add character to the doll. Assembly follows a logical sequence, ensuring accurate placement of all elements.
Important Notes
- Work in continuous spiral rounds, unless otherwise indicated.
- Use a tight tension to prevent stuffing from showing.
- Mark the start of each round with a stitch marker.
- When changing colors, pull through the new color in the last yarn over of the previous stitch.
- Do not overstuff; maintain the shape but avoid bulging.
- Keep tails long for sewing pieces together.
Difficulty Level
Confident beginner to intermediate. Familiarity with working in the round, basic amigurumi increases and decreases, color changes, and simple embroidery is helpful. Sizing is forgiving, and assembly is straightforward.
Supplies Needed
- Worsted weight cotton or acrylic yarn: main (white or light color), secondary (yellow or accent color), and a small amount of color for bow
- Crochet hook (2.5mm to 3mm typical for amigurumi)
- Stitch marker
- Yarn needle
- Polyester fiberfill stuffing
- Black embroidery thread for whiskers
- Two small black beads or safety eyes
- Scissors
Size & Measurements
Kitty doll stands approximately 10–13 cm tall from ear tip to base when assembled, depending on hook, yarn, and tension.
Gauge & Stitch Details
Gauge is not critical for amigurumi but aim for a dense fabric with no visible stuffing:
- 6–8 sc per 2 cm
All pieces should feel firm and plush.
Crochet Abbreviations
- MR: Magic ring
- sc: Single crochet
- inc: Increase (2 sc in same stitch)
- dec: Decrease (single crochet two together)
- ch: Chain
- BLO: Back loop only
- dc: Double crochet
- sl st: Slip stitch
Special Stitch Guide
- Magic Ring (MR): Form a loop; crochet into the ring to start seamless rounds.
- Increase (inc): 2 sc in the same stitch.
- Decrease (dec): Insert hook into next stitch, yarn over, draw loop, insert into next stitch, yarn over, draw loop, yarn over, pull through all loops.
- Back Loop Only (BLO): Work sc into back loop only for shaping or texture.
- Finishing: Use a needle to close openings securely.
Complete Crochet Pattern
Head
Round 1:
- Magic ring with 6 sc.
Round 2:
- 2 sc in each stitch (12 sc).
Round 3:
- 1 sc, 2 sc in next stitch repeat around (18 sc).

Round 4:
- 3 sc, 2 sc in next stitch repeat around (22 sc).
Rounds 5–8:
- 1 sc in each stitch (22 sc per round).
Round 9:
- 7 sc, dec repeat (18 sc).
Round 10:
- 1 sc, dec repeat around (12 sc).
Finish:
- Stuff firmly with cotton or polyester fiberfill.
- Using a yarn needle, weave the yarn tail through the front loops of the remaining stitches and pull tightly to close the opening.
Body
Round 1:
- Magic ring with 6 sc.
Round 2:
- 2 sc in each stitch (12 sc).
Round 3:
- 2 sc, 2 sc in next stitch repeat around (16 sc).
Round 4:
- 1 sc in each stitch (16 sc).
Transition:
- Switch to a secondary color (e.g., yellow for shirt or dress).
Round 5:
- In BLO, 1 sc in each stitch (16 sc).

Round 6:
- 2 sc, dec repeat (12 sc).
Finish:
- Stuff body firmly.
- Attach to the closed head using the yarn tail and needle, whipstitching around both openings for a seamless join.
Legs (Make 2)
Round 1:
- Magic ring with 6 sc.
Round 2:
- 6 sc.
Stuff each leg lightly as you go.
- Fasten off, leaving a tail for sewing.
- Attach both legs side by side to the bottom of the body with the yarn needle.
Arms (Make 2)
First Section:
- Magic ring with 4 sc.
Second Section:
- 6 sc.
Third Section:
- 4 sc.
Stuff lightly or leave unstuffed for flexibility.
- Fasten off, leave a tail.
- Sew arms to each side of the body at shoulder height.
Ears (Make 2)
Each Ear:
- Magic ring.
- Into the ring: 1 sc, 4 dc, 1 sc.
Close the ring tightly.
- Fasten off, leaving tail.
- Shape into a soft triangle and sew on top of head, one on each side.
Bow
Start:
- Chain 5.
Row 1:
- Turn, sc in the 2nd chain from hook and across (4 sc).
Rows 2–? (to form a rectangle):
- Continue until you have a small rectangle.
Finishing:
- Wrap a short length of yarn tightly around the center of the rectangle (cinched), forming a bow.
- Sew or attach to one ear or neck as desired.
Face
- Attach two black beads (or safety eyes) securely as eyes.
- With black embroidery thread, embroider three short whiskers on each side of the face.
- Optional: embroider a small upside-down triangle for a nose.
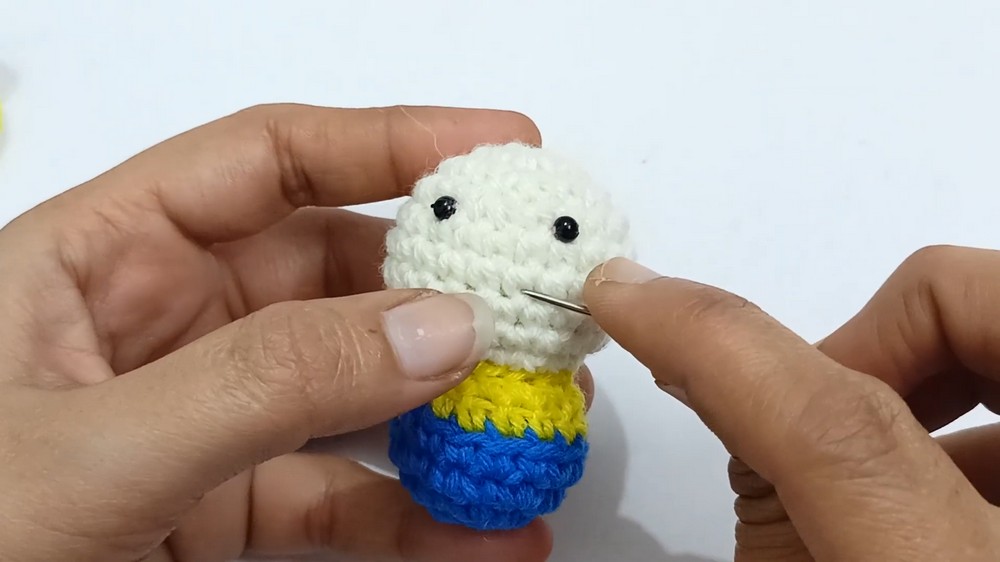
Joining & Final Size
- Assemble in this order for best results:
- Sew body to head.
- Sew legs to body base.
- Attach arms to body sides.
- Secure ears to head top.
- Attach bow to the desired spot (ear or neck).
- Place and secure eyes, embroider all facial features.
- Once all parts are attached, check stuffing and gently shape into final proportions. Trim any loose threads for a neat finish.
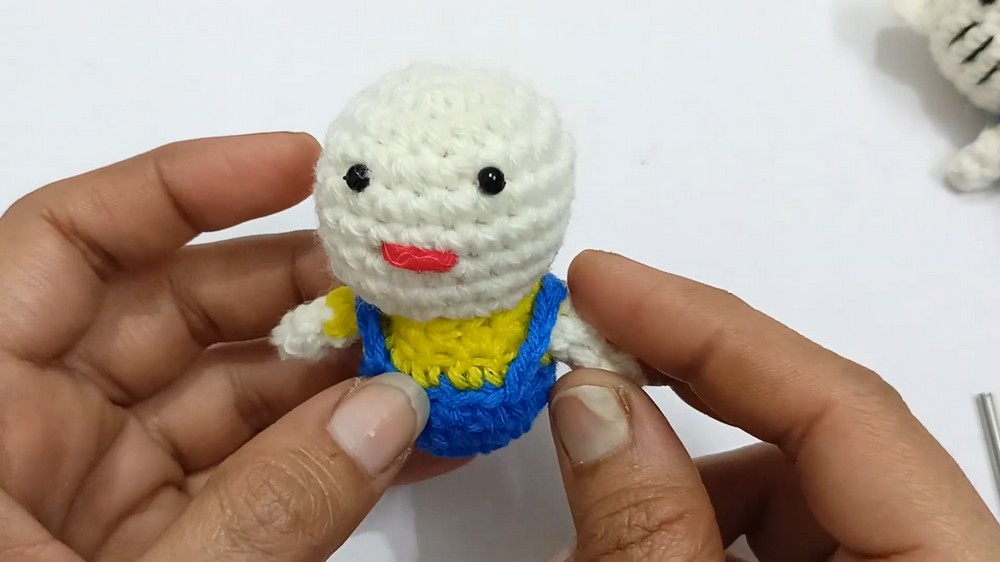

Final Words
This crochet kitty doll showcases traditional amigurumi shaping and assembly, resulting in a soft, charming character. Each round is designed to create well-proportioned curves, while straightforward assembly highlights classic details—such as the crocheted bow, bead eyes, and simple embroidered whiskers. The pattern employs strategic use of color changes and minimal seaming for a polished effect, yielding a delightful handmade keepsake or gift.