
Quick Crochet Amigurumi Snowman Free Pattern For Winter Decor
Celebrate snowy days with this Crochet Amigurumi Snowman Free Pattern and make an adorable little toy for your winter collection.
A small, charming figure that is simple to work on, this project stands around 6 to 8 inches tall. The Crochet Amigurumi Snowman design by GUMILUPIS CROCHET has a round shape made of three stacked circles. These circles form the base, the middle, and the head, giving the snowman a classic look.
Mini Crochet Amigurumi Snowman Free Pattern For Christmas Displays
Typically, the snowman's face features two small black eyes, often made with buttons or stitched yarn. A little orange nose, shaped like a carrot, adds character. Sometimes, a tiny scarf or hat is added to give the snowman more personality. Small arms, made from yarn or pipe cleaners, complete the look
The usual color for the yarn is white to represent snow, but other colors can be used for a unique appearance. This project is good for beginners or those with some basic crochet knowledge. You will need to know simple stitches such as single crochet, increases, and decreases.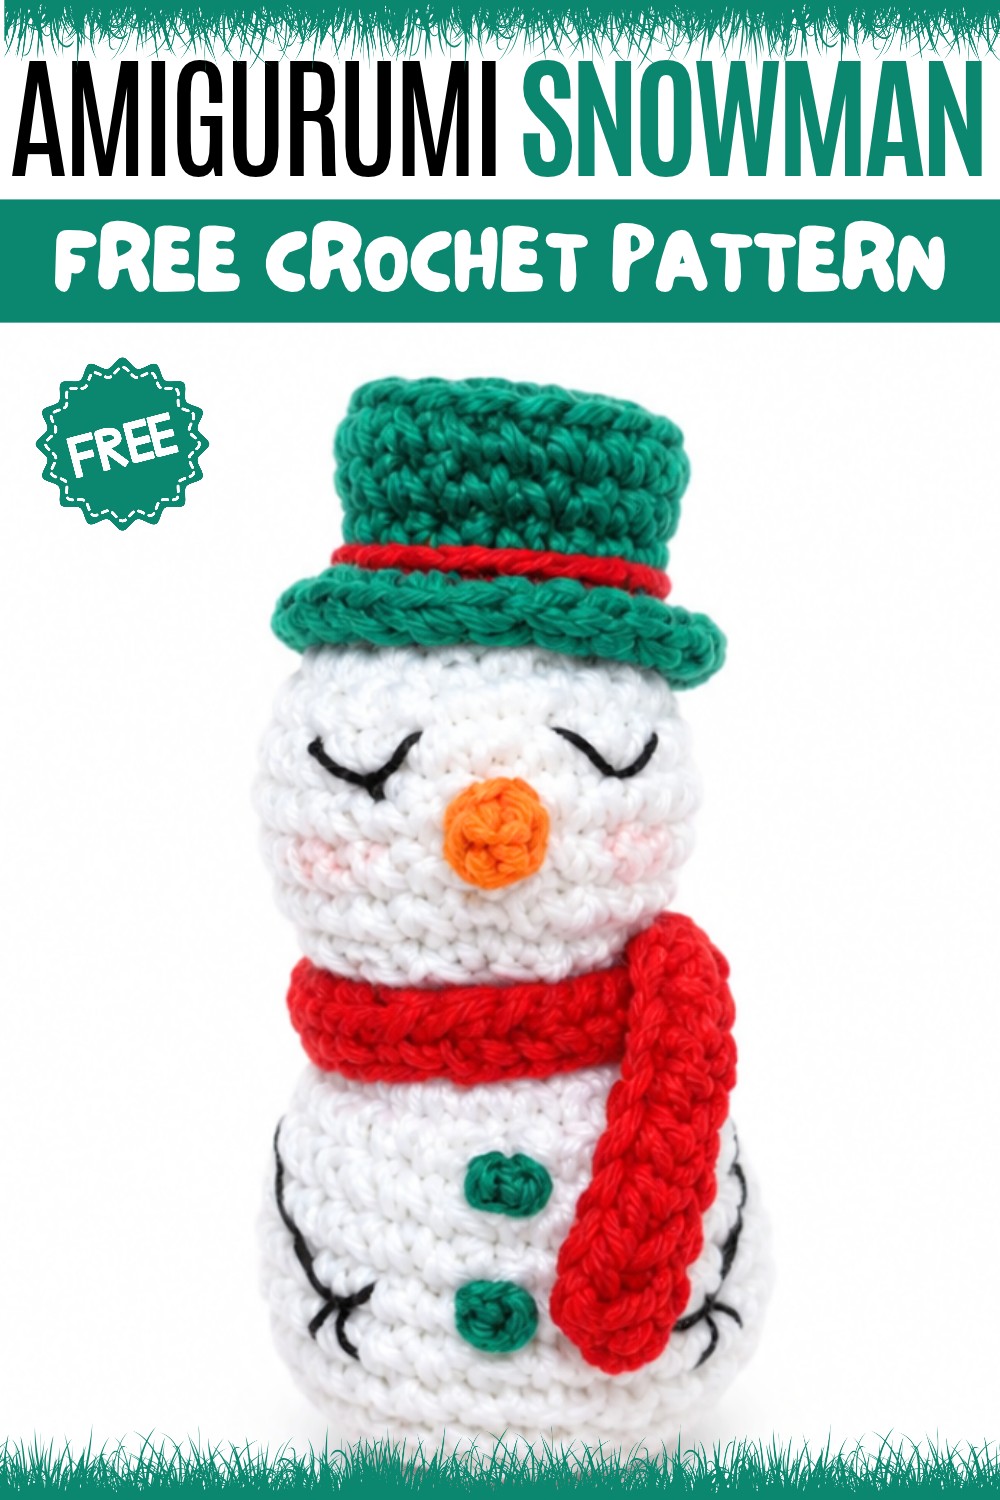
This kind of snowman is cheerful and can brighten a room during the winter season. It can be used as a decoration for tables, shelves, or mantelpieces. It also works well as a small gift or party favor during holiday events. Additionally, it can be a fun toy for children or a cute addition to a holiday-themed collection. It helps improve crochet skills while being enjoyable to put together. The size, shape, and easy details make this a friendly and approachable project for many people.
About the Pattern
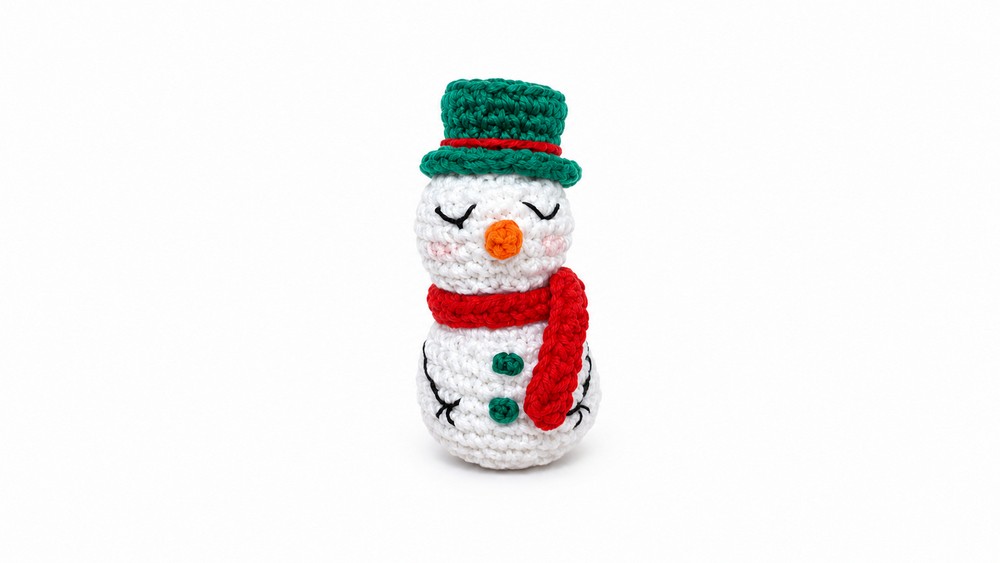
The Amigurumi Snowman pattern is a diminutive, festive project characterized by its sturdy double-sphere construction, classic embroidered details, and cheerful winter accessories. The snowman’s compact size and carefully proportioned features create universal appeal, making it suitable for gifts, ornaments, or collectible displays. Its continuous rounds, subtle shaping, and banded accessories all contribute to a cohesive and recognizable winter character, offering clear instructions ideal for crochet enthusiasts seeking a precise and rewarding project.
Pattern Basic Points
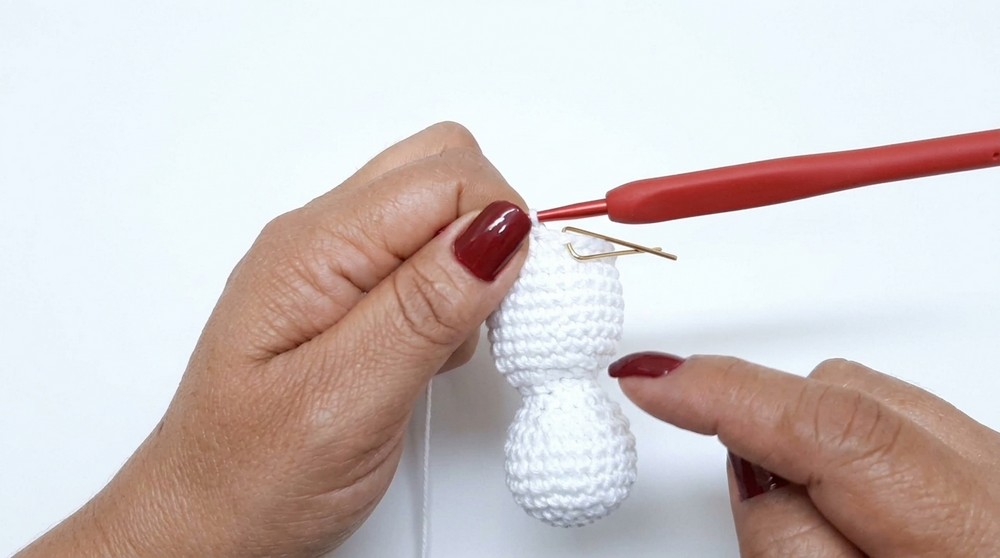
- Two-Part Spherical Body: The snowman is shaped by consecutive increase and decrease rounds, forming a compact base and head in a single continuous piece.
- Defined Head-Body Junction: Back loop only increase at the neck rounds provides structural stability and a subtle defined transition between head and torso.
- Removable Accessories: A crocheted top hat and scarf, plus an appliquéd carrot nose, create character and outfit variety.
- Surface Embellishments: Basic embroidery is used for facial features, arms, and buttons, accenting the snowman’s personality.
- Minimal Sewing: The nose and hat are sewn or attached, while all other features are embroidered, ensuring durability and reducing loose parts.
Special Notes
- Work in continuous rounds unless otherwise specified; use a stitch marker to keep track of round beginnings.
- Maintain firm, even tension throughout so that stuffing does not show between stitches.
- Stuff the head and body as you close them, using extra care after Round 22 to avoid distorting the shape.
- The back loop only (BLO) increases at the head-body break add a crisp ridge, which can also assist in hat placement.
- Safety can be increased by securely stitching or embroidering all small pieces and features for younger recipients.
Skill Level
Confident Beginner to Intermediate. This pattern is suitable for crocheters with basic amigurumi experience, including magic ring, working in rounds, simple increases and decreases, basic embroidery, and elementary colorwork for accessories.
Materials
- Yarn: 2mm-weight cotton or acrylic in white (body), green (hat), red (scarf, buttons), black (details, hat), and orange (nose).
- Hook: 2mm or 2.2mm crochet hook for firm, compact stitches.
- Tapestry Needle: For sewing, embroidery, and weaving in ends.
- Stitch Marker: Essential for spiral rounds.
- Polyester Fiberfill: For stuffing.
- Scissors
Measurements, Gauge, and Stitch Pattern
- Finished size: Approximately 8cm tall from base to hat tip.
- Gauge: Not traditionally critical, but stitches should be tight enough to prevent stuffing from showing. Approximate gauge: 8 rounds = 2.5cm in diameter (subject to yarn/hook tension).
- Stitch Pattern: Single crochet used throughout, moderate use of half double crochet and double crochet in accessories.
Stitch Abbreviations
- sc: Single crochet
- inc: Increase (2 sc in same stitch)
- dec: Decrease (single crochet 2 together)
- hdc: Half double crochet
- dc: Double crochet
- ch: Chain
- MR: Magic ring
- BLO: Back loop only
- FLO: Front loop only
Special Stitches
- Magic Ring (MR): Adjustable loop for seamless round beginnings.
- Back Loop Only (BLO): Insert hook only in the back loop of the stitch to create a ridge or defined angle.
- Front Loop Only (FLO): Used in hat for brim shaping.
- Continuous Rounds: Spiral construction without slip st join, except where explicitly stated.
Free Pattern
Body Pattern (White Yarn)
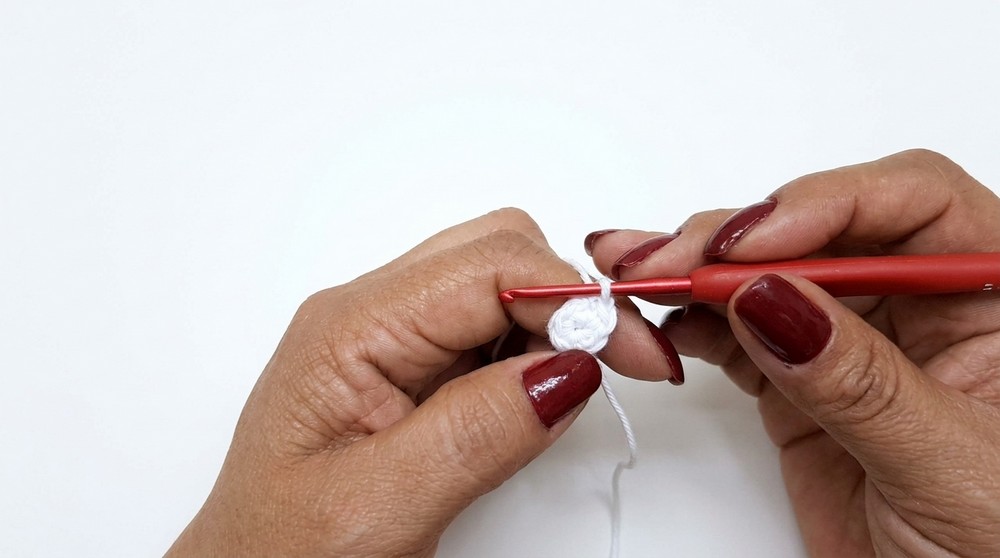
- R1: MR, 6 sc (6)
- R2: 6 inc (12)
- R3: (1 sc, inc) x6 (18)
- R4: (2 sc, inc) x6 (24)
- R5–R8: 1 sc in each st around for 4 rounds (24 each)
- R9: (2 sc, dec) x6 (18)
- R10: (1 sc, dec) x6 (12)
- R11: (2 sc, dec) x3 (9)
- R12: BLO: (inc) x9 (18)
- R13: (2 sc, inc) x6 (24)
- R14–R19: 1 sc in each st for 6 rounds (24 each)
- R20: (2 sc, dec) x6 (18)
- R21: (1 sc, dec) x6 (12)
- R22: (dec) x6 (6)
- Securely fasten off, weaving in the yarn tail. Stuff body and head sections firmly before final rounds.
Hat Pattern (Green or Black Yarn)
- R1: MR, 6 sc (6)
- R2: 6 inc (12)
- R3: (1 sc, inc) x6 (18)
- R4: BLO, 18 sc
- R5–R6: 1 sc in each st (18 for 2 rounds)
- R7: FLO: (2 sc, inc) x6 (24)
- R8: 1 sc in each st (24)
- Fasten off, leaving a long tail for sewing onto the head. Optionally stuff lightly for shape.
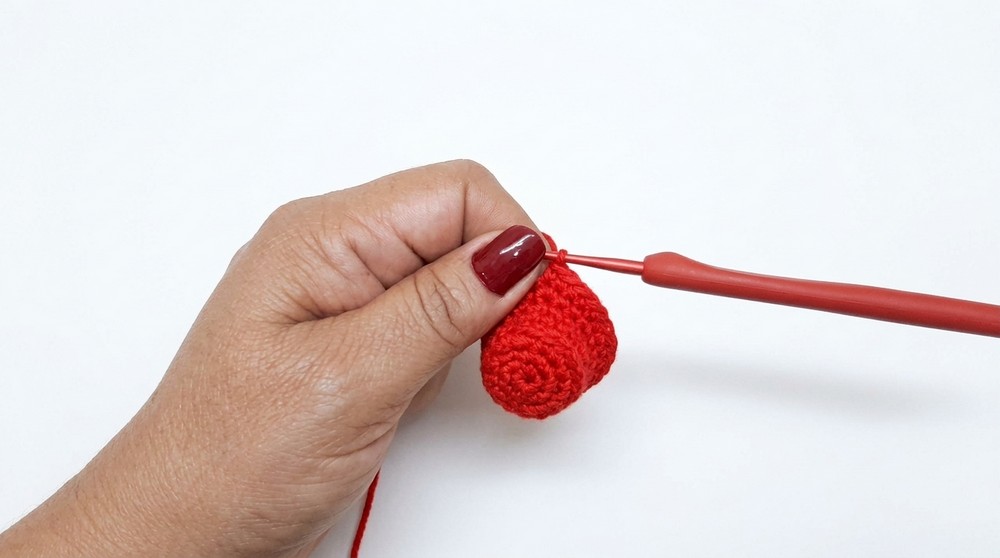
Accessories
Scarf (Red Yarn)
- Ch 31, turn, work hdc into each ch across (30 hdc).
- Fasten off and weave in ends carefully.
Nose (Orange Yarn)
- Ch 3, in first ch from hook, work 3 dc.
- Fasten off with a long tail for sewing. Shape as a small, slightly curled carrot and sew securely.
Assembly & Feature Embellishment
- Eyes: With black embroidery thread/yarn, add two small stitches or French knots between R5 and R6 of the head, evenly spaced.
- Nose: Attach the crocheted carrot nose between and slightly below the eyes.
- Hat: Position at a slight angle atop the head, covering the BLO neck join for a stylish effect. Sew down securely.
- Arms: Embroider simple stick arms extending from the side of the lower body, using black yarn.
- Buttons: Sew three small red stitches (or French knots) vertically on the torso.
- Scarf: Wrap around the lower neck and secure with a small stitch if desired.
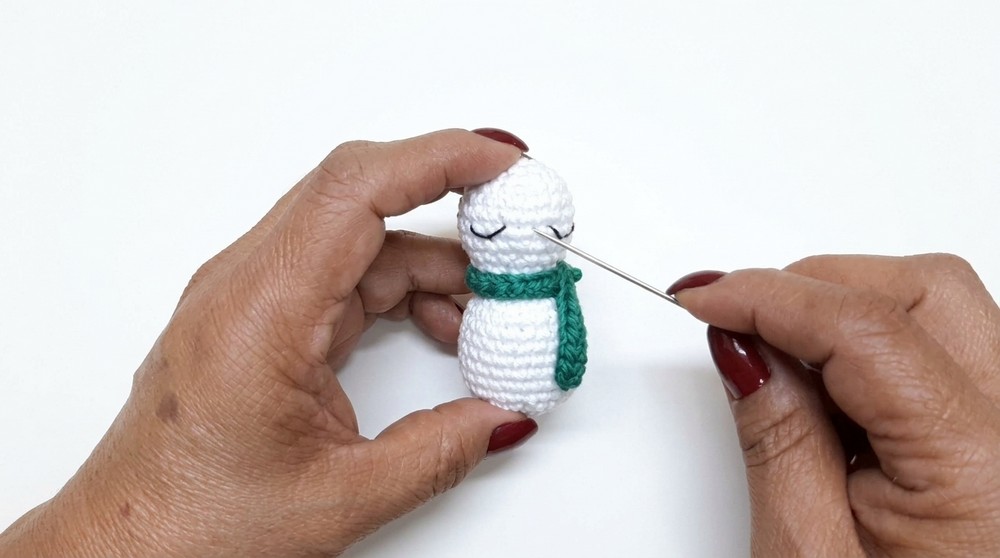
Assembly & Finished Size
- After all sewing and embroidery is complete, ensure all ends are neatly woven inside the body.
- Place the finished hat at a perky angle, and arrange the scarf gently around the snowman’s neck.
- The completed snowman sits at approximately 8cm tall, depending on stuffing and tension.
- The toy’s proportions, cheerful facial expression, and sturdy construction make it suitable for display, gifting, or festive décor.
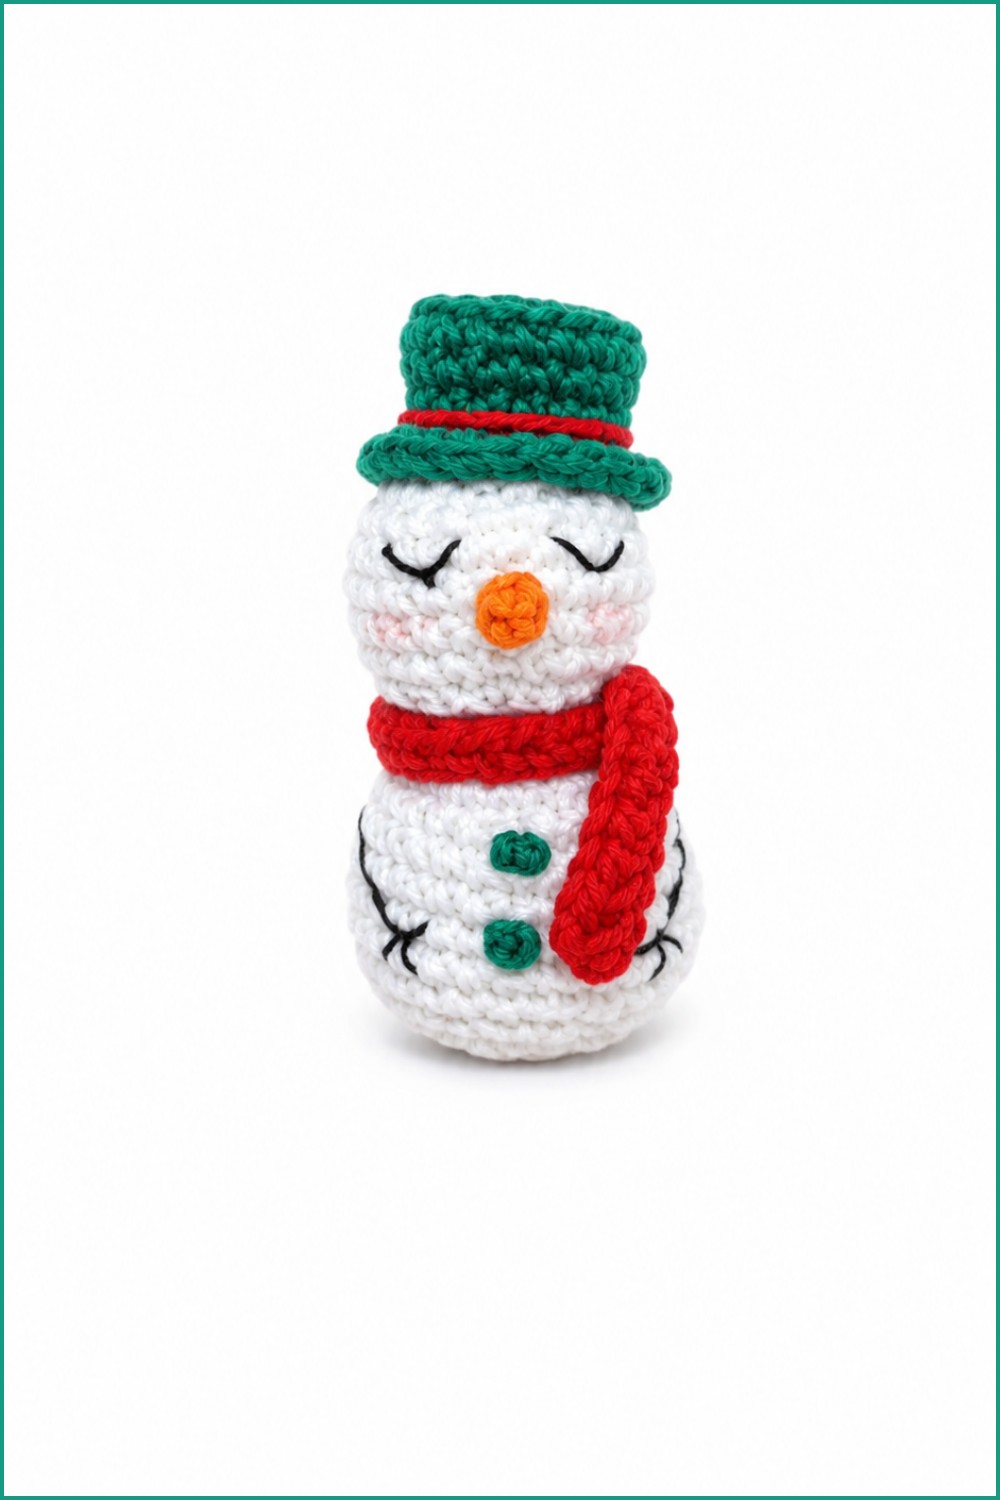
Conclusion
This amigurumi snowman features a compact, double-sphere design, crisp neck segmentation, and highly distinctive seasonal accessories. Logical pattern increments, limited but effective surface embroidery, and continuous round shaping create a universally appealing and sturdy result. Adaptable for color or accessory variations, the pattern supports skill development, especially in small-shape sculpture, embroidered detail, and seamless accessory attachment. The resulting snowman makes an excellent gift, festive ornament, or collectible—classic in character, tidy in finish, and robust in structure for lasting enjoyment.