
Fun Crochet Kuromi Amigurumi Free Pattern For Beginners
Pick your favorite colors and enjoy this Crochet Amigurumi Kuromi Free Pattern to make a lovely doll that brings smiles to friends and cartoon fans.
Making an adorable little friend is easy with this easy pattern that is inspired by By Yaree Crochet . This Crochet Kuromi Amigurumi features a round head, pointy ears, and a cute purple hat with a pink skull, giving her a playful and fun look. Kuromi is a beloved character that appeals to both kids and adults because of her sweet and simple design.
Crochet Amigurumi Kuromi Free Pattern For Lovely Toys
Choosing the right colours adds a special touch to Kuromi. Traditionally made with black, white, and pink yarn, Kuromi can be customized with any colors to make a unique version. The size is also flexible, from small hand-held dolls to larger ones perfect for hugging.
The main stitch used in creating Kuromi is the single crochet stitch. This basic stitch keeps the doll tight and sturdy, ensuring the stuffing stays inside while maintaining a soft texture. Additional details, like the face and hat decorations, are added through sewing or embroidery, bringing personality and charm to the doll.
Crochet Amigurumi Kuromi serves many purposes beyond being a cuddly toy. It works beautifully as a keychain, bag charm, or a heartfelt gift. The project also provides a great way to practice and improve crochet skills by learning to shape different parts and join them neatly.
Overall, making a Crochet Amigurumi Kuromi is a delightful and creative activity. With just yarn and a hook, it’s possible to create a cute, personal little friend to enjoy or share with others.
Kuromi Crochet Amigurumi Pattern
About the Pattern
Crocheting a Kuromi amigurumi involves detailed shaping, small seamless rounds, creative color changes, and embroidery to capture this playful character’s unique look. The design incorporates a rounded body, stubby limbs, characterized horns, and her trademark jester hood (“gorro”), with hand-embroidered facial elements and collar details that highlight her iconic style.

Key Pattern Details
Each component is worked in the round, beginning with a magic ring for neatness and minimal holes. Strategic increases and decreases create natural curves for body, limbs, and horns. Specialized stitch sequences and back loop-only rounds add dimension. The hat is shaped with careful decreases and embellishments such as a picot point. Assembly unifies all pieces and adds finishing touches such as eyes, nose, the signature skull, and collar.
Important Notes
- All pieces are crocheted in continuous rounds unless specified.
- Use a stitch marker to indicate the beginning of each round.
- Maintain even tension for a neat fabric that hides stuffing.
- Stuff firmly as you go, particularly the body and horns, to help maintain form.
- Take care with embroidery for Kuromi’s expressive eyes and fine features.
- Sew parts together securely, especially the hat and horns.
Difficulty Level
Intermediate. The pattern requires proficiency with basic amigurumi stitches, increases, decreases, working in the round, back loop techniques, color changes, embroidery, and simple shaping. Careful assembly is recommended for an even, polished result.
Supplies Needed
- Yarn in black (for body and arms), lila/purple (for hat), pink (for skull and nose), white (for details)
- Crochet hook in a size suitable for your yarn (typically 2.25mm – 3.0mm for amigurumi)
- Stitch marker
- Yarn needle for assembly and embroidery
- Polyester fiberfill stuffing
- Small amount of embroidery thread or floss (black and white)
- Scissors
- Permanent marker (pink) for skull details

Size & Measurements
The finished Kuromi measures approximately 12–16 cm in height, depending on yarn weight, hook size, and personal gauge.
Gauge & Stitch Details
Gauge is not critical, but ensure stitches are tight enough so stuffing does not show through. Amigurumi gauge is typically 7–9 single crochet across 2 cm.
Crochet Abbreviations
- MR: Magic ring
- sc: single crochet
- inc: increase (2 sc in same stitch)
- dec: decrease (sc2tog)
- hdc: half double crochet
- dc: double crochet
- ch: chain
- sl st: slip stitch
- BLO: back loop only
- picot: ch 3, sl st in the first ch (creates a "point")
Special Stitch Guide
- Picot: Chain 3, slip stitch in first chain—used at the tip of the hat.
- Back Loop Only (BLO): Work sc in the back loop, not both loops, for subtle ridges.
- Invisible Decrease: Use the front loops only of next two stitches to decrease without gaps.
Complete Crochet Pattern
Body
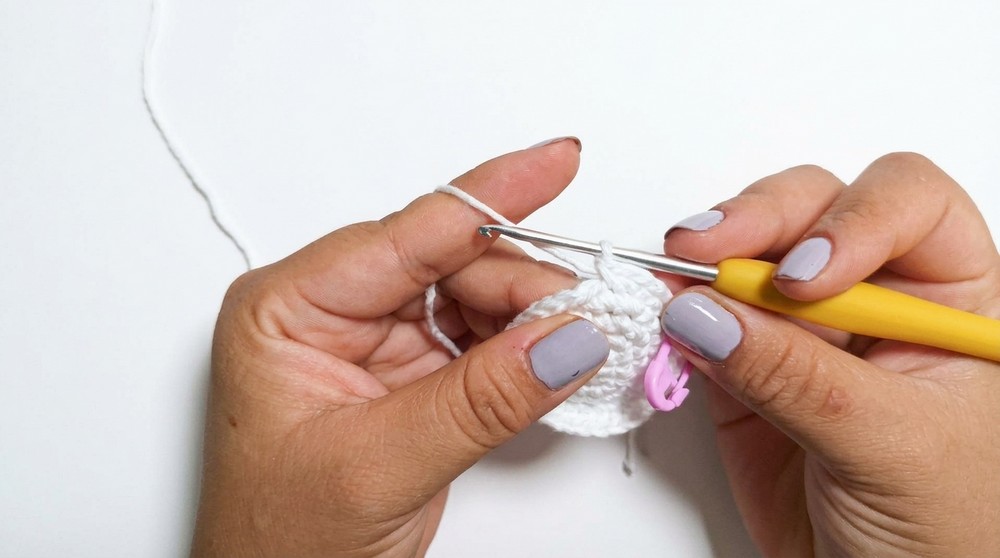
- R1: Work 6 sc in a magic ring.
- R2: 6 inc (12).
- R3: (1 sc, 1 inc) x 6 (18).
- R4: (1 sc, 1 inc, 2 sc) x 5, then 1 sc (24).
- R5: (3 sc, 1 inc) x 6 (30).
- R6: 4 sc, 1 inc, 1 sc, 2 inc, 12 sc, 2 inc, 1 sc, 1 inc, 6 sc (36).
- R7–12: 36 sc per round.
- R13: (2 sc, 1 dec, 4 sc, 1 dec) x 5, 2 sc (30).
- R14: (3 sc, 1 dec) x 6 (24).
- R15: (2 sc, 1 dec) x 6 (18).
- R16: 18 sc.
- R17: (2 sc, 1 inc) x 6 (24).
- R18–21: 24 sc per round.
- R22: In BLO, (2 sc, 1 dec) repeat around (18).
- R23: (1 sc, 1 dec) repeat around (12).
- R24: 6 dec (6). Fasten off, close with a needle.

Limbs
Legs (make 2):
- R1: Magic ring of 6 sc.
- R2: 6 sc worked in BLO.
- R3–4: 6 sc per round.
- Finish off and leave a long tail for sewing.
Arms (make 2):
- R1: Magic ring of 6 sc.
- R2–3: 6 sc per round.
- Finish off and leave a long tail for sewing.
Horns (make 2)
- R1: 4 sc in a magic ring.
- R2: (1 sc, 1 inc) x 2 (6).
- R3: 6 sc.
- R4: 6 inc (12).
- R5–8: 12 sc per round.
- R9: 6 dec.
- Fasten off, stuff lightly, and leave a tail for sewing.
Gorro (Hat/Hood)
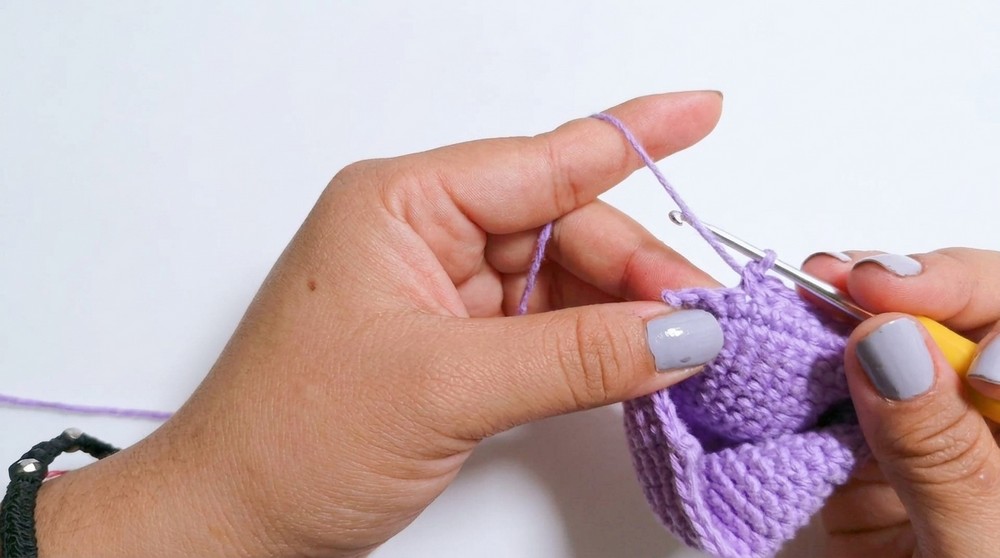
- Work body rounds 1–10 with lila yarn.
- R1: 6 sc in magic ring.
- R2: 6 inc (12).
- R3: (1 sc, 1 inc) x 6 (18).
- R4: (1 sc, 1 inc, 2 sc) x 5, then 1 sc (24).
- R5: (3 sc, 1 inc) x 6 (30).
- R6: 4 sc, 1 inc, 1 sc, 2 inc, 12 sc, 2 inc, 1 sc, 1 inc, 6 sc (36).
- R7–10: 36 sc per round.
- R11: 16 sc, 1 hdc, 1 dc, picot, 1 hdc, 17 sc (36).
- R12: 12 sc, ch 1, turn.
- R13–17: Decrease at each row’s end to shape hood, ending with 18 stitches.
Assembly
- Face: Embroider eyes between rows 9 and 11 of the body, leaving a 2-stitch space between. Add a small pink embroidered (or crocheted) nose at the center.
- Hat: Position centrally on the head. Create a chain of 12 for the collar, then work back in picot stitches for the ruff effect.
- Final touches: Attach legs and arms symmetrically. Attach horns to the hat securely. Embroider the pink skull on the hat using yarn or felt, and use permanent marker to add details and define the skull.
Joining & Final Size
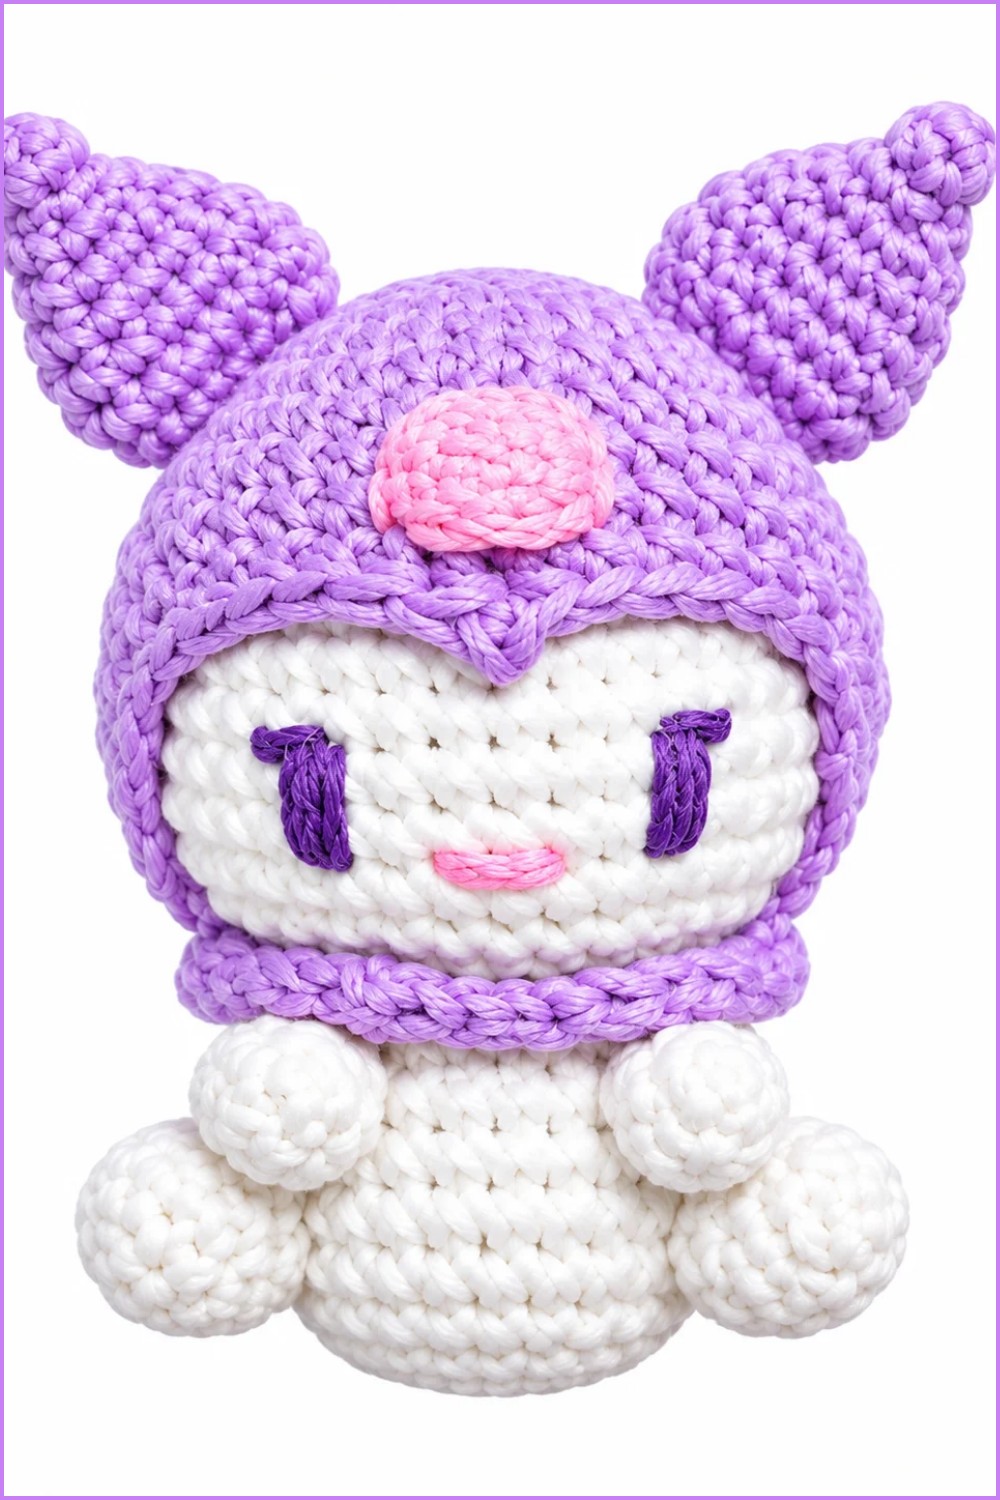
Arrange limbs at the sides of the body and legs at the bottom for symmetry before sewing. Attach the hat evenly over the top and back of the head, shaping to fit and covering the top body curves. Secure horns on the hat’s side peaks. Finish by giving Kuromi her mischievous look—embroider or sew on all facial details and the signature pink skull. The completed amigurumi is compact, sturdy, and perfect for display or gifting.
Final Words
This pattern brings together classic amigurumi shaping, colorwork, and embroidered accents to create a lively rendition of Kuromi. The result is a handmade figure with structured limbs, playful horns, and an iconic jester hat. The assembly sequence ensures accurate proportions and placement of every feature for a result that is both characterful and durable. Each precise detail—whether in crochet or embroidery—contributes to Kuromi’s expressive and whimsical charm.