
Simple Crochet Amigurumi Santa Claus Free Pattern With Festive Design
Celebrate the holiday season with a festive Amigurumi Santa Claus using this free pattern that helps you assemble a charming decoration with comfort.
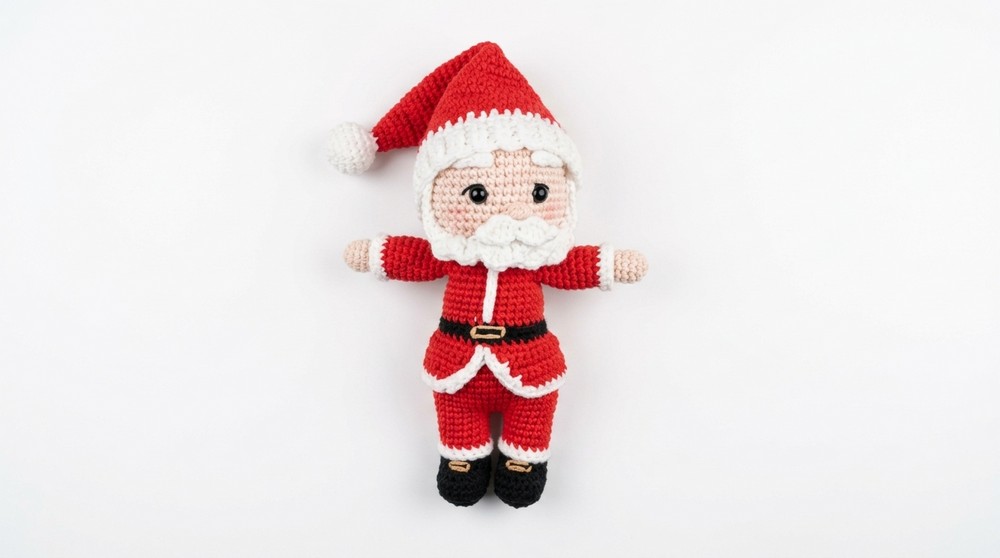
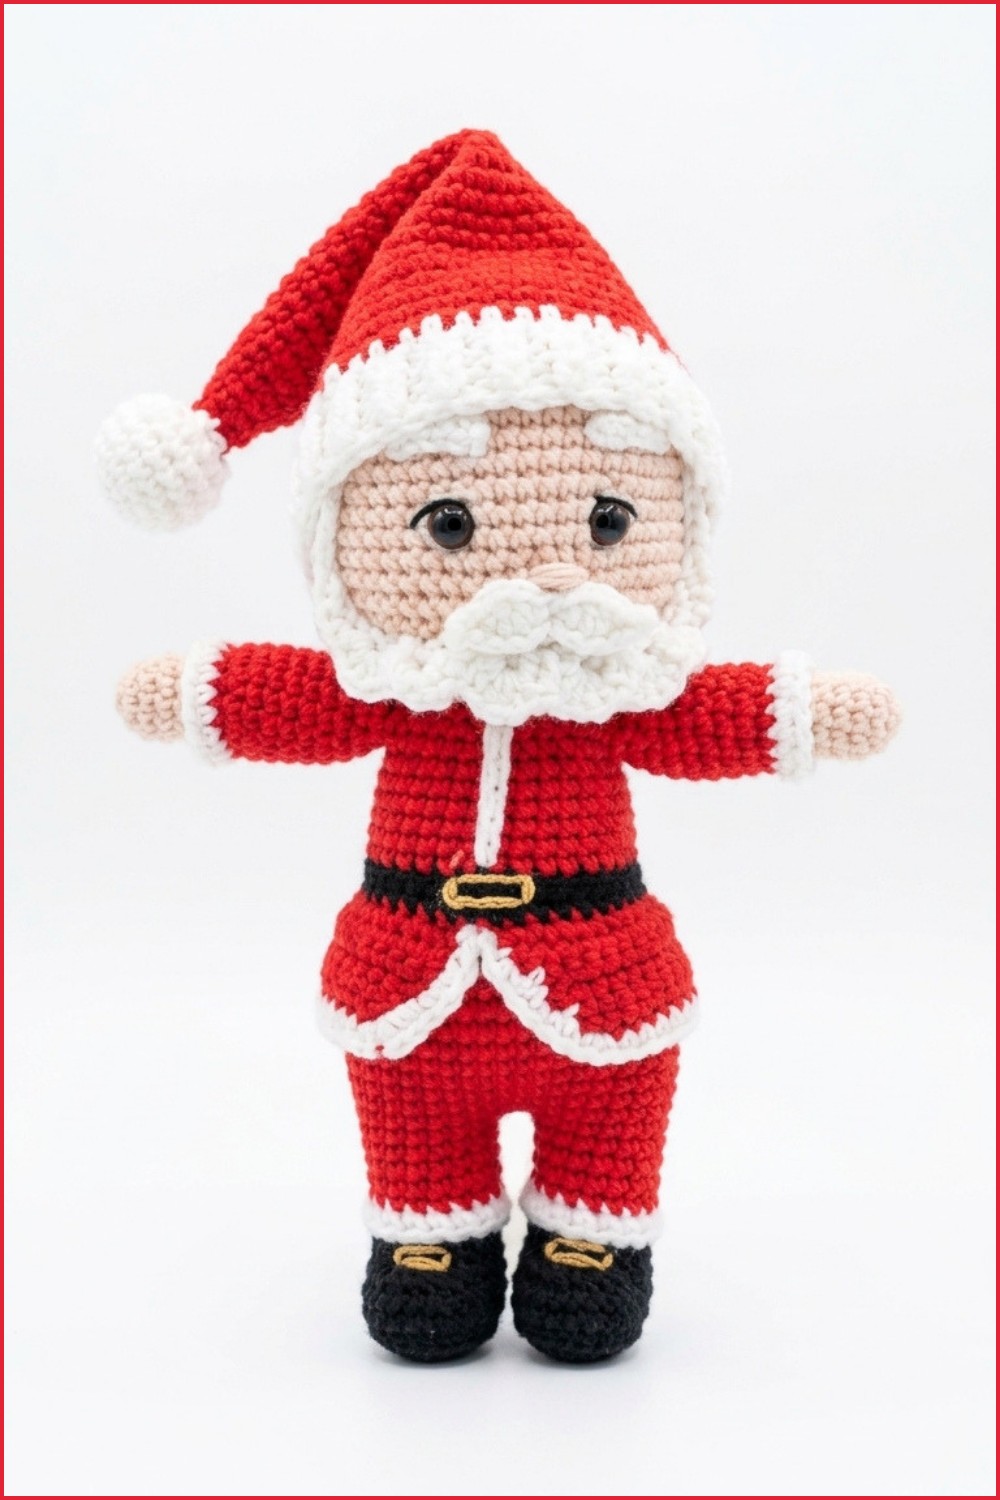
Have you ever wondered how to crochet a tiny, cheerful Santa Claus that fits in your hand? This Crochet Amigurumi Santa Claus is a delightful holiday project that adds charm and warmth to your Christmas decorations. It features a bright red hat with a soft white pom-pom, a fluffy beard, and a friendly face that spreads holiday cheer. Its small size makes it perfect for placing on shelves, desks, or even as a gift for someone special.
Free Crochet Amigurumi Santa Claus Pattern For Christmas
The project uses soft yarn in red, white, and skin colors, along with a comfortable crochet hook size that’s easy to handle. This makes it suitable for beginners willing to learn and for those with some crochet experience. You can also personalize your Santa by changing yarn shades or adding tiny details like buttons or embroidered eyes, making each figure unique.
What makes this project exciting is how quickly the cute Santa takes shape with just basic crochet stitches, allowing you to see your progress as you go. It’s a cozy way to spend time creating something festive and heartwarming. Plus, the finished Santa is sturdy enough to last through many holiday seasons.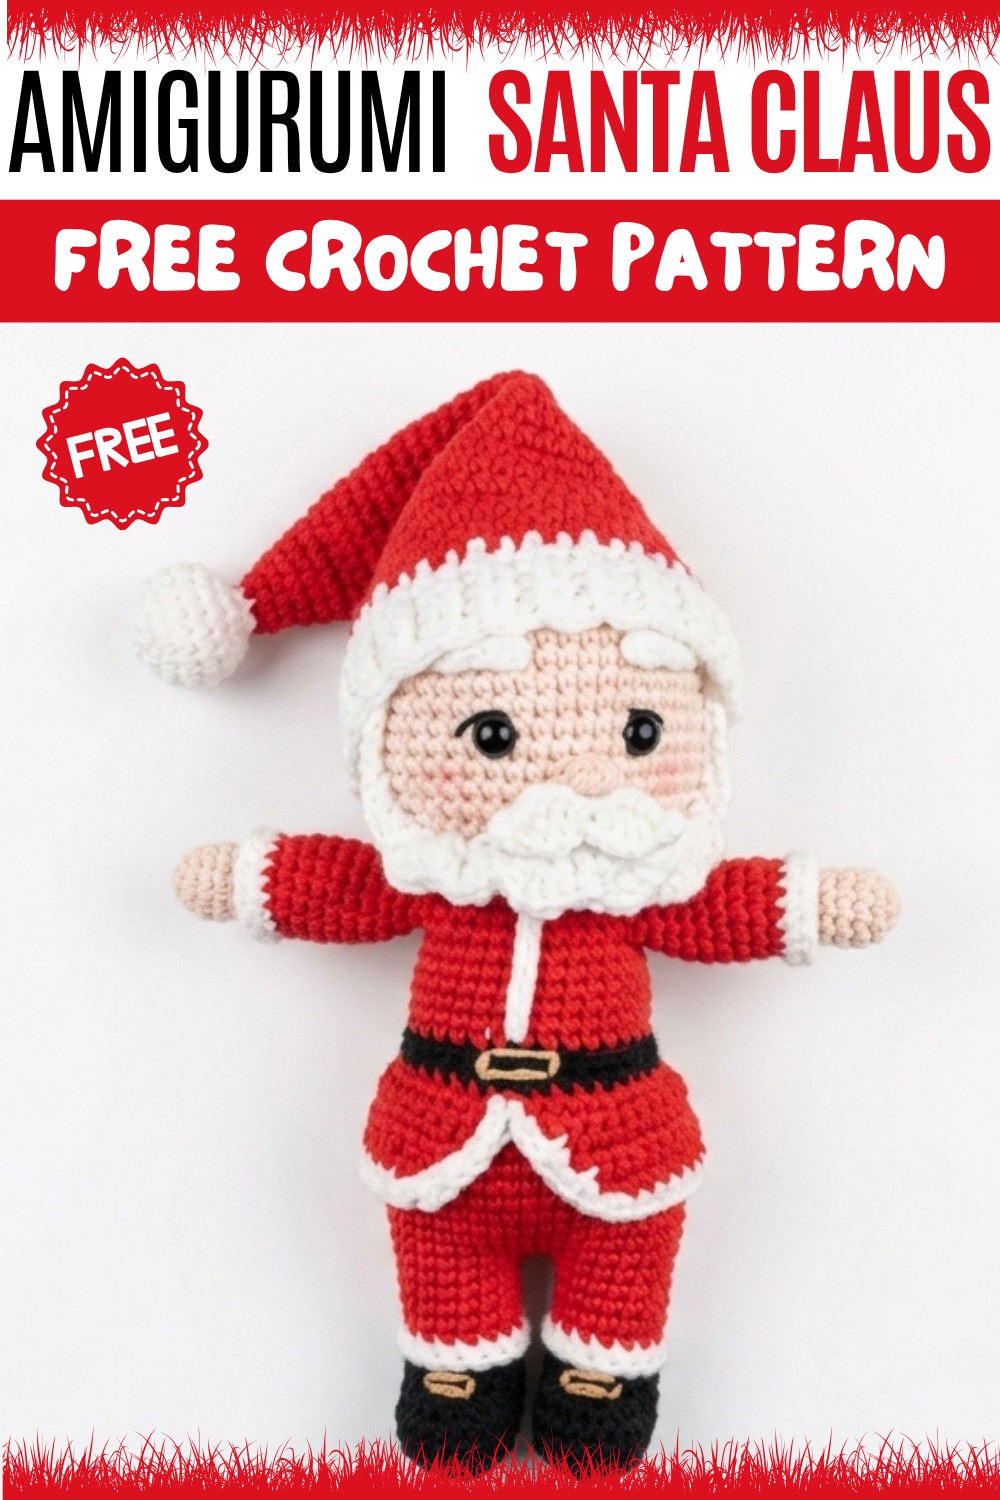
If you want to try this charming project or surprise loved ones with handmade cheer, the original video by Esmeralda Rolónon YouTube is the place to go. Their clear and patient guidance helps you crochet your own Santa Claus step by step so you won’t miss any detail. Check out their channel for the full tutorial and crochet tips to have fun crafting your holiday Amigurumi!
Santa Claus Crochet Pattern
Create a jolly Santa Claus using 3mm yarn and a matching hook. This pattern features impressive shaping for iconic boots and suit, charming decorative embroidery, and a classic red sweater—suitable as a holiday decoration, collectible, or heartfelt gift. The amigurumi approach ensures clean lines, durable structure, and an authentic character look, achieved by working in rounds and attentive assembly. Each component, from boots to buckle, comes together for a charming, traditional result.
Pattern Basic Points
- The Santa figure is worked in separate, seamless rounds: boots/legs, body, and arms.
- Surface details—such as the gold buckle, boot and cuff trimming—are embroidered or crocheted for a dimensional effect.
- Most pieces are created in the round, with chest/sweater and certain trims worked in rows or using special stitches.
- Strategic color changes (especially black/white/red) highlight costume detail.
Special Notes
- Amigurumi toys require a tight tension; adjust hook size to avoid holes.
- Stuff each piece firmly as you go to maintain shape.
- Consistent color changes are best made on the last yarn over of the final stitch of the previous color.
- Use a stitch marker, especially in seamless spiral rounds.
- For embroidery (buckle), select a smooth, sturdy contrasting thread for definition.
Skill Level
This pattern is best suited for intermediate crocheters. Skills required:
- Proficiency in single and half-double crochet
- Mastery of amigurumi basics: increasing, decreasing, working in continuous rounds
- Color changes and crocheting in the Back Loop Only (BLO)
- Ability to embroider simple surface details
- Confident sewing/assembly
Materials
- 3mm crochet hook
- 3mm-weight yarn: black (boots), white (trim), red (suit/hat), small amount of yellow/gold (buckle)
- Embroidery thread or fine yarn for buckle and facial details
- Polyester fiberfill stuffing
- Tapestry needle for assembly and embroidery
- Stitch marker
- Scissors
Measurements, Gauge, and Stitch Pattern
Finished Size:
10–15cm (4–6 inches) tall, depending on yarn, hook, and stuffing tension.
Gauge:
8 rounds of sc in continuous spiral should equal approximately 2.5cm in diameter.
Stitch Pattern:
Primarily single crochet (sc) in continuous rounds; half-double crochet (hdc) used for trims; clusters and decreases for shaping.
Stitch Abbreviations
- sc – single crochet
- inc – increase (2 sc in same stitch)
- dec – decrease (single crochet 2 stitches together)
- ch – chain
- MR – magic ring
- st(s) – stitch(es)
- hdc – half-double crochet
- sl st – slip stitch
- BLO – back loop only
Special Stitches
- Cluster: For fingers, a cluster increase—work 3 sc in same space, or alternatively as described in the hand section.
- Back Loop Only (BLO): Insert hook in the back loop only of each stitch (used for shoe base and sweater trim).
- Flat Triangular Section: For sweater’s front, rows are worked back and forth, decreasing at both edges for a triangle.
Pattern Instructions
Feet and Legs (Make 2)
Foundation (Black):
- Ch 5.
- Row 1: Sc in 2nd ch from hook and in next ch, 3 sc in first ch, turn to underside, sc in next 2 ch, 4 sc in final ch (curve). [10]
- Continue around: 2 sc, 3 inc (work 2 sc in next 3 sts), 2 sc, 2 inc, 1 sc, 3 inc, 2 sc, 2 inc, 1 sc. End of this sequence = 22 sc in round.

Base:
- 1 round BLO, sc in each st [22] (flattens sole).
Shaping:
- Round 1: 7 sc, 4 dec, 7 sc [18]
- Round 2: 6 sc, 3 dec, 6 sc [15]
Color Changes:
- Change to white: 1 round of 15 sc.
- Change to red, work in BLO: continue for 5 rounds of 15 sc, stuffing as you progress.
Decorative Details (Embroidered/Surface)
Boot Trim:
- With white, hdc evenly around the top edge of the boot.
Buckle:
- With yellow/gold thread, embroider a small square or rectangle on the boot front.
Body and Sweater
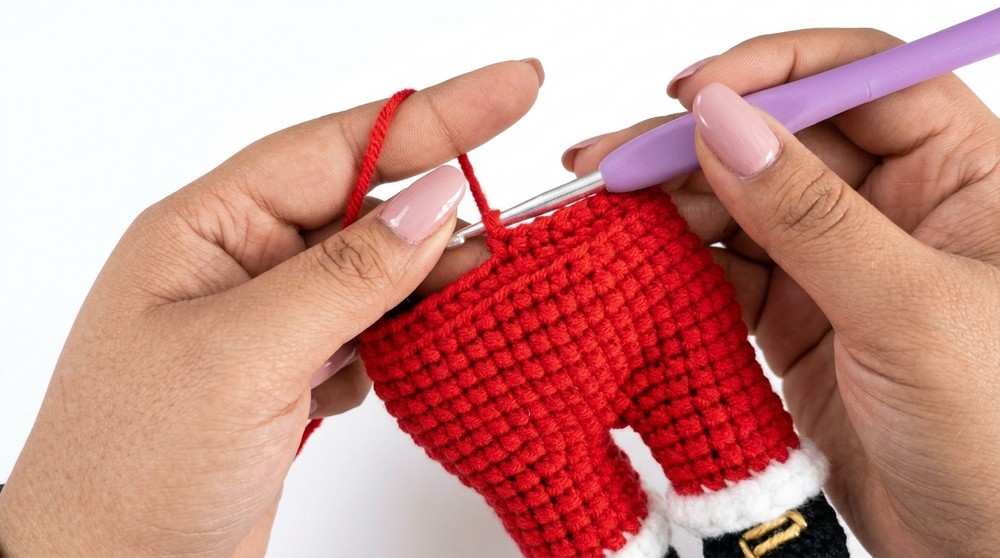
Joining Legs (Red):
- Align legs; beginning at inner thigh, join with 4 sc, 1 inc, repeat around. [Total: 42 sc]
- (You may need to adjust for shaft attachment—ensure stitch count.)

Body Rounds:
- Work 6 rounds of 42 sc (work in a spiral).
Decreases (Shape Chest):
- Round 1: 12 sc, dec, repeat x3, [39]
- Round 2: 11 sc, dec, repeat x3, [36]
- Round 3: 10 sc, dec, repeat x3, [33]
- Round 4: 9 sc, dec, repeat x3, [30]
Sweater Front:
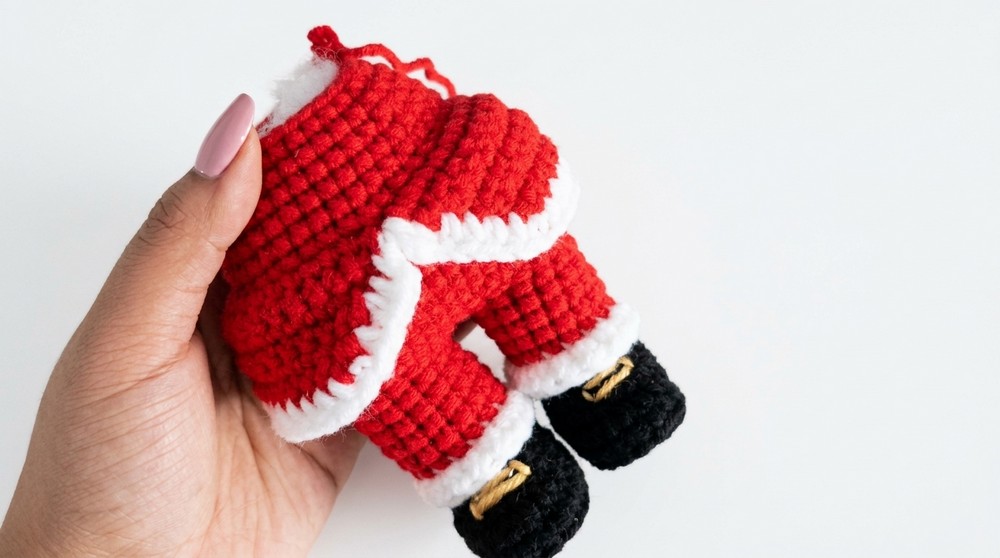
- Attach white yarn at chest center, work as follows:
- Row 1: sc across a triangle shaped width.
- Each row: dec at each end to form triangle (work back and forth, not in rounds).
- Continue until point ends at base of neck.
Sweater Trim:
- Add 1–2 rows of white hdc to the sweater edges (collar/front opening) for a fluffy border.
Arms (Make 2)
Hand (Skin tone/peach):
- MR, 5 sc. [5]
- Round 2: inc in each st [10]
- Round 3: Work 3-st cluster (fingers: insert hook, draw up, yo, pull through 2 loops 3x in same st, yo, pull through all loops), sc in next, repeat for three "fingers".
- Round 4: Work 2–3 decreases to gather hand base. (Ends with about 5 stitches.)
Arm Body:
- Change to white: 1 round of sc
- Change to red: 7 rounds of sc, stuffing firmly as you go.
Cuff Trim:
- With white, hdc around wrist edge for plush cuff.
Assembly
- Stuff all parts as you work to avoid loose shapes.
- Attach each leg securely to the lower body before continuing with joining rounds.
- Embroider boot buckle onto front of foot after assembly.
- Align and sew arms to body at shoulder height.
- Add sweater front trim and bib, securing the white "fur" rows for best effect.
- Final details: With white, add hdc trim around boots and sleeve cuffs; ensure all yarn ends are woven in.
- Embroider or attach facial details (not included in this section, but add eyes, nose, and mustache as desired for final effect).
Finished Size
Santa will measure between 10–15 cm (4–6 inches) tall, depending on materials and amount of stuffing.
Conclusion
This Santa Claus pattern is a demonstration of classic amigurumi shaping, innovative joining techniques, and iconic holiday costume elements. The precise sequence for the boots, body, and sweater ensures proportional, balanced figure assembly. Decorative touches—plush trims, a golden buckle, colorwork, and surface details—are achieved through thoughtful color changes and finishing stitches, allowing crafters to infuse Santa with authentic festive spirit. The result is a cheerful, timeless holiday addition to any seasonal display or collection, offering skill-building and creative satisfaction along the way.