
Beginner-Friendly Free Crochet Flower Pattern Tutorial
Brighten your projects with this creative crochet flower pattern—perfect for adding charm, style, and a personal touch to accessories and home décor!
A single accessory can completely change the look of an outfit or brighten up a space, and crochet flowers are the perfect example. This stylish and functional free crochet flower pattern helps you make beautiful accents that serve multiple purposes. From enhancing bags, hats, and clothing to adding charm to home décor like garlands or table settings, crochet flowers can bring life to nearly any project.
Your Go-To Free Pattern for Lovely Crochet Flowers
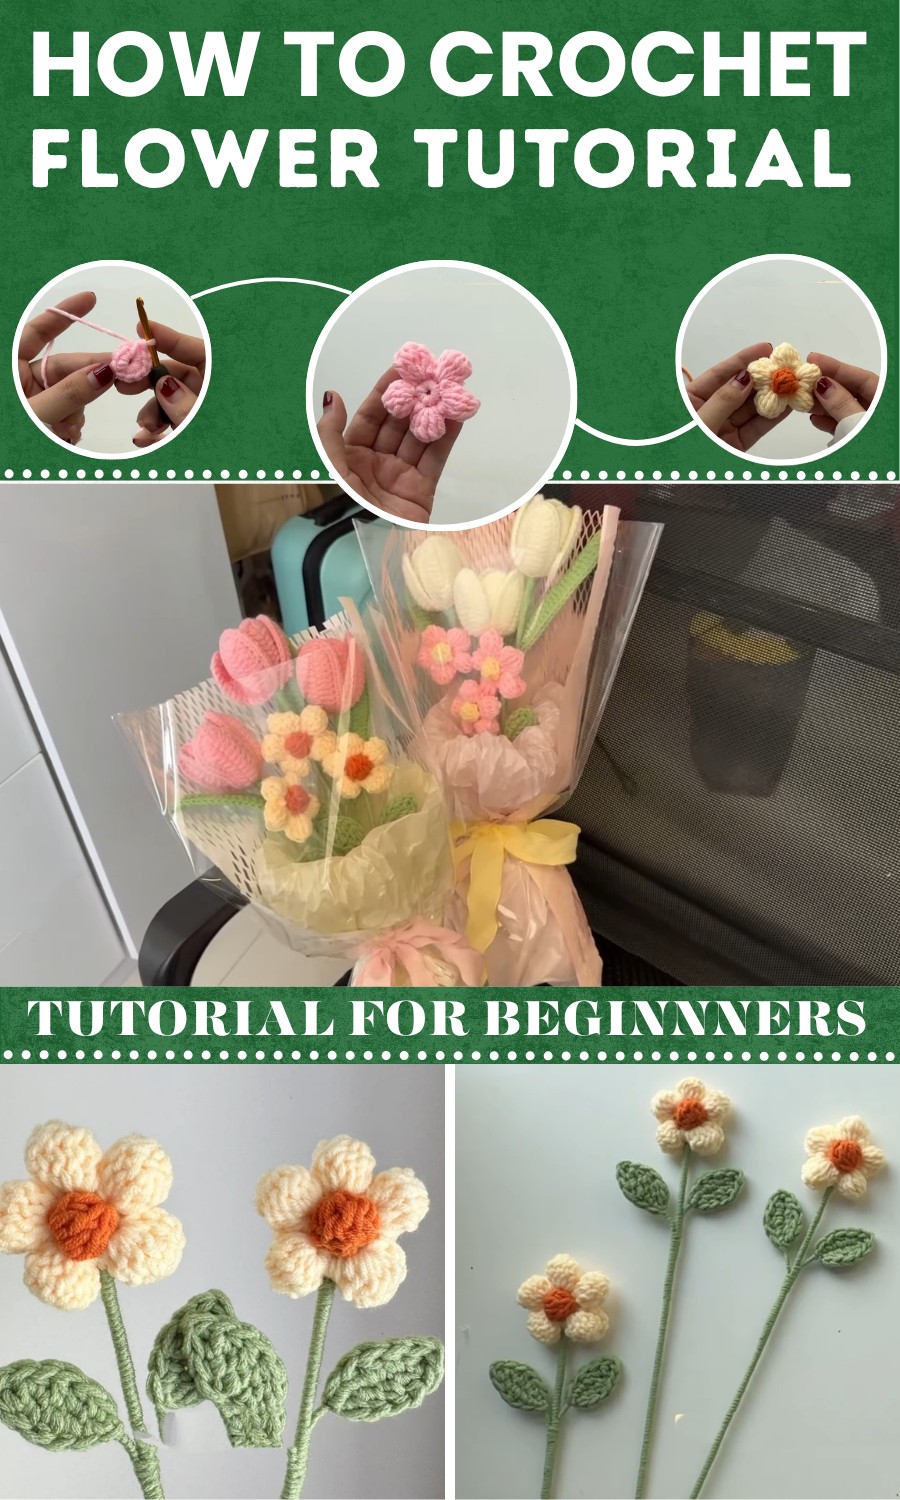
Free Crochet Flower Pattern
Materials List
- Yarn: Small amounts of colored yarn in DK or worsted weight for petals, center, and leaves
- Hook: 2.5–3.5 mm crochet hook
- Wire: 20 cm craft wire, 0.5 cm diameter (for leaves/stems)
- Floral stem: 4 cm stem, plus green yarn to wrap
- Scissors
- Tapestry needle (for weaving in ends, sewing parts)
- Glue (for assembling, optional)
- Stuffing: Yarn leftovers (for flower center)
Key Abbreviations (US Terms)
| Abbreviation | Meaning |
|---|---|
| ch | chain |
| sl st | slip stitch |
| sc | single crochet |
| dc | double crochet |
| tr | treble crochet |
| tog | together |
| MR | magic ring |
Special Notes
- Pattern is worked in rounds.
- "Double crochet together" and "treble crochet together" mean to work multiple incomplete dc/tr in one stitch and then pull yarn through all loops.
- The wire leaf uses chains and stitches wrapped around the wire for a realistic effect.
- You may use glue to assemble parts for extra security, or sew with yarn ends.
- For a puffier flower, pull loops close together before finishing petals.
Pattern
Small Flower
Petal Base (Small)
- Make a slip knot, ch 4.
- Sl st into the first ch to form a ring.
- Ch 1, then 10 sc into ring.
- Sl st into the first sc. (10 sts)
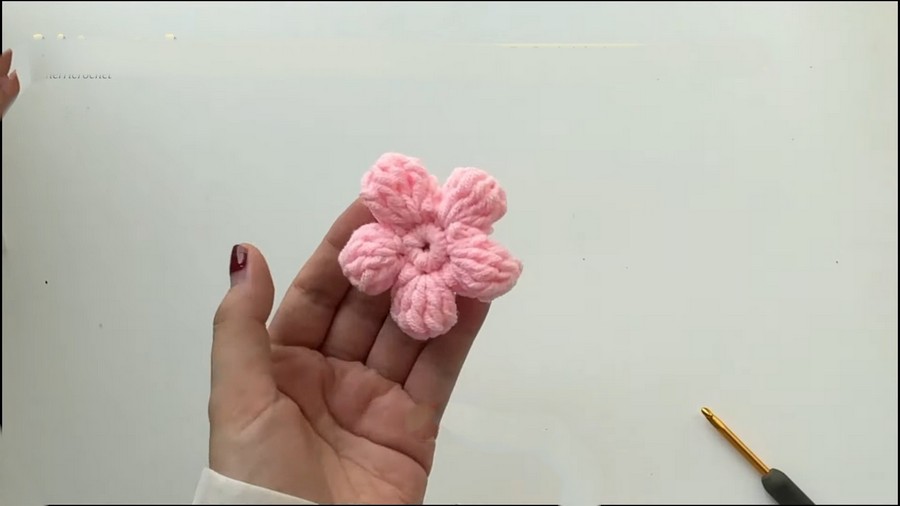
Petals (Small)
Repeat 5 times for 5 petals:
- Ch 3.
- In the next stitch, work 6 dc tog:
- Yarn over, insert hook, pull up loop, yarn over, pull through two loops; repeat in same stitch six times, leaving last loop on hook each time.
- After 6 incomplete dc, you'll have 7 loops on hook; yarn over, pull through all 7 loops.
- Ch 3, sl st into next stitch.
- Sl st into the following stitch (between petals).
- Start next petal by ch 3.
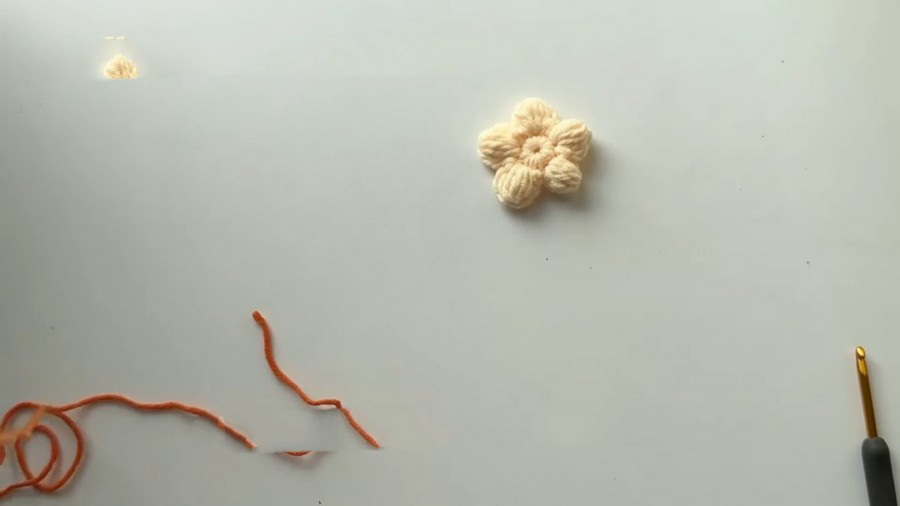
End after fifth petal, fasten off and weave ends. Tighten the ring to puff pansies.
Center (Small Flower)
- With contrasting yarn, slip knot, ch 4.
- Into first ch, work 4 dc tog as above.
- Ch 1, fasten off.
- Use yarn ends to stuff or attach to the petal base.
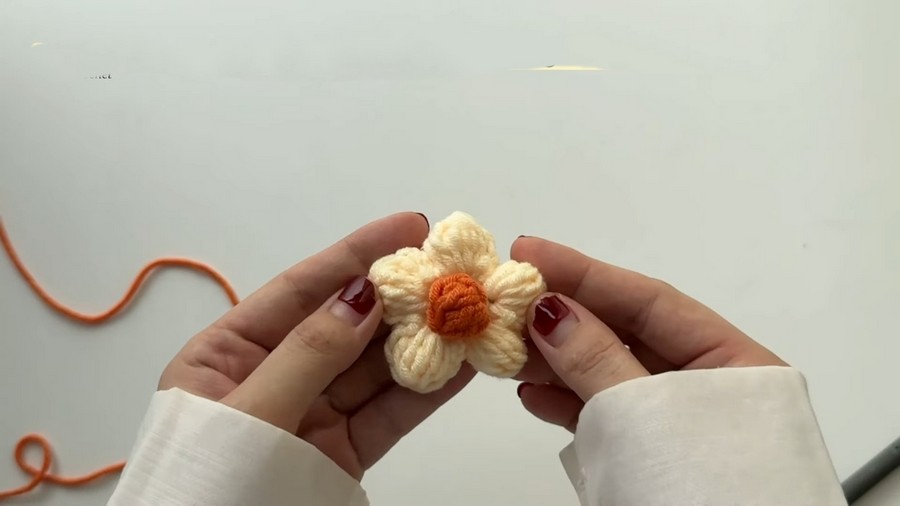
Large Flower
Petal Base (Large)
- Slip knot, ch 4.
- Sl st into first ch to form ring.
- Ch 1, 10 sc into ring.
- Sl st into first sc.
Petals (Large)
Repeat 5 times for 5 petals:
- Ch 3.
- In the next stitch, work 6 tr tog:
- Yarn over twice, insert hook, pull up loop, yarn over, pull through two loops, yarn over, pull through two loops; repeat six times, leaving last loop on hook each time.
- After 6 incomplete tr, you'll have 7 loops on hook; yarn over, pull through all loops.
- Ch 5, sl st into next stitch.
- Sl st into following stitch (between petals).
- Start next petal by ch 4.
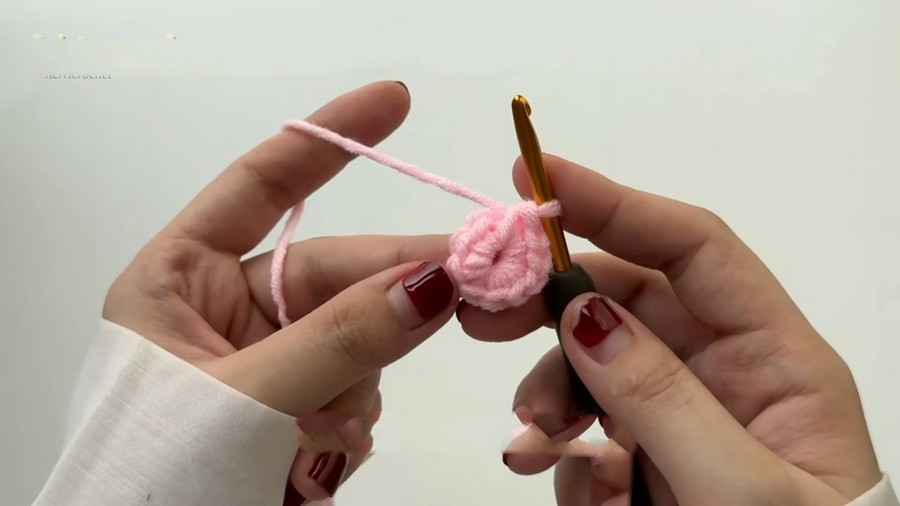
Finish after fifth petal, fasten off, adjust petals for puffiness, weave ends.
Center (Large Flower)
- With contrasting yarn, slip knot, ch 4.
- Into first ch, work 5 dc tog as above.
- Ch 1, fasten off.
- Use yarn ends to stuff or attach to the petal base.
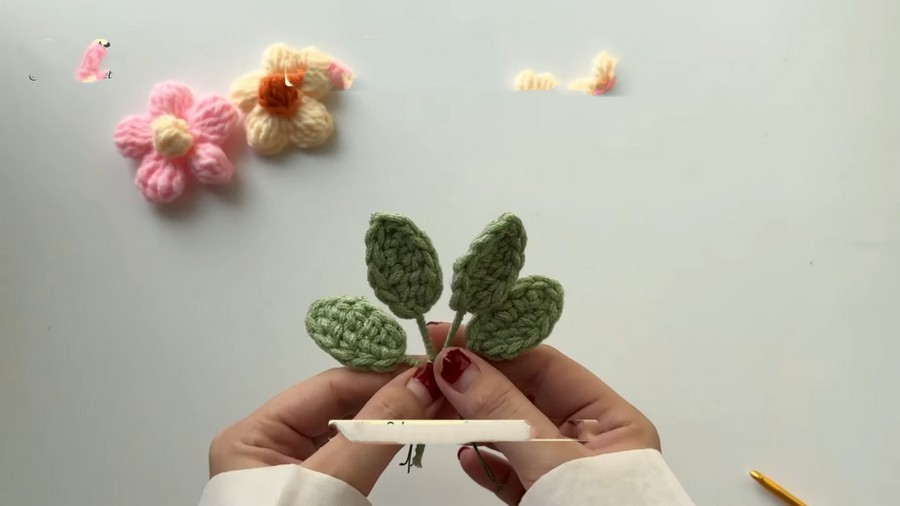
Leaf
For each flower, make 2 leaves.
- Fold 20 cm of craft wire in half.
- Slip knot, ch 6 (last chain wraps around wire).
- Around wire:
- Sc in first ch,
- Hdc in next ch,
- Dc in next ch,
- Hdc in next ch,
- 3 sc into the last ch (rounding end).
- Work back along chain opposite side:
- Hdc, dc, hdc, sc.
Leaf is done. Fasten off and weave in ends.
Optional Flower Backing
- Magic ring, ch 1, 6 sc in ring.
- Pull ring closed.
- 2 sc in each stitch (12 sc total).
- Fasten off, attach to back.
Assembly
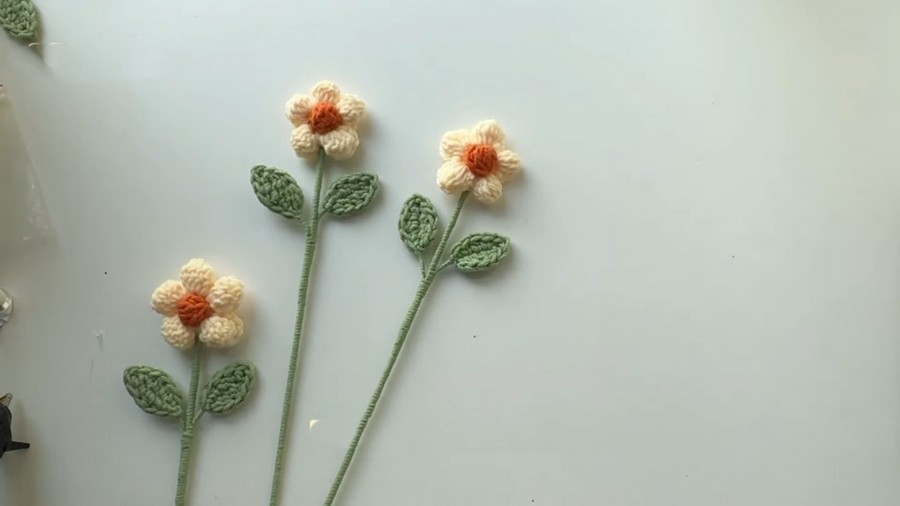
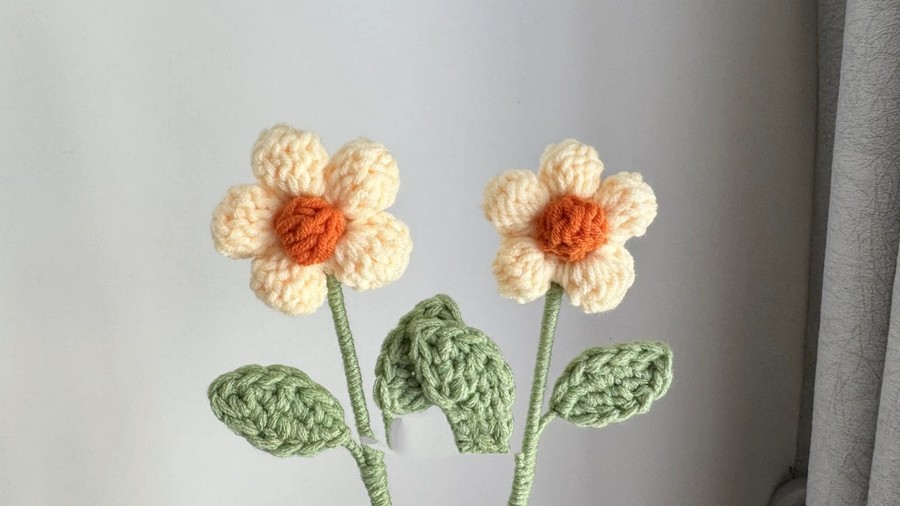
- Glue or sew flower center to petal base.
- Attach petals to floral stem (4 cm).
- Wrap stem with green yarn.
- Attach 2 leaves to stem as desired.
- Secure ends, reinforce with glue if preferred.
Pattern Correction
- Always check stitch count after working the ring and after petals.
- Use correct crochet together technique: leave last loop on hook for each stitch before final pull through.
Tips
- For puffier petals, scrunch petals up as you work and after finishing.
- Use contrasting color for centers for eye-catching flowers.
- For smooth leaves, keep yarn snug and use a soft wire.
- To avoid a hole at petal base, pull ring tightly and adjust petals.
- Backing is optional for a neater flower back.
Conclusion
This flower pattern is quick, versatile, and suitable for beginners and intermediate crocheters. You can create beautiful small or large flowers with realistic leaves for home decor, gifts, or accessorizing. Customize colors and sizes, add the backing for a professional finish, and enjoy making these delightful blooms.