
Cute Crochet Amigurumi Pig Free Pattern With Tiny Details
Make an adorable Crochet Amigurumi Pig Free Pattern that is simple, fun, and perfect for adding a cute handmade touch to your home or gift collection.
There’s something truly delightful about creating small handmade toys that brighten any space. The Crochet Amigurumi Pig is a charming and cuddly figure perfect for adding warmth and personality to your home or gift collection. With its round body, tiny legs, and standout snout and ears, this little pig has a friendly expression that instantly captures hearts.
Adorable Crochet Amigurumi Pig Free Pattern For Kids and Fans
This project is great for beginners who want to try amigurumi or for anyone looking for a simple, enjoyable crochet experience. Using basic techniques like single crochet, increases, and decreases, you’ll shape the pig’s body and details with ease. The eyes and nose are usually sewn or embroidered on, while optional additions like a curly tail or custom colors make each pig unique.
The beauty of this amigurumi pig lies in its soft texture and adorable design that fits perfectly on shelves, nursery spaces, or desks. Its handmade nature adds a personal touch that mass-produced toys can’t match. Whether you keep it as a keepsake, use it as a playful decoration, or gift it to a loved one, this project truly brings joy.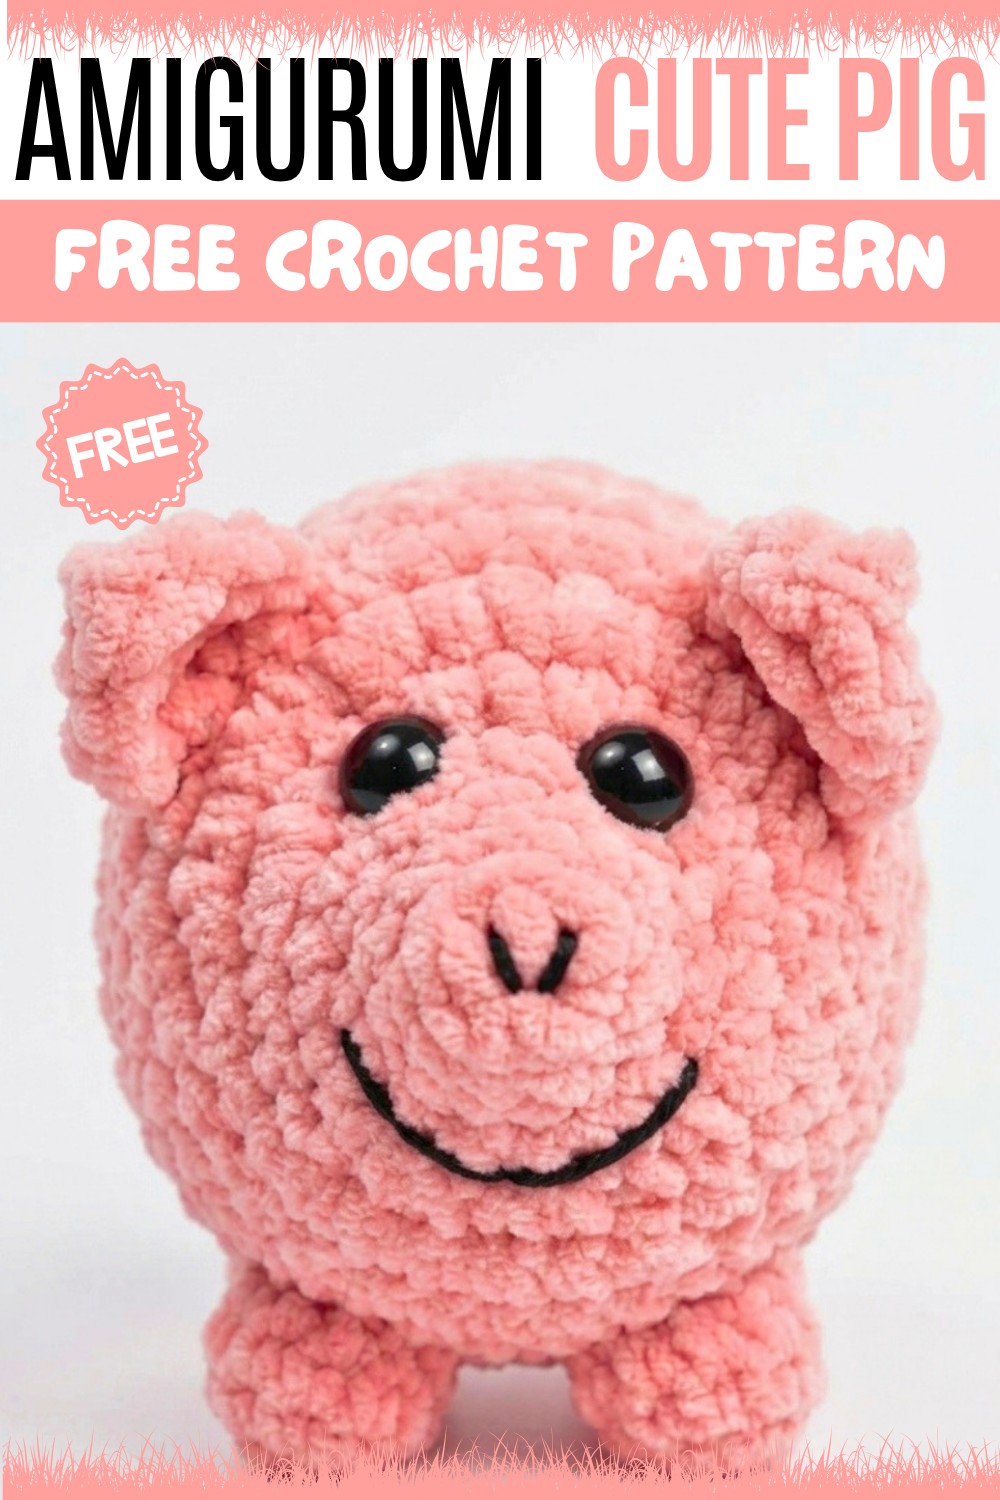
Overall, making the Crochet Amigurumi Pig is a fun and rewarding way to practice crochet basics while creating something sweet and special. It’s a perfect combination of simplicity and charm that makes every stitch worth it.
- This written pattern follows the project shown in the original tutorial from Crochet Critters
No-Sew Loaf Pig Crochet Pattern
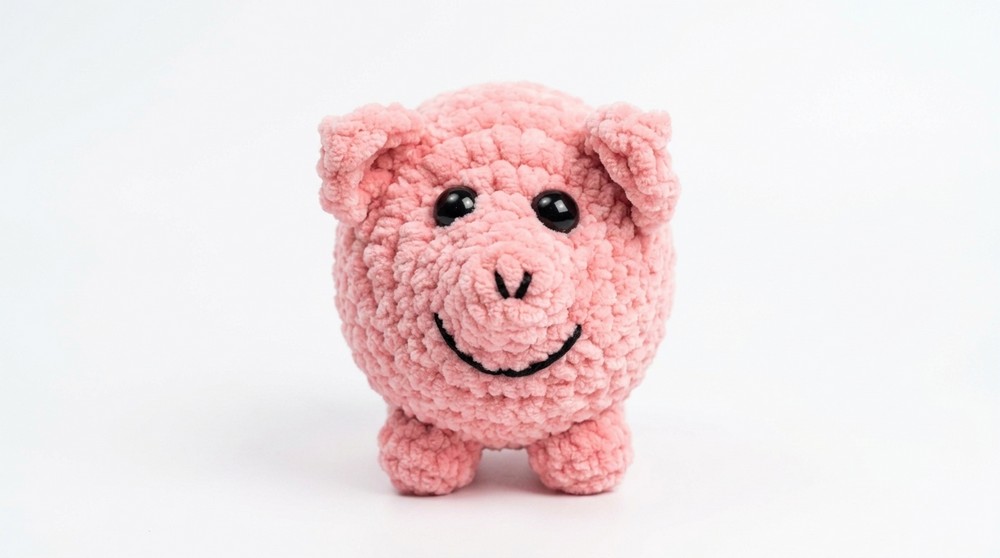
A no-sew loaf pig provides an ideal opportunity to explore amigurumi techniques with plush yarn and seamless construction. This pattern demands no sewing, as all appendages—including ears, feet, and tail—are crocheted directly into the primary rounds. The result is a compact, chubby pig with irresistible personality, utilizing well-placed color and textural details. The formulation is perfect for quick crafting, gift-making, and building confidence in seamless amigurumi.
Pattern Basic Points
- Entire pig is crocheted as a single unit; no separate sewing or attaching of ears, legs, or tail.
- Construction commences at the snout and works back through the body, allowing for stuffing portions as you go.
- Ears and feet are integrated by working them in the round at designated stitches, while the tail is formed as part of the closing section.
- Feet are formed using a bobble stitch, lending a present, plush look and tactile texture.
- Eyes and facial embroidery are completed before finishing the closing rounds, ensuring a secure and neat result.
- Plump loaf shape is achieved with consistent increases, solid rounds, and thoughtful strategic decreases.
Special Notes
- Plush (velvet or blanket) yarns can be slippery and difficult to see stitches. Count carefully and use a stitch marker for each new round to avoid accidental miscounts.
- Stuff gradually, adding more after the snout rounds and as the body forms to maintain an even, soft, and well-shaped finish.
- Bobble stitches for the feet will require a firm yarn pull to ensure each bobble stands out against the plush surface.
- Safety eyes may work best if inserted after the feet, once snout structure and body shape are defined.
- Face embroidery (nostrils and mouth) is best done before final closure so you can access the snout area easily.
- When closing, ensure tail attachment is secure by running the final yarn end through multiple stitches and the center of the tail base.
Skill Level
Confident Beginner
This project is suitable for beginners ready to handle simple increases, decreases, integrated shaping (bobble and ear construction), and following clear instructions for in-the-round amigurumi. Experience with plush yarn is helpful but not required.
Materials
- Plush or velvet yarn, pink or desired pig shade (approx. 30–40 g)
- 5.0 mm crochet hook
- Black yarn (for embroidering snout holes and mouth)
- 8–12 mm safety eyes (pair)
- Polyester fiberfill stuffing
- Yarn needle (blunt tip; for weaving & embroidery)
- Small scissors
- Stitch marker
Measurements
- Approximately 5 inches (13 cm) in length, 3 inches (7.5 cm) in height, and 3 inches (7.5 cm) in width, depending on yarn and stuffing
Gauge
- Tight amigurumi tension: 6 rounds in single crochet = approx. 2 inches (5 cm) in diameter with a 5 mm hook and plush yarn
- Stitches should be condensed to prevent stuffing visibility; adjust hook accordingly
Stitch Abbreviations
- MR = Magic Ring
- SC = Single Crochet
- INC = Increase (2 SC in the same stitch)
- DEC = Decrease (single crochet two together)
- HDC = Half Double Crochet
- DC = Double Crochet
- TR = Treble/Triple Crochet
- Sl St = Slip Stitch
- Ch = Chain
- BLO = Back Loop Only
- FLO = Front Loop Only
- St(s) = Stitch(es)
Special Stitches
- Bobble: [Yarn over, insert hook in stitch, pull up loop, yarn over, pull through 2 loops] repeat 5 times in same st (until 6 loops on hook), yarn over, pull through all 6 loops
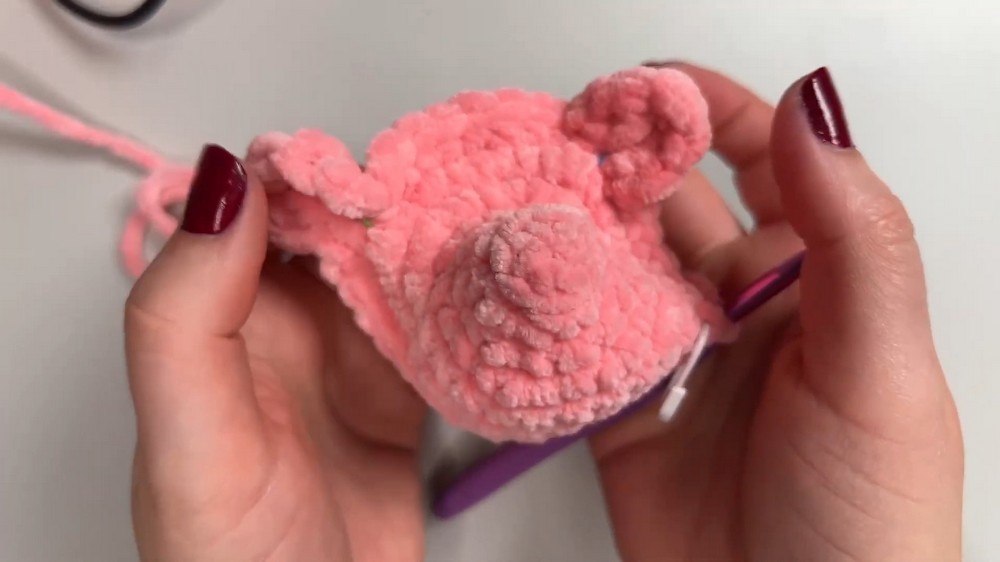
- Ear (constructed in round): [1 SC, HDC, DC, TR, DC, HDC, 1 SC] in one FLO, then return to main body
Snout and Head Construction
-
Foundation:
- MR, 6 SC into ring, Sl St to first st to close.
-
Round 2:
- Work in BLO: [1 SC, INC] x3 (9 sts).
-
Round 3:
- [2 SC, INC] x4 (12 sts).
-
Round 4:
- [1 SC, INC] x6 (18 sts).
-
Round 5:
- [1 SC, INC] x6, 11 SC (24 sts).
-
Round 6:
- [1 SC, INC] x6, 11 SC (30 sts).

Ears and Feet
-
Round 7:
- 5 SC
- First ear (in FLO): [1 SC, HDC, DC, TR, DC, HDC, 1 SC] in consecutive FLO, return to main body
- 8 SC
- Second ear (FLO as above): repeat ear as above
- 15 SC
-
Round 8:
- 5 SC, 1 SC in BLO (ear base), 8 SC, 1 SC in BLO (second ear), 15 SC
- Round 9 (Feet/Bobble):
- 22 SC, bobble in next st (5-stitch bobble), 4 SC, bobble, 2 SC
-
Insert Safety Eyes:
- Between rounds 4 and 5, spaced 3–5 stitches apart before proceeding (ensure symmetry).

Body and Tail
-
Rounds 10–17:
- 30 SC for 8 solid rounds; continue to stuff as you go for an even shape
-
Round 18:
- 23 SC, bobble, 4 SC, bobble, 1 SC
-
Round 19 (Tail):
- 3 SC, DEC x2, 3 SC
- Tail: Ch 7, 3 SC in each ch back down chain (creates a curly tail), Sl St to tail base
- 3 SC, DEC x3
-
Round 20:
- 2 SC, DEC x6 (18 sts)

Closing
-
Stuff:
- Stuff snout and head area thoroughly before adding more to body; continue to stuff up to final rounds for plumpness.
-
Round 21:
- 1 SC, DEC x6 (12 sts)
-
Round 22:
- DEC x6—6 sts left. Fasten off.
- Use a yarn needle to weave tail end through front loops of final 6 stitches. Pull tight to close. Knot and weave in securely, securing curly tail in place.
-
Face Detail:
- With black yarn, embroider two small vertical stitches for nostrils on snout.
- Stitch a simple curve or quirky smile beneath the snout for character.
Assembly & Finished Size
- As a no-sew project, all decorative elements are integrated with the main construction. Only final yarn ends require weaving, and all limbs, face, and tail are fixed in position.
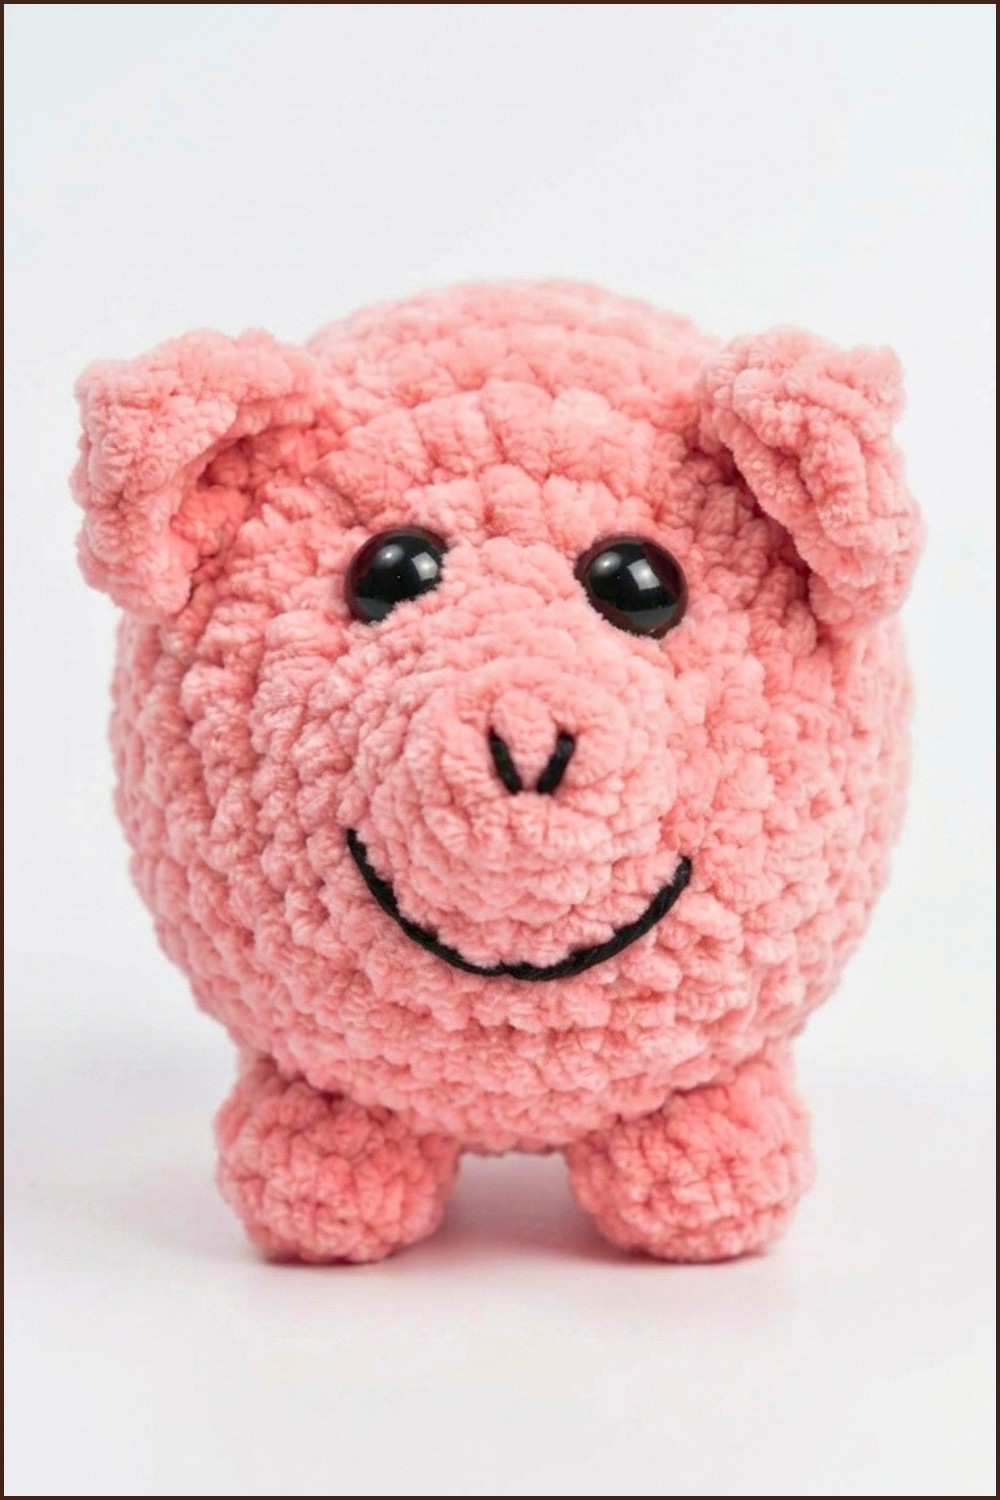
- The finished loaf pig measures approximately 5 inches (13 cm) in length, its neatly bobbled feet and curled tail enhancing its squat silhouette. The plush yarn creates a soft, squeezable texture.
Conclusion
This pattern provides a complete, self-contained amigurumi project with all limbs and facial details integrated for instant, secure assembly. The plush yarn amplifies softness, while the strategic bobbles and curly tail bring whimsical realism to the loaf pig. Its efficient, no-sew makeup and clear cues for stuffing and face finishing make it both time-effective and satisfying. By focusing on clean rounds, pronounced features, and dynamic tail construction, the no-sew loaf pig demonstrates functional crochet at its playful best—ready to display, cuddle, or gift.