
Easy Crochet Silly Goose Free Pattern To Try Today
Learn how to make a playful crochet Silly Goose with this free pattern that guides you step-by-step to create a fun and charming handmade project.
Try this lovely and simple crochet projects, the Crochet Silly Goose is a great choice. This cute little figure looks like a cheerful goose with a big smile. Its round body and slightly oversized head give it a playful, friendly feel that makes it seem almost alive. You will enjoy making it because it is not too hard, even if you are new to crochet.
Charming Crochet Silly Goose Free Pattern For A Fun Keepsake
The colors you use really bring the Silly Goose to life. Usually, soft whites or light grays work well for the body, while bright orange or yellow are perfect for the beak and feet. These colors give the goose a happy and warm look. Also, the yarn used often feels soft and smooth, which makes the finished goose nice to touch and hold.
Moreover, this project is good for practicing basic crochet skills. You learn stitches and shapes that you can use in many other projects. Plus, the Silly Goose can be a sweet gift or a charming decoration for your home. It can even be a fun toy for children since it is soft and lightweight.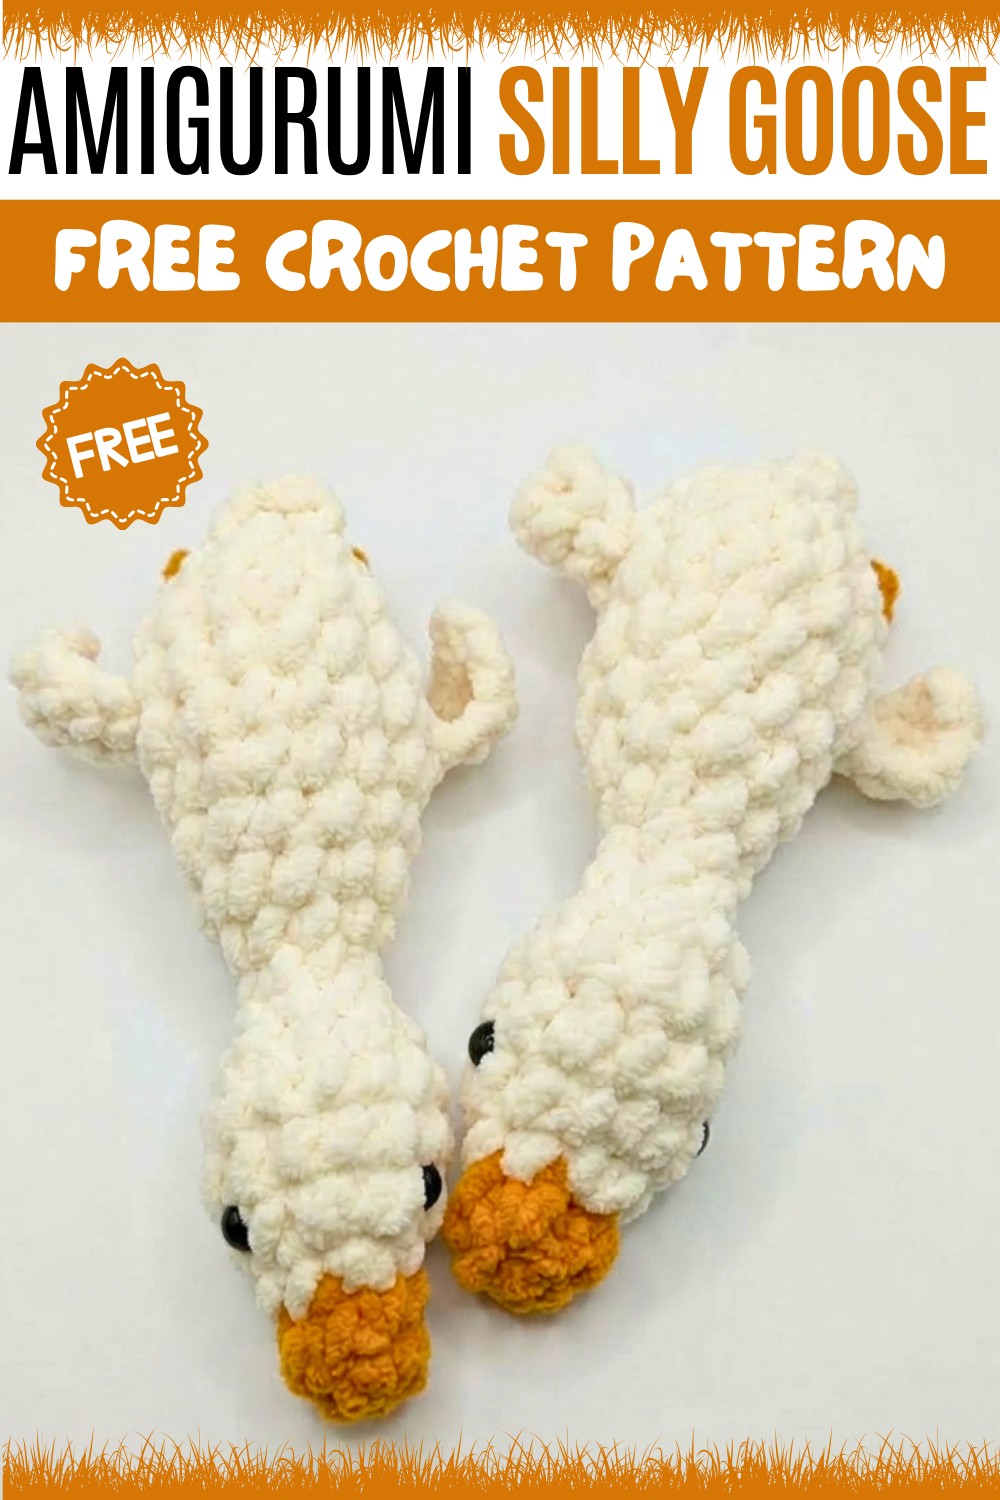
In short, the Crochet Silly Goose is an inviting project that is easy, colorful, and useful. You will feel proud to finish it and enjoy having a cute handmade friend around. Give it a try and see how relaxing and rewarding it can be.
- This Writtern Pattern is based on YouTube Channel Hobbi CROCHET
Silly Goose Crochet Amigurumi Pattern
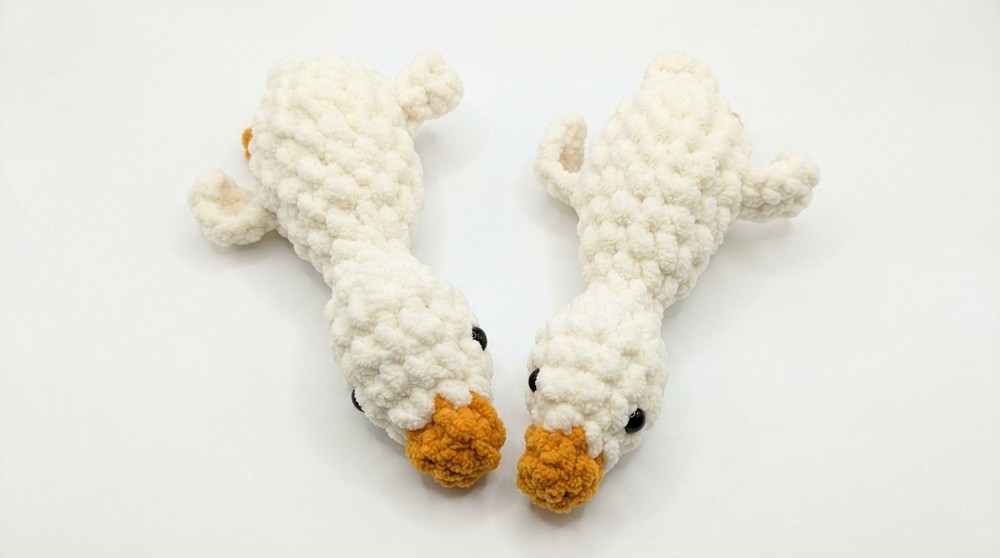
This pattern creates a whimsical silly goose using basic crochet techniques, making it a great soft sculpture for children, gifts, or home décor. Designed with simplified shaping and minimal sewing, the pattern features clear stitch counts and round-by-round construction for ease of use.
Pattern Basic Points
Key Features:
- Worked in continuous spirals, not joined rounds
- Minimal sewing; most features are crocheted directly onto the body
- Uses two yarn colors: orange (beak and legs) and white (body, wings, and head)
- Safety eyes are inserted for security and expressiveness
- Firm stuffing gives a soft and sturdy final shape
- Wings and legs are integrated seamlessly with body construction
Special Notes
- Do not join with slip stitch at the end of each round unless directed.
- Always use a stitch marker to mark the first stitch of each round.
- Stuff the body and head firmly, shaping as you go for a neat finish.
- Safety eyes should be attached securely before closing the head.
- If adjusting size, maintain proportion by using the same yarn weight and hook size.
Skill Level
Beginner-Friendly Pattern
Ideal for those new to amigurumi or looking for a straightforward small animal project. The pattern uses simple shaping, basic decreases, and straightforward color changes.
Materials
- Yarn:
- Worsted or Aran weight yarn:
- White: approx. 30g
- Orange: small amount (beak and legs)
- Worsted or Aran weight yarn:
- Crochet Hook: 5.5mm or 6mm (as preferred or to match gauge)
- Stuffing: Polyester fiberfill
- 8mm Safety Eyes (2)
- Tapestry needle for weaving in ends and sewing parts (if needed)
- Scissors
- Stitch marker
- Optional: Blush or fabric marker for cheeks
Measurements & Gauge
- Finished Size: Approx. 7-9 inches tall from beak to tail when using recommended yarn and hook size.
- Gauge: 10 single crochet and 10 rows = 2 inches square (unblocked)
- Stitch Pattern: Stitches are worked in the round in single crochet unless otherwise noted.
Stitch Abbreviations
- MC: Magic Circle
- SC: Single Crochet
- INC: Increase (2 SC in one stitch)
- DEC: Decrease (single crochet 2 stitches together)
- HDC: Half Double Crochet
- DC: Double Crochet
- CH: Chain
- SL ST: Slip Stitch
Special Stitches
- Magic Circle (MC): Form a ring with yarn, crochet specified number of stitches into ring, pull tight.
- Invisible Decrease: Insert hook through front loops of next two stitches, yarn over, pull through both, yarn over, pull through two on hook.
Detailed Pattern Instructions
Head and Beak
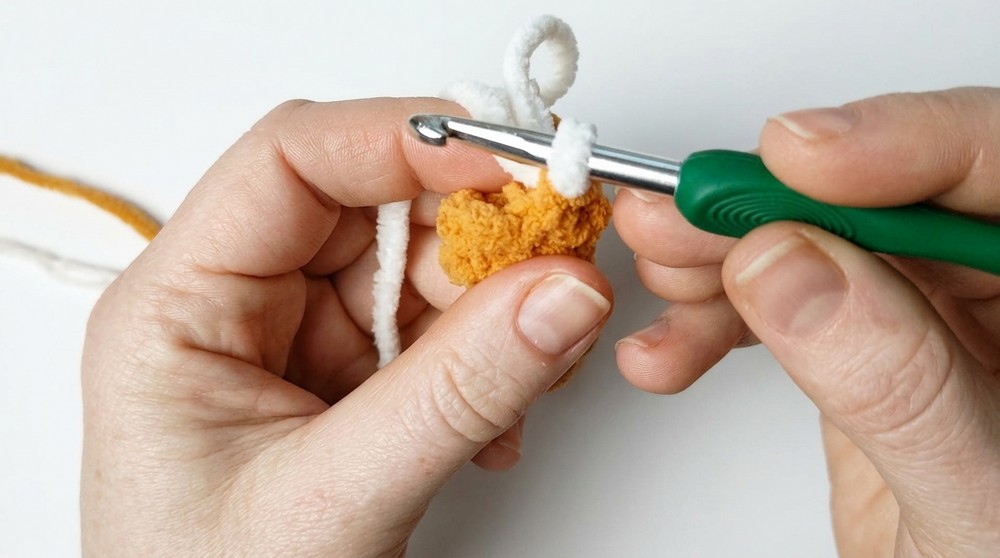
- Round 1 (Beak):
- Using orange yarn, make a Magic Circle.
- Work 6 SC into the circle. [6]
- Round 2:
- 6 SC, one in each stitch around.
- On the final stitch, change to white yarn. [6]
- Round 3:
- (1 SC, 1 INC), repeat around. [9]
- Round 4:
- (2 SC, 1 INC), repeat around. [12]
- Round 5:
- 12 SC around. [12]
- Round 6:
- 12 SC around. [12]
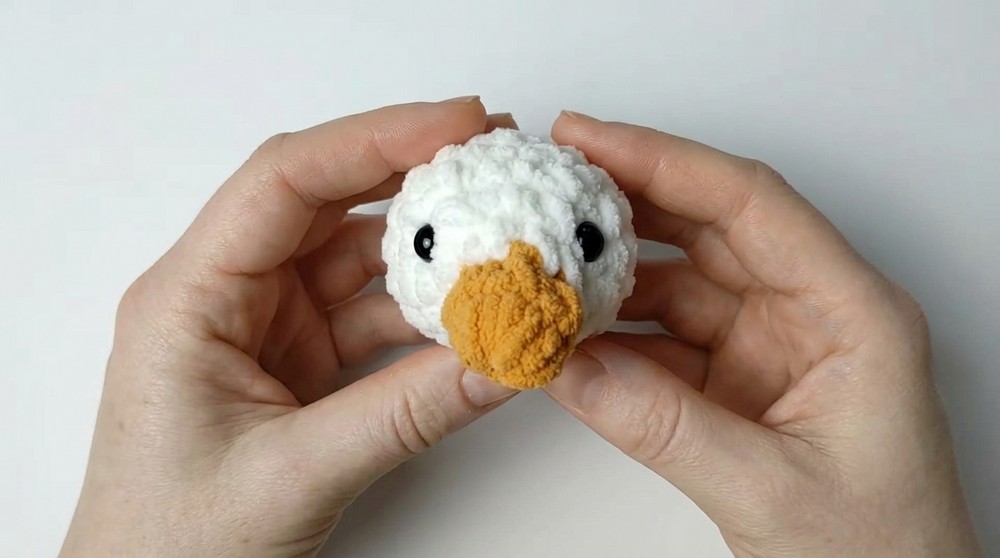
- Safety Eyes:
- Insert 8mm safety eyes between Rounds 4 and 5, spaced approximately 4 stitches apart.
- Round 7 (Decrease):
- (1 SC, 1 DEC), repeat around. [8]
- Round 8:
- (2 SC, 1 DEC), repeat around. [6]
- Round 9:
- 6 SC around. [6]
Body
- Round 10:
- (1 SC, 1 INC), repeat around. [9]
- Round 11:
- (2 SC, 1 INC), repeat around. [12]
- Round 12:
- 12 SC around. [12]
- Round 13:
- (3 SC, 1 INC), repeat around. [15]
Wings and Legs
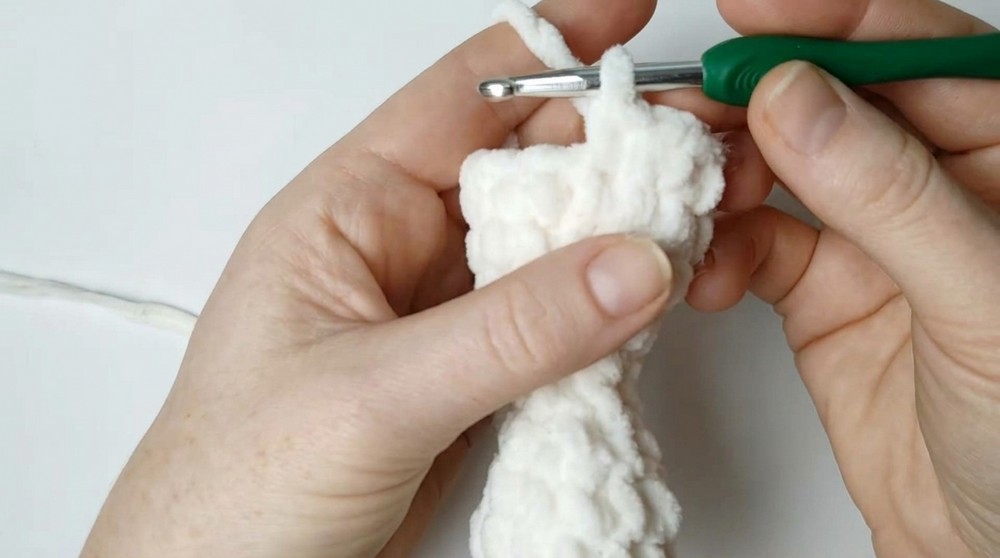
- Wings (Rounds 14–15):
- At the position for each wing (sides of the body), CH 5.
- 1 SC in second chain from hook,
- 1 HDC in next chain,
- 2 DC in next two chains,
- 1 HDC in last chain,
- Attach to the body using a DEC (crochet the next two body stitches together).
- Repeat for the second wing on opposite side.
- At the position for each wing (sides of the body), CH 5.
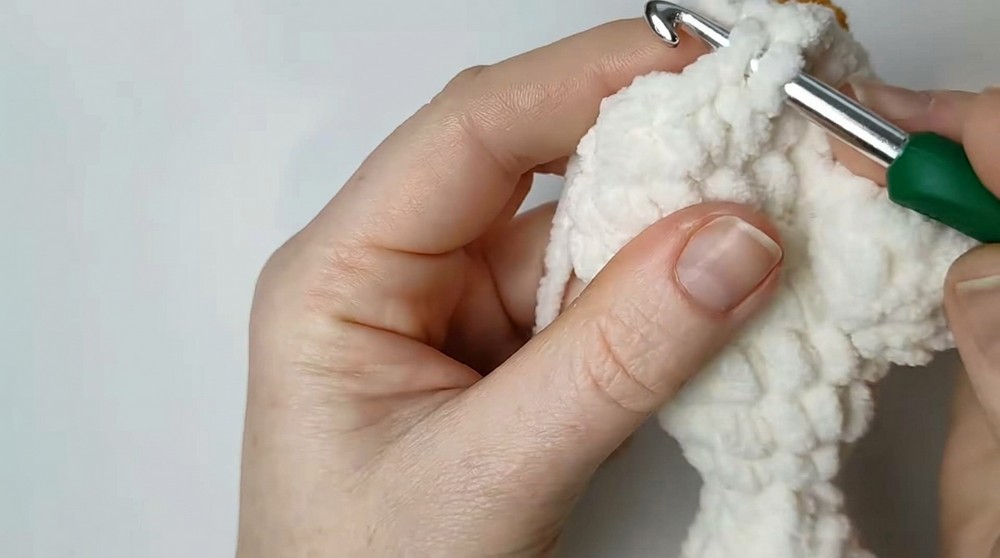
- Legs (Round 16):
- 4 SC to reach leg position, then switch to orange yarn.
- For each leg:
- CH 4,
- 1 DC in second chain from hook,
- SL ST into the remaining chains back toward the body,
- Fasten off orange yarn,
- Repeat for the second leg.
Finishing
- Rounds 17–18 (Tail and Closing):
- Continue to decrease each round to close the body gently.
- Stuff the goose fully before the opening becomes too small.
- For tail tilt, work 4 extra SC at the tail end (this angles the opening upward).
- To close, weave yarn through the front loops of the remaining stitches and pull tight to gather.
- Fasten off and weave in all ends securely.
Assembly & Finished Size
Most assembly is integrated throughout the pattern—wings and legs are attached as part of the rounds, and head and body are crocheted in one piece. After finishing, lightly shape the goose with your hands. Optional: add a tiny bit of blush or embroidery to the beak for extra character.
Finished size will vary depending on yarn and tension but should stand approximately 7 to 9 inches tall. If using smaller yarn and hooks, expect a smaller toy.
Conclusion
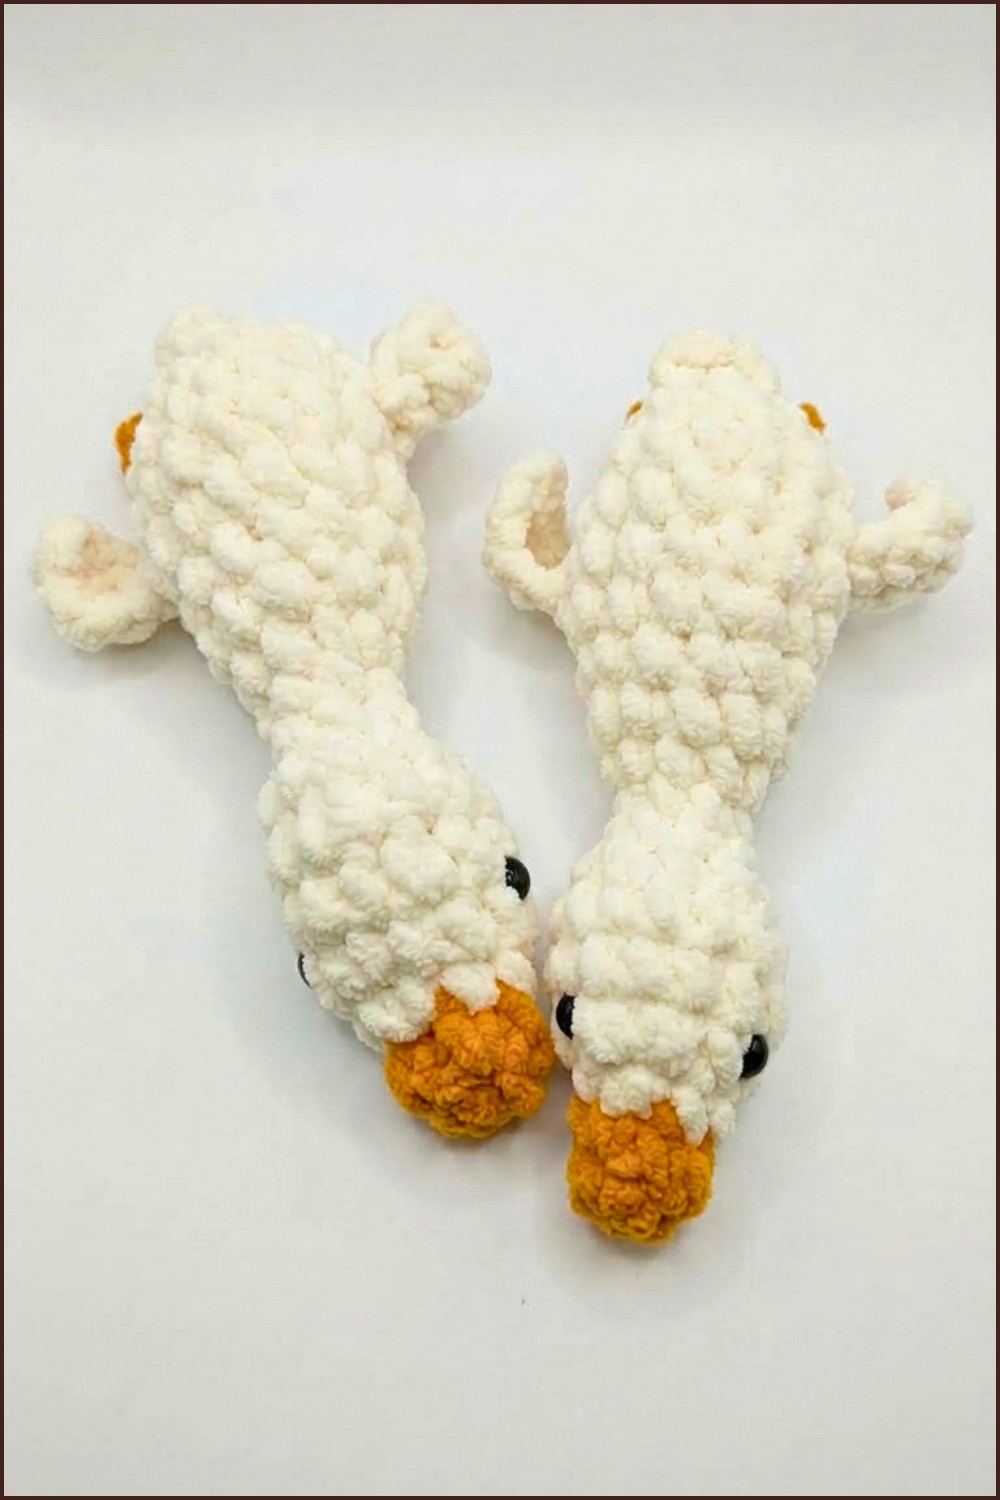
This Silly Goose amigurumi is quick, charming, and the seamless construction makes it ideal for both new and seasoned crocheters. The bold features, playful proportions, and sturdy design ensure your finished project will delight recipients of all ages. Properly stuffed and finished, this pattern yields a timeless handmade creation that brings a smile wherever it goes. Be sure to tag photos of your silly goose to share with other makers—enjoy crafting your unique and spirited companion!