
FREE Crochet Bunny Amigurumi Keychain Tutorial for Beginners
Turn everyday accessories into adorable keepsakes with this free Crochet Bunny Amigurumi keychain pattern, combining charm and functionality effortlessly.
In a world filled with mass-produced accessories, handmade items often stand out for their charm and personal touch. The free Crochet Bunny Amigurumi keychain pattern offers an opportunity to design something both delightful and functional. This adorable bunny keychain is perfect for carrying keys, decorating bags, or even gifting to loved ones as a thoughtful keepsake.
Its small, lightweight design makes it easy to carry anywhere while maintaining durability for regular use. With the ability to customize colors and details, each bunny can reflect personal style or fit a specific theme. Using simple and affordable materials like yarn and stuffing, this project suits those on a budget while delivering a professional-looking result.
FREE Crochet Pattern: Bunny Keychain With Functional Design!
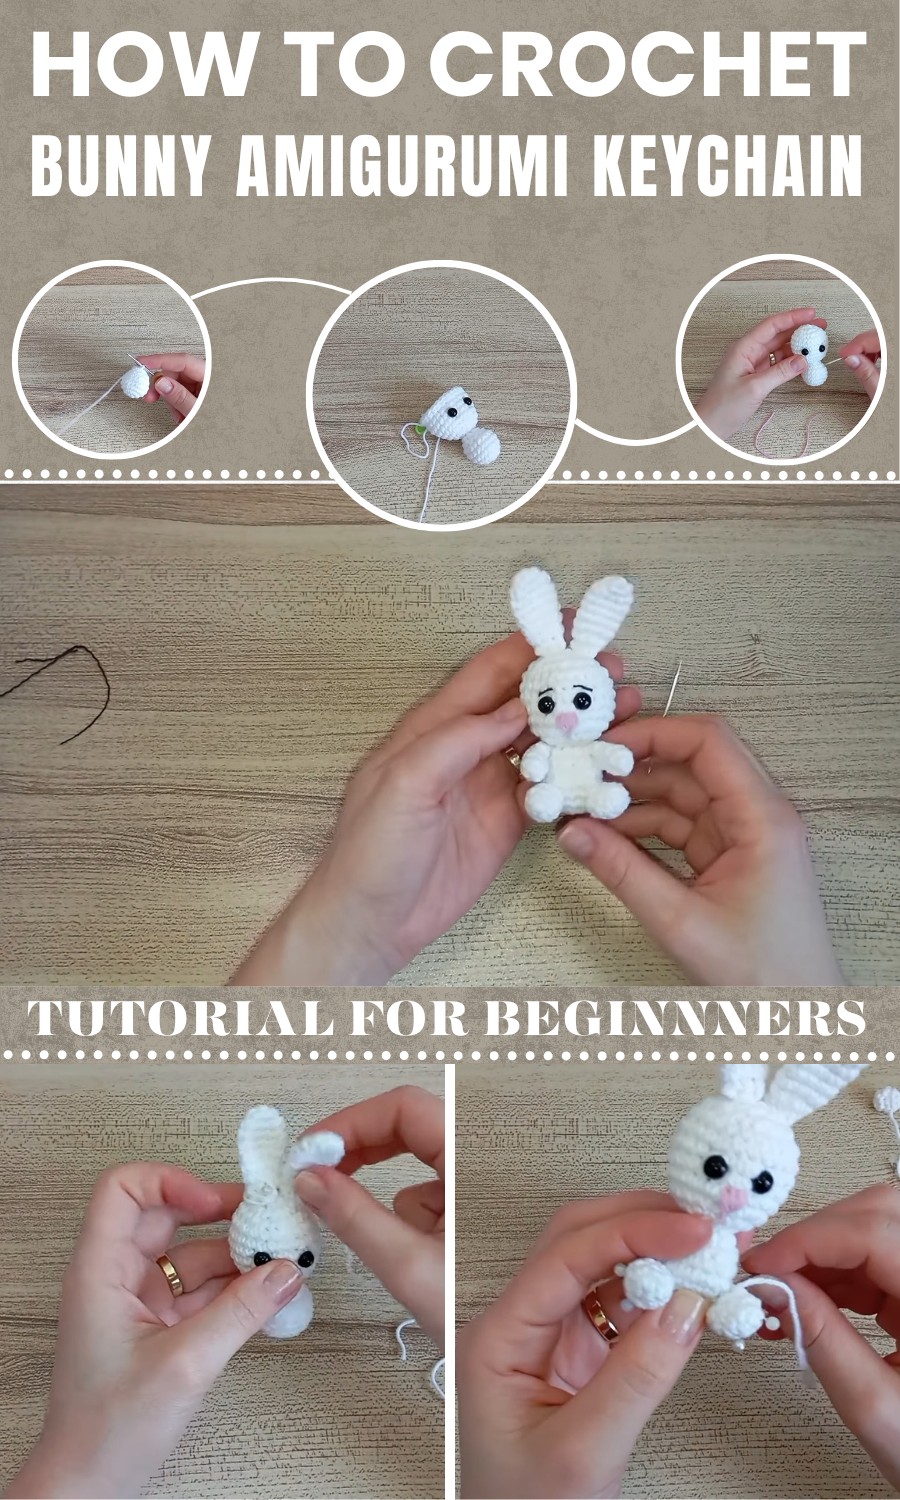
More than just an accessory, it holds practical benefits. The bunny keychain helps keep keys organized and prevents them from getting lost in crowded bags. It also doubles as a playful ornament, adding character to everyday items. For beginners, this pattern introduces basic crochet techniques in a manageable form, while experienced crocheters can enjoy the satisfaction of handling finer details.
Crafting something by hand allows a personal connection to each creation, and this bunny keychain brings joy not only in its usefulness but also in the process of making it.
FREE Crochet Bunny Amigurumi Keychain Pattern
Necessary Materials
- Yarn:
- White: Bunny base, ears, arms, legs, and tail.
- Orange: Carrot.
- Green: Carrot leaves.
- Pink: Bunny's nose.
- Black: Eyebrows (or optional threaded details).
- Multicolored or pastel yarn: Easter egg.
- (Yarn specification: 100% cotton, preferably with similar thickness for a consistent finish.)
- Hook:
- Crochet hook: 2.0 mm.
- Additional Tools:
- Stitch markers.
- Scissors.
- Tapestry needle (thin, pointed if needed for details).
- Pins for alignment while sewing parts.
- Safety eyes: 7 mm size.
- Lighter: To seal the tips of the safety eyes if needed.
- Pliers: For attaching keychain rings.
- Keychain rings (2 pieces).
- Union rings (2 small ones for connecting the keychains).
- Stuffing:
- Polyester fiberfill or synthetic cotton.
Gauge
- A tight gauge is recommended to prevent stuffing from showing. Adjust your hook size if necessary to ensure even and dense stitches.
Finished Size
- Height: Approximately 12 cm (4.7 inches), including the bunny's ears.
- Width: Approximately 6 cm (2.3 inches).
(Size may vary based on yarn and hook used.)
Special Techniques
- Magic Ring (MR):
- A technique to start seamless rounds with no visible hole. For beginners, an alternative method is the chain start.
- Increase (Inc):
- Crochet two single crochets into the same stitch.
- Invisible Decrease (Dec):
- Crochet using the front loops only of the two next stitches, for a smooth and neat reduction.
- Stitch Over Stitch:
- This refers to single crocheting in each stitch from the previous row.
- Attaching Safety Eyes:
- Insert the safety eye in the designated stitch and secure it tightly with the backing.
- Assembly Tips:
- Use pins to position all parts before sewing for a balanced and symmetrical assembly.
Pattern Instructions
Bunny Ears (Make 2, White Yarn)
- R1: (Magic Ring) Work 6 SC into a magic ring. Tighten the ring. (6 stitches total)
- R2: (SC, Inc) 3 times. (9 stitches total)
- R3–R7: Work stitch over stitch (SC in each stitch) for 5 rounds. (9 stitches per round)
- R8: (SC, Dec) 3 times. (6 stitches total)
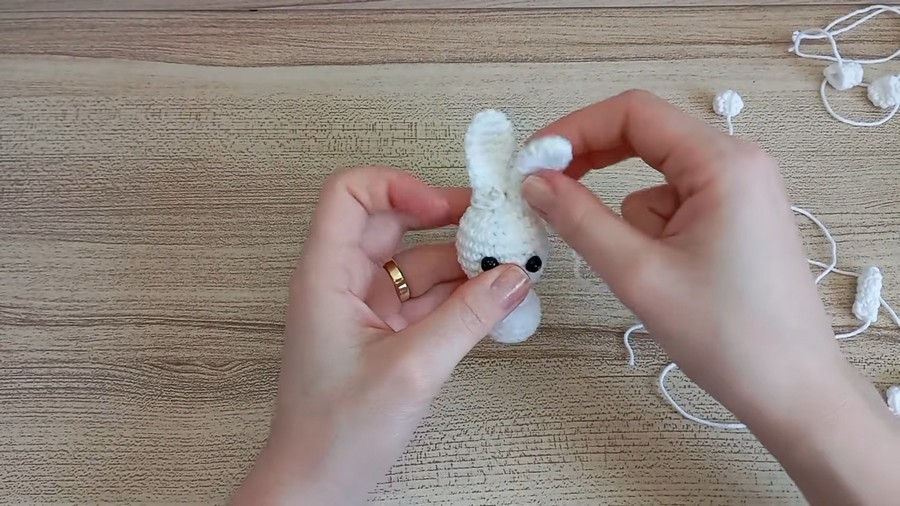
Closing the Ear:
- Fold the ear in half lengthwise, aligning the last two rows.
- Work 2 SC across the edges to close the ear.
- Fasten off, leaving a long tail for sewing.
- Make two ears.
Bunny Arms (Make 2, White Yarn)
- R1: (Magic Ring) Work 6 SC into a magic ring. Tighten the ring. (6 stitches total)
- R2–R5: Work stitch over stitch (6 stitches per round).
Closing the Arm:
- Fold the arm in half and work 2 SC through both edges to close.
- Leave a long tail for sewing.
- Do not stuff the arms.
- Make two arms.
Bunny Legs (Make 2, White Yarn)
- R1: (Magic Ring) Work 6 SC into a magic ring. Tighten the ring. (6 stitches total)
- R2: (SC, Inc) 3 times. (9 stitches total)
- R3: Work stitch over stitch. (9 stitches total)
- R4: (SC 2, Dec 2, SC 3). (7 stitches total)
Finishing the Legs:
- Do not fully close the legs. Leave them open at the top, and stuff lightly with fiberfill for shape.
- Leave a long tail for sewing.
- Make two legs.
Bunny Tail (White Yarn)
- R1: (Magic Ring) Work 7 SC into a magic ring. Tighten the ring. (7 stitches total)
- R2–R3: Work stitch over stitch for 2 rounds. (7 stitches total)
- R4: (SC 2, Dec 1, SC 3). (6 stitches total)
Finishing the Tail:
- Do not stuff the tail. Leave it flat.
- Leave a long tail for sewing.
Bunny Body and Head (White Yarn)
Body:
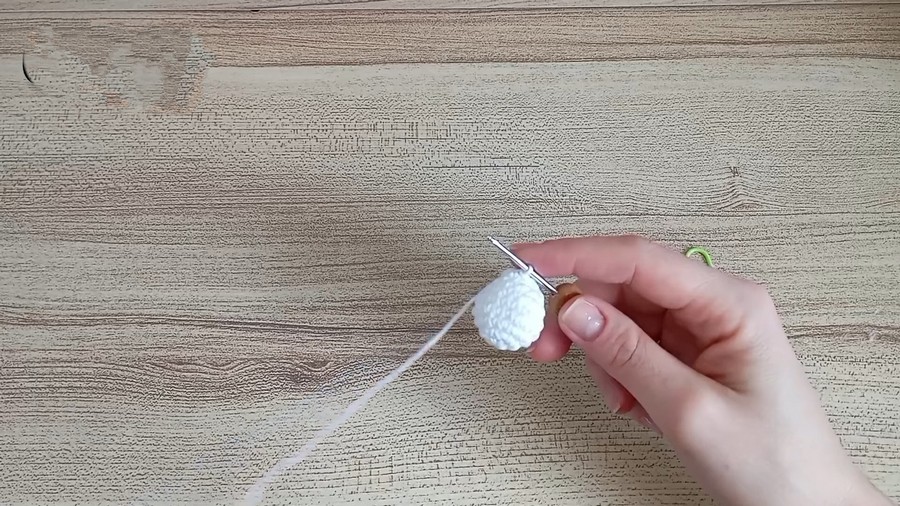
- R1: (Magic Ring) Work 6 SC into a magic ring. Tighten the ring. (6 stitches total)
- R2: (Inc) 6 times. (12 stitches total)
- R3: (SC, Inc) 6 times. (18 stitches total)
- R4–R6: Work stitch over stitch. (18 stitches per round)
- R7: (SC, Dec) 6 times. (12 stitches total)
- R8: (SC, Dec) 4 times. (8 stitches total)
- Stuff the body with fiberfill firmly before proceeding.
Head:
- R9: Work 8 SC (front loops only). (8 stitches total)
- R10: (SC, Inc) 4 times. (12 stitches total)
- R11: (SC, Inc) 6 times. (18 stitches total)
- R12: (SC 2, Inc) 6 times. (24 stitches total)
- R13–R17: Work stitch over stitch. (24 stitches per round)
- Insert safety eyes between Rows 14 and 15, leaving 3-stitch spacing.
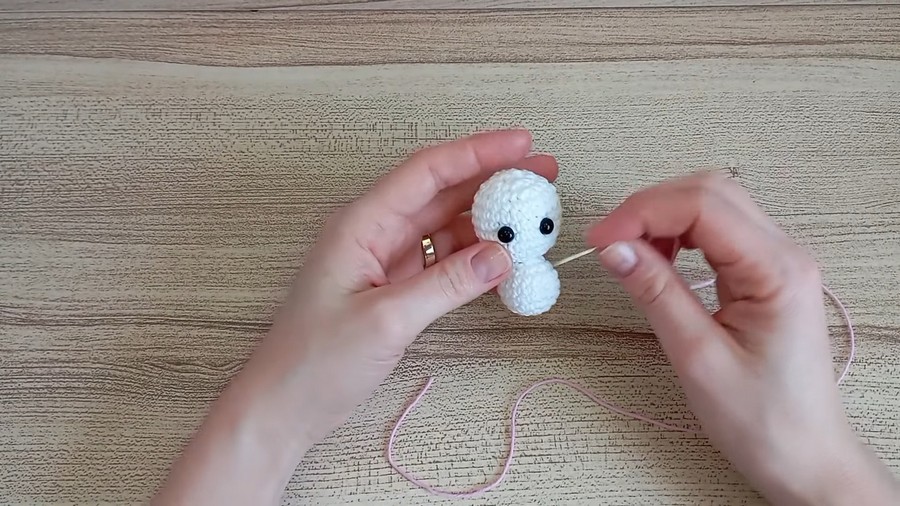
- Embroider the nose in a small triangular shape using pink thread between the eyes.
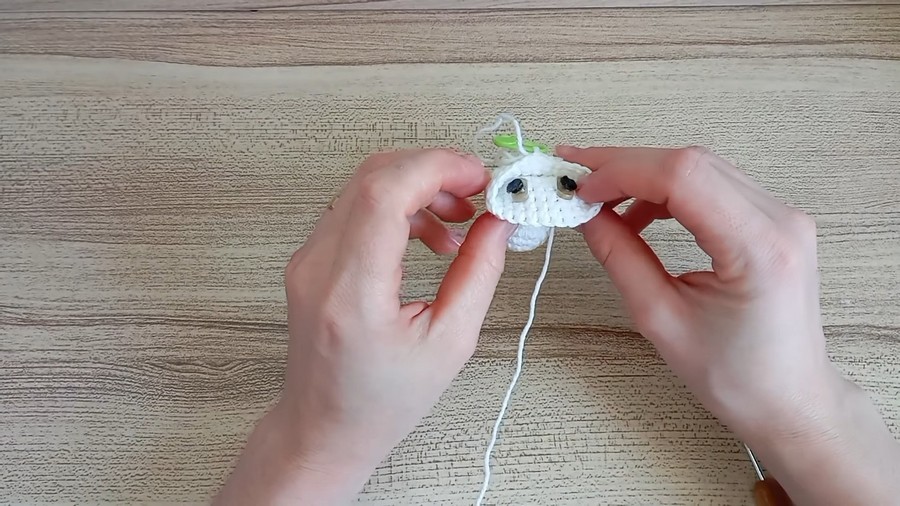
- R18: (SC 2, Dec) 6 times. (18 stitches total)
- R19: (SC, Dec) 6 times. (12 stitches total)
- R20: (Dec) 6 times. (6 stitches total)
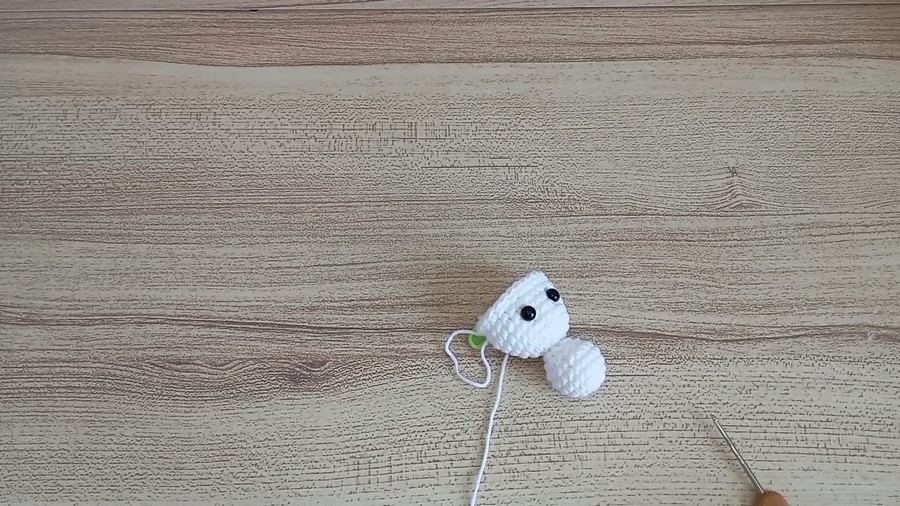
- Stuff the head fully but carefully shape it.
- Close by threading through the last 6 front loops, pulling tight, and weaving in the tail.
Easter Carrot
- R1: (Magic Ring) Work 6 SC into a magic ring. (6 stitches total)
- R2: (SC, Inc) 3 times. (9 stitches total)
- R3–R4: Work stitch over stitch. (9 stitches per round)
- R5: (SC 3, Dec, SC 4). (8 stitches total)
- R6: Work stitch over stitch. (8 stitches total)
- R7: (SC 3, Dec, SC 3). (7 stitches total)
- R8: (SC, Dec, SC, Dec, SC). (5 stitches total)
- Stuff the carrot gently, making it firm but not overstuffed.
Carrot Leaves (Green Yarn):
- Chain 5. Slip stitch back into the back loops of 4 chains.
- Repeat for 3 more leaves. Adjust leaf curves while sewing onto the carrot’s top.
Easter Egg
Follow the same steps as those for the carrot (Rows 1–8). Use colorful or pastel yarn for playful variety.
Assembly
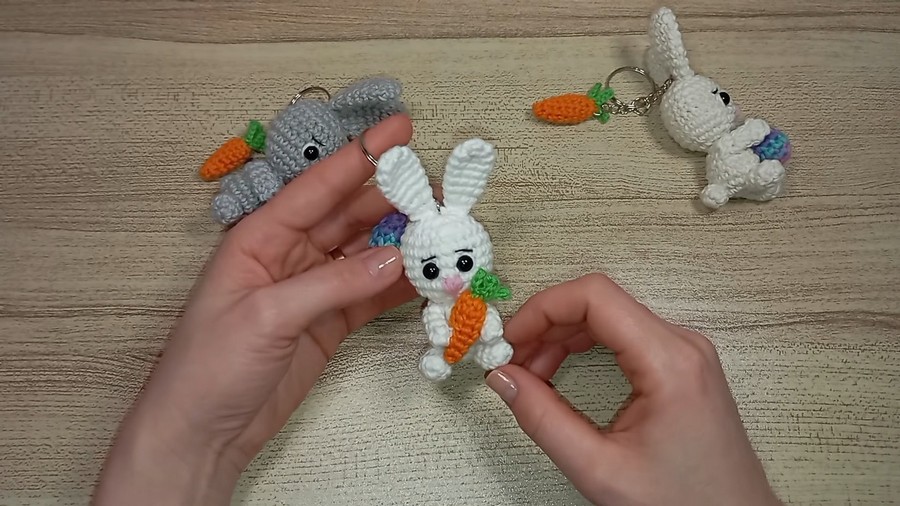
- Sew the ears: Align them evenly on either side of the head and sew.
- Sew the arms: Sew the arms to the body in line with the ears.
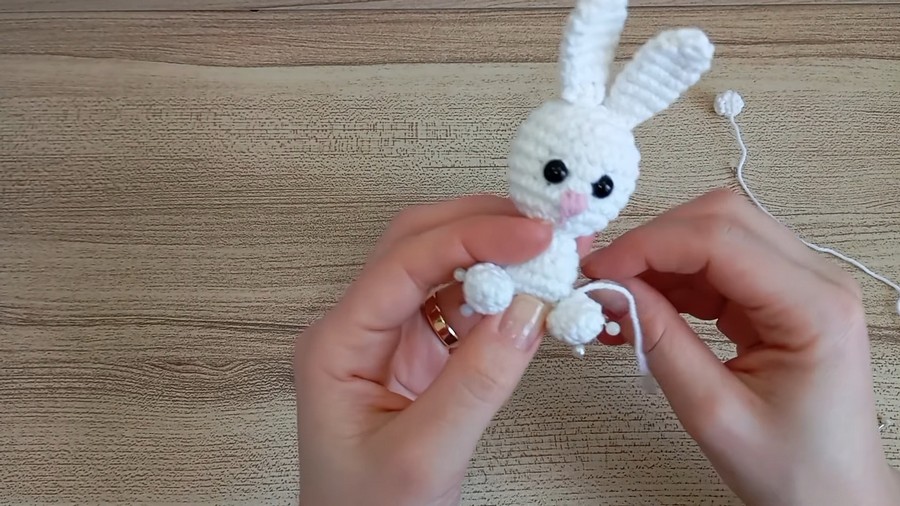
- Sew the legs: Attach legs to the bottom of the body.
- Sew the tail: Place it centered on the back of the body for support.
- Attach the carrot and egg:
- The carrot goes into one arm.
- Attach the egg to the keychain ring and secure.
Tips & Customization Ideas
- Colors: Experiment with body colors like gray, tan, or pastel shades for a unique bunny.
- Faces: Add more personality with rosy cheeks or embroidered lashes for a whimsical look.
- Accessories: Try replacing the carrot and egg with other objects, such as flowers or a mini basket.
Conclusion
Your crochet Easter Bunny with Carrot and Egg is now complete! This handmade charm makes a perfect gift, or you can create multiples for seasonal decorations or to sell at craft fairs. The seamless head-to-body structure ensures a neat, durable toy, and its compact size makes it compatible with keychains or Easter baskets.