
Simple Amigurumi Bee Free Crochet Pattern - Easy Tutorial For Beginners
Keep your crochet time fun with this Free Crochet Amigurumi Bee Pattern and turn soft yarn into a cute little bee that makes a cheerful gift or decor.
Small yarn projects can be some of the most enjoyable things to make. This cute amigurumi toy uses simple colors, soft yarn, and easy crochet steps, so it makes a nice project for a calm afternoon. The Free Crochet Amigurumi Bee Pattern is a sweet choice for anyone who enjoys crochet animals, handmade toys, and small yarn crochets. It is also a handy project for using up leftover yellow and black yarn.
Cute Crochet Amigurumi Bee Tutorial for an Easy Project
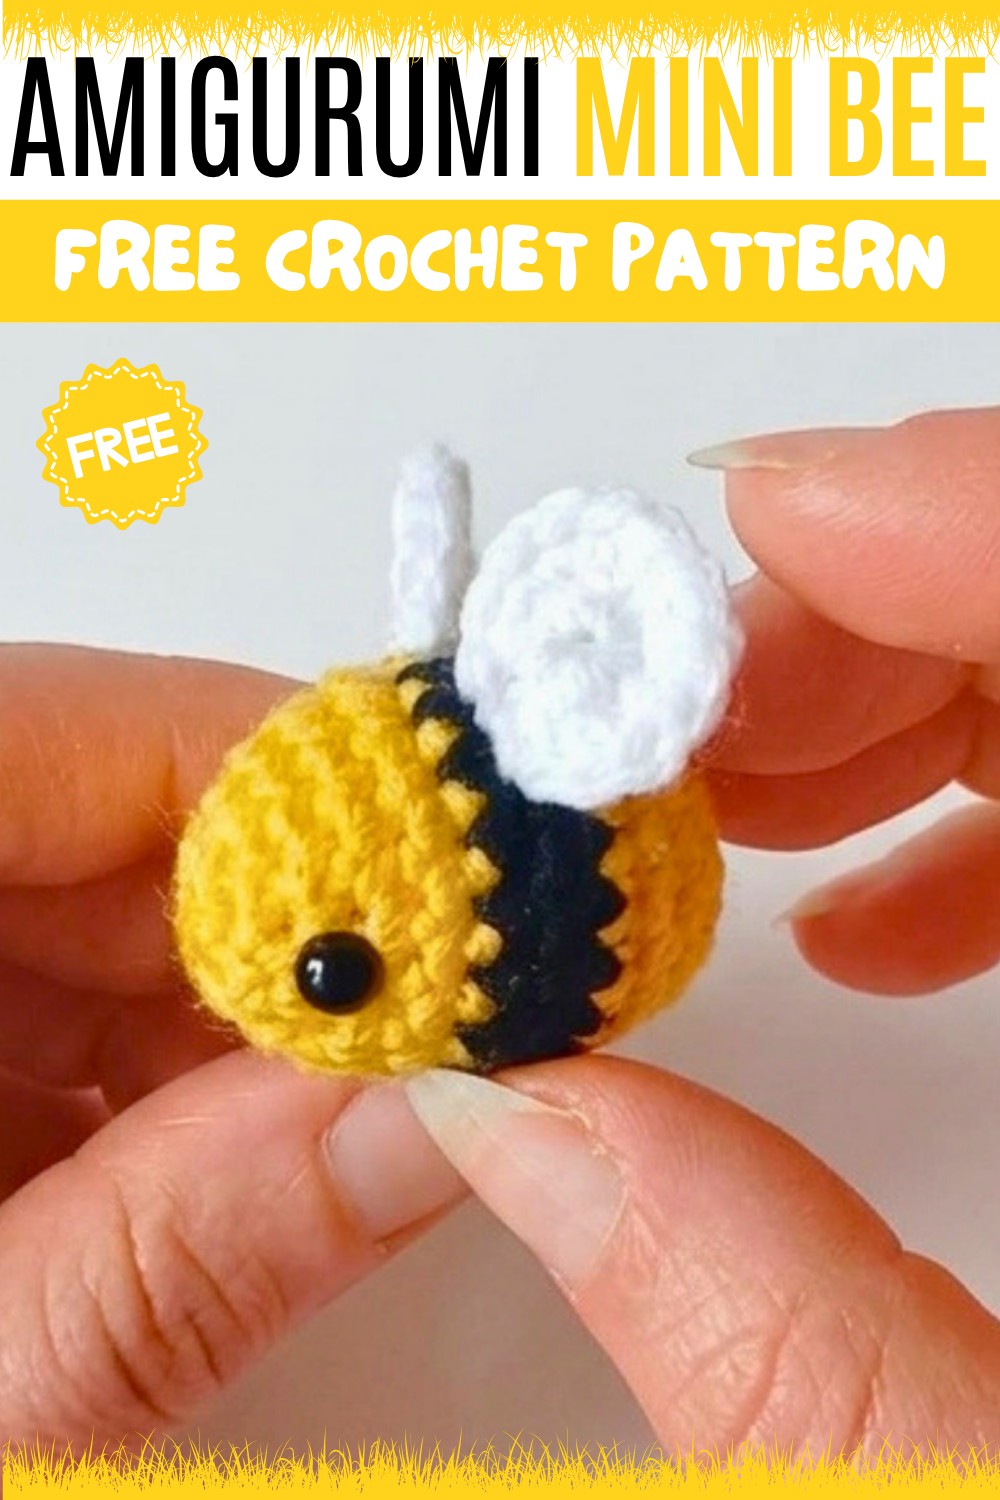
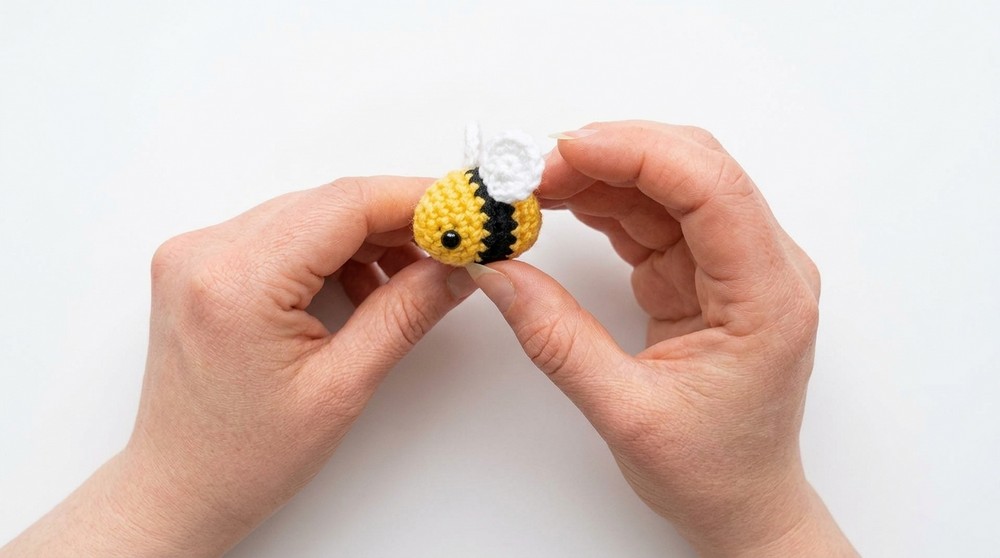
The finished toy has a round body with neat yellow and black stripes, tiny wings, and a small face. Its soft and squishy texture makes it fun to hold, while the rounded shape gives it a friendly look. The striped body is the main feature, and the little wings add a simple but lovely detail. It can be placed on a shelf, desk, table, or bedside stand as a small decoration. Different yarn colors can also be used to give it a personal touch.
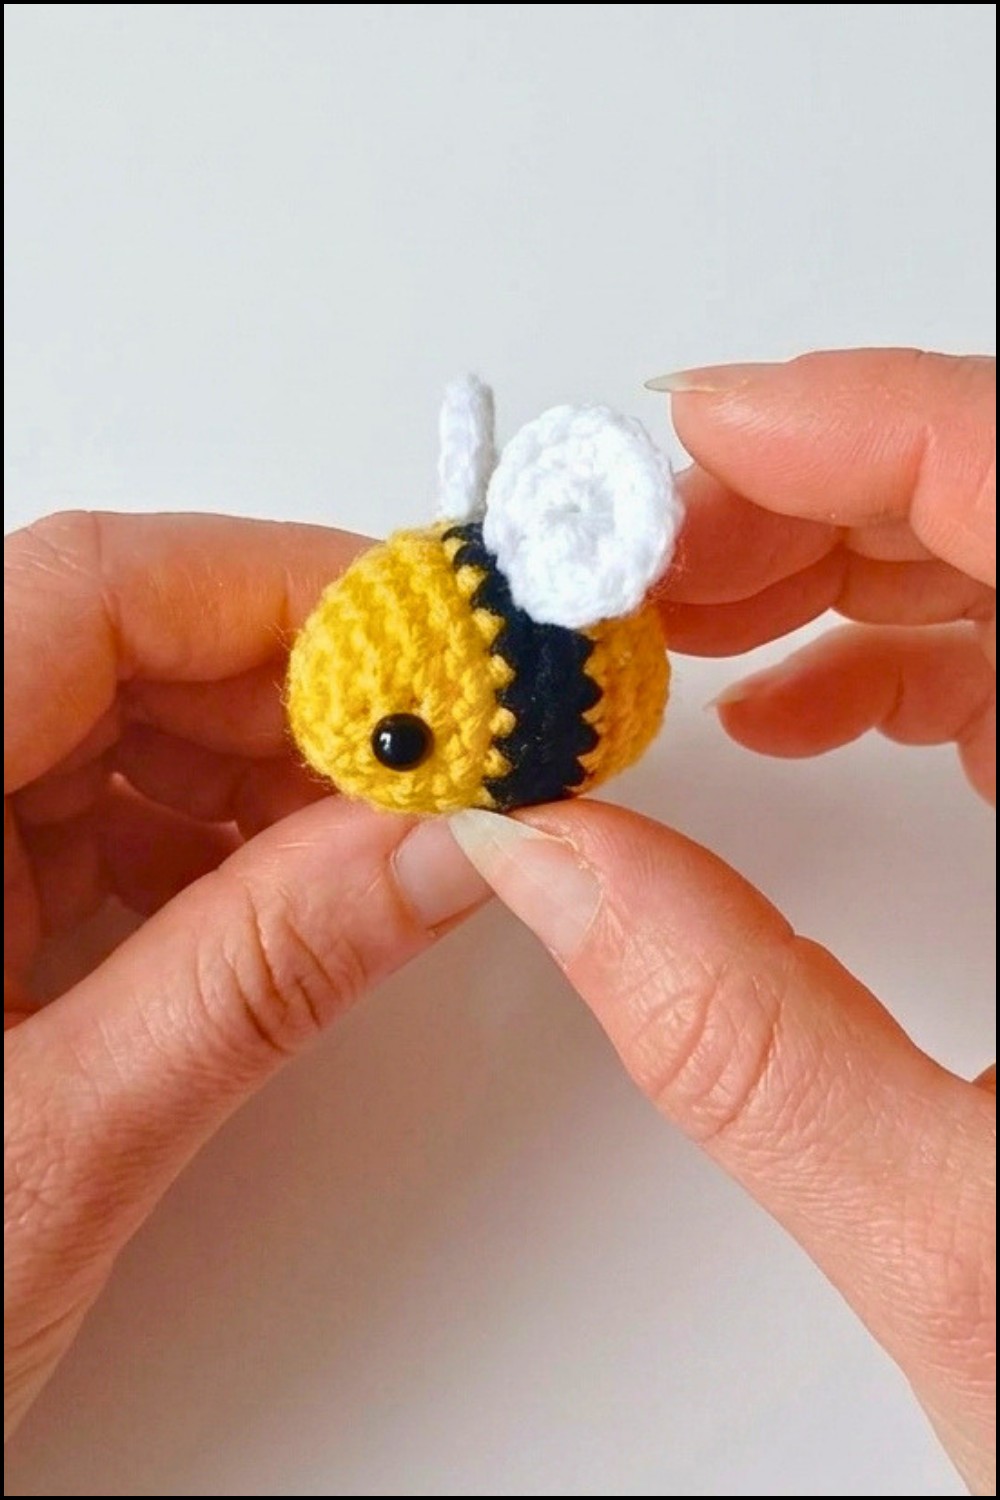
This pattern is suitable for beginners who know the basic crochet stitches. Single crochet is the main stitch used throughout the project, helping create a firm fabric that holds the stuffing well. Basic increases and decreases are used to shape the body and smaller parts.
Crochet toy makes a thoughtful handmade gift for children, friends, teachers, or fellow crafters. It can also be added to a collection of amigurumi animals or used as a cheerful decoration around the home.
Amigurumi Bee Crochet Pattern
A classic amigurumi bee is an adorable addition to any handmade collection. Striking stripes, soft wings, and simple shaping make this beginner-friendly bee a rewarding project for both new and experienced crocheters. The following pattern includes step-by-step rounds to ensure clear results and a sturdy, cute bee.
Skill Level
Beginner
The bee features basic stitches, rounds, simple color changes, and minimal shaping. The wings and body are constructed separately and joined with easy assembly.
Materials
- Yellow, black, and white yarn (DK or worsted, acrylic or cotton)
- 3mm crochet hook
- 6mm safety eyes (or embroidery thread for embroidered eyes)
- Toy stuffing
- Tapestry needle
- Pins for positioning
- Scissors
Special Stitches
- Magic Ring (MR): A crocheted ring used to start projects in the round.
- Increase (inc): Two single crochet in the same stitch.
- Decrease (dec): Single crochet two stitches together, preferably using an invisible decrease for a neater look.
- Color Change: Switch to another yarn color during the final pull-through of the stitch before the color switch.
Stitch Abbreviations
- MR – Magic Ring
- SC – Single Crochet
- inc – Increase
- dec – Decrease
- sl st – Slip Stitch
Useful Tips
- For tight amigurumi stitches, use the smaller recommended hook and keep tension firm so stuffing does not show through.
- Place a stitch marker at the start of each round to keep track of continuous rounds.
- Ensure color changes occur during the final step of the previous stitch for smooth transitions.
- Install safety eyes before stuffing the body (as directed); if using embroidery, sew eyes after finishing.
- Stuff the body firmly without overfilling, as this ensures a round bee and maintains stitch integrity.
- Pin wings in place before sewing for symmetry.
Bee Body
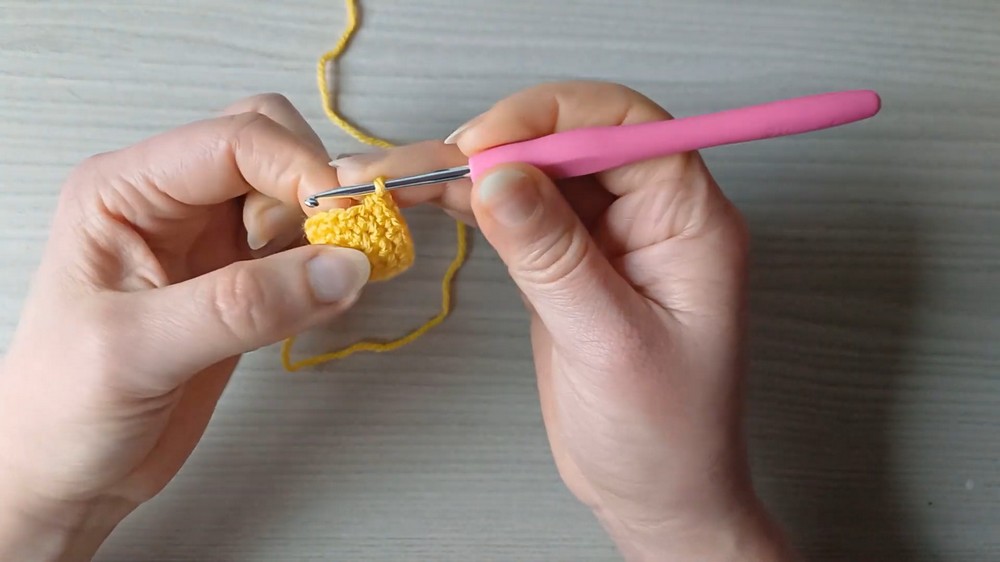
Round 1:
- MR, 6 SC (6 sts)
Round 2:
- inc in each stitch (12 sts)
Round 3:
- (3 SC, inc) × 3 (15 sts)
Round 4:
- (4 SC, inc) × 3 (18 sts)
Round 5:
- 1 SC in each stitch (18 sts)
Rounds 6–7:
- Change to black yarn.
- 1 SC in each stitch for these 2 rounds (18 sts per round)
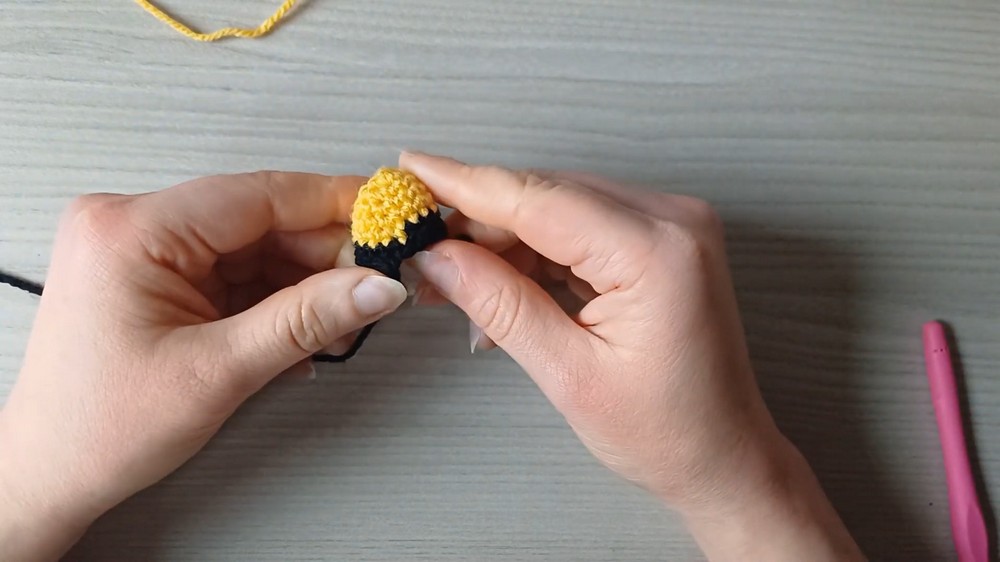
Eye Placement:
- Insert 6mm safety eyes between rounds 3 and 4, spaced 7 stitches apart.
Round 8:
- Change to yellow yarn.
- 1 SC in each stitch (18 sts)
Round 9:
- (4 SC, dec) × 3 (15 sts)
Round 10:
- (3 SC, dec) × 3 (12 sts)
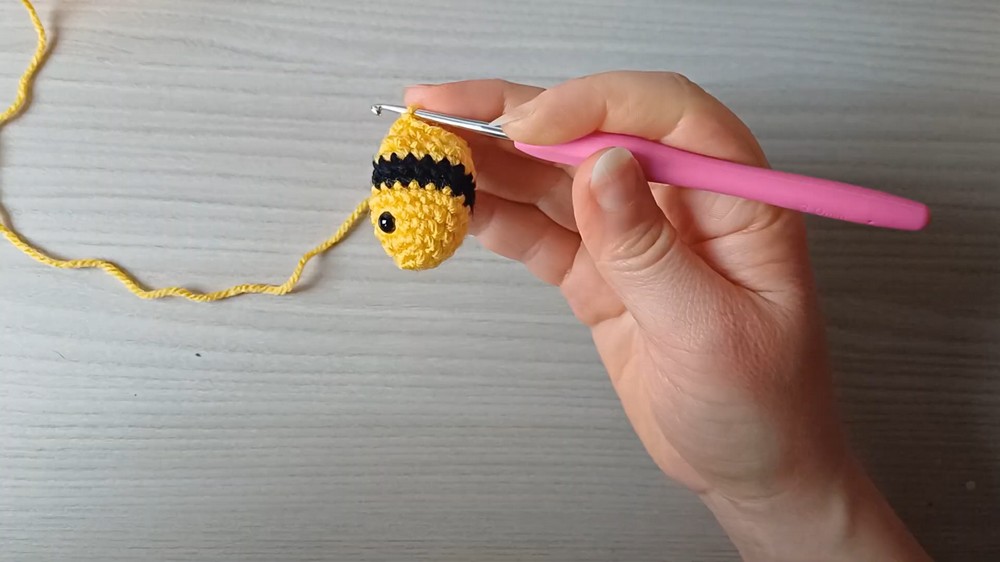
Stuffing:
- Stuff the bee before finishing rounds. Use firm, even stuffing for a round shape.
Round 11:
- 6 dec (6 sts)
- sl st to close and weave end neatly.
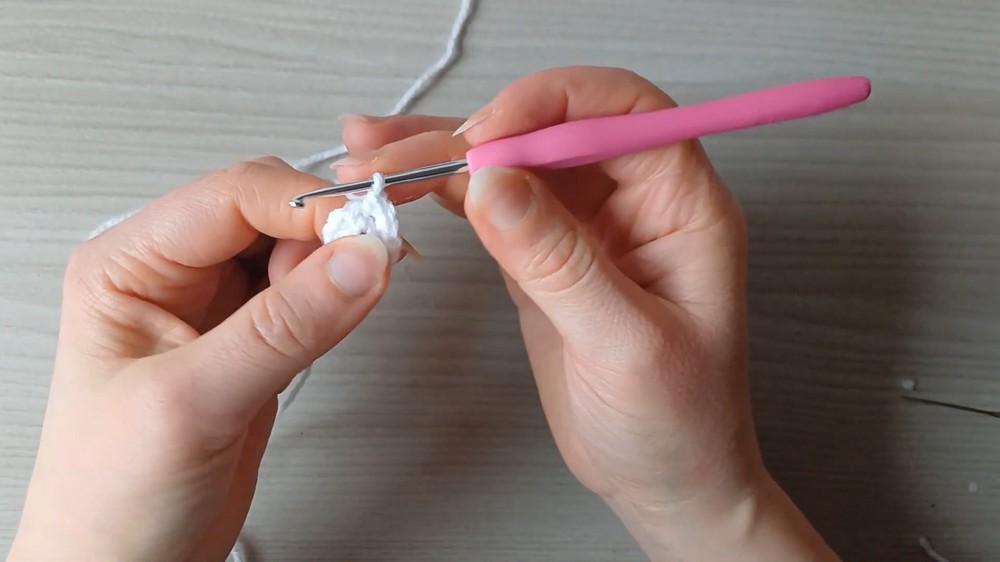
Wings (Make Two)
Round 1:
- MR, 6 SC (6 sts)
Round 2:
- inc in each stitch (12 sts)
- sl st to finish; cut yarn, leave tail for sewing.
Assembly and Sizing
- Pin wings in place between rounds 6 and 7, lining each wing three stitches above the eye level.
- Sew wings to the bee’s body, anchoring securely but not pulling too tight.
- Weave in all ends with a tapestry needle.
- The finished bee measures approximately 5–6cm in length and 4–5cm in height; proportions may vary slightly depending on yarn and tension.
Conclusion
This amigurumi bee is an engaging and simple project suited for both beginners and those looking to craft a charming gift. The seamless round shaping combined with color changes highlight the bee’s stripes, and separate wings add sturdy three-dimensional details. With minimal assembly and firm stuffing, the bee retains its shape and playful appearance, making it suitable for home decor, keychains, toys, or displays. This pattern encourages creative color choices and offers the option to embroider features, personalizing each bee. The straightforward steps enable consistent results and build confidence in working with rounds and colorwork in amigurumi.