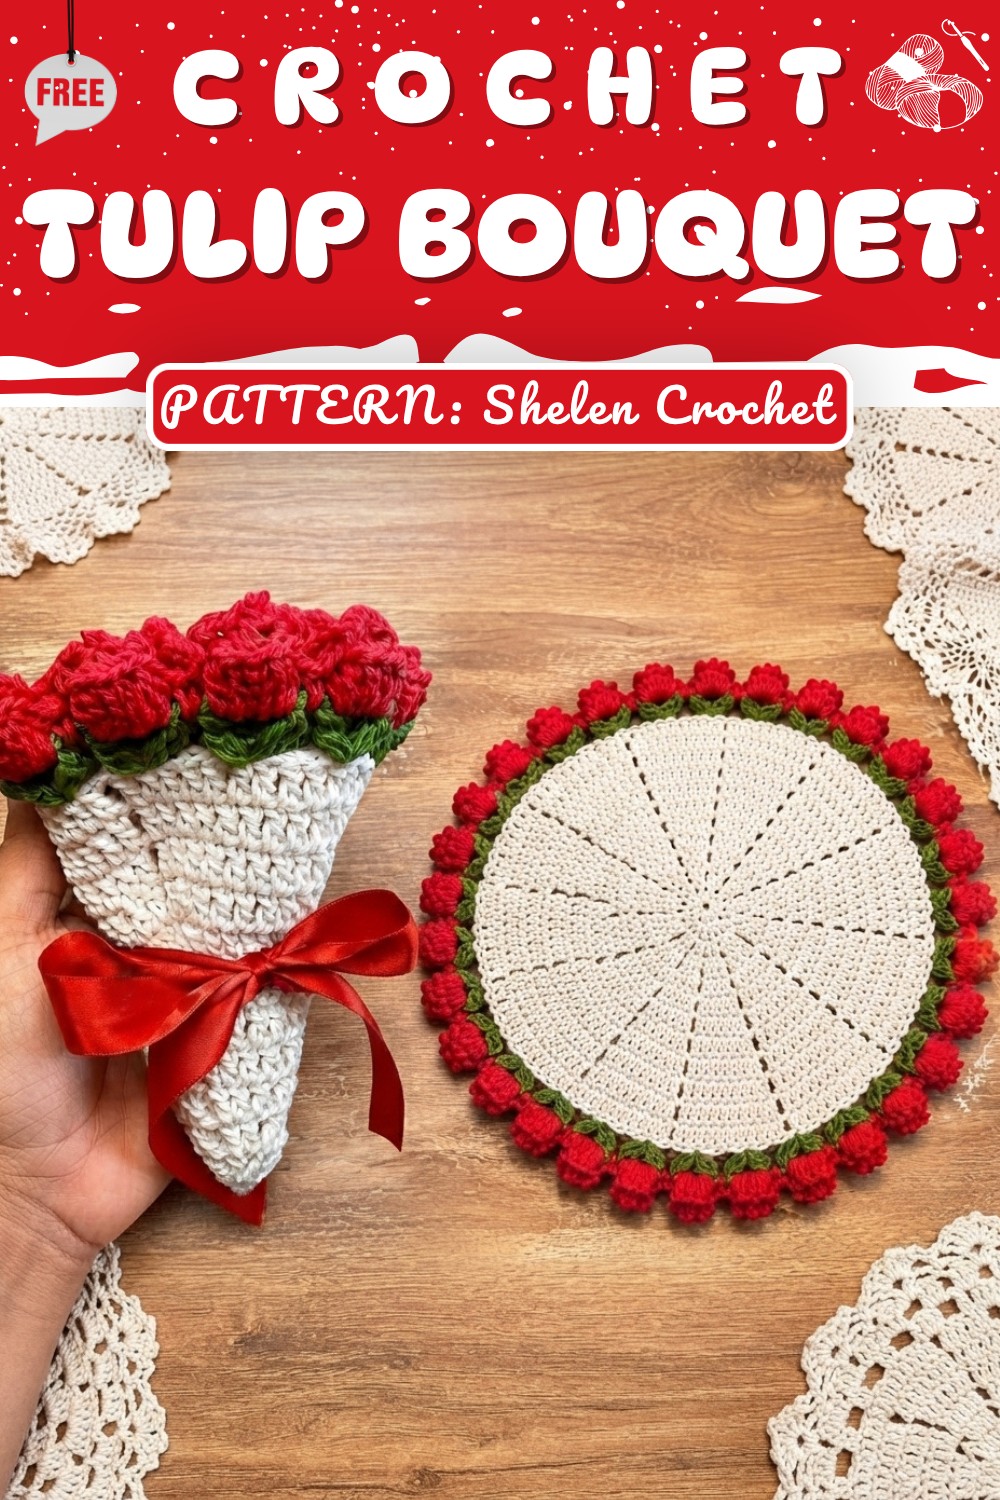
Fun Crochet Tulip Bouquet Free Pattern To Brighten Your Space
Give someone special a gift with this Crochet Tulip Bouquet Pattern and share a handmade bouquet that adds beauty to any room.
Have you ever wished you could enjoy fresh, colorful flowers all year round without worrying about them wilting or needing care? The Crochet Tulip Bouquet Free Pattern offers the perfect solution—beautiful, long-lasting tulips you can make yourself! This easy and enjoyable crochet project is designed by Shelen Crochet and is great for beginners and experienced crocheters alike.
Cute Crochet Tulip Bouquet Free Pattern for a Sweet Display
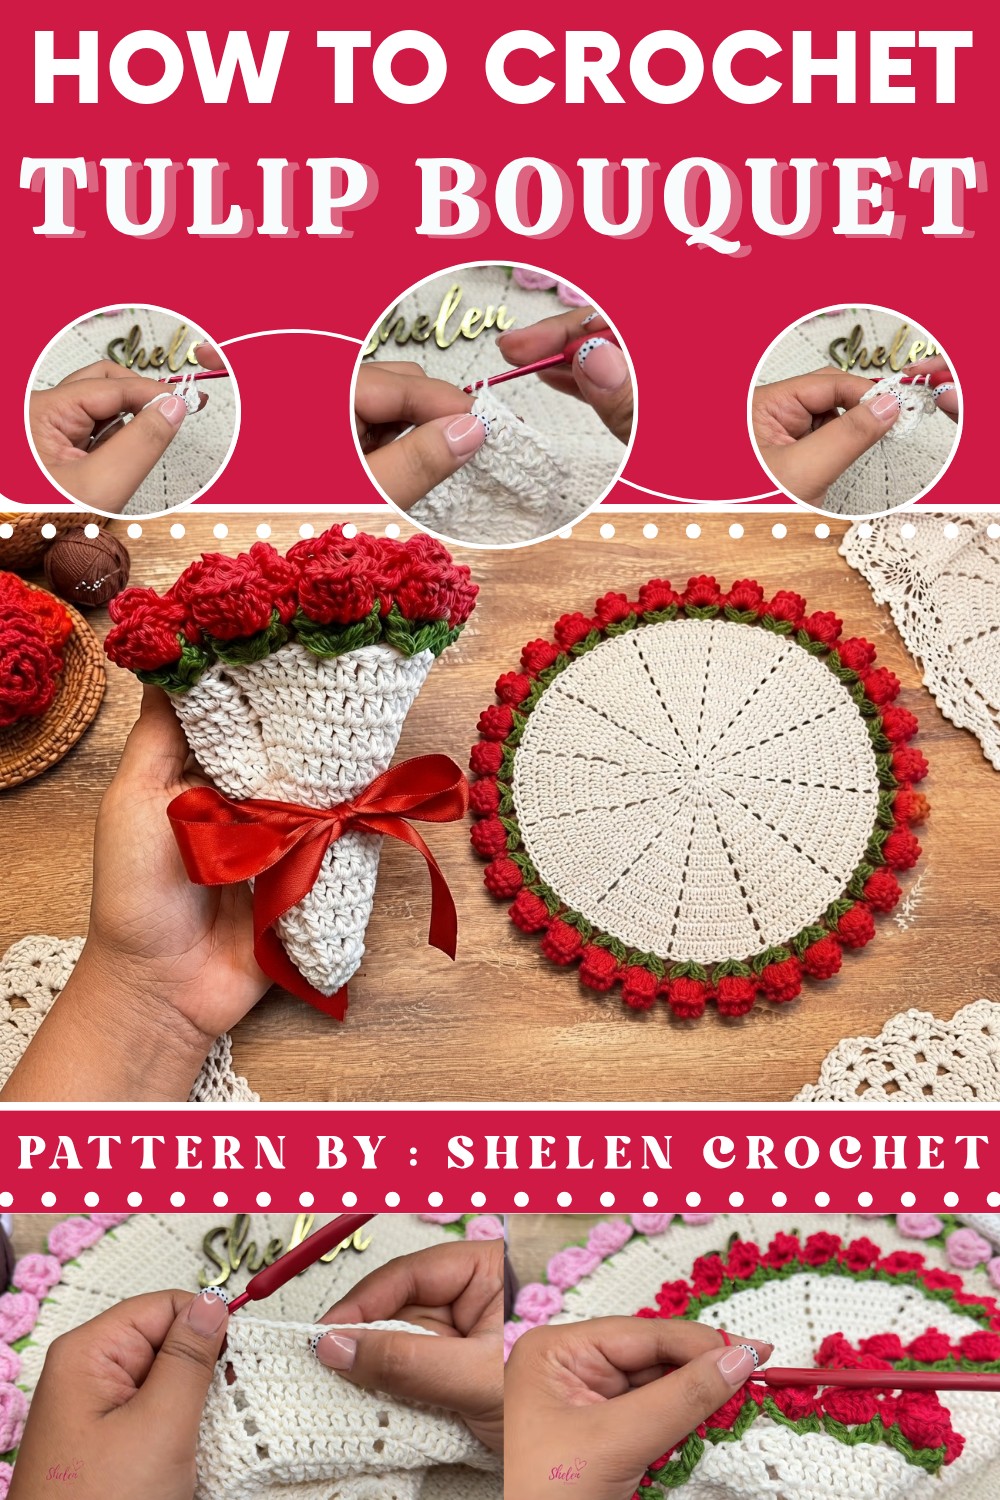
Why settle for real flowers that fade quickly when you can create a bouquet that stays bright and cheerful forever? With soft yarn and simple stitches, these crochet tulips hold their shape and color no matter where you display them. Whether you place them on your dining table, desk, or windowsill, they add a cozy, colorful touch to any room.
Not only are these crocheted tulips perfect for home décor, but they also make thoughtful, handmade gifts. Imagine giving someone a bouquet that lasts forever—special for birthdays, anniversaries, or just to show you care. The pattern guides you through every step, from making the petals and leaves to assembling the bouquet, ensuring your flowers look just like the real thing.
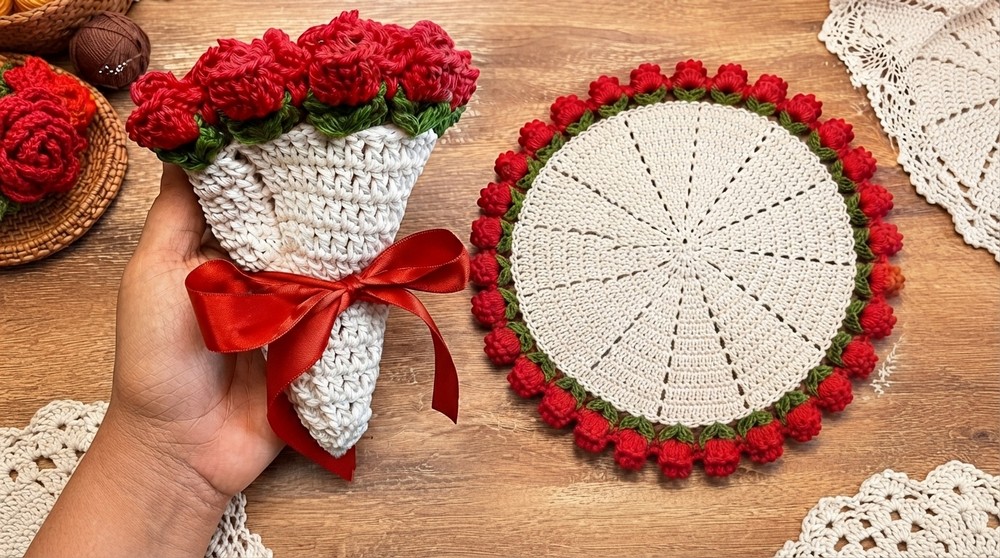
Crocheting this tulip bouquet is a relaxing hobby that boosts creativity and fills your space with charm. Plus, once you finish, you’ll have a beautiful decoration that never needs watering or sunlight.
If you’ve been looking for a fun and rewarding project, don’t wait any longer! The Crochet Tulip Bouquet Free Pattern is easy to follow and gives you a wonderful chance to create something beautiful with your own hands. No matter your skill level, you can make these charming tulips that will brighten your home and bring joy to anyone who sees them. So grab your yarn and hook, and start making your very own everlasting bouquet today—you’ll be amazed at what you can create.
Tulip Bouquet Folding Mat Step-By-Step Crochet Tutorial
This step-by-step guide shows how to crochet a tulip bouquet folding mat using yarn and a simple crochet hook. The process begins with a circular off-white mat, expands to a green leaf border, and adds red tulip flowers around the edge. Each round uses basic stitches and clear directions, with tips for keeping the mat flat and neat. After finishing, the mat can be folded together and tied with a ribbon to look like a bunch of fresh tulips. This project is useful for home decoration or as a thoughtful handmade gift for someone special.
Quick Pattern Overview
- Center Mat: Crochet rounds using off-white yarn, making 12 sections.
- Leaf Edge: Green yarn clusters form tulip leaves around the edge.
- Tulip Flowers: Vibrant red yarn shapes each pop-up tulip.
- Finishing: Fold mat into a bouquet and secure with a pretty ribbon.
Notes
- Follow each round step by step—the rows change as the piece grows.
- Switch to a slightly bigger hook for the border or tulip round if your stitches pucker.
- Beginning chains usually count as the first double crochet ("high point").
Skill Level
Intermediate: Basic knowledge of crocheting in the round, working in chain spaces, cluster stitches, and flower techniques.
Materials
- Cotton Yarn: Off-white (center), green (leaves), red (tulips)
- Crochet Hook: 3.0 mm (use 3.5 mm for edges if needed)
- Needle: Tapestry/embroidery
- Ribbon: Red, or flower-matching color
- Scissors
Measurements
- Flat diameter: 30‒32 cm
- Folded size: Small bouquet (fits in your hand)
Stitch Abbreviations
- ch: chain
- sl st: slip stitch
- sc: single crochet
- dc: double crochet (high point)
- inc: increase (2 dc in same stitch)
- dc2tog-half: half-closed double crochet
Special Stitches
- Leaf Cluster: (2 dc2tog-half, ch 3, 2 dc2tog-half) in same stitch
- Tulip Petal: 7 dc, then gather to close at top, finish with chain arches on the back
The Crochet Pattern
Part 1: The Off-White Base Mat
Round 1:
- With off-white yarn, make a magic ring.
- Ch 4 (counts as 1st dc + 1-ch space).
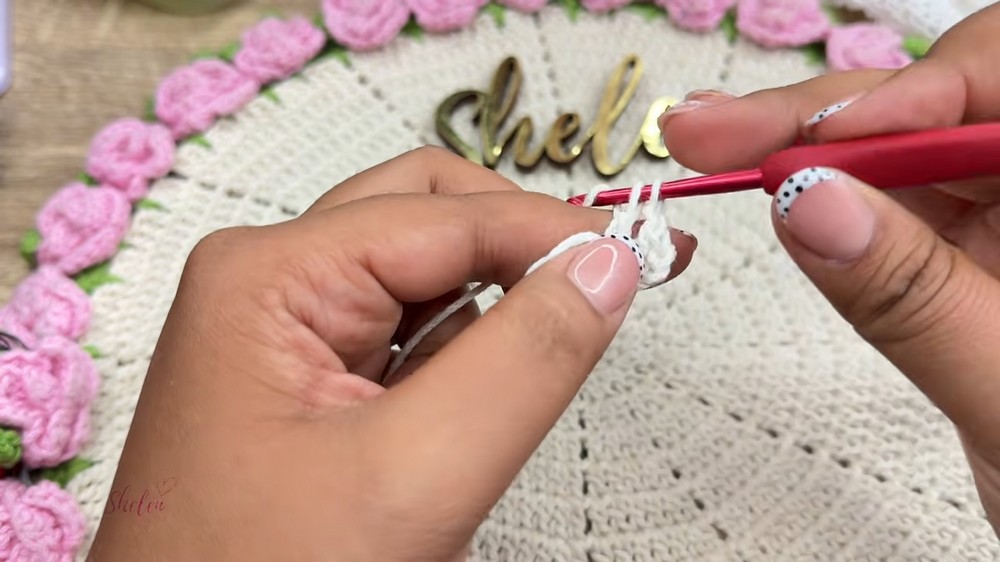
- [1 dc, ch 1] in the ring, repeat until 12 dc are separated by ch-1 spaces.
- Pull the ring closed.
- Ch 1, sl st in 3rd chain of starting ch-4. (12 dc & 12 ch spaces)
Round 2:
- Ch 3 (counts as dc).
- In same st, dc (inc made).
- Ch 1
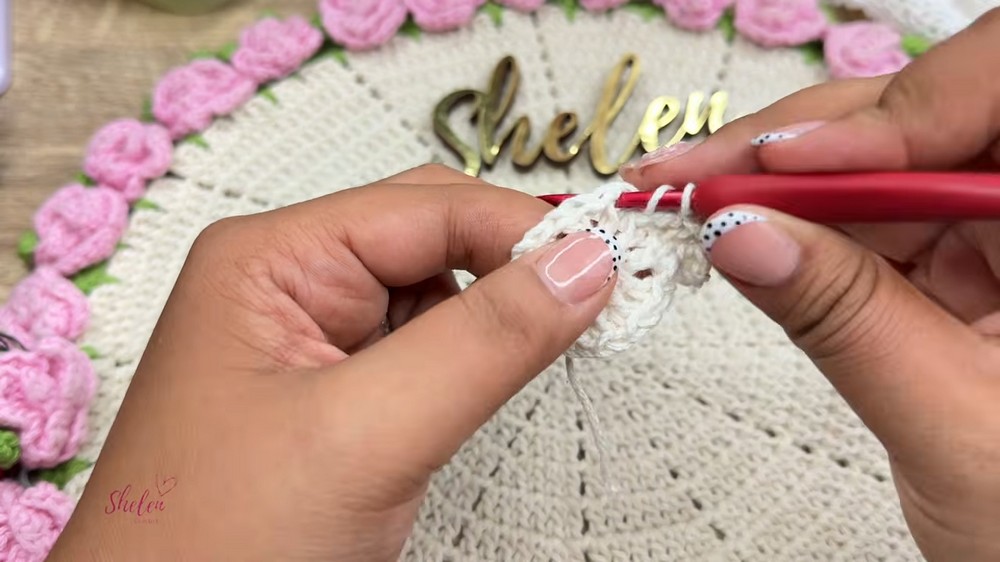
- Repeat [2 dc in next st, ch 1] around.
- Sl st in top of starting ch-3.
Round 3:
- Ch 3 (counts as dc).
- Inc in next st (2 dc in same st).
- Ch 1.
- Repeat [dc, inc, ch 1] around.
- Sl st in starting ch-3. (Each section = 3 dc)
Round 4:
- Ch 3, dc in next st.
- Inc in last st of section.
- Ch 1.
- Repeat [2 dc, inc, ch 1] for all 12 sections.
- Sl st in starting ch-3. (Each section = 4 dc)
Round 5:
- Ch 3, 2 dc in next 2 sts.
- Inc in last st.
- Ch 1.
- Repeat [3 dc, inc, ch 1] per section.
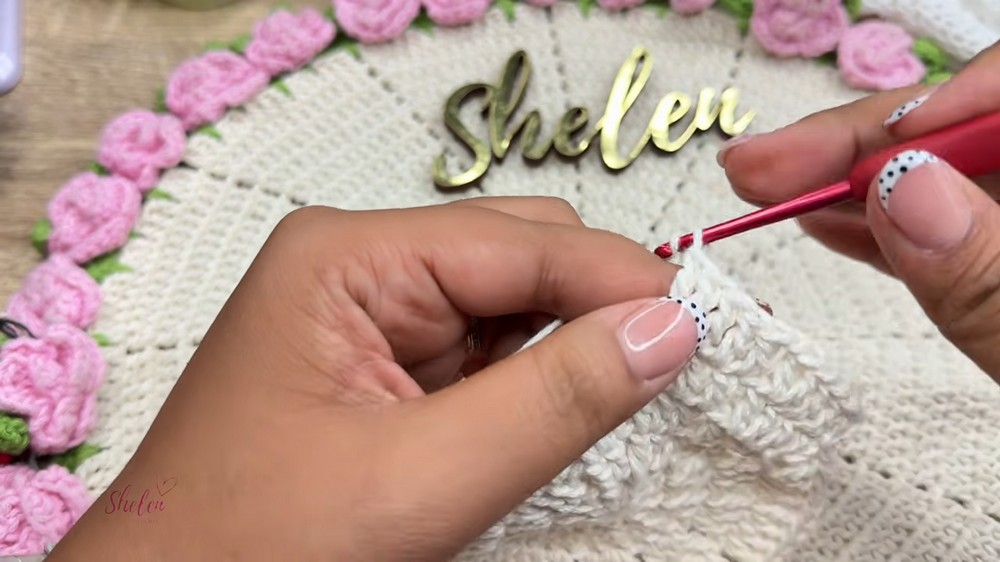
- Sl st. (Each section = 5 dc)
Round 6:
- Ch 3, 3 dc in next sts.
- Inc in last st.
- Ch 1.
- Repeat [4 dc, inc, ch 1] per section.
- Sl st. (Each section = 6 dc)
Rounds 7‒11:
- For each next round, add 1 dc per section before the inc at the end.
- Always separate sections by ch 1.
- By Round 11, each section has 11 dc.
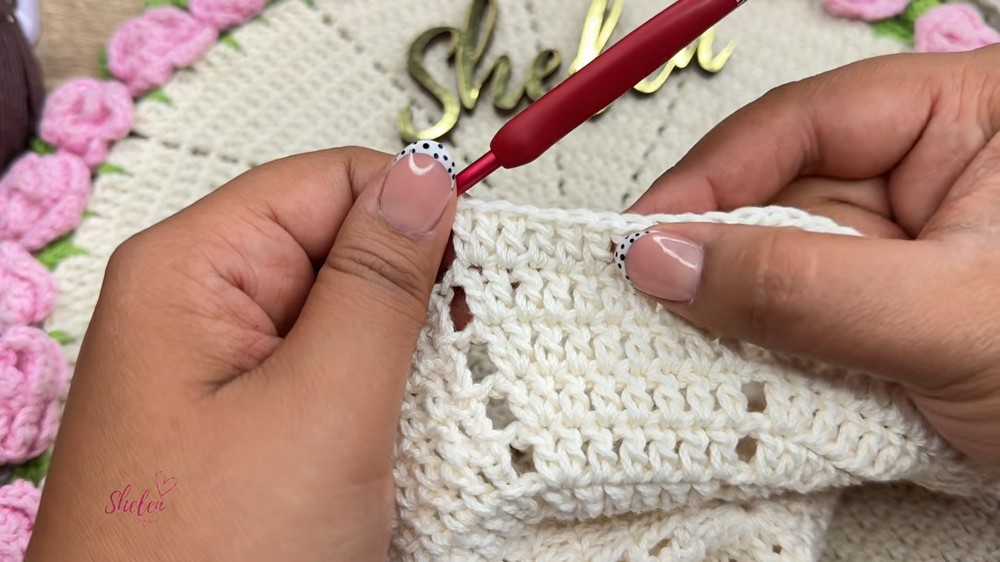
- After completing Round 11, sl st, ch 1, cut yarn and weave in tail.
Part 2: Green Leaf Edge
Round 12:
- Join green yarn where last round ended.
- Ch 3 (half-closed dc setup), make 1 dc halfway in same st, keep both loops on hook, then close together (dc2tog-half).
- Ch 3, then 2 dc halfway in same st, keep loops, close together.
- Ch 1, skip 3 sts, in 4th st:
- [2 dc2tog-half, ch 3, 2 dc2tog-half] (same st), close.
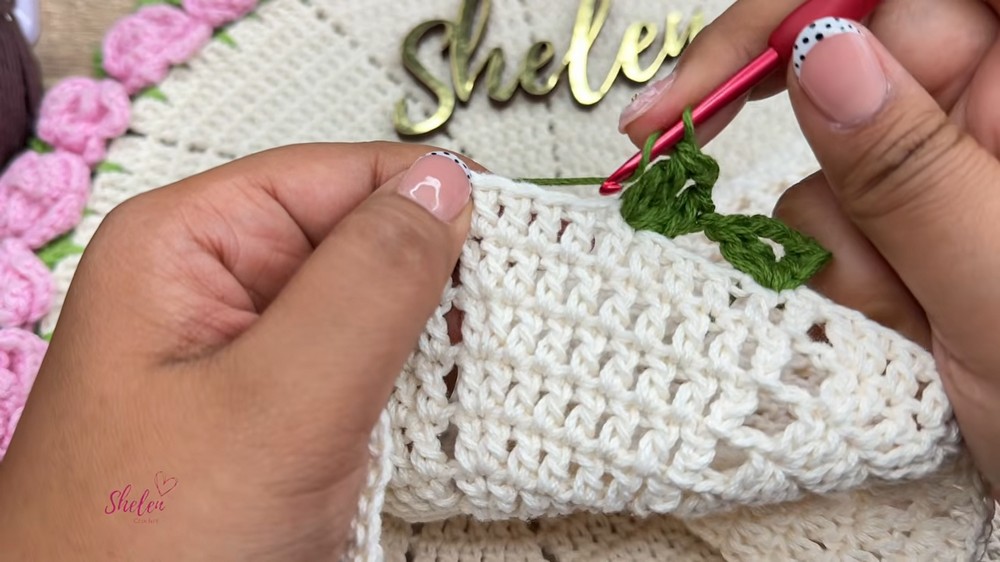
- Repeat Leaf Cluster every 4th stitch around:
- Ch 1, skip 3 sts, Leaf Cluster in next.
- Sl st to top of first leaf, ch 1, cut and weave in end.
Part 3: Red Tulip Flowers
Round 13:
- Attach red yarn to ch-3 space of any green leaf.
- Ch 3 (with both yarn tails, drop short one), counts as 1st dc.
- In same space, 6 more dc (so 7 dc total).
- Pull loop out, insert hook to top of starting ch-3, catch final loop and pull through—this closes the tulip bulb.
- Ch 3, sc into circle at back of flower (to hold).
- Repeat [ch 3, sc into back, 3 times] to make rounded back petals.
- Ch 1, sc between tulip leaves, ch 1 to next space.
- Into next leaf ch-3 space: 7 dc, close tulip as above, repeat.
- After last tulip, ch 1, sc in last gap, ch 1, sl st to top of first tulip.
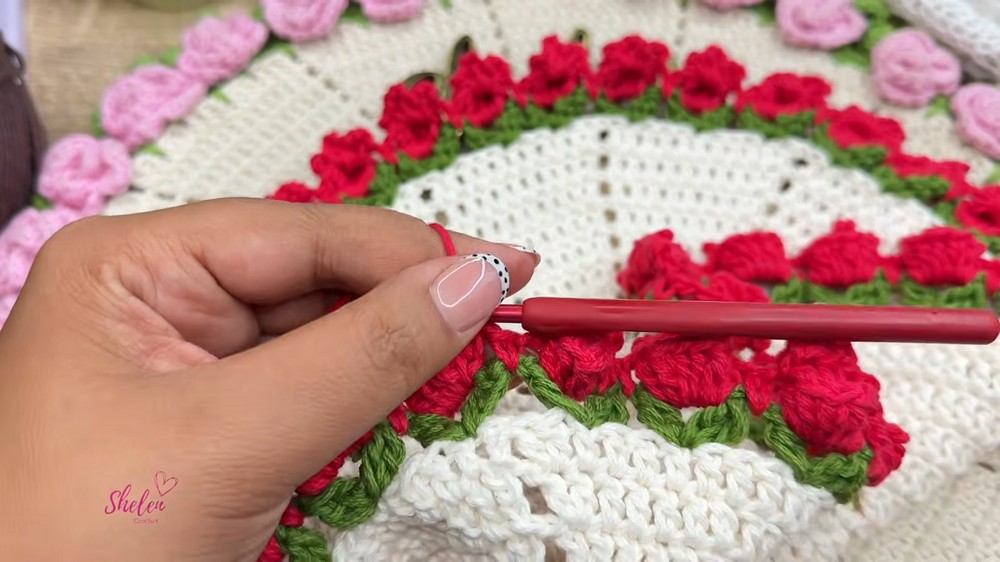
- Ch 1, cut yarn, and weave in ends with the needle.
Assembly & Finished Size
- Weave in all loose yarn tails neatly with embroidery needle.
- Spread mat flat to check it measures 30 to 32 cm.
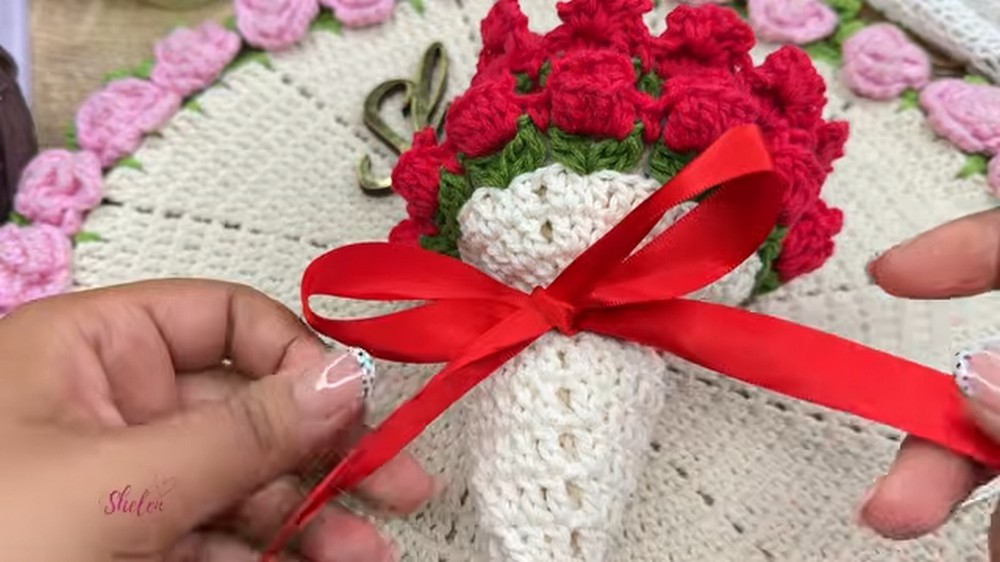
- To fold: Gather the mat from the center, folding it up so red tulips point upward in a bunch.
- Tie ribbon: Wrap base with red ribbon, tie in a neat bow, and trim ribbon.
Conclusion
Your tulip bouquet folding mat is now finished, full of color and shape. From the smooth base to the bright green leaves and bold red tulips, all parts work together to form a lovely round mat. Folding it up and tying with a ribbon lets you use it as a bouquet for any table or give it as a keepsake to someone you care about. With each round and stitch, this piece shows how even simple crochet can turn yarn into a lasting flower arrangement. Keep your mat flat or fold it up—it looks nice both ways.