
Free Tulip Pot Crochet Pattern for Cheerful Displays
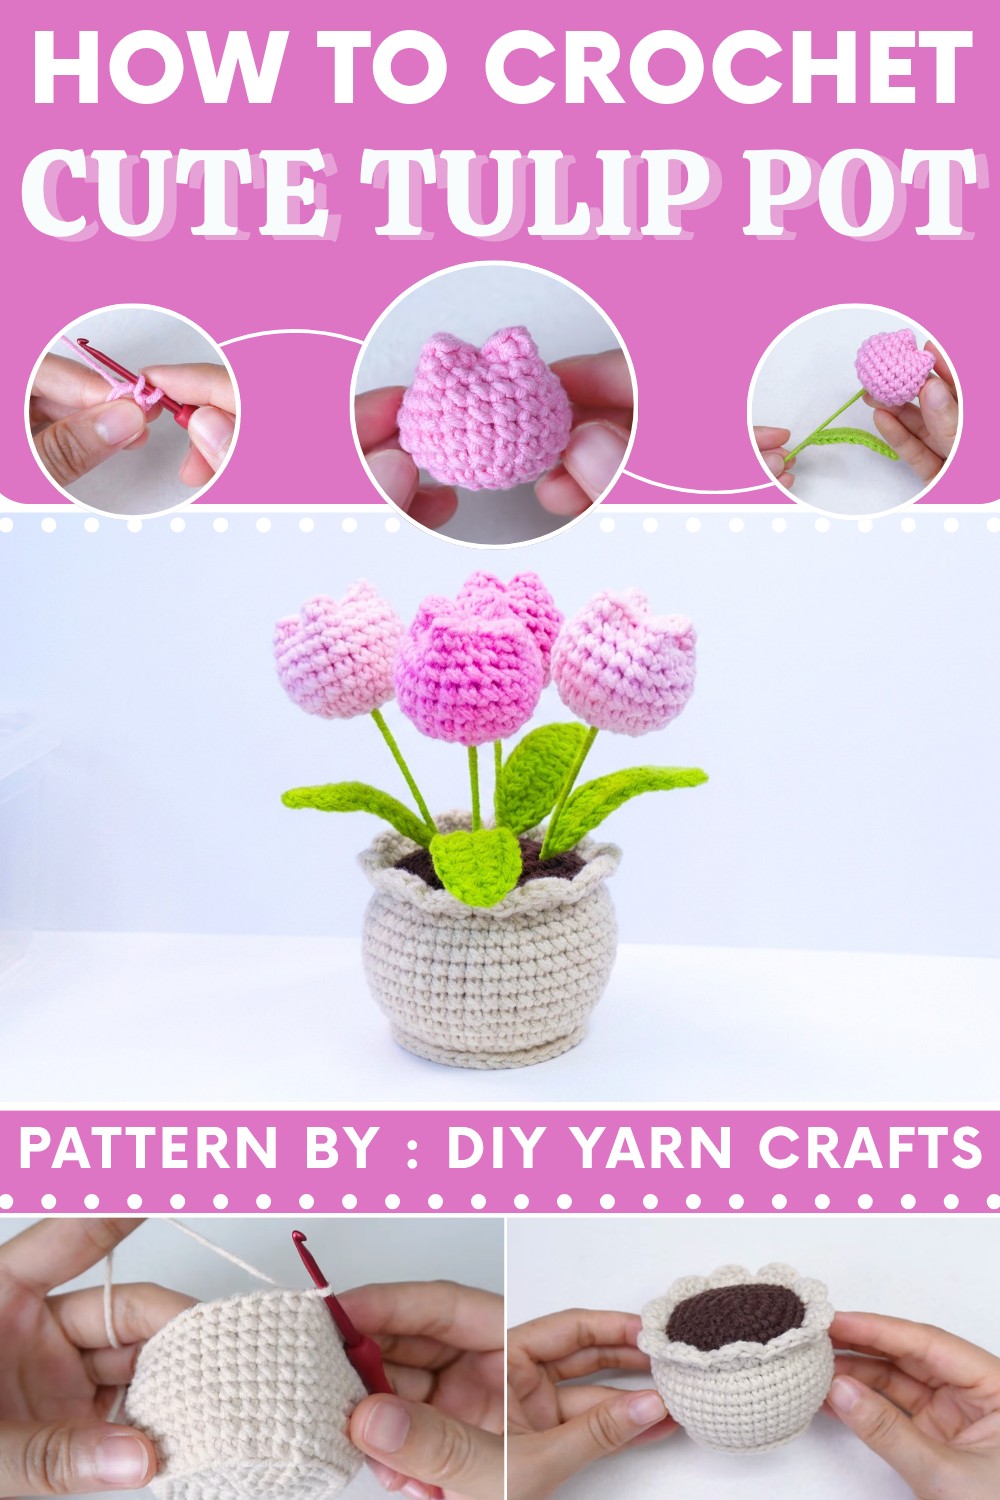
Many people appreciate this finished piece because it enhances the look of plants, making them appear more vibrant while protecting their pots from scratches and wear. Additionally, the handmade quality gives your home décor a personal and unique touch that store-bought items often lack. Beyond decorating your own space, it also makes a thoughtful and charming gift for friends or family who enjoy flowers, crocheting, or unique home accessories.
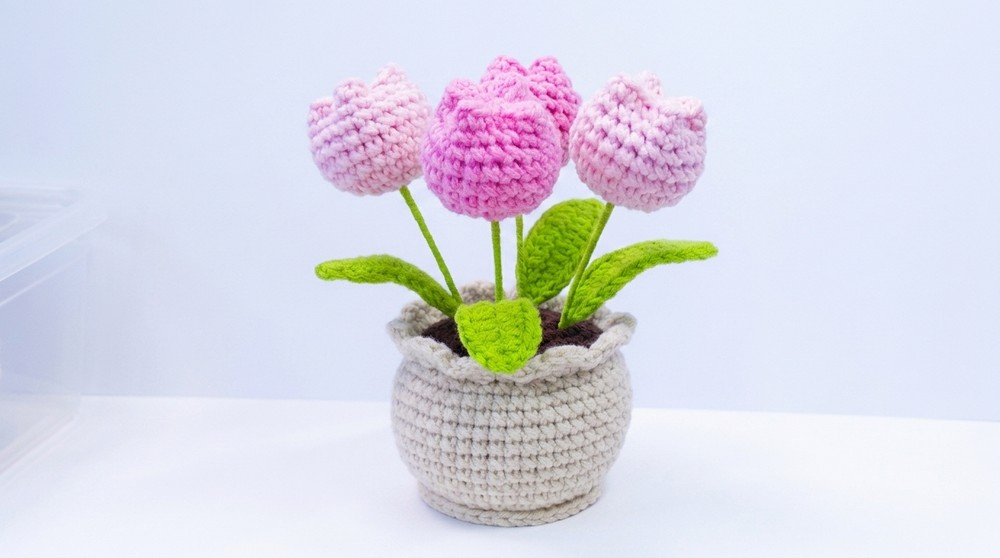
If you’re looking to add a splash of color and personality to your living environment, this crocheted tulip pot is an excellent choice. Thanks to the free crochet Tulip Pot Pattern, crocheting this bright and joyful flower pot decoration becomes an enjoyable and rewarding project, filling any space with a sense of happiness and springtime cheer all year round.
Crochet Tulip Pot Pattern
This detailed crochet pattern guides you step-by-step through creating a charming tulip pot featuring a beautifully shaped tulip bud, delicate leaves reinforced with wire, and a sturdy decorative pot filled with “soil.” This project combines amigurumi techniques with shaping, assembly using wires, and surface crochet textures to produce a realistic miniature tulip display. Perfect as a decorative piece or gift, the pattern emphasizes precise stitch counts and finishing details for a polished outcome.
Quick Overview of Pattern
- Tulip Bud: Shaped with rounds of single crochet stitches, increases, and finishing with a cross stitch for contouring.
- Leaves: Worked flat along a wire foundation using half double crochet and slip stitches for natural texture and stability.
- Pot: Constructed from the base upward with increasing rounds, back loop work for detail, and decorative front loop double crochet arches.
- Soil: A separate crocheted piece mimicking soil texture placed atop fiberfill stuffing inside the pot.
- Assembly: Incorporates wiring and yarn wrapping techniques to firmly attach the tulip components into the pot.
Notes
- This pattern is crocheted in rounds and rows, partly using magic rings and stitch counting for shaping.
- Stitch markers are useful for tracking round beginnings, especially during increases and decreases.
- Wire reinforcement in the leaves and stem provides structure and flexibility for styling.
- Use moderate stuffing to preserve the shape without overfilling.
- Finished pieces should be secured carefully with yarn ends woven in to maintain durability and aesthetics.
Skill Level
Intermediate – Requires solid understanding of working in rounds, increases and decreases, back loop and front loop stitches, wire integration, and finishing embroidery techniques.
Materials
- Worsted weight yarn in colors:
- Tulip bud (e.g., pink, red, or desired tulip color)
- Leaf and stem: green
- Pot and soil: brown, terracotta, or earth tones
- Crochet hook: 4 mm (G) or size suitable for yarn thickness
- Fiberfill stuffing
- Floral wires: 10 cm (stem), 16 cm (leaf)
- Hot glue or craft glue
- Darning needle
- Scissors
Measurements / Sizing
- Tulip bud height: approx. 5-6 cm
- Leaf length: approx. 14-15 cm (with wire)
- Pot dimensions: approx. 8 cm diameter at widest point, 6-7 cm tall
- Soil piece diameter: fits snugly atop pot (approx. 8 cm)
Gauge and Stitch Pattern
- Gauge is approximate; stitch tension should be firm to maintain shape but still flexible enough for assembly.
- Single crochet standard gauge: approx. 16 stitches × 18 rows = 10 cm.
- Pot includes working in back loops only (BLO) and front loops only (FLO) for texture effects.
- Semi-circular “arches” formed with double crochet clusters in front loops for pot decor.
Stitch Abbreviations
| Abbreviation | Term |
|---|---|
| ch | Chain |
| sc | Single crochet |
| hdc | Half double crochet |
| dc | Double crochet |
| inc | Increase (2 sc in one stitch) |
| dec | Decrease (crochet 2 together) |
| sl st | Slip stitch |
| MR | Magic ring |
Special Stitches
- Magic Ring (MR): Technique for starting rounds with adjustable loops for tight beginnings.
- Back Loops Only (BLO): Crochet only into the back loop of stitches, creating ridges and visual distinction.
- Front Loops Only (FLO): Crochet only into front loop creating surface texture or decorative patterns.
The Crochet Pattern
1. Tulip Bud
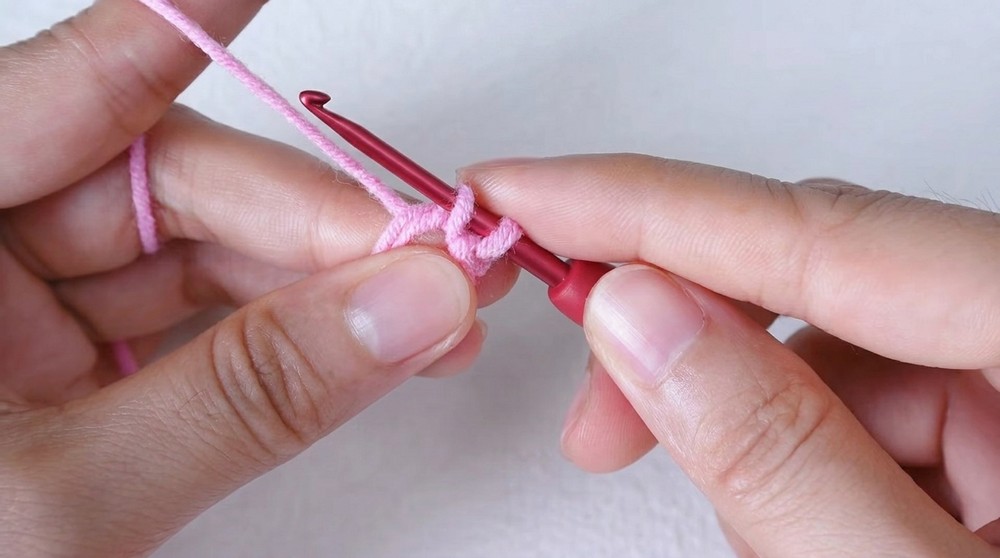
- Begin with a magic ring (MR).
- Round 1: Crochet 7 single crochets (sc) into the magic ring. Slip stitch to join. [7 stitches]
- Round 2: Work 7 increases (inc) by crocheting 2 sc into each stitch around. [14 stitches]
- Round 3: 1 sc, 1 inc repeat 7 times around. [21 stitches]
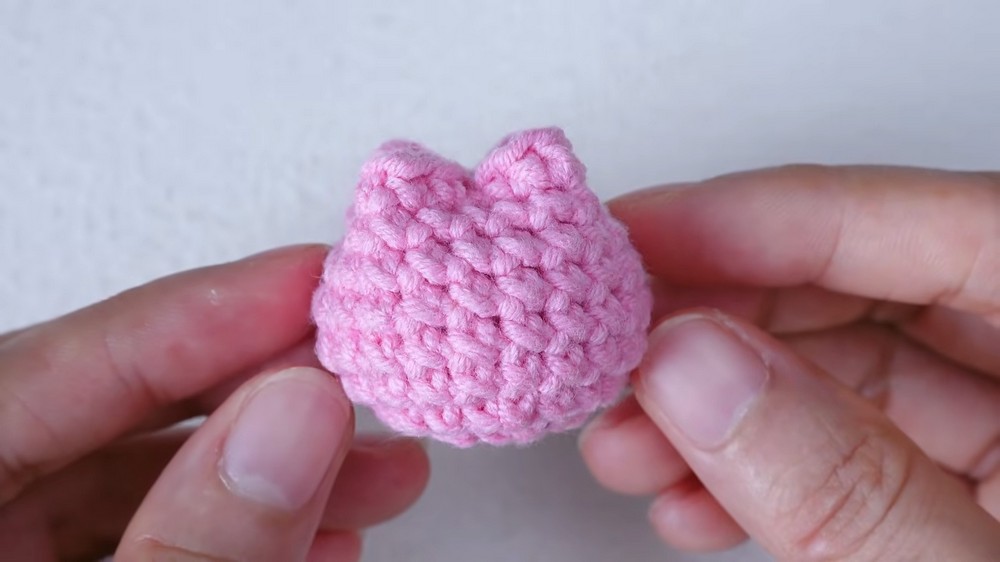
- Rounds 4 to 9: Crochet 1 sc in each stitch around for 6 rounds. [21 stitches per round]
- Finishing: Slip stitch to close. Cut yarn leaving a tail for sewing. Stuff the bud firmly with fiberfill. Using the yarn tail, sew a cross stitch over the top of the bud tightly to create natural petal shape and close the bud opening.
2. Leaves
- Foundation: Chain 12.
- Round 1 (working on one side of foundation chain):
- Skip the first chain from hook.
- 1 sc in next chain.
- 8 half double crochets (hdc);
- 1 sc in next chain.
- In the last chain of the row, make 3 sc to round the corner.
- Round 2 (working down the other side of the foundation chain):
- 1 sc, 8 hdc, 1 sc.
- Before or during this round, insert a 16 cm wire along the stitches to provide stiffness to the leaf.
- Finishing: Slip stitch to the first stitch of the round to close. Chain 1 and cut yarn.
- Wrap the yarn tail neatly around the wire to hide it, securing the wire in place.
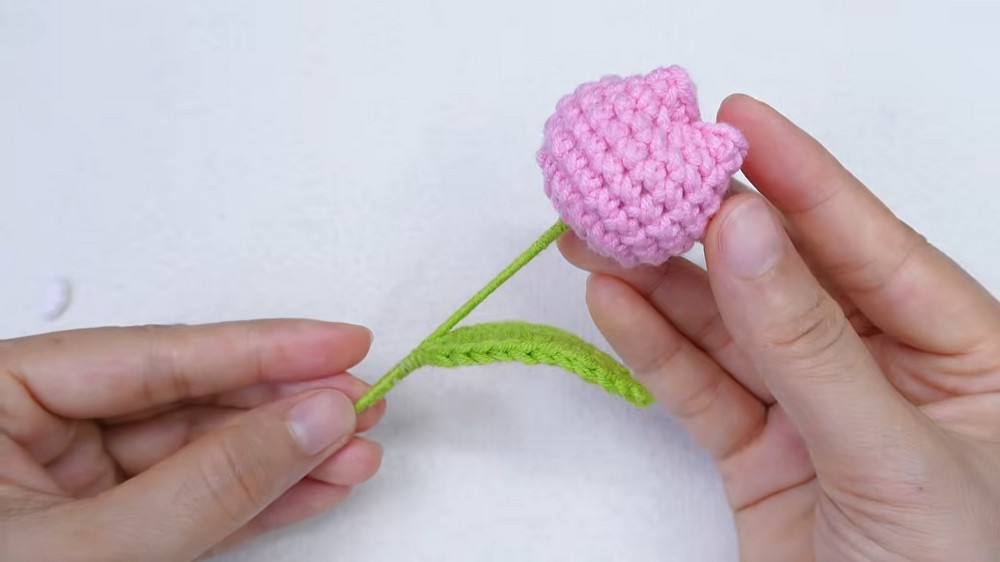
3. Assembling the Tulip Branch
- Take a 10 cm floral wire and apply glue to one end.
- Insert the glued end into the center bottom of the tulip bud carefully.
- While wrapping the stem area with green yarn, attach the previously created leaf by wrapping it securely along the wire stem, blending leaf and stem seamlessly.
4. Pot
- Begin with a magic ring.
- Round 1: Crochet 8 sc into the magic ring.
- Round 2: Crochet 8 increases (2 sc in each stitch). [16 stitches]
- Round 3: 1 sc, 1 inc repeat 8 times around. [24 stitches]
- Round 4: 2 sc, 1 inc repeat 8 times around. [32 stitches]
- Round 5: 3 sc, 1 inc repeat 8 times around. [40 stitches]
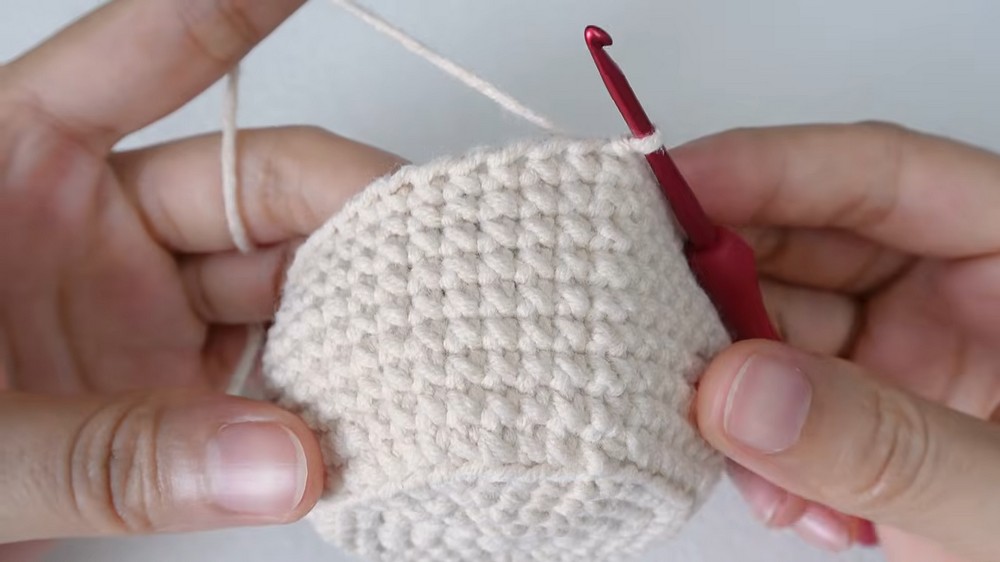
- Round 6 (BLO): 4 sc, 1 inc repeat 8 times. [48 stitches]
- Rounds 7 to 14: Work 1 sc in each stitch around. Maintain 48 stitches per round.
- Round 15: 4 sc, 1 decrease (dec) repeat 8 times around. [40 stitches]
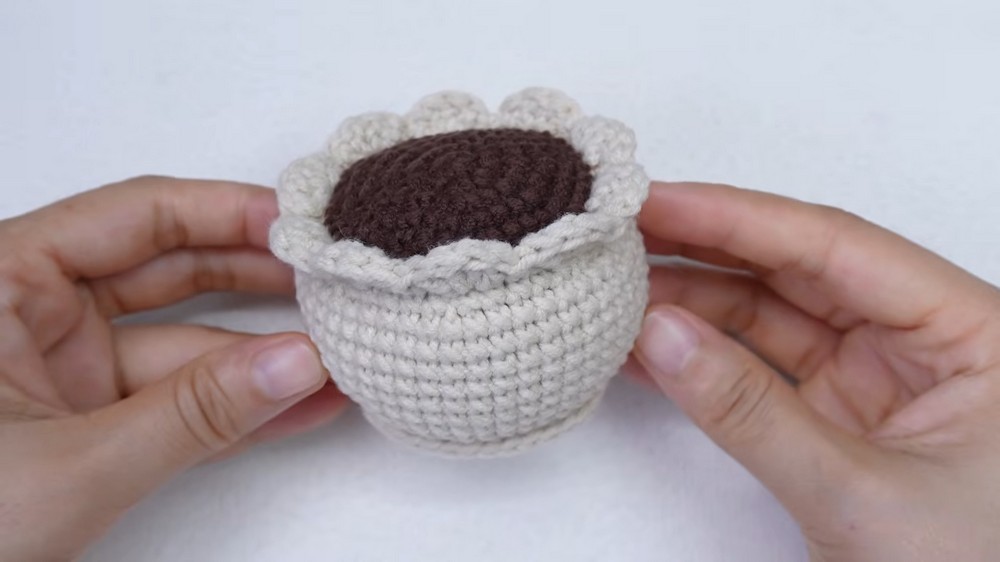
- Round 16 (FLO Decorative Round): 1 sc, skip 1 st, 4 double crochets (dc) in the same stitch, skip 1 st repeat this pattern evenly around the pot. This creates an attractive edge embellishment.
- Base:
- Using same yarn color, attach yarn to the remaining loops of Round 6 and work 1 sc in each loop around to create the pot base.
5. Soil and Finishing
- Soil piece:
- Repeat Rounds 1 to 5 of the pot pattern (starting from magic ring and working increases) to create a flat circular piece mimicking soil texture.
- Assembly:
- Stuff the pot firmly with fiberfill.
- Place the soil piece on top of the fiberfill inside the pot for a finished appearance.
- Using a tapestry or darning needle, sew the edges of the soil piece to the pot's top edge, ensuring a snug, secure fit.
Assembly & Finished Size
- Complete the tulip bud, leaves, and pot components individually.
- Insert the wired tulip branch into the pot, adjusting the leaf position as desired.
- Secure the tulip stem inside the stuffed pot with glue if necessary for durability.
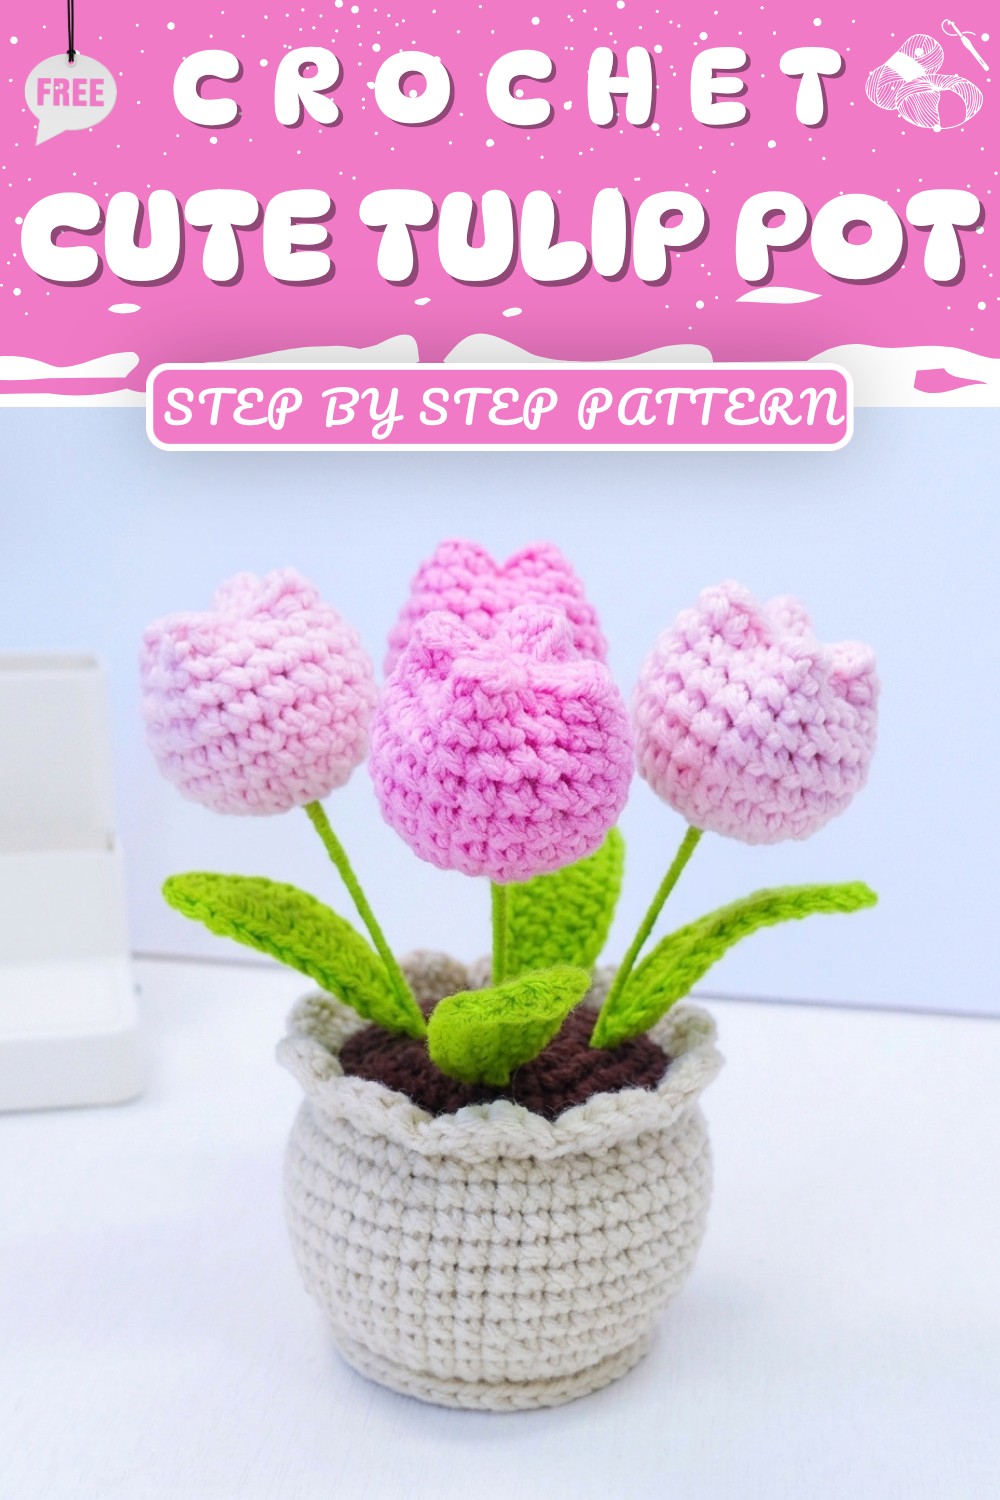
- The finished tulip pot measures roughly 12–15 cm tall, with the pot diameter approximately 8 cm, making it a perfect size for display on desks, shelves, or windowsills.
Conclusion
This crochet tulip pot beautifully combines traditional stitch techniques with clever shaping, wirework, and surface embellishments to create a realistic and decorative floral piece. The pattern guides crocheters through each component—bud, leaves, and pot—with intricate stitch combinations and structured assembly for a professional finish.
Intermediate crocheters will especially appreciate the balanced use of increasing rounds, back and front loop stitches, embroidery, and wiring to produce a durable yet delicate item. The piece is an ideal decorative accessory or gift, epitomizing handcrafted charm.