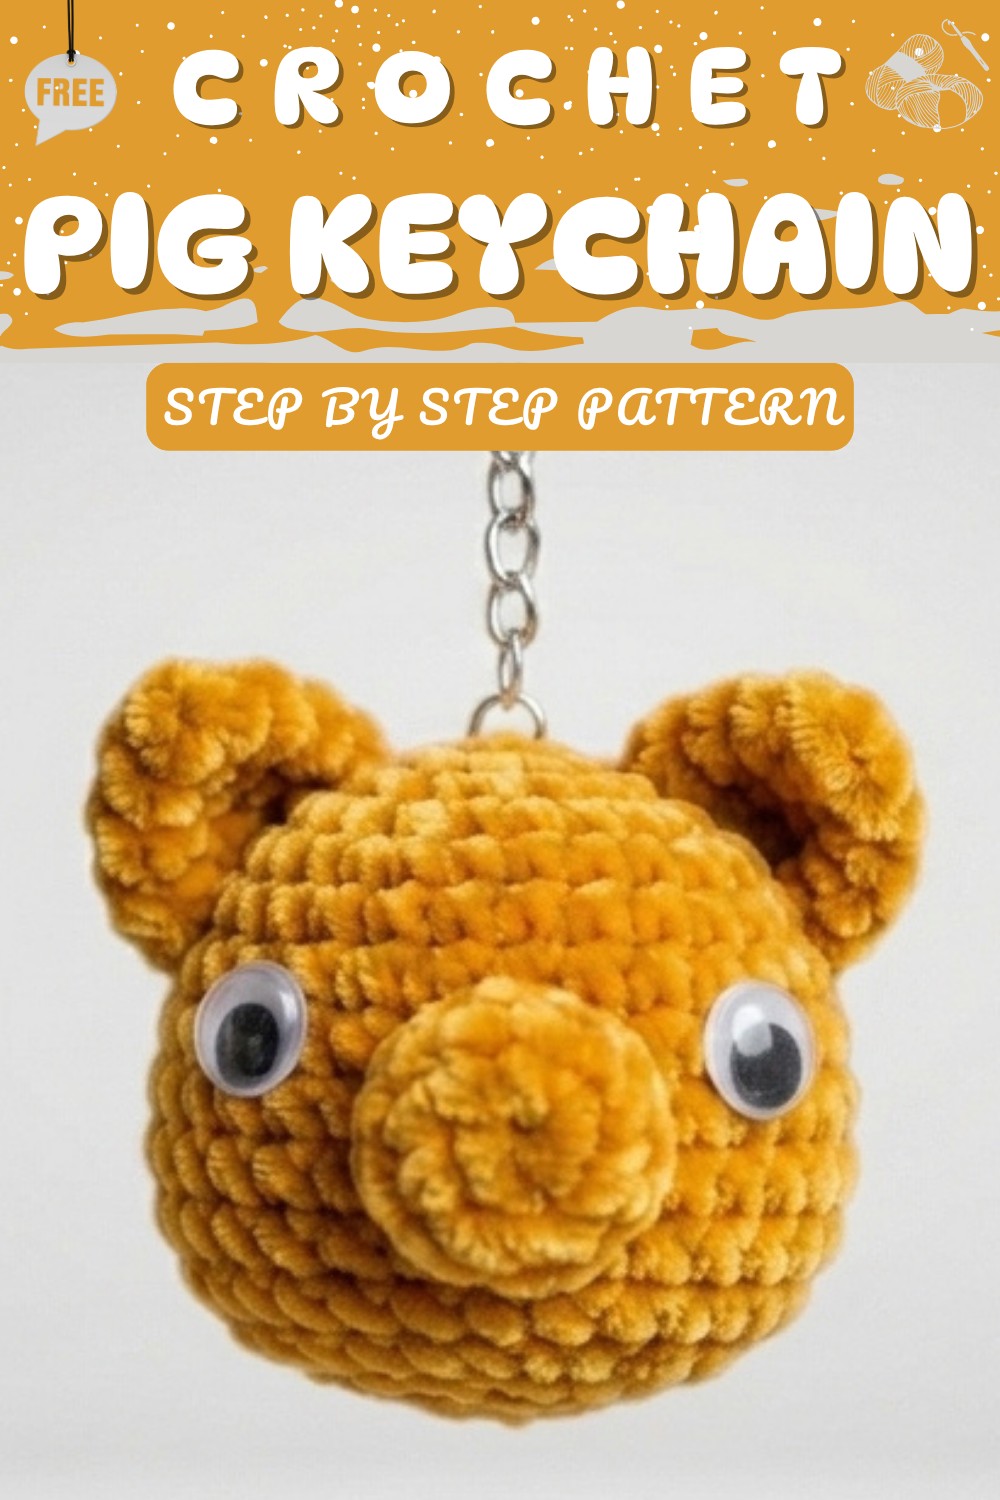
Free Crochet Pig Keychain Pattern with Sweet Style
Keep your keys looking adorable with this Crochet Pig Keychain Pattern to enjoy a cute handmade accessory everyday.
The idea for this project came to me while I was tidying up my work space. I found a small pile of soft pink yarn bits that looked too nice to toss. I picked up my hook, hoping to make something that could brighten up a set of keys or a bag. After a few rounds of looping, a tiny, smiling face appeared, and I realized I had found the most charming little friend possible.
Simple Crochet Pig Keychain Free Amigurumi Pattern
This small Crochet Pig Keychain character is meant to be a great daily accessory. With its round, plump shape and a very clear snout, it has a personality that is both sweet and sturdy. Since it is small, it works as a nice decoration for your purse, backpack, or zippers. Furthermore, it makes for a kind, handmade gift that people of all ages will like.If you are new to making plush toys, you will find this a very easy project. It is perfect for beginners, using basic single crochet stitches and simple shaping. Beyond being easy to finish, it is a good way to practice attaching small details like tiny ears and a curly tail.

To make sure your work lasts, I suggest using a strong cotton yarn. This material keeps the stitches looking neat and stops the stuffing from showing through. By keeping your tension steady and tight while you work, you will get a nice, finished look every time. If you are ready for a fun, fast project, this Simple Crochet Pig Keychain Free Amigurumi Pattern is just what you need. Pick up your hook and get ready to see how fast this little piglet comes to life.

Crochet Pig Keychain Pattern
Notes
- All rounds are worked in continuous rounds using a stitch marker to mark the start; no slip stitching to join rounds.
- Invisible decreases use only the front loop of stitches for a neat finish.
- Stuff the head and nose firmly for good shape.
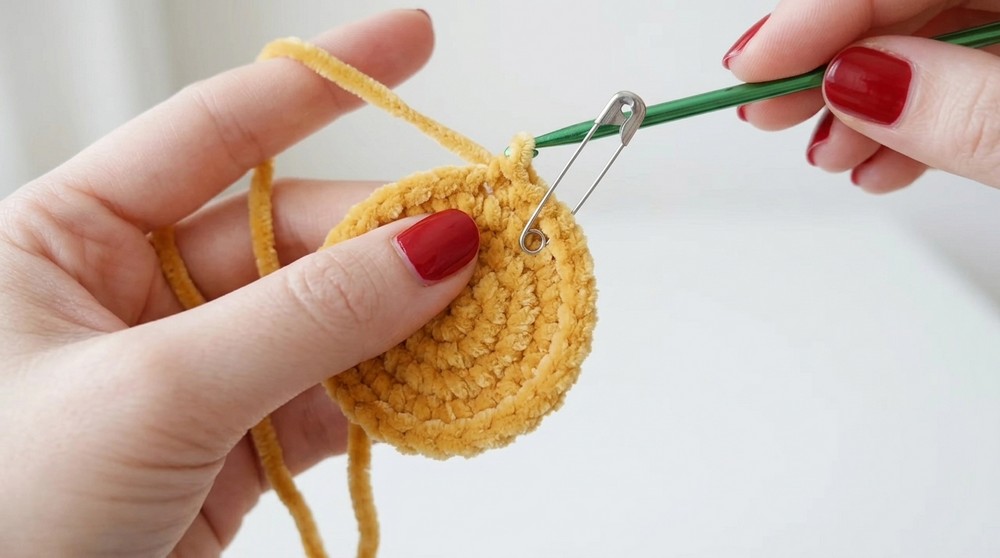
- Use safety pins as stitch markers to keep track of stitches.
- Hot glue is used for attaching beads for the eyes securely.
- Yarn tails are woven in or sewn after completion for a clean look.
Skill Level
Intermediate — suitable for crocheters familiar with:
- Magic ring (adjustable ring) start
- Single crochet (sc), increase (inc), and invisible decrease (dec)
- Working in spiral rounds
- Changing rounds without slip stitch
- Basic sewing and assembly
- Attaching eyes with hot glue
Materials
- Mustard yarn (cotton or acrylic)
- 3 mm crochet hook
- Toy stuffing (fiberfill or comparable)
- Keyring attachment
- Needle for sewing
- Safety pins for stitch markers
- Doll eyes / beads for eyes (size unspecified)
- Scissors
- Hot glue gun (for eyes attachment)
Measurements / Sizing
- The finished amigurumi big kitchen head measures approximately 12 cm in height (may vary based on tension).
- Ears and nose are proportionally sized to fit the head.
Gauge and Stitch Pattern
- Gauge is not critical but an even, tight tension in single crochet helps maintain the shape and stuffing concealment.
- Pattern uses mostly single crochet stitch worked continuously in rounds.
- Invisible decrease is applied as front loop only decreases for smooth edges.
Stitch Abbreviations
- ch = chain
- sc = single crochet
- st(s) = stitch(es)
- inc = increase (2 sc in one stitch)
- dec = invisible decrease (crochet 2 stitches together working front loops only)
- MR = magic ring
- sl st = slip stitch (not used in this pattern)
Special Stitches
- Magic Ring (MR): Begin the head, ears, and nose with this adjustable ring to achieve a tight center.
- Invisible Decrease (dec): Worked through front loops of two stitches to reduce stitch count with a smooth finish.
The Crochet Pattern
Head
Round 1:
- MR, ch 1, 6 sc into the ring. Pull tail to close. Place stitch marker at the end. (6 sc)
Round 2:
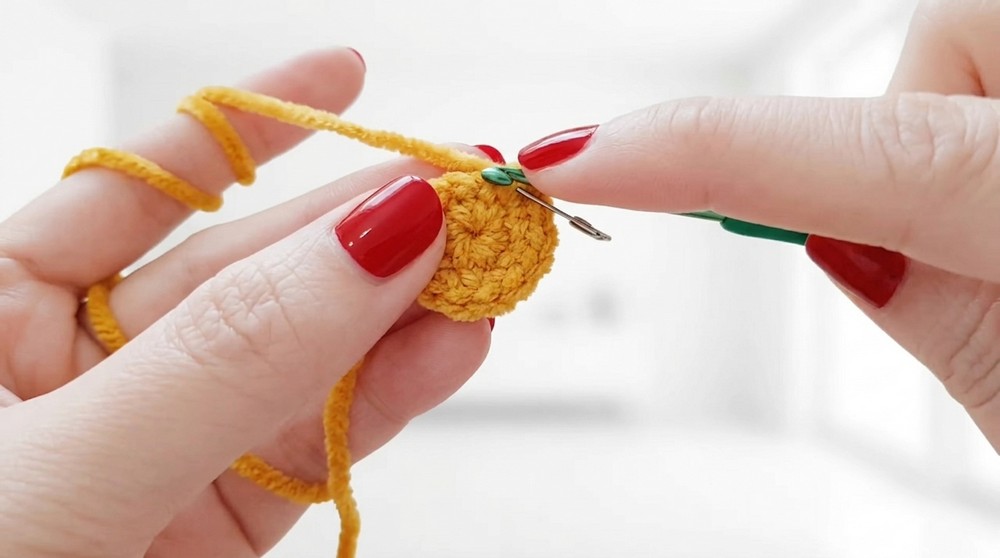
- Inc in every stitch around (2 sc in each st). (12 sc)
Round 3:
- 1 sc, inc repeat all around. (18 sc)
Round 4:
- 2 sc, inc repeat all around. (24 sc)
Round 5:
- 3 sc, inc repeat all around. (30 sc)
Round 6:
- 4 sc, inc repeat all around. (36 sc)
Rounds 7 to 11:
- 1 sc in each stitch around (36 sc each round).
Begin Decreasing
Round 12:
- 4 sc, dec (invisible decrease front loops only) repeat around. (30 sc)
Round 13:
- 3 sc, dec repeat around. (24 sc)

Round 14:
- 2 sc, dec repeat around. (18 sc)
- Add toy stuffing firmly.
Round 15:
- 1 sc, dec repeat around. (12 sc)
Round 16:
- Invisible decreases in all stitches working front loops only. (6 sc)
- Add more stuffing until satisfied with shape.
- Fasten off, leaving a long tail for sewing.
- Use the needle to sew the hole closed by inserting in and out multiple times to secure tightness.
Ears (Make 2)
Round 1:
- MR, ch 1, 6 sc in the ring. Pull tail tight. (6 sc)
Round 2:
- 1 sc in each stitch around. (6 sc)
- Place stitch marker at end.
Round 3:
- Inc in every stitch (2 sc in each). (12 sc)
Round 4:
- 1 sc, inc repeat around. (18 sc)
Round 5:
- 1 sc in each stitch. (18 sc)
- Fasten off, leaving long tail.
- Sew first ear to head using glue
- Then sew second ear on the opposite side of first ear.


Nose
Round 1:
- MR, ch 1, 6 sc inside ring. Pull tail to close tightly. (6 sc)
Round 2:
- Inc in every stitch. (12 sc)
Rounds 3 & 4:
- 1 sc in each stitch around. (12 sc each round)
- Add toy stuffing to nose.
- Position nose on front of head and use safety pin to hold.
- Sew nose securely to the head.

Eyes
- Use doll eyes (size unspecified).
- Attach eyes by hot glue off-camera securely on either side of the nose.
Finishing
- Add the keyring to the top or back of the amigurumi to complete the big kitchen as a charm or decoration.
- Weave in all loose ends neatly.
Assembly & Finished Size
- Ensure ears and nose are well positioned and sewn firmly.
- Eyes attached with hot glue for stability.
- Final size is about 12 cm tall, making a charming big kitchen amigurumi accessory.
Conclusion and Ending Words
Thank you for following this fun amigurumi big kitchen pattern. This project is great for intermediate crocheters looking for a cute and quick stuffed item.
Quick Overview of Pattern
- Crochet the head starting with a magic ring and increasing rounds to form the base shape.
- Work rounds with single crochet and increases to shape the head.
- Begin decreases to taper the shape, adding stuffing as you go.
- Crochet ears separately with magic rings and increases, then sew them onto the head.
- Make the nose with small rounds, stuff, and sew it on.
- Attach safety eyes with hot glue.
- Add a keyring to finish.