
Free Crochet Mini Pond for FREE – Perfect Beginner Project
Turn yarn into a tiny masterpiece with the Crochet Mini Pond Pattern—featuring ducks, lilies, and roses, perfect for decorating or gifting!
A small pond can hold so much charm, and now you can recreate that magic with yarn. The free Crochet Mini Pond Pattern offers a delightful way to design a serene scene complete with ducks, lilies, roses, and bushes. It’s simple yet captivating, making it enjoyable for both beginners and experienced crochet enthusiasts.
FREE Crochet Mini Pond Pattern – Create a Whimsical DIY Pond!
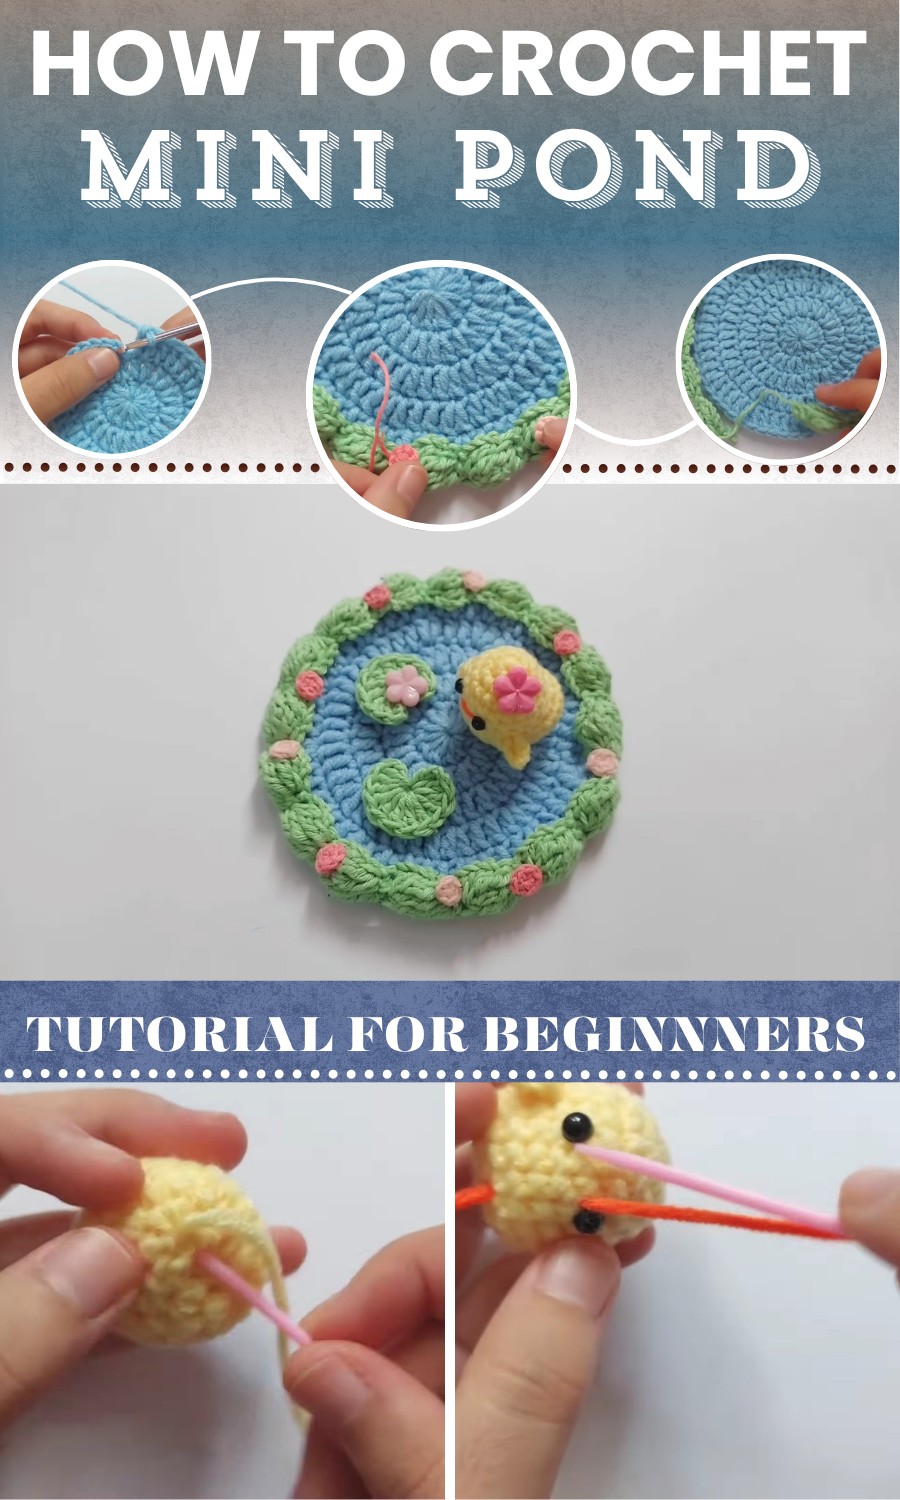
This tiny pond is more than just decor—it’s versatile in its uses. Place it as a centerpiece on tables, brighten up shelves, or use it as a creative learning tool for children. It’s also a heartfelt handmade gift that’s perfect for nature lovers or anyone who appreciates unique home accents.
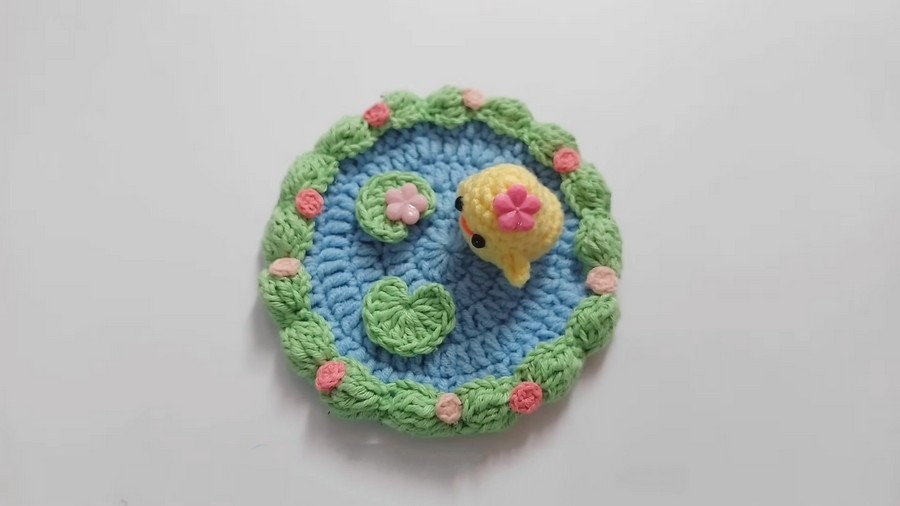
Crochet Mini Pond with Bush, Roses, Duck & Lily Pads
Materials
- Yarn:
- Light Blue (pond)
- Green (bush)
- Pink/Red/Yellow (mini roses)
- Yellow & Orange (mini duck & beak)
- Crochet Hook: 2.0 mm–3.0 mm (as needed for tightness or miniature look)
- Tapestry Needle (for sewing & weaving ends)
- Stuffing (for the duck)
- Stitch Marker
- Small beads (optional, for decoration)
- Glue (optional, for adhering roses or eyes)
Key Abbreviations (US Terms)
- ch: chain
- sl st: slip stitch
- sc: single crochet
- dc: double crochet
- hdc: half double crochet
- MR: magic ring
- inc: increase (2 sc in same st)
- dec: decrease (sc2tog)
- st(s): stitch(es)
Special Notes
- Work in joined rounds for pond base; in continuous rounds for amigurumi duck.
- Adjust hook size for tighter or looser work, especially for amigurumi.
- Use a stitch marker when working in continuous rounds.
- Glue is recommended for attaching small roses or beads, but sewing is also suitable.
Pattern
Pond Base
With blue yarn:
- MR, ch 2 (does not count as st).
- Rnd 1: 12 dc in MR. Join with sl st to first dc. Tighten ring. [12]
- Rnd 2: Ch 2, 2 dc in each st around (increase in every st). Join with sl st to first dc. [24]
- Rnd 3: Ch 2, (dc in next st, 2 dc in next st) around. Join. [36]
- Rnd 4: Ch 2, (dc in next 2 sts, 2 dc in next st) around. Join. [48]
- Rnd 5: Ch 2, (dc in next 3 sts, 2 dc in next st) around. Join. [60]
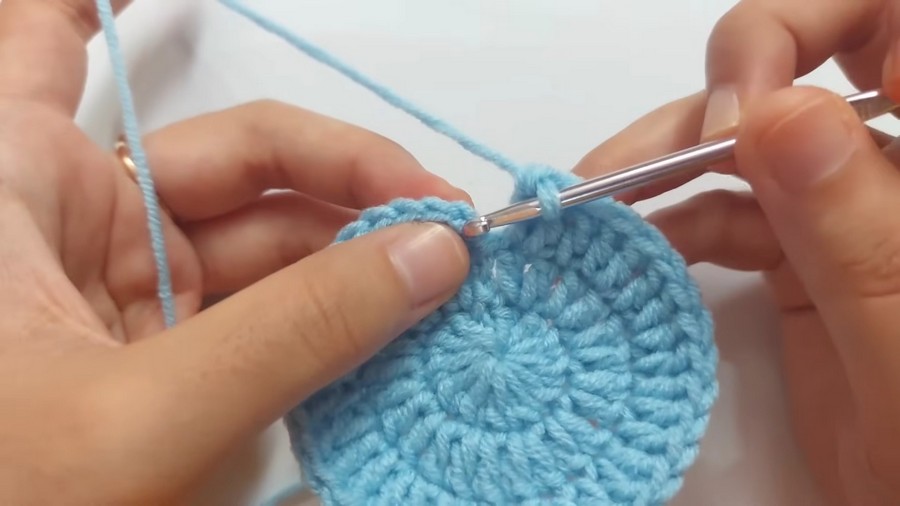
Tip: Want it larger? Continue the pattern with evenly spaced increases every round as per established sequence.
- Fasten off. Weave in ends.
Bush (Textured Green Strap)
With green yarn:
- Make a slip knot, ch 3.
- Row 1: Skip first ch, sc in next two ch; ch 4 and turn.
- Row 2: Work a large bobble (bubble) stitch in each sc:
- [Yarn over twice, insert hook, yo, pull up loop, yo, draw through 2, yo, draw through 2] twice in same st (repeat for a total of 3 times; 4 loops on hook), yo, pull through all loops. Repeat for each sc (2 bobbles in row).
- Ch 1, turn.
- Row 3: Sc in top of both bobbles, ch 4, turn.
- Row 4: 1 large bobble in each sc (2 total), ch 1, turn.
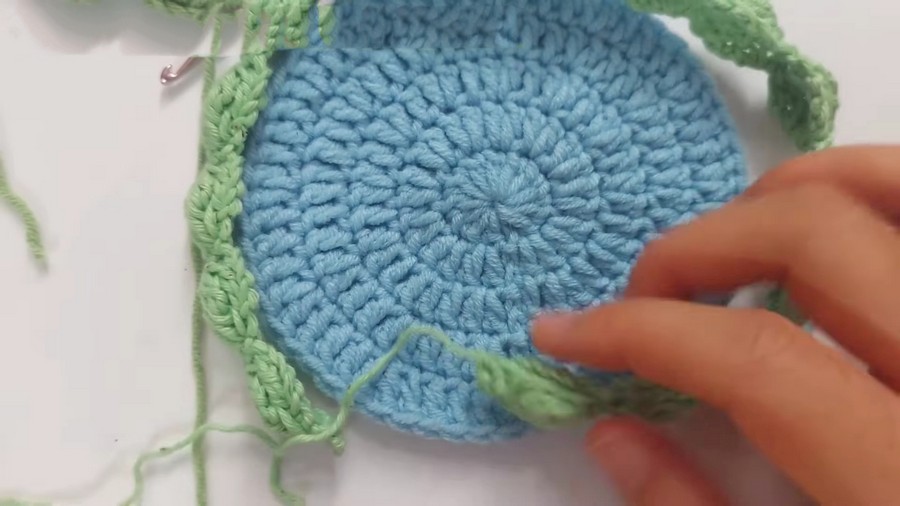
Repeat Rows 3 and 4 until the length wraps fully around the edge of the pond base.
- Stop after a row of 2 sc. Fasten off, leaving a long tail for sewing.
- Sew bush edge to pond edge through the sc rows only, not bobbles, or use your favorite method.
Mini Roses
With fine yarn (color of your choice, 1.0 mm–2.0 mm hook recommended):
- Make a MR.
- Ch 1, work 5–6 sc into MR. Tighten ring.
- Sl st to first sc.
- Fasten off, leaving a tail for sewing (or cut short if gluing).
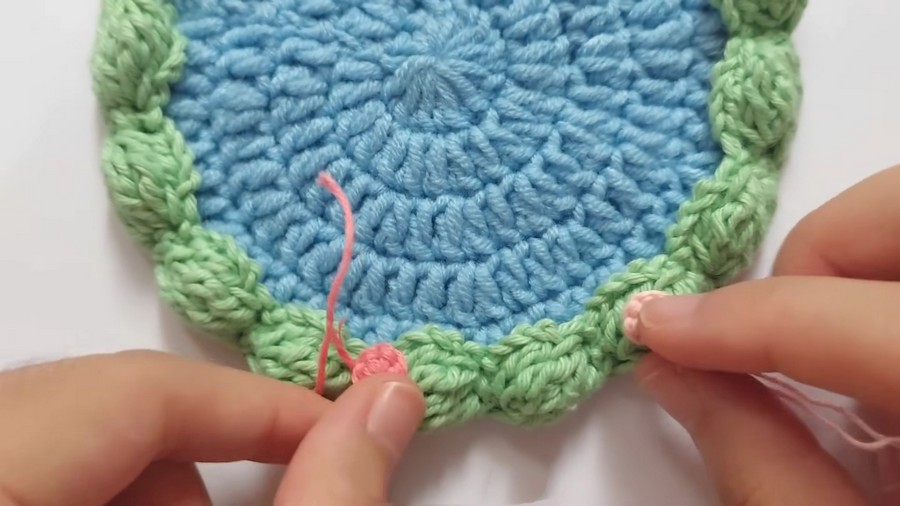
- Glue or sew roses onto bush wherever desired.
Mini Duck
Use yellow yarn (body), orange yarn (beak), 3.0 mm hook for tight amigurumi.
Body
- MR, 6 sc in ring. [6]
- Rnd 2: (2 sc in each st) around. [12]
- Rnd 3: (sc in next st, inc in next st) around [18]
- Rnd 4–6: sc in each st. [18]
- Rnd 7: (inc in next st) 5 times, sc in remaining 13 sts. [23]
- Rnd 8-9: sc in each st. [23]
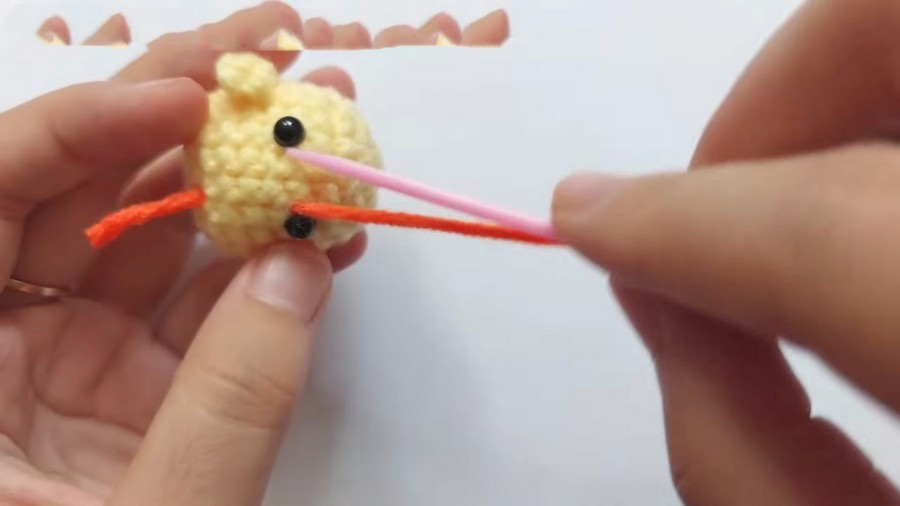
- Add safety/glue-on eyes between R5–6, 2–3 sts apart.
- Stuff body.
- Rnd 10: (sc, dec) 11 times, sc in final st. [12]
- Rnd 11: 6 dec. [6]
- Fasten off, leaving long tail. Sew to close.
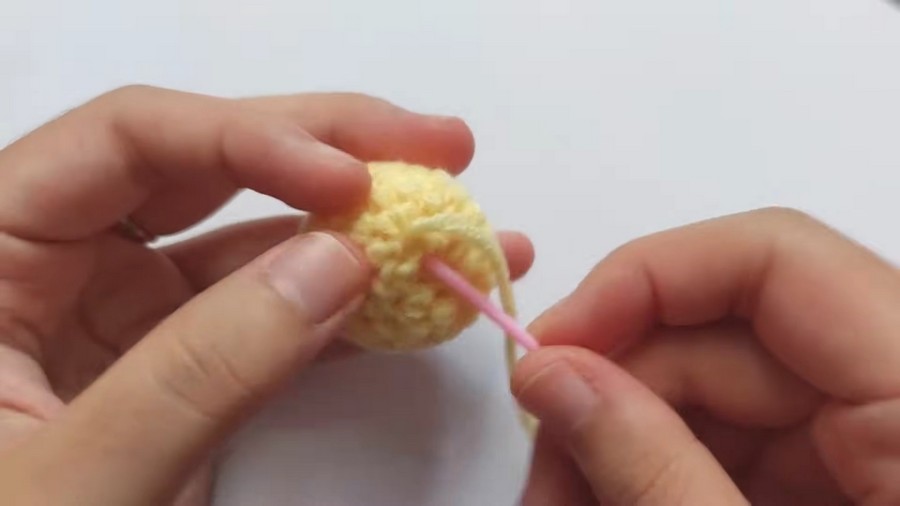
Duck Wings (make 2)
- Join yarn to body at R6.
- Ch 3, skip first ch, sc in next ch, hdc in last ch.
- Sl st to next st on body. Fasten off, weave in ends.
Beak
- With orange yarn, embroider or glue a tiny triangle above midpoint between eyes.
Lily Pads
With green yarn:
- MR, 12 dc in ring. Tighten ring.
- Can fasten off with a long tail for sewing, or weave in ends and leave removable.
Finishing & Assembly
- Assemble bush around pond: Sew or glue as above.
- Decorate: Add roses to bush, lily pads to pond, and place/glue duck as desired. Add beads if using.
- Weave in all ends.
Conclusion
Congratulations! You have completed a delightful crochet mini pond with bush, roses, and a whimsical duck—perfect for decoration, gifting, or as a creative jewelry dish.
Pattern Corrections & Tips
- Correction: For bobble stitches, always confirm your preferred bobble texture.
- Tip: Use tight tension for amigurumi pieces to keep stuffing from showing.
- Tip: If gluing small pieces, allow to dry thoroughly for best hold.
- Tip: Continue pond increases for larger base, or reduce rounds for a mini version.