
Free Crochet Butterfly Using Can Tab For spring displays
Repurpose a can tab into a graceful crochet butterfly that brings soft charm to décor, accessories, and thoughtful handmade gifts.
Butterflies have long symbolized transformation, grace, and natural beauty, making them a cherished decorative motif. Whether adorning a fridge, enhancing a gift package, or serving as a thoughtful handmade present, crochet butterfly creations offer endless applications to blend aesthetics with practicality. This simple yet elegant butterfly, inspired by a soda can ribbon project, takes the iconic symbolism a step further. It transforms leftover materials like threads and soda can seals into a vibrant piece of art while also promoting sustainability, making it a truly exciting addition to your collection of handmade items.
Minimal Free Crochet Butterfly Using Can Tab for card toppers
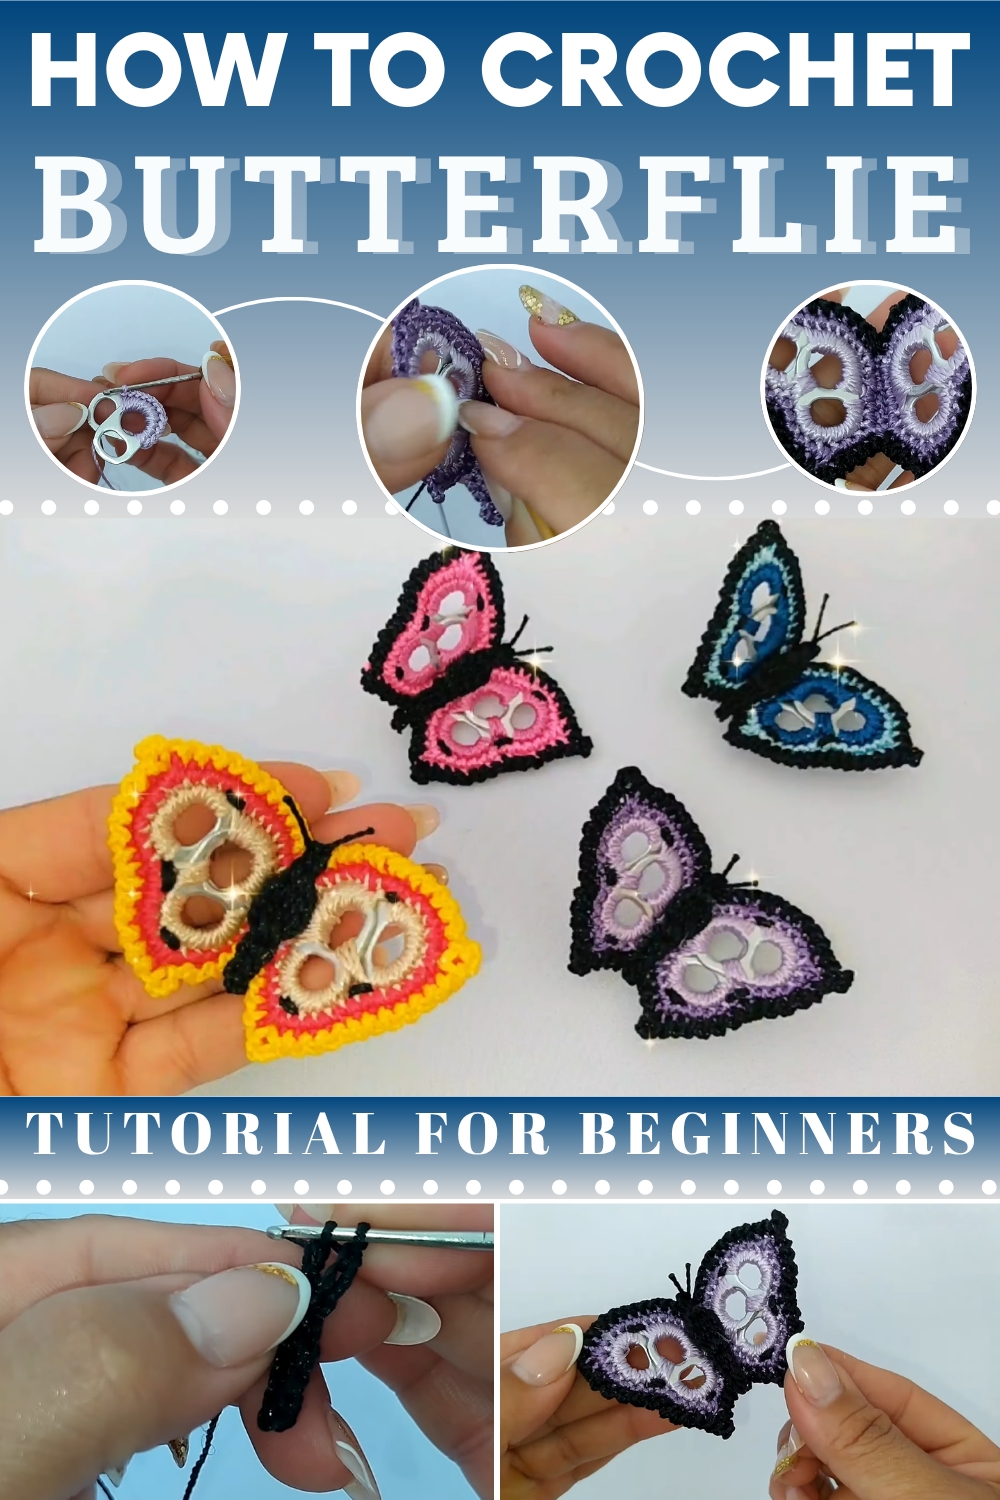
One of the standout characteristics of this butterfly is its versatility. Its compact, lightweight nature allows it to serve as a refrigerator magnet, a decorative embellishment for interior spaces, or even a symbolic keepsake with personal value. Easy to crochet, taking approximately ten minutes per butterfly, this project allows crocheters to produce multiples efficiently, making them ideal for gifts or custom creations.
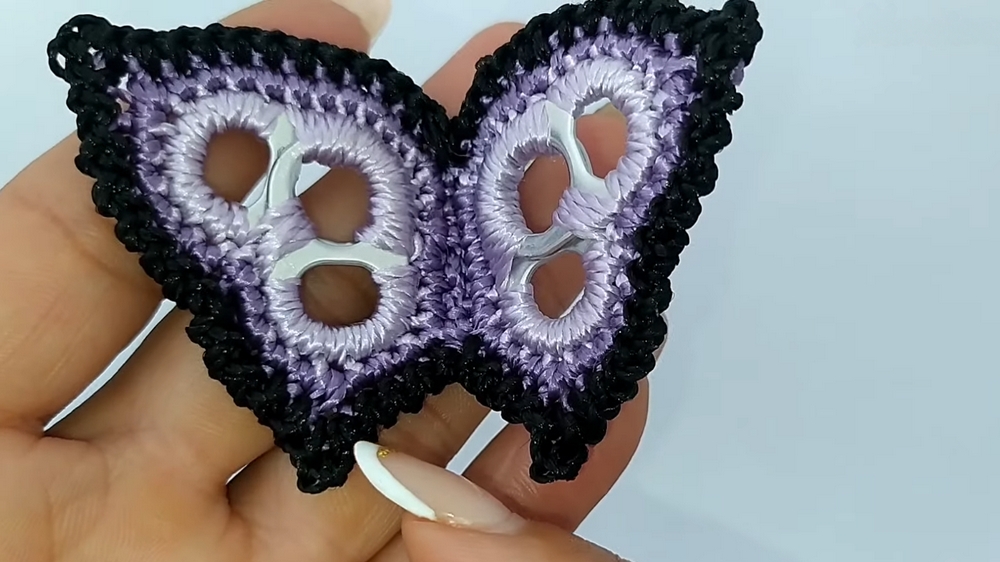
Free Crochet Butterfly Using Can Tab Pattern
Materials
- Yarn: Scrap cotton, silk, linen, or acrylic yarn (medium or DK recommended). Color(s) of your choice.
- Crochet Hook: 1.75 mm (or size appropriate for yarn used)
- Soda Can Tabs: 4 clean, burr-free tabs per butterfly
- Yarn/Tapestry Needle
- Sewing Needle
- Small Magnet (for refrigerator magnet version, optional)
- Scissors
- Pliers (for removing burrs from tabs)
- Lighter (for sealing yarn ends)
- Hot Glue Gun (for magnet and final assembly)
Key Abbreviations (US Terminology)
- ch: chain
- sl st: slip stitch
- sc: single crochet
- st(s): stitch(es)
- yo: yarn over
Special Notes
- Ensure soda can tabs are free of sharp burrs by smoothing with pliers before crocheting.
- Use a strong yarn/thread for assembling tabs; thinner yarn may break during assembly.
- You may use any scrap yarn; smooth fibers work best for neat stitches.
Pattern Instructions
I. Prepare the Pull Tabs
- Remove Burrs:
- Use pliers to gently remove any sharp or rough burrs from the soda can tabs.
- Test with your finger to make sure tabs are smooth and won’t snag yarn. Prepare all 4 tabs.
II. Crochet Around Pair of Tabs (Make 2 Sets of 2 Tabs Each)
Step 1: Join Tabs
- Place two tabs together, one on top of the other, with smoothed (burr-removed) sides outward.
- Insert your hook through the aligned opening (where the pop-ring was), pull up a loop of yarn, and sl st to join.
Step 2: Round Along Large Curve
- Work 12 sc around the outer curve of the joined tabs.
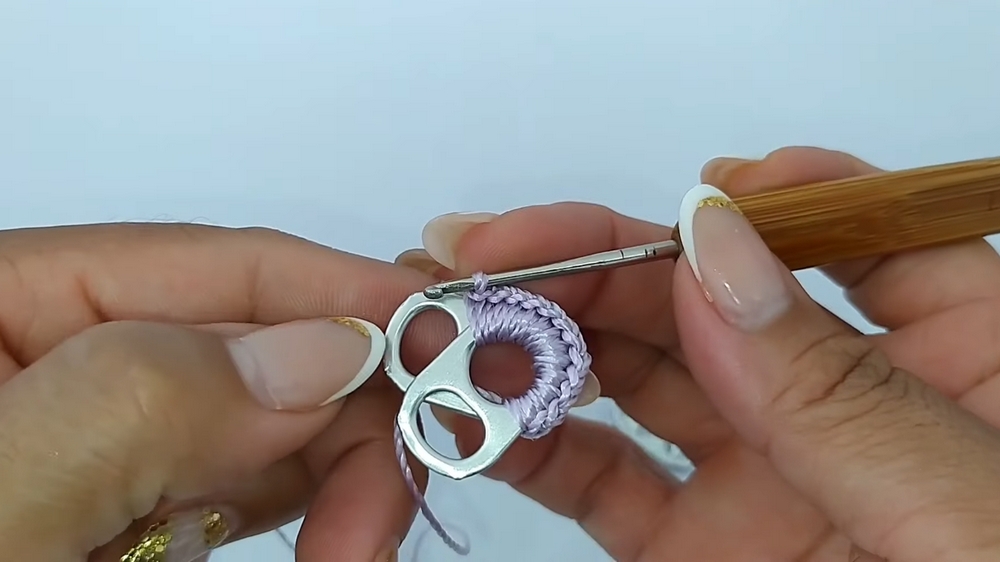
Step 3: Curve Around Short End
- Continue to the small curve (rounded edge): Work 10 sc along the edge.
Step 4: Center Area
- In the center (where the tabs join), work 2 sc.
Step 5: Second Short Curve
- Along other short curve, work 10 sc.
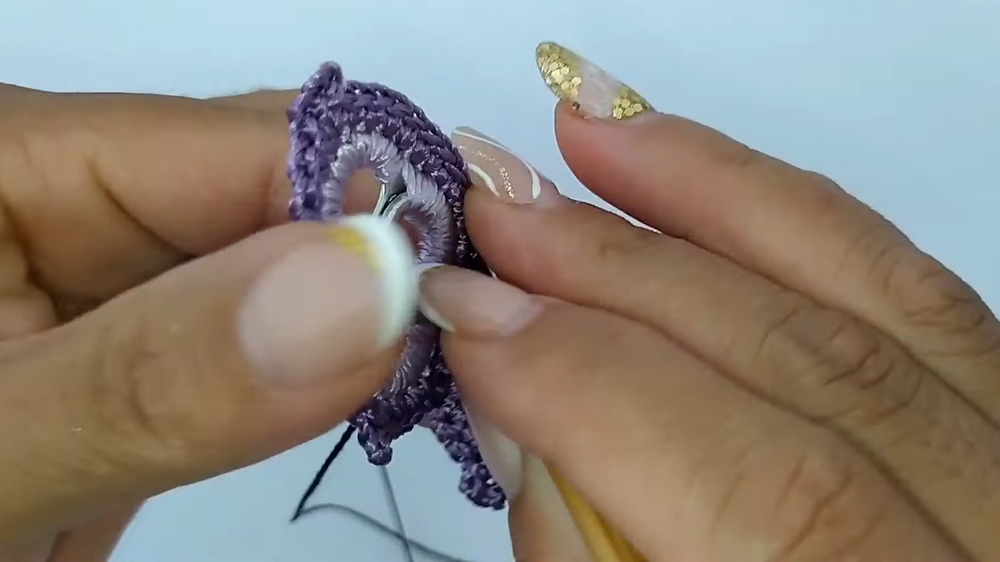
Step 6: Close Round
- Sl st to the very first sc to close the round, fasten off, and weave or seal the end on the back.
- Repeat steps above to make a second pair of joined tabs. You should now have 2 identical halves.
III. Add Second Color & Decorative Picot Edging
Step 1: Join Color
- With a new (contrasting) color, join yarn in the starting spot (first sc of long curve).
Step 2: Edge and Picots
Repeat for both pieces:
- For each sc along the curve, work:
- [sl st, ch 1, sl st in next st]
- When you reach the midpoints (corners at both ends), work a picot as follows:
- sl st into corner st, ch 3, sl st into same st (forms a small “bump”/picot).
- Continue this slip-stitch-and-chain edging all the way around.
- At each corner (top and bottom of the butterfly), remember to do the [sl st, ch 3, sl st] picot for extra definition.
- Fasten off and secure ends at back.
IV. Attach Halves Together
- With sewing or yarn needle and yarn of last color used, sew the two halves together along the straight edge (the “body” to align the tab sets).
- Always sew with right sides together (picot edges to the outside), matching curves.
- Stitch from one end of the straight body to the other, then fasten off and hide thread.
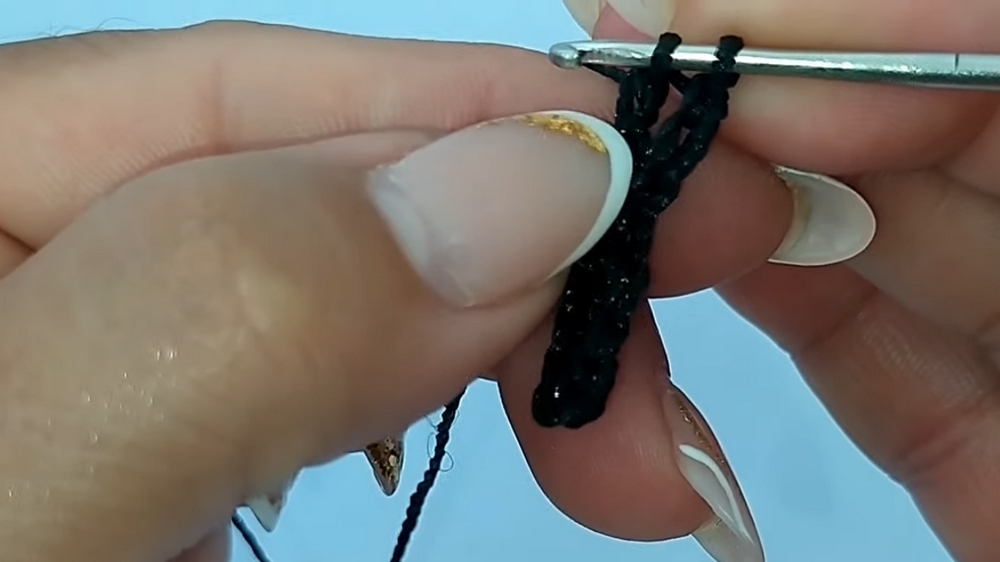
V. Create & Attach Antennae and Details
Antennae:
- With black (or another bold) yarn, ch 6.
- Turn, sc in 2nd ch and in each of next 3 ch, sl st in last ch. Fasten off.
- Thread yarn into a tapestry needle, sew/attach at the top center of the butterfly’s “body” (between picots).
- Use needle to embroider additional spots or markings as desired (optional).
Body & Head:
- Still with black yarn,
- Ch 6.
- Sl st in 2nd ch, sc in next 3 ch; fasten off (creates body segment).
- For the head, ch 3, work a bulky cluster (double crochet 4 together—yo, insert through next st, yo and pull through 2, repeat 4 times, then yo and pull through all loops on hook), ch 1, and sl st at base.
- Attach head and body at butterfly center with yarn and needle.
VI. Assembly & Finishing
- Weave in or seal all yarn ends (using lighter, being careful not to burn yarn or tabs).
- Attach small magnet with hot glue to the back of one wing if making a fridge magnet.
- Optionally, use hot glue to reinforce assembly along the straight edge/body, or where tabs meet.
- Shape butterfly and fluff picot edges if necessary.
Conclusion
This upcycled butterfly is an eco-friendly and stylish project—perfect for gifting, embellishing, or decorating. Customize colors to match décor, holidays, or simply your mood. Try different yarn weights for size variations.
Pattern Correction & Tips
- Correction: When working the picot (corner) stitches, ensure you always sl st, ch 3, then sl st in same st for a nice defined bump.
- Tip: For a cleaner finish, always remove burrs and test tabs with your finger before crocheting.
- Tip: Use firm, smooth tension when crocheting around metal tabs.
- Tip: Use glue sparingly so as not to build up under the wings.
- Tip: Try contrasting color edging for a striking butterfly.