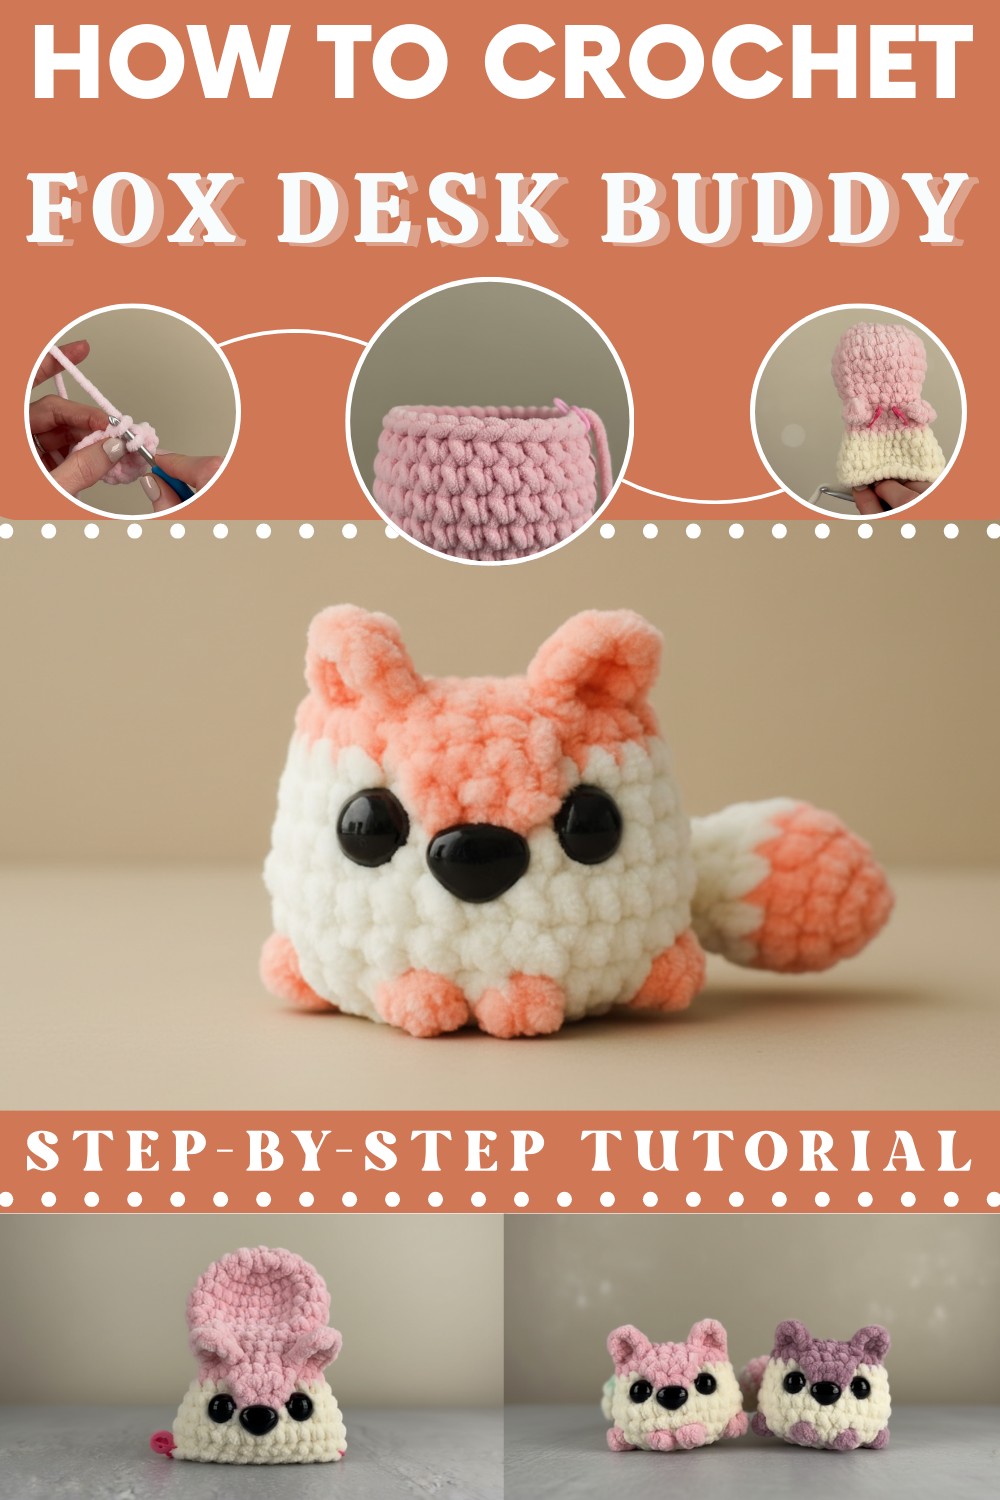
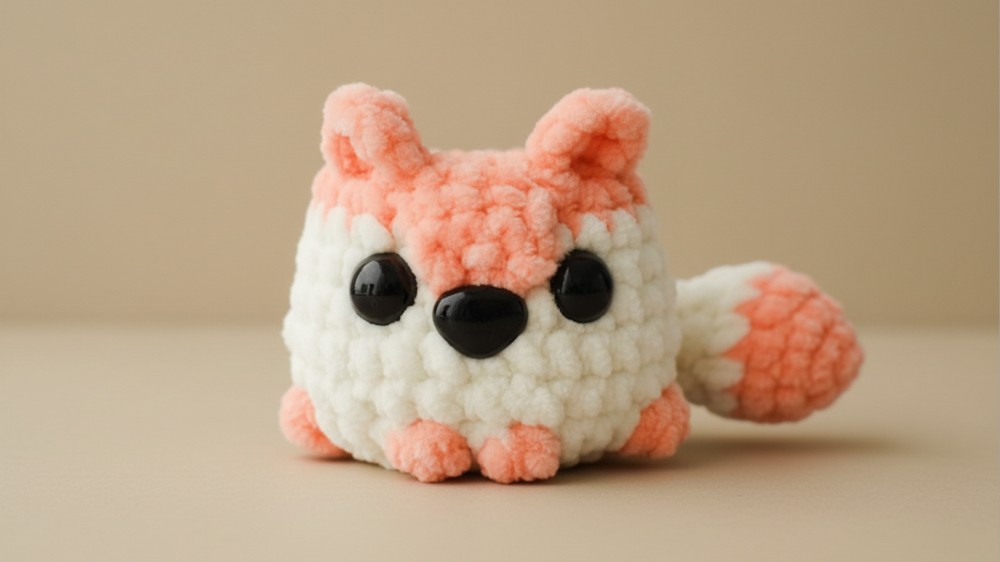
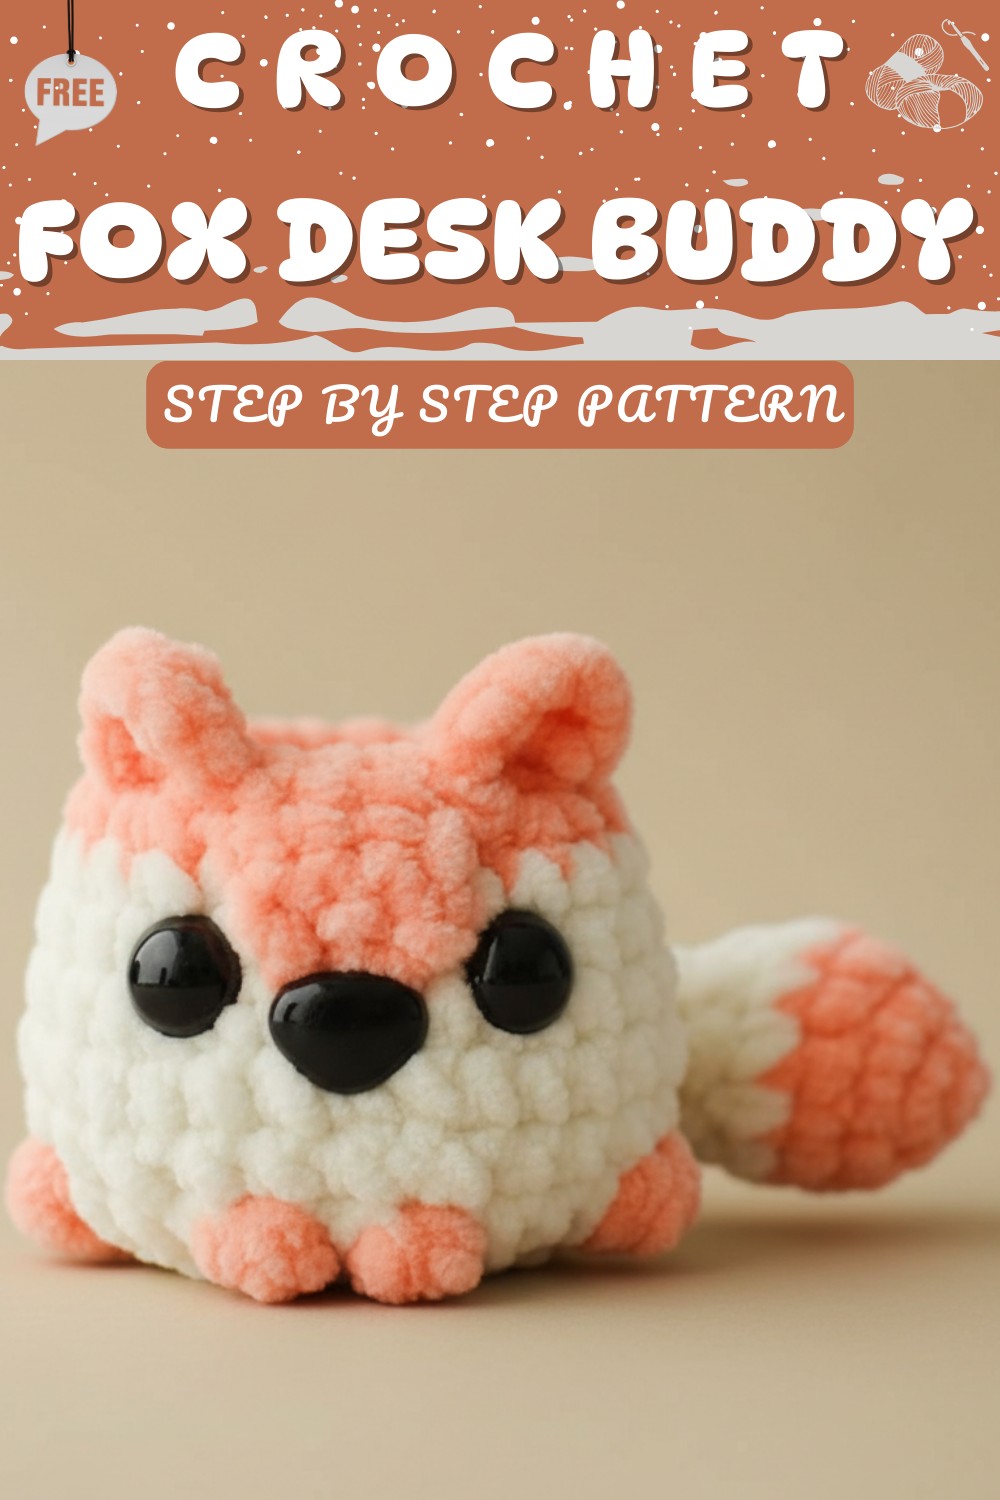
Charming crochet fox desk buddy pattern for beginners
Materials
Yarn:
- Premier Parfait Chunky or similar bulky yarn (6):
- Main Color (warm orange-red) – Less than 1 ball.
- Accent Color (Cream) – Less than 1 ball.
Tools and Miscellaneous:
- Hook: 4.5mm crochet hook (or appropriate size for chosen yarn).
- Safety Nose: 18 mm.
- Safety Eyes: 14 mm (2).
- Yarn Needle: For sewing and weaving ends.
- Scissors.
- Stitch Markers.
- Optional: Stuffing, Fabric Glue (or Hot Glue).
Key Abbreviations
(US Terminology)
- ch: Chain
- sl st: Slip Stitch
- sc: Single Crochet
- hdc: Half Double Crochet
- dc: Double Crochet
- inc: Increase (2 single crochets in the same stitch)
- dec: Decrease (Invisible decrease working the front loops only).
- BLO: Back Loop Only
- FL: Front Loop Only
- Bobble: Bobble Stitch
Special Notes
- Work in spiral rounds unless otherwise noted.
- Use stitch markers to track progress. Mark ear positioning and other critical stitches carefully.
- When changing colors, finish the last stitch of the current color with the new color.
- Adjust stuffing density as desired for structure without overstuffing.
Pattern Instructions
Step 1: The Fox Tail
Round 1:
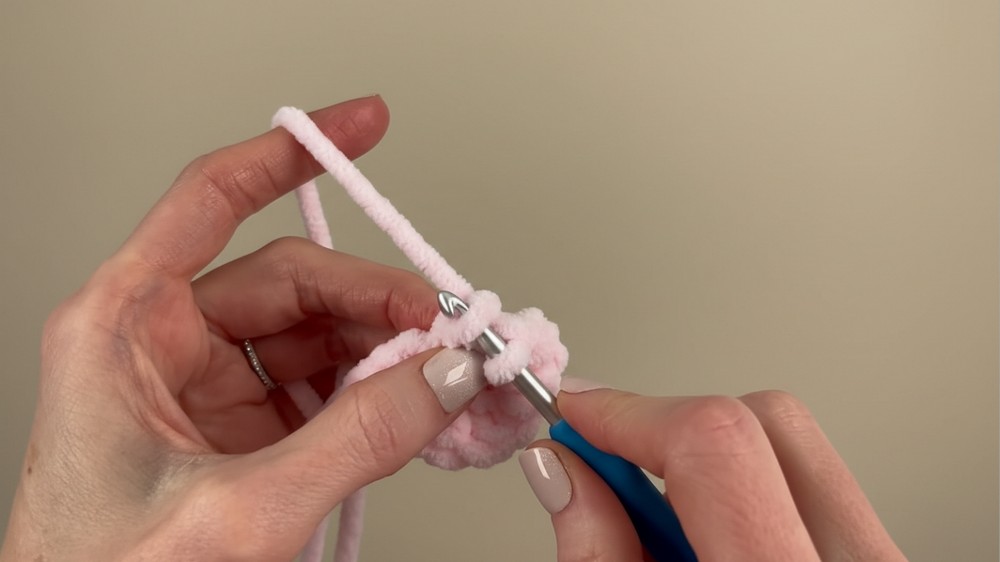
With the main color, make a magic circle. Work 3 sc into the magic circle, pull yarn to tighten. (3 sts)
Round 2:
Make inc in each stitch around (6 sts).
Round 3:
(Inc, sc), repeat around (9 sts).
Round 4:
(Inc, sc in next 2 sts), repeat around until the last stitch. On the last stitch, change to the accent color. (12 sts).
Round 5:
With the accent color, sc in each stitch around. Cut off the main color, leaving only the accent color.
Round 6:
(Dec, sc in next 2 sts), repeat around. (9 sts).
Round 7:
(Dec, sc), repeat around. (6 sts).
Rounds 8-12:
Sc around. (6 sts). Mark Round 8 carefully to avoid recounting.
Fasten Off: Leave a long tail for attaching the tail to the buddy later. Set the tail aside.
Step 2: Head and Body
Round 1:
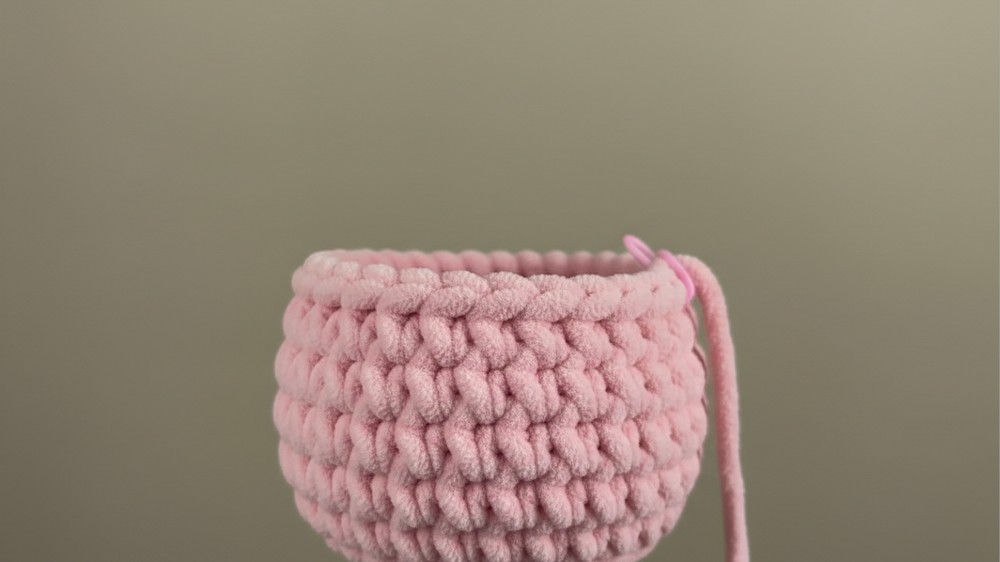
Instead of a magic circle, ch 7 and work 6 sc across the chain starting from the second chain from the hook. Then, flip and work 6 sc across the opposite side of the chain. (12 sts).
Round 2:
(Inc, sc in next st), repeat around. (18 sts).
Round 3:
(Inc, sc in next 2 sts), repeat around. (24 sts).
Round 4:
Sc in each stitch around. (24 sts).
Round 5:
(Inc, sc in next 3 sts), repeat around. (30 sts).
Round 6:
(Dec, sc in next 3 sts), repeat around. (24 sts).
Round 7:
Sc in each stitch around. (24 sts).
Round 8:
(Dec, sc in next 2 sts), repeat around. (18 sts).
Round 9:
Sc in each stitch around. (18 sts).
Step 3: The Fox Ears
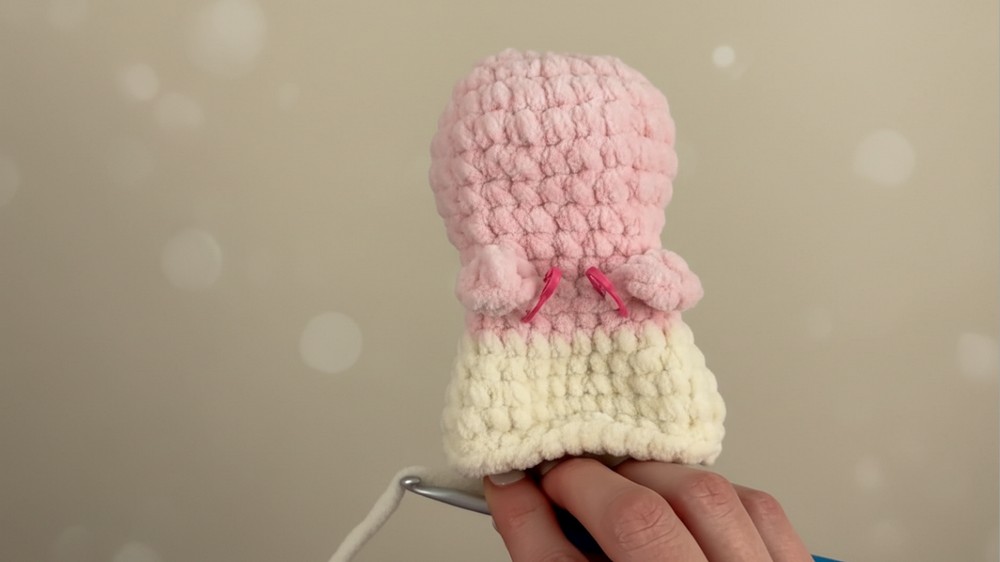
The ears are worked in the front loops only. Stitch markers are highly recommended.
Round 10:
- Sc in each of the next 2 sts.
- Mark the back loop of the 3rd stitch and create an ear in the front loop:
- Into the front loop of the marked stitch, work:
- sc → hdc → ch 1 → dc → hdc → sc.
- Repeat for the second ear on the 8th stitch.
- Sc in remaining stitches, skipping over ear loops.
Round 11:
Sc through both regular stitches and the back loops only by avoiding the ear stitches. (18 sts).
Round 12:
(Inc, sc), repeat around. Mark any front loops used for shaping flaps later.
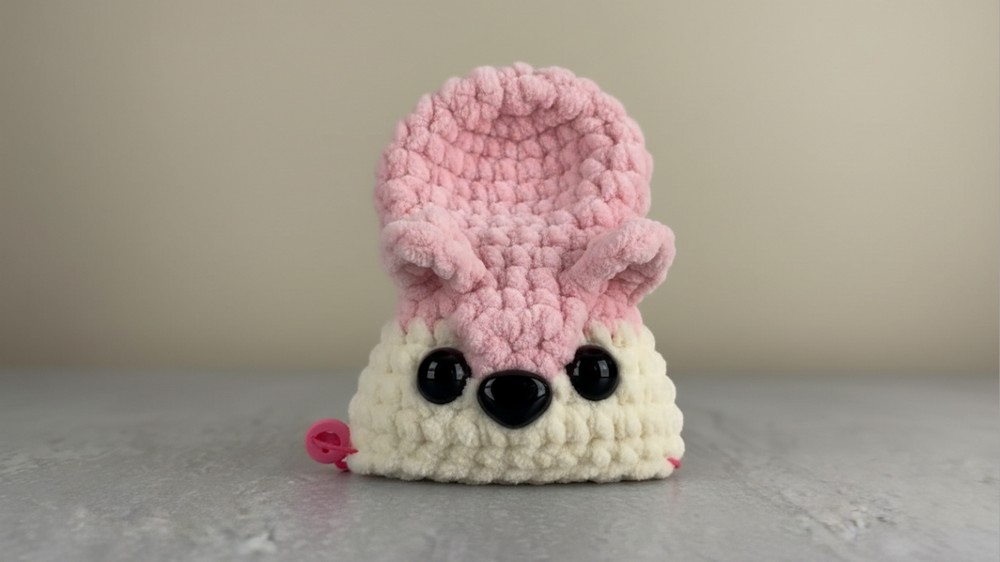
Step 4: Facial Flap for Safety Nose
Row 1:
Work 4 sc across the front loop stitches carefully.
Row 2:
Chain 1, turn work, and decrease twice across the row.
Row 3:
Chain 1, turn work, and decrease once. Fasten off.
Step 5: Attach Face Features
- Nose: Use the flap to secure a Safety Nose (18mm) at the bottom, between rounds 15 and 16.
- Eyes: Place Safety Eyes (14mm) between rounds 14 and 15 next to the flap. Secure tightly.
Step 6: Attach Bobble Feet and Tail
Round 18:
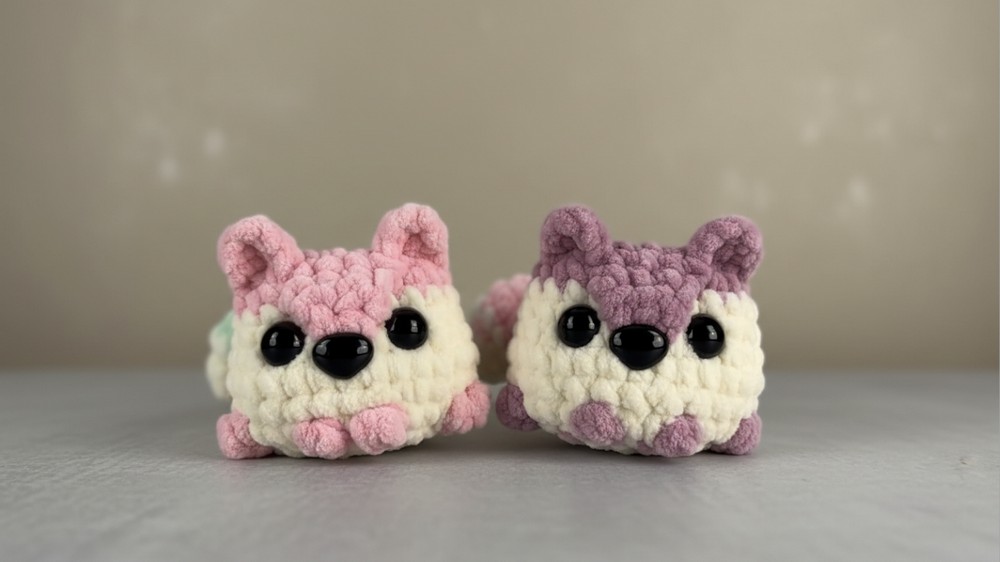
Bobble stitches will serve as the fox's feet and are worked in front loops only. Follow this order:
- Single crochet until reaching the marked bobble stitch. Change to foot color (optional).
- Within the front loops:
- Small bobble: Yarn over three times.
- Large bobble: Yarn over five times. Pull through loops carefully for texture.
- Tail attaches across three stitches using no-sew or sewing options.
Round 19: (Dec, sc), repeat around.
Round 20: (Dec), repeat around. (12 sts).
Round 21: (Dec), repeat around. (6 sts).
Fasten Off:
Secure the bottom with a yarn needle and weave ends tightly to ensure structure.
Conclusion
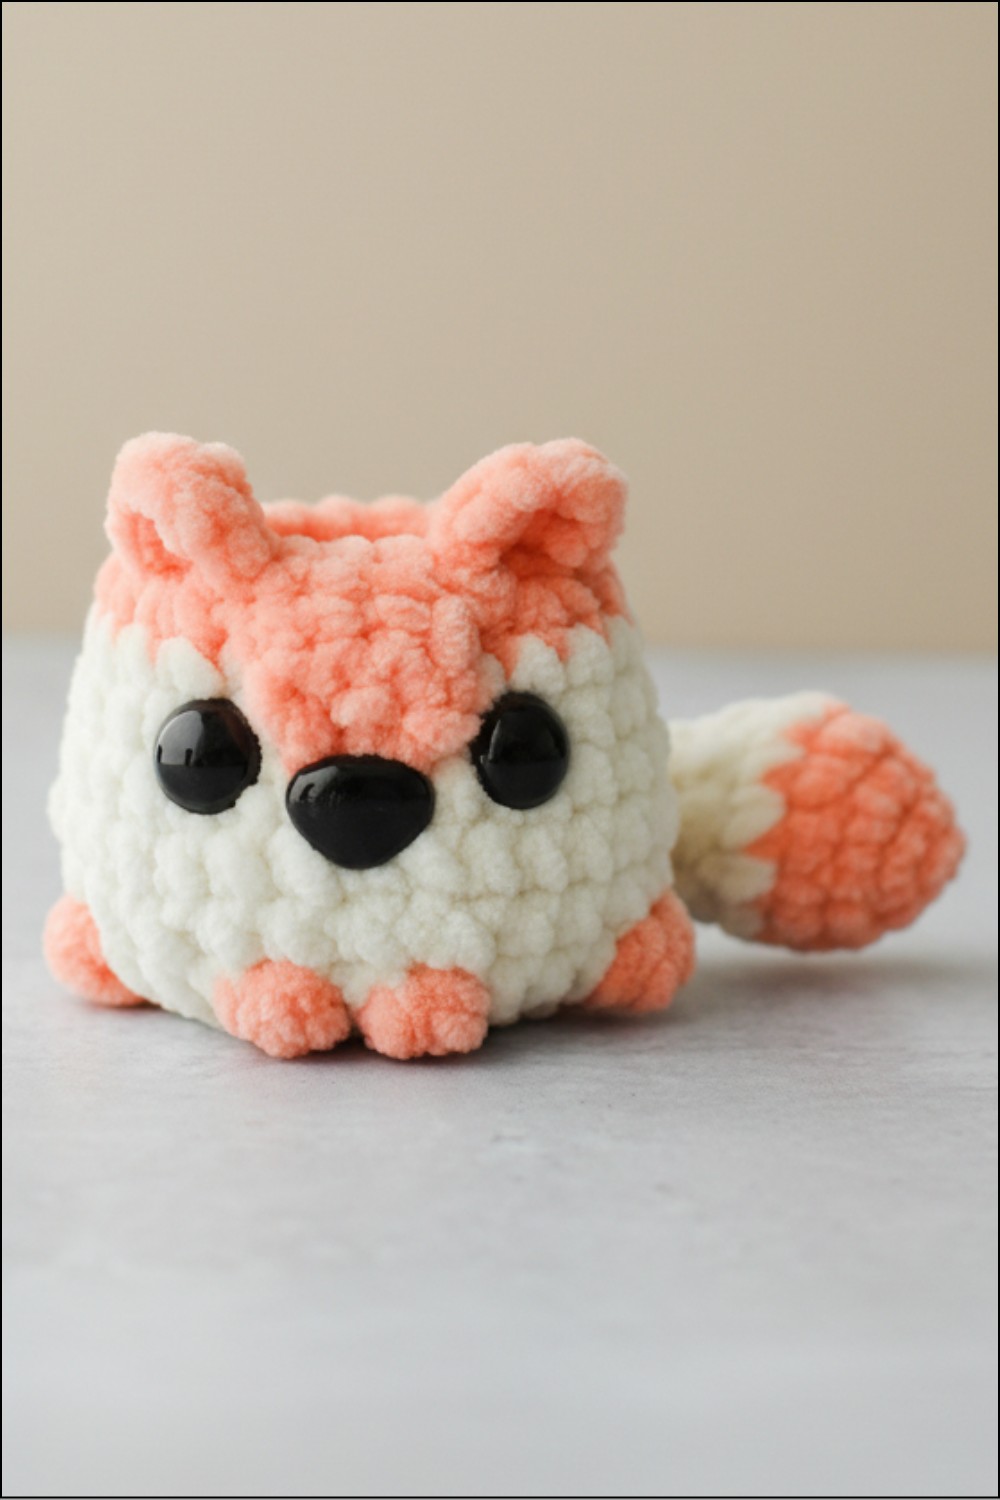
Well done! You've completed your Fox Desk Buddy! It’s a cute and versatile project, perfect for desk organization or as a gift. Whether you added a tail or kept it simple, this design offers charm and functionality.
Pattern Tips and Corrections
- Tail optionality: Fabric glue can secure movement alongside weaving stitches.
- Color changes: Maintain loose tension when switching colors to prevent puckering.
- Safety eyes and nose: Always double-check placements to match proportions.