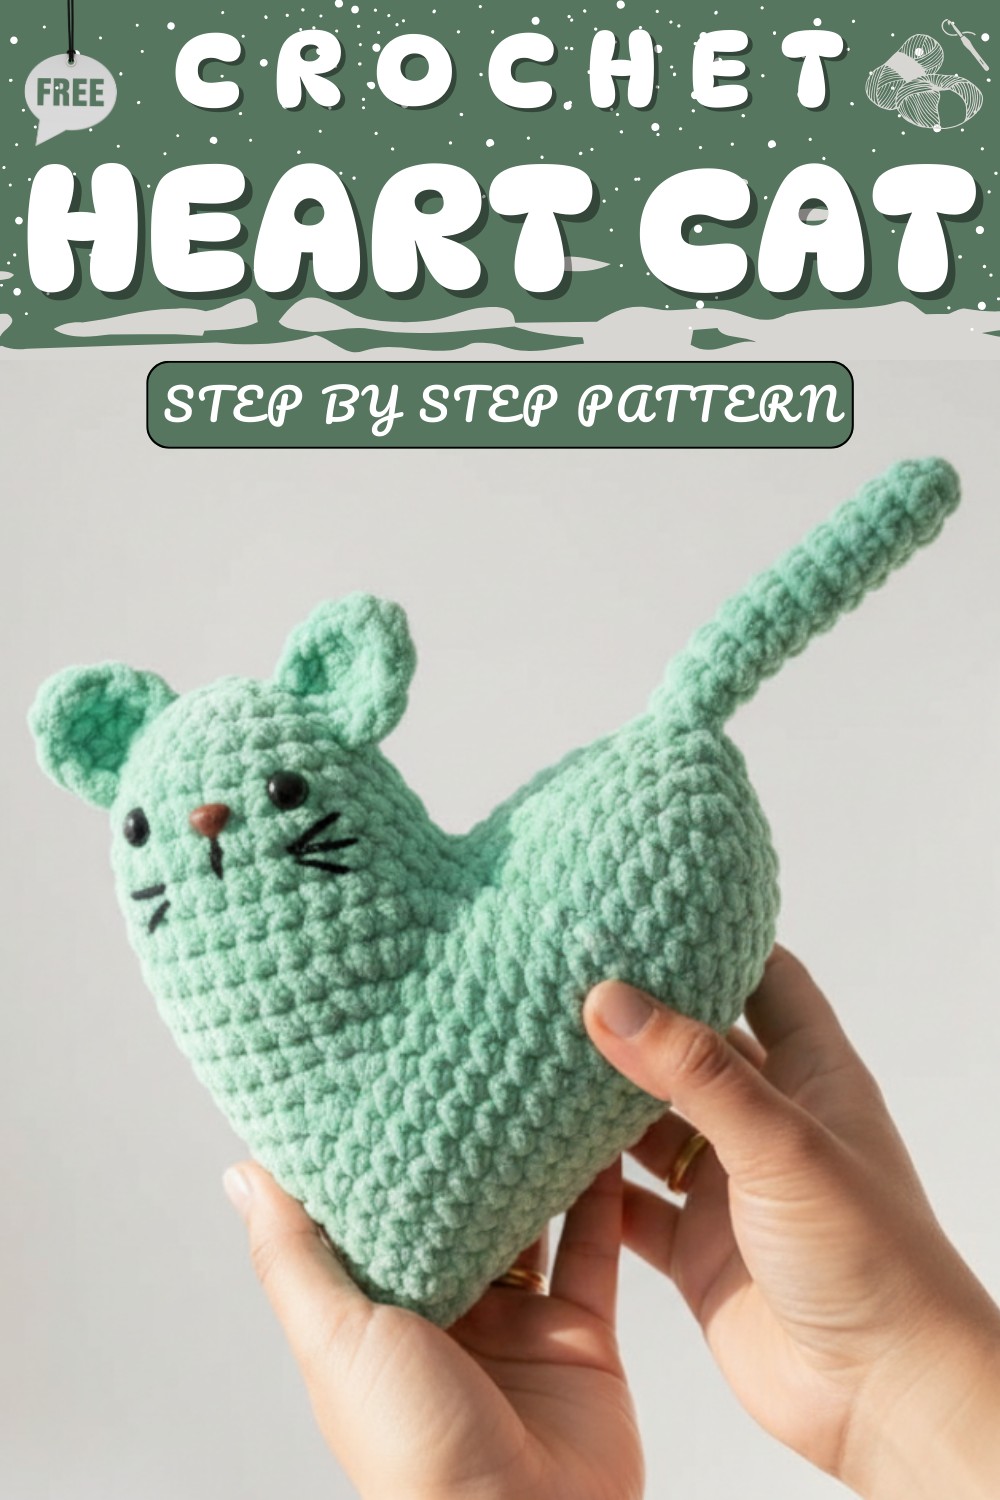
Lovable Crochet Heart Cat Pattern Perfect for Gifts & Décor
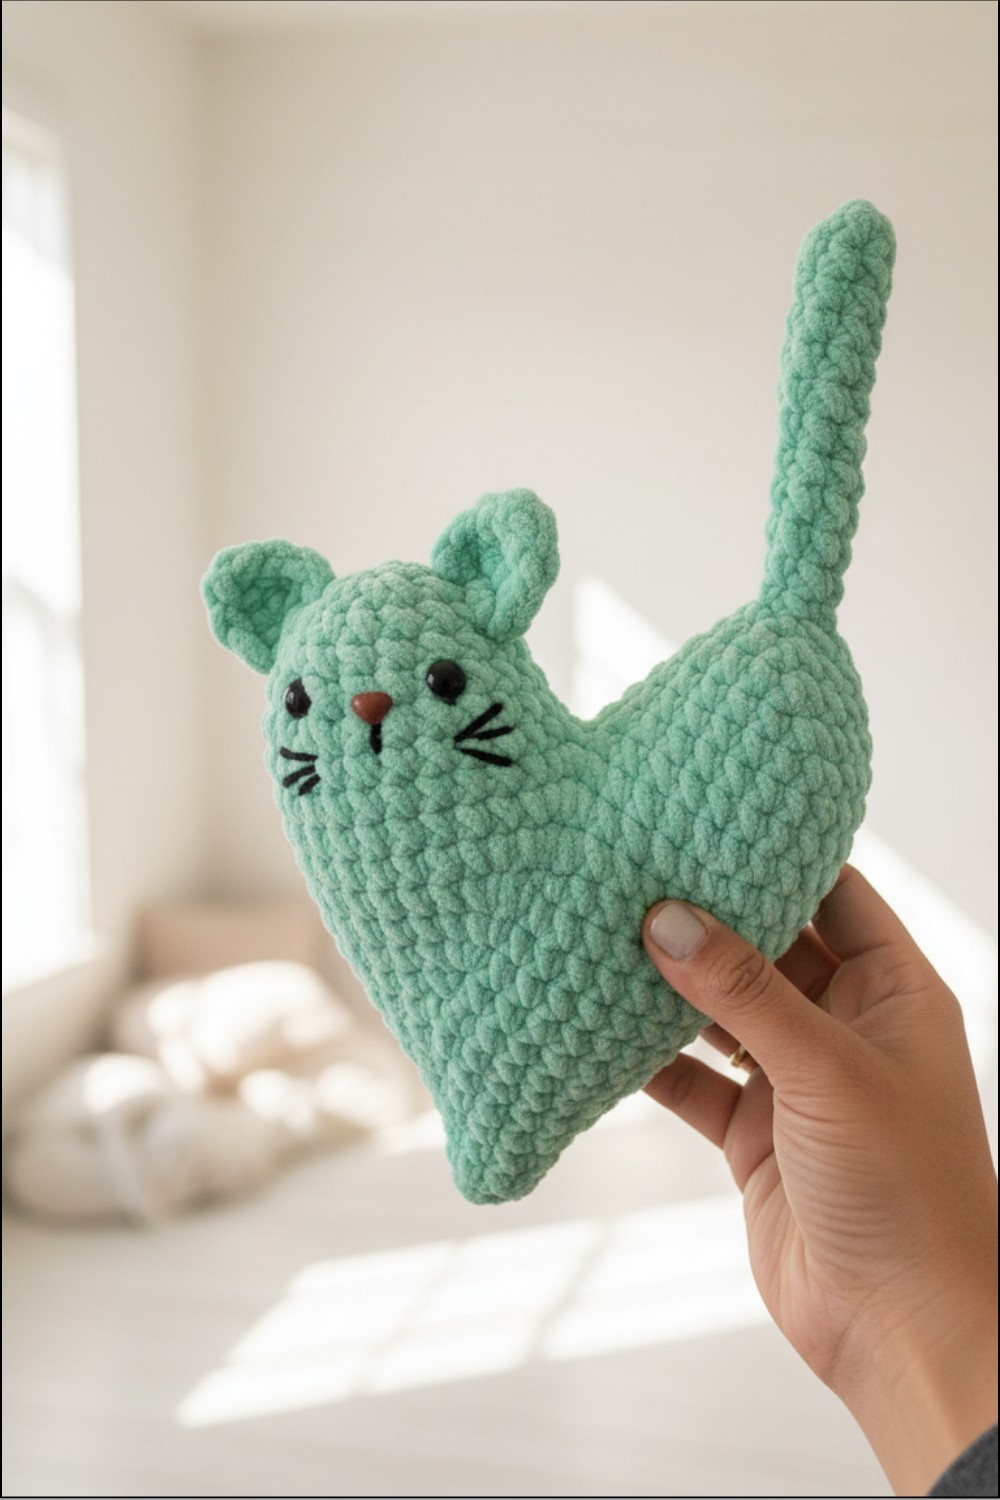
This cute and lovable design is full of warmth and joy. Shaped like a heart with small cat features, it’s perfect for decorating your home, giving as a gift, or keeping as a special treasure. The Crochet Heart Cat pattern brings so much charm and can be placed on a desk, shelf, or table to add a cheerful touch to your space. It’s a great idea for Valentine’s Day, birthdays, or any occasion to show someone you care.
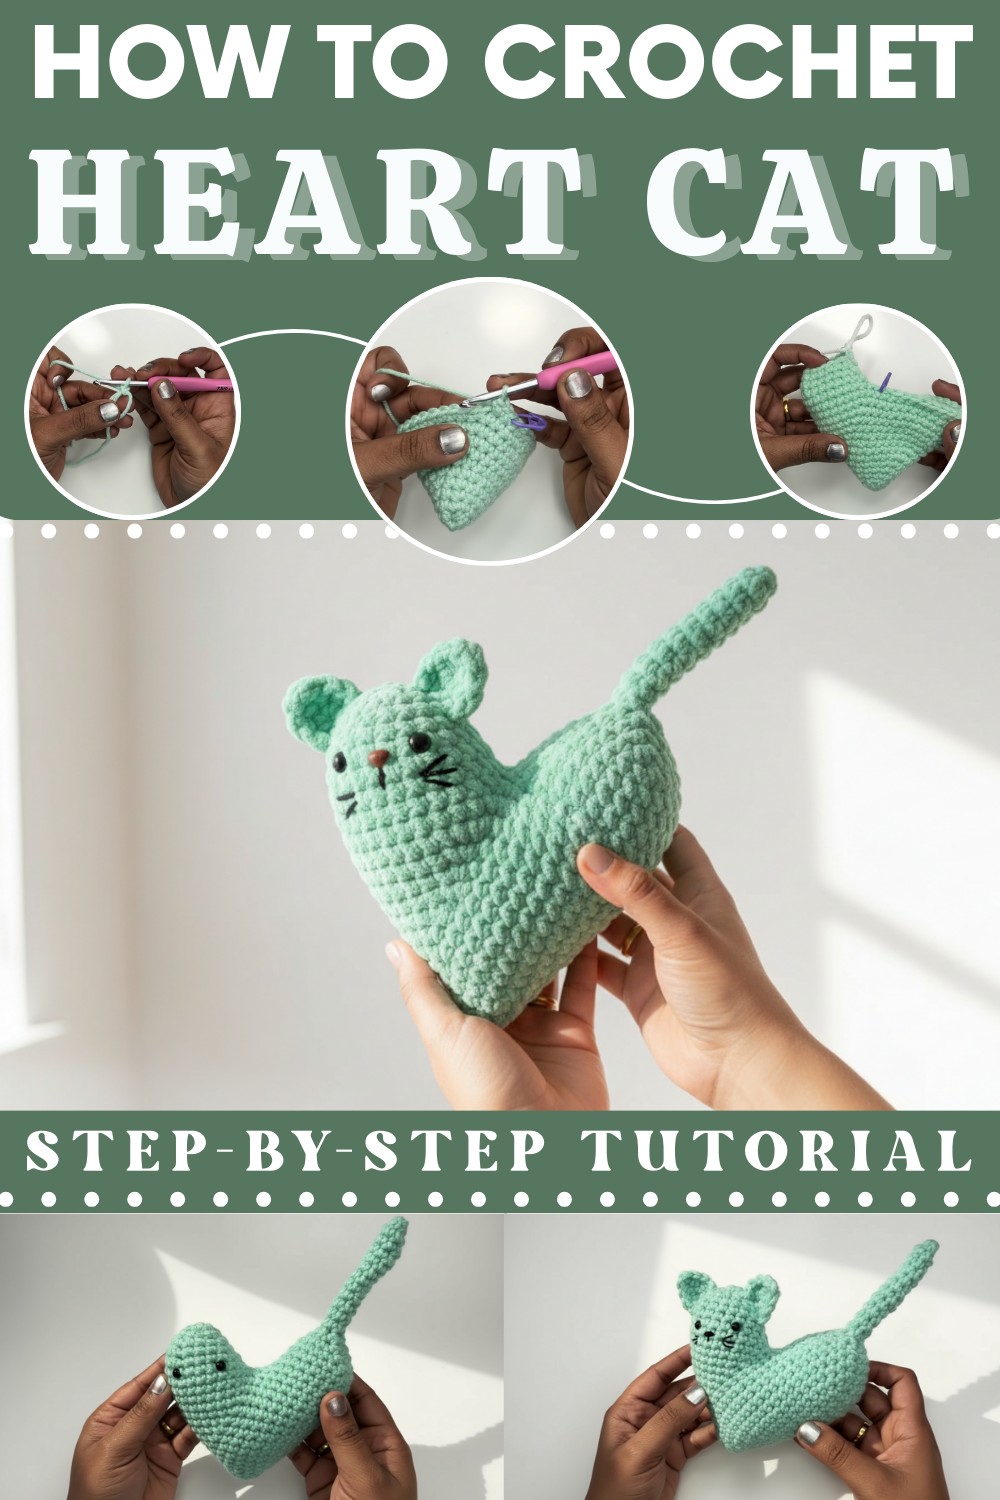
The little ears, whiskers, and playful tail make it sweet and fun. You can also make it in different colors to match your style or make it extra personal. Simple but full of meaning, this design will always make people smile. Whether you are giving it as a present or making it just for yourself, it’s a wonderful way to spread love and happiness.
Enjoy making this adorable Crochet Heart Cat Pattern that’s perfect for gifting or adding a touch of cuteness and happiness to your home.
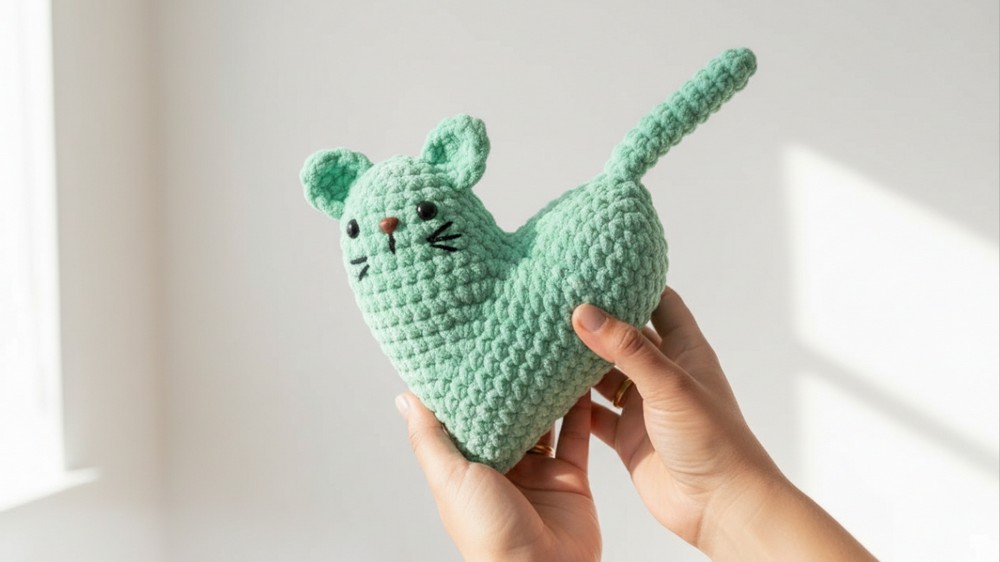
Charming Crochet Heart Cat Pattern That Screams Cozy Vibes
Skill Level
Intermediate: This pattern requires experience making a magic circle, working in rounds, creating basic amigurumi shapes, and basic embroidery for facial details.
Materials Needed
- Yarn:
- Worsted-weight yarn (100% acrylic recommended):
- Main Color: White or color of your choice.
- Details: Black yarn for whiskers and nose embroidery.
- Worsted-weight yarn (100% acrylic recommended):
- Hook: 4.5 mm crochet hook (or one or two sizes smaller than the recommended hook size for the yarn used).
- Stuffing: Polyester fiberfill.
- Safety Eyes: 6 mm safety eyes (size may vary depending on yarn weight). Alternatively, embroider the eyes if preferred.
- Tapestry Needle: For weaving in ends and embroidery.
- Scissors: For trimming the yarn.
- Stitch Markers: At least two, or a small piece of different colored yarn for marking rounds.
- Optional: Hot glue (for securing safety eyes).
Abbreviations (US Terminology)
- ch: Chain
- mr: Magic Ring
- sc: Single Crochet
- hdc: Half Double Crochet
- dec: Decrease (sc2tog - single crochet two together)
- sl st: Slip Stitch
- st(s): Stitch(es)
- xN: Denotes how many times to repeat stitches (e.g., sc x6 means single crochet in the next 6 stitches).
Special Notes
- Continuous Rounds: This pattern is worked in continuous rounds. Use a stitch marker to mark the first stitch of each round to avoid losing your place.
- Stuff as You Go: To maintain the heart's shape, evenly stuff as specified in the instructions.
- Tight Stitches: Be sure to keep your tension tight to avoid gaps and ensure the stuffing doesn’t show through.
- Safety Eyes: For children or customization, you can embroider the eyes for added safety and personality.
Pattern Instructions
Heart Body
- Round 1:
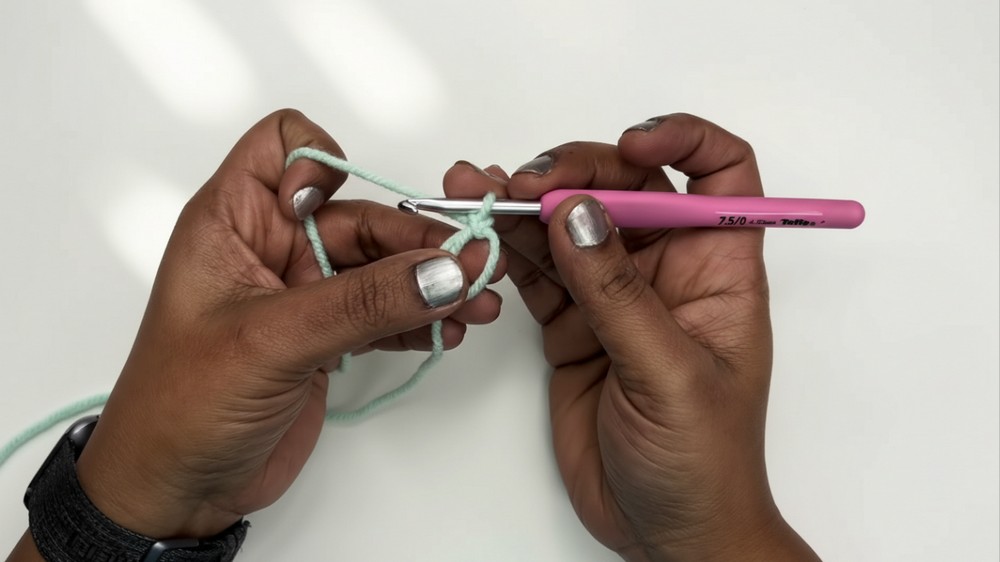
Start with a magic ring (mr). Work 6 sc into the ring. (6 sts)- Alternative: Ch 2, then work *6 sc into the 2nd ch from the hook.
- Round 2:
Work 2 sc into each stitch (inc) around. (12 sts) - Round 3:
(1 sc, 1 inc) – repeat 6 times. (18 sts) - Round 4:
(1 sc, inc, 1 sc) – repeat 6 times. (24 sts) - Round 5:
(1 inc, sc x4) – repeat 6 times. (30 sts) - Round 6:
(1 inc, sc x5) – repeat 6 times. (36 sts) - Round 7:
(1 inc, sc x6) – repeat 6 times. (42 sts) - Round 8:
(1 inc, sc x7) – repeat 6 times. (48 sts) - Rounds 9–15:
Work 1 sc in every stitch around. (48 sts per round) - Round 16 (Upper Heart):
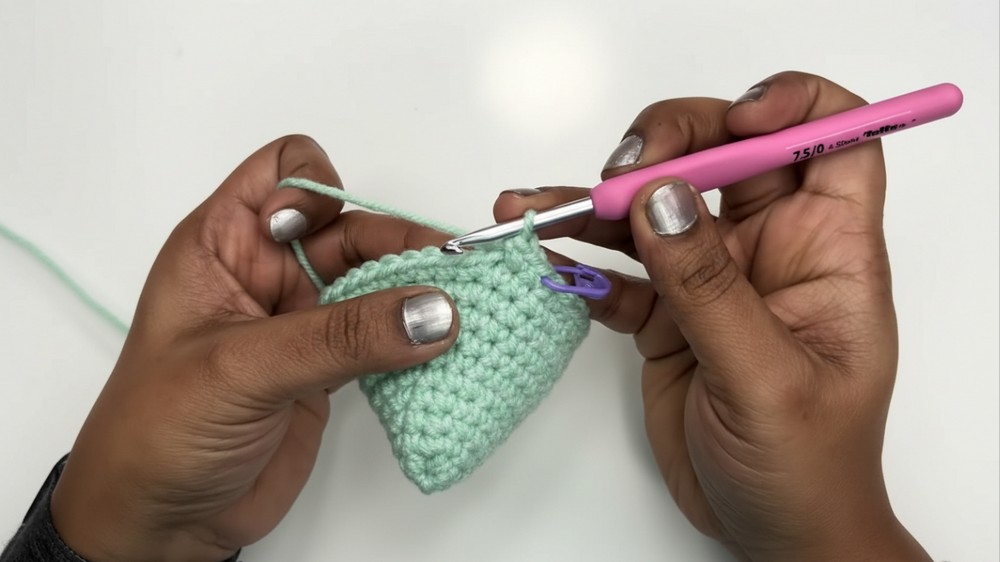
Work 1 sc in the next 24 sts. Use a stitch marker to mark the 24th sc. - Round 17 (First Heart Curve):
Skip the next 24 sts and start the new curve on the first stitch of Round 16.
Work 1 sc into each of the next 24 sts. (24 sts) - Round 18:
(Sc2tog, sc x6) – repeat 3 times. (21 sts) - Round 19:
(Sc2tog, sc x5) – repeat 3 times. (18 sts) - Round 20:
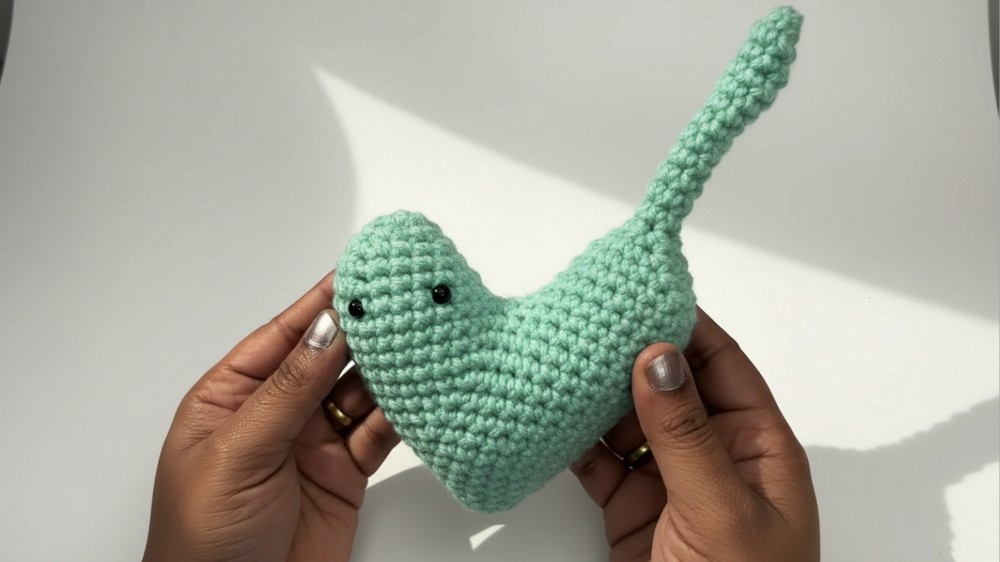
(Sc2tog, sc x4) – repeat 3 times. (15 sts)- Pause and Attach Safety Eyes: Place the safety eyes approximately 3 stitches apart, around Round 18 of the heart, and secure with hot glue (optional). Begin lightly stuffing the heart.
- Round 21:
(Sc2tog, sc x3) – repeat 3 times. (12 sts) - Round 22 (Closing Opening):
Work 6 decreases (sc2tog). (6 sts)- Sew the opening closed with the tail and weave it in.
Second Side of the Heart
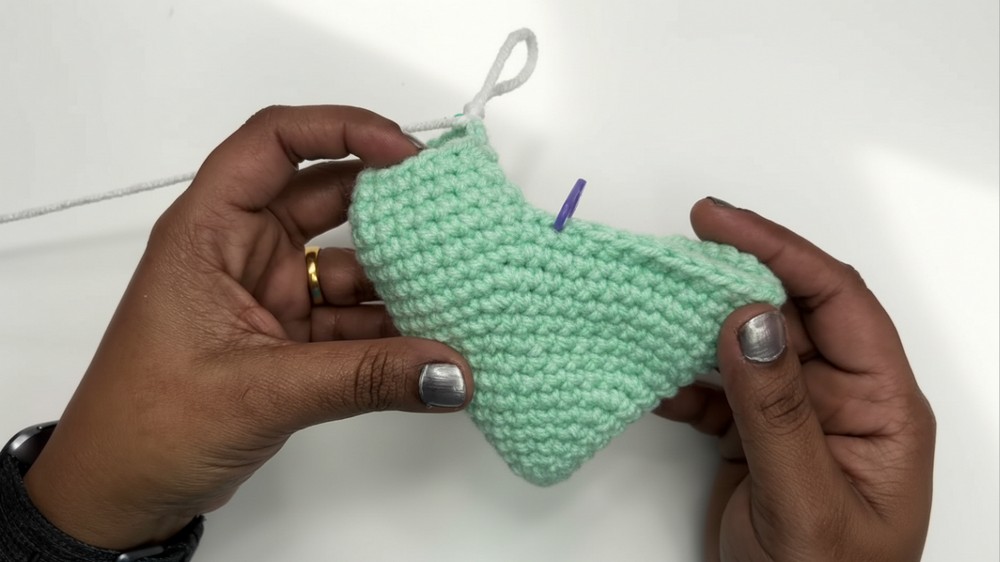
- Attach your yarn to the marked 24th stitch from Round 16 using a sl st. Leave a long tail to sew the two sides of the heart together.
- Round 1:
Work 1 sc into the same stitch and 1 sc in each of the next 23 sts. (24 sts) - Repeat Rounds 17–22 to shape the second curve of the heart. Follow the same steps as the first curve.
Heart Tail
- Rounds 1–12:
Attach yarn to the bottom of the heart and work 1 sc all the way around the tail base (6 sts per round). Do not stuff the tail.- After completing the 12 rounds, join with a sl st and fasten off.
- Sew the tail securely to the base of the heart.
Ears (Make 2)
- Row 1:
Start with a magic ring. Work 5 sc into the ring. (5 sts) - Row 2:
Ch 1, turn, and work:- (1 hdc, ch 1, 1 hdc) in the middle stitch (third stitch from the start).
- Work sc into the remaining sts.
- Row 3:
Ch 1, sc evenly across and fasten off, leaving a long tail.
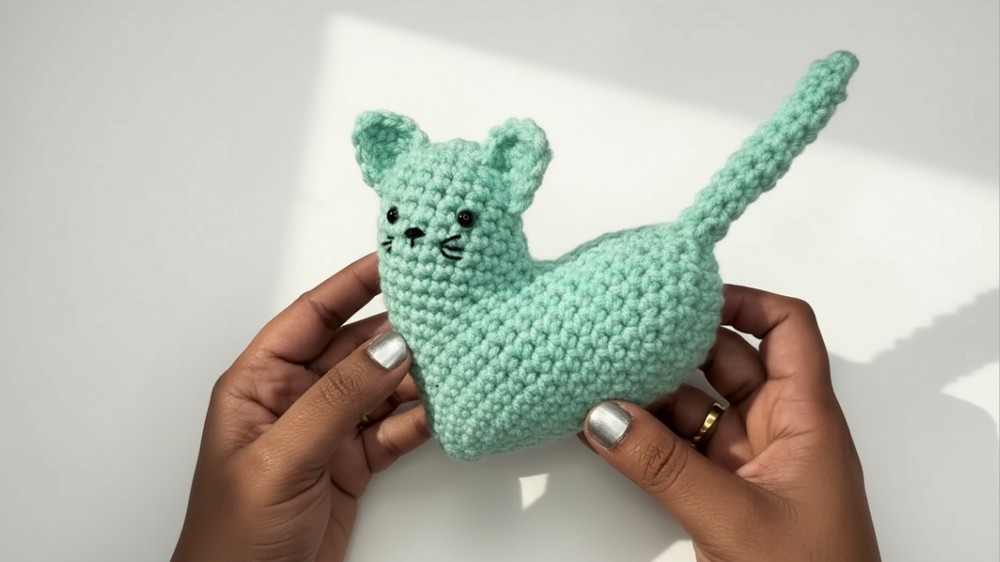
Assembly: Pinch the ear at the base for a curved shape. Attach them symmetrically on Rounds 20 and 21 of the heart body.
Finishing
- Embroider a small triangular nose on Round 17 using black yarn.
- Add whiskers with short stitched lines on Round 16 (three whiskers per side).
- Add more stuffing into the body and sew any open seams.
- Weave in all loose ends securely.
Conclusion
Your cute Cat Heart is complete! This charming crochet design is perfect for gifting or displaying. Its versatile design allows you to experiment with colors and add your creative touch. Whether it's for Valentine's Day or to show love to a feline enthusiast, this project is sure to delight!
Pattern Corrections
- Ear Placement: Ensure ears are symmetrically positioned on both sides of the heart for a balanced appearance.
- Eye Alignment: Double-check the alignment of safety eyes for an evenly spaced look.
Tips
- Consistent Tension: Maintain consistent tension, particularly during decreases, to avoid uneven shaping.
- Secure Magic Ring: Reinforce the magic ring by fastening off and weaving in the center tail to prevent it from unraveling.
- Detailed Embroidery: Use short, neat stitches for whiskers to keep it clean and precise.