
Magic Crochet Mushroom Frog Pattern That Sparks Cute Moments
What could be more delightful than a whimsical frog sitting under a playful mushroom? This Crochet Mushroom frog pattern offers endless possibilities for personalization, whether you choose soft pastel colors for a subtle look or vibrant tones to bring more energy to the design. Perfect for decorating desks, shelves, or cozy corners, it adds a charming and cheerful touch to any room.
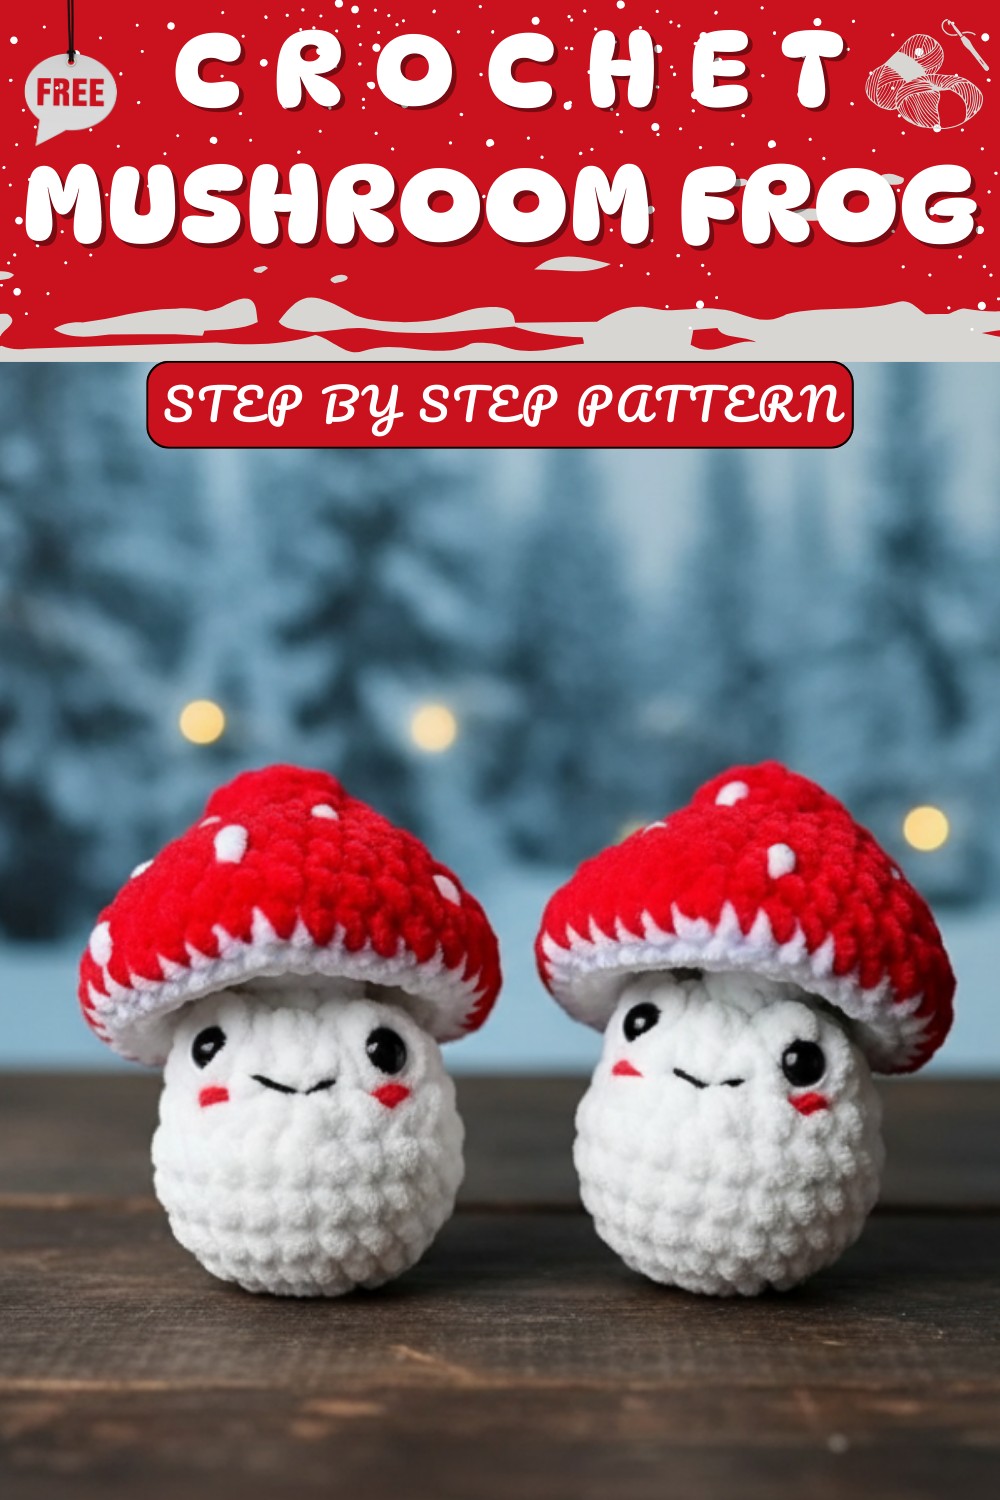
The attention to detail in this handmade design makes it stand out as a true treasure, ideal for showcasing creativity and individuality. It also makes a thoughtful and special gift for loved ones, especially those who enjoy imaginative and distinctive pieces. Whether displayed at home or shared with someone special, this adorable frog is sure to bring smiles and warmth wherever it goes.
Hop into fun with this Crochet Mushroom Frog Pattern and stitch a silly little buddy that will make everyone smile and giggle with delight.
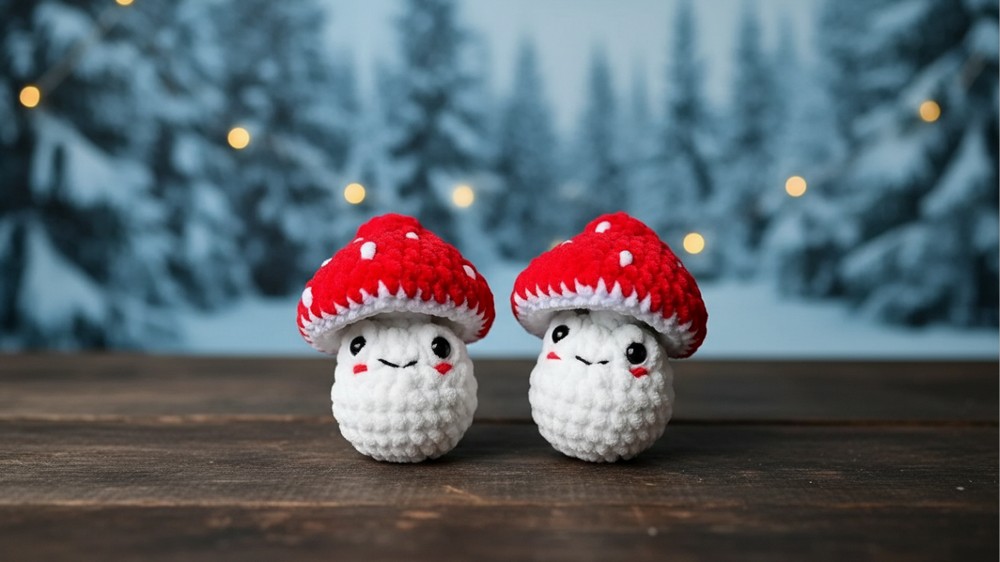
Crochet Mushroom Frog Amigurumi Pattern
Materials:
To create your mushroom frog, you will need the following:
- Super Bulky yarn in:
- White (main body)
- White (mushroom base)
- Red (mushroom top)
- Sport weight yarn (thin yarn) in:
- Black (for the mouth)
- 5 mm crochet hook
- 10 mm safety eyes (2 pieces)
- Fiberfill stuffing for shaping the frog’s body.
- Embroidery needle
- Scissors

Key Abbreviations:
This pattern uses the following crochet terms (US terminology):
- MR = Magic Ring
- sc = Single crochet
- inc = Increase (2 sc in the same stitch)
- dec = Decrease (crochet 2 stitches together)
- Bobble st (Bobble stitch) = Work until you have 5 loops on the hook, then pull through all the loops.
- FLO = Front loops only
- BLO = Back loops only
- […] x = Repeat instructions inside brackets x times.
- (…) = Total number of stitches at the end of the round.
Pattern Instructions:
Body:
- Using White yarn, begin by crocheting in continuous rounds (do not join rounds):
- R1: 6 sc into a magic ring. (6 sts)
- R2: [Inc] x6. (12 sts)
- R3: [1 sc, inc] x6. (18 sts)
- R4: [2 sc, inc] x6. (24 sts)
- R5 – R7: Sc in each st around for 3 rounds. (24 sts)
- Begin shaping the body with decreases:
- R8: [2 sc, dec] x6. (18 sts)
- R9: [(1 sc, dec), Bobble st, dec, (1 sc, dec), Bobble st, dec, (1 sc, dec)] x2. (12 sts)
- Insert the 10 mm safety eyes into the Bobble stitches for the eyes.
- Stuff the frog’s body firmly with fiberfill.
- Close the body:
- R10: [Dec] x6. (6 sts)
- Switch to white yarn for the mushroom base:
- R11: Sc in FLO of each st. (6 sts)
- R12: [Inc] x6. (12 sts)
- R13: [1 sc, inc] x6. (18 sts)
- R14: [2 sc, inc] x6. (24 sts)
- R15: [3 sc, inc] x6. (30 sts)
- R16: [4 sc, inc] x6. (36 sts)

Mushroom Hat:
- Switch to red yarn for the mushroom top:
- R17: Sc in BLO of each st. (36 sts)
- R18: Sc in each st around. (36 sts)
- R19: [4 sc, dec] x6. (30 sts)
- R20: Sc in each st around. (30 sts)
- R21: [3 sc, dec] x6. (24 sts)
- R22: [2 sc, dec] x6. (18 sts)
- R23: [1 sc, dec] x6. (12 sts)
- Do not stuff the mushroom portion; leave it flat for shaping.
- Continue decreasing to close:
- R24: Sc in each st around. (12 sts)
- R25: [Dec] x6. (6 sts)
- F/O (Fasten off) and tighten the hole to close. Use your fingers to gently shape the mushroom top.
- Using the white yarn, embroider loose lines randomly across the red mushroom surface to mimic the natural pattern of mushroom stems. Make sure the embroidery yarn remains loose to avoid distorting the fabric.
Details and Finishing:
- Embroider a smile:
- Use black sport weight yarn to create a simple, small smile below the eyes.
- Add blush:
- With the red bulky yarn, embroider small circles or lines directly under the eyes for a cheerful blush effect.

Customization Ideas:
- Color Variations: Try different color combinations for the body and mushroom cap to create a unique frog-mushroom hybrid. For instance, pastel colors for a softer, dreamy aesthetic.
- Accessories: Add extra details like a little crocheted flower, hat, or scarf to personalize your frog.
- Size Alteration: Use lighter yarn and a smaller hook for a smaller frog, or heavier yarn and a larger hook for a larger frog.
Special Notes:
- Stuffing Tips:
- Ensure the body is firmly stuffed but not overfilled to maintain the frog's shape. Blue-tack can help stabilize while adding the safety eyes.
- Safety Precautions:
- For younger children, replace safety eyes with embroidered ones to avoid potential choking hazards.
- Embroidering the mushroom cap:
- Keep the white yarn loose to prevent warping or puckering in the mushroom top.

Conclusion:
Congratulations on completing your Mushroom Frog Amigurumi! This whimsical design is perfect as a gift, stress reliever, or decorative addition to your collection. Its friendly expression and quirky mushroom hat make it a memorable and fun project. Experiment with colors and embellishments to make it truly yours.
Pattern Corrections & Tips:
Corrections:
Upon testing, ensure the bobble stitches align symmetrically before inserting safety eyes. If necessary, slightly adjust the placement.
Additional Tips:
- Use stitch markers to mark the first stitch of each round, ensuring you don't lose track of your progress.
- If your mushroom hat appears too "flat," flatten it again by hand after embroidering to refine its shape.
