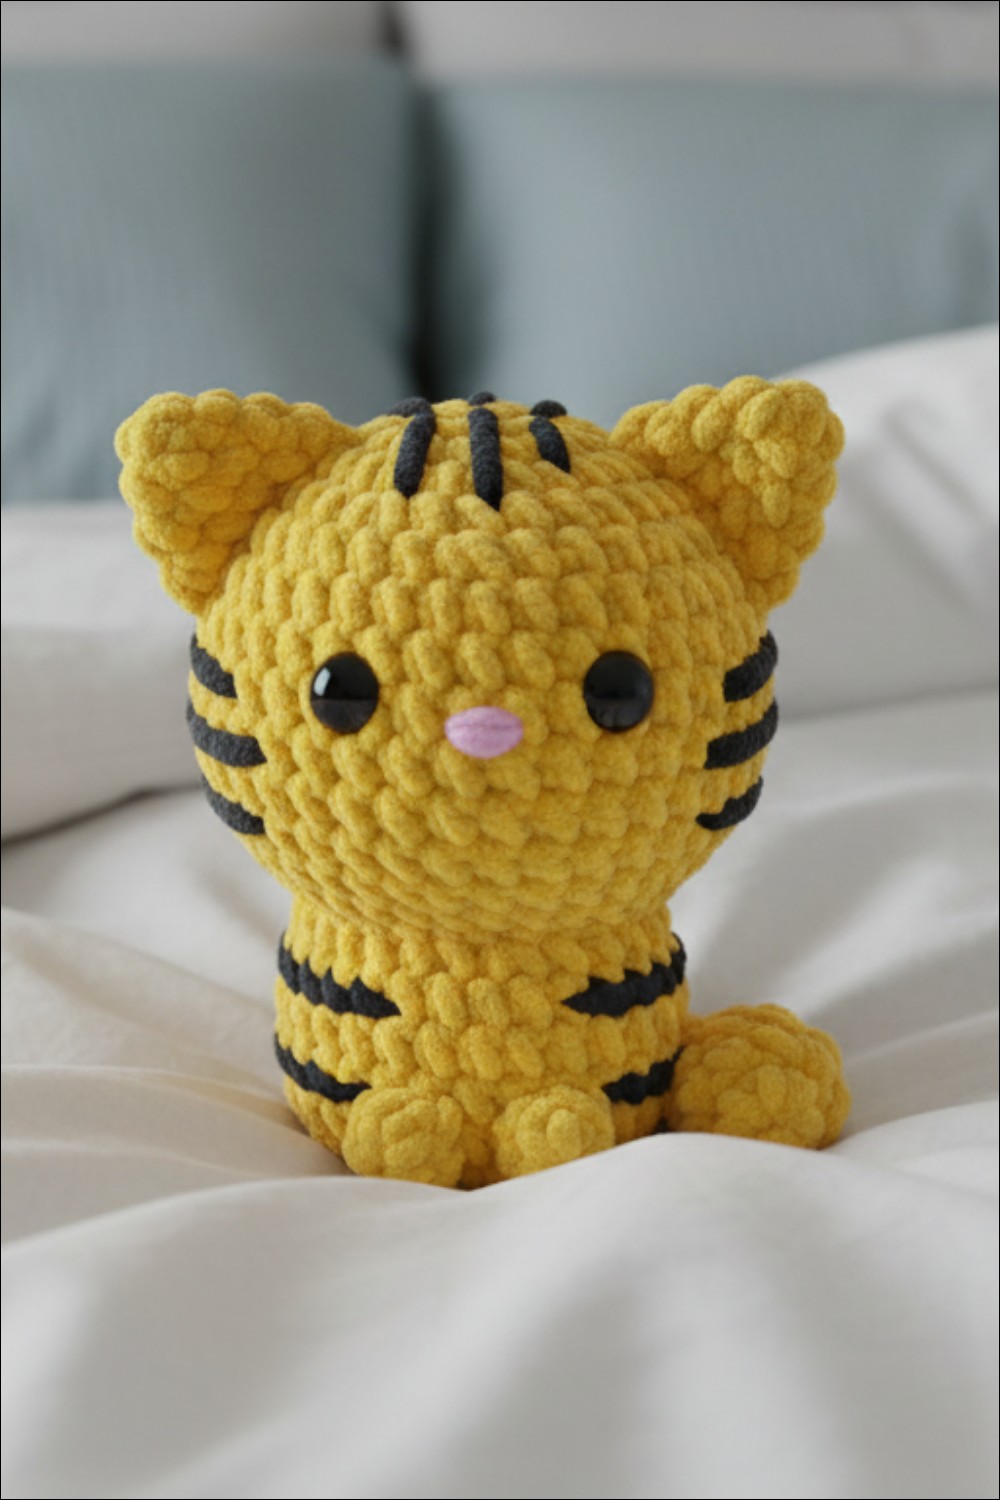
Trendy Crochet Cat Pattern That Cat Lovers Adore
A charming and soft crochet cat is a delightful decorative item that brings warmth and whimsy to any space. With its adorable features and unique design, the crochet cat pattern allows it to perfectly suit your style—whether you prefer something colorful, playful, or elegant. This cute creation is versatile and can be used in many ways, from a small keychain or bag charm to a cozy companion that adds character to your home.
It makes a wonderful gift for a child, an animal lover, or anyone who appreciates thoughtful and unique items. The crochet cat pattern also allows you to include personal touches, such as favorite colors or special themes, making it feel even more meaningful. Whether perched on a shelf, decorating a room, or tucked into a bag as a keepsake, this lovable figure spreads joy and smiles everywhere it goes.
Snuggle into cozy moments with Free Crochet Cat Pattern that's perfect for a sweet and playful companion that fills your home with happiness.
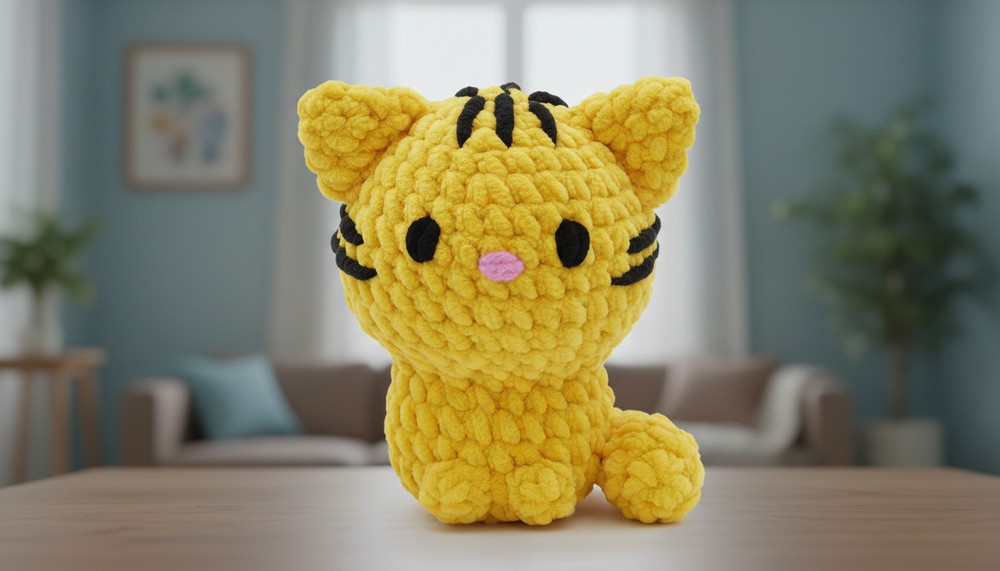
Eye-Catching Crochet Cat Pattern That Steals the Spotlight
Materials:
You will need the following materials:
- Yarn:
- Super bulky yarn (for a larger cat, e.g., chenille, velvet, or faux fur yarn).
- Alternative: Worsted weight yarn (for a smaller cat).
- Crochet Hook:
- 5.0 mm crochet hook (for bulky/chenille yarn).
- 2.5 mm crochet hook (for sportweight cotton yarn).
- Fiberfill stuffing for shaping.
- Yarn Needle (with a blunt tip) for sewing and weaving in ends.
- Straight Pins (optional, for positioning parts).
- Scissors for trimming yarn ends.
- Optional Embroidery Yarn (thin):
- Black (for whiskers or mouth).
Key Abbreviations (US Terms):
- MR = Magic Ring
- sc = Single crochet
- inc = Increase (2 sc in the same st)
- dec = Decrease (crochet 2 sts together)
- st(s) = Stitch(es)
- FLO = Front loop only
- BLO = Back loop only
- … x = Repeat instructions between asterisks as many times as stated
- (…) = Total stitch count at the end of round
Finished Size:
- Approximately 50mm (5 cm) tall if working with sportweight yarn.
- Larger sizes can be achieved using bulkier yarn and larger hooks.
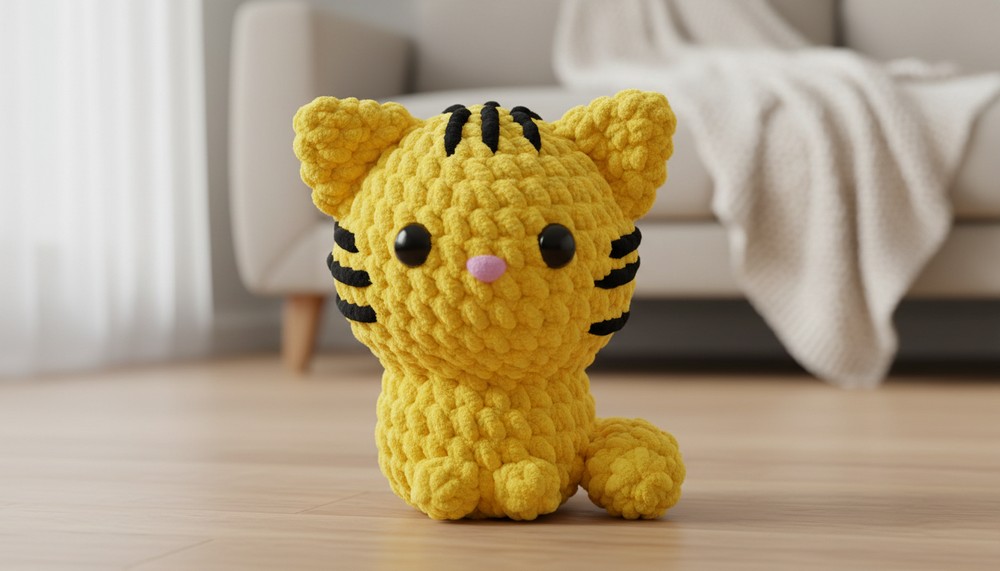
Pattern Instructions:
Body:
- Using Yellow yarn for the body (e.g., chenille or cotton yarn):
- R1: 6 sc in MR. (6 sts)
- R2: [Inc] x6. (12 sts)
- R3: [Sc 1, inc] x6. (18 sts)
- R4: [Sc 2, inc] x6. (24 sts)
- R5–R7: Sc in each st for 3 rounds. (24 sts per round)
- Start decreasing to shape the body:
- R8: [Sc 2, dec] x6. (18 sts)
- R9: [Sc 1, dec] x6. (12 sts)
- Insert safety eyes between Rounds 5 & 6, spaced evenly apart.
- Optional: Use embroidery yarn to stitch a vertical light reflection on one side of each eye.
- Stuff the body firmly with fiberfill as you progress.
- Close the body:
- R10: [Dec] x6. (6 sts)
- Fasten off and leave a tail. Using a yarn needle, thread through the last stitches, pull tight, and secure the end.
Ears (Make 2):
- Using the same yarn as the body:
- R1: 6 sc in MR. (6 sts)
- R2: [Inc] x6. (12 sts)
- R3: Sc in each st around. (12 sts)
- Flatten the ear and fasten off, leaving a long tail for sewing. Position the ears slightly to the sides of the head, approximately 2 rounds from the magic ring. Sew securely and weave in the ends.
Tail:
- Using the same body yarn:
- R1: 6 sc in MR. (6 sts)
- R2: Inc in each st around. (12 sts)
- R3–R7: Sc in each st around. (12 sts per round)
- Lightly stuff the tail for shape and fasten off, leaving a tail for sewing. Attach the tail at the back of the body between Rounds 8–10.
Feet/Legs (Make 4):
- Using the same body yarn:
- R1: 6 sc in MR. (6 sts)
- R2: Sc in each st around. (6 sts)
- Fasten off, leaving a tail for sewing. Position two legs evenly at the bottom of the body as feet and two slightly higher as arms. Sew securely and weave in ends.
Face Embellishment:
- Nose:
- Use pink yarn to stitch a small triangle-shaped nose approximately 1 round below the eyes.
- Add a single vertical stitch beneath the nose for the mouth.
- Whiskers (Optional):
- Use black embroidery yarn to stitch short, straight whiskers on either side of the nose.
Customization Ideas:
- Color Variations: Experiment with different yarn colors for a unique look. Pastel shades give a soft and gentle appearance, while brighter colors add a playful vibe.
- Accessory Ideas:
- Add a small bow on the ear or collar around the neck.
- Make a tiny fish or ball of yarn for added props.
Special Notes:
- Yarn and Texture:
- Using velvet or chenille yarn creates a softer, plushier look, while cotton yarn results in a cleaner stitch definition.
- Ensure your tension is consistent for even shaping.
- Stuffing Tip:
- Overstuffing may stretch the stitches, so stuff the body and tail lightly but evenly.
Conclusion:
Congratulations on completing your amigurumi Cute Cat! This beginner-friendly project is quick to make and can be customized for various occasions. Use it as a keychain, a gift, or an adorable addition to your crafting collection.
Pattern Corrections & Tips:
- Corrections: If the magic ring is challenging, try using a chain 2 foundation and working into the first chain.
- Tips:
- Use straight pins to position parts before sewing for even placement.
- Work with a stitch marker to keep track of your rounds, especially when using plush yarn, as stitches may be harder to see.